Mid-Century Modern IKEA Headboard Hack

Hi DIY friends, Rochelle here! We at team TSG recently started working on a bedroom makeover for our lovely teammate Anne. One of the main eyesores in her room was her bed frame - a basic IKEA HEMNES unit. Anne will tell you herself, she has mid-century modern taste…but an IKEA budget, so I wanted to find a way to give her a piece of that look without breaking the bank. Read on to see how I used essentially two sheets of plywood to make a custom cover for this IKEA unit; Turning it into a MCM dream.
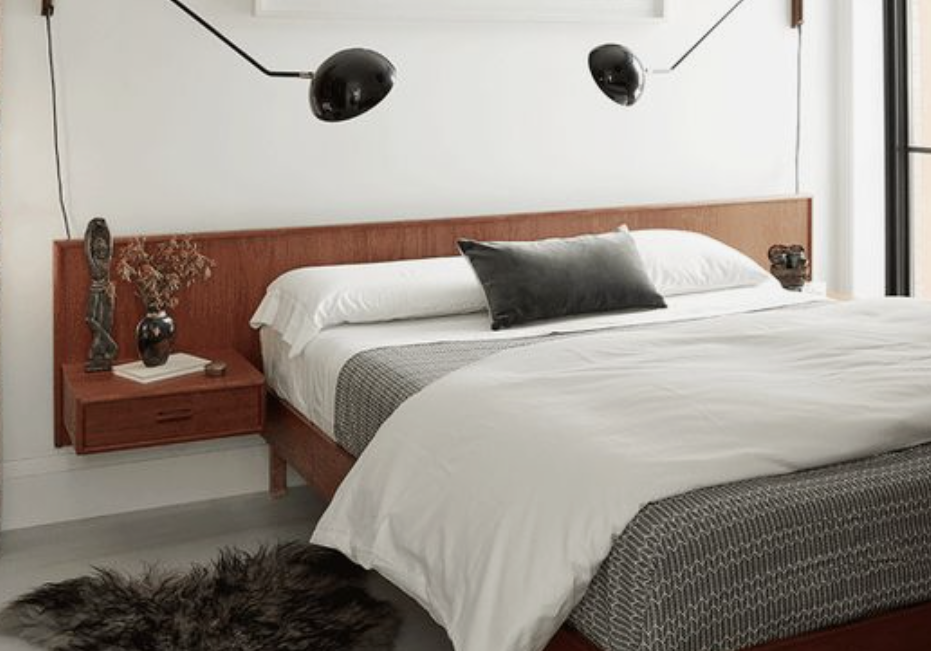
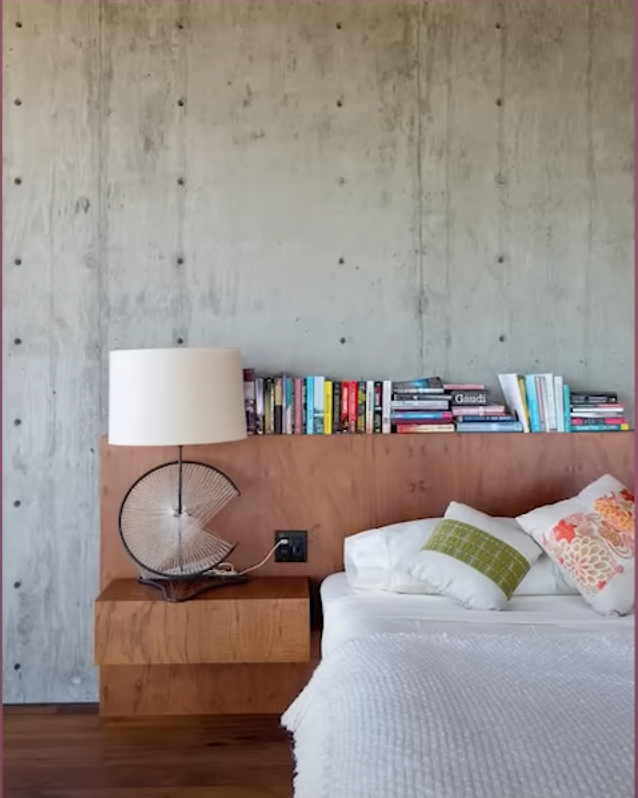
Inspo:
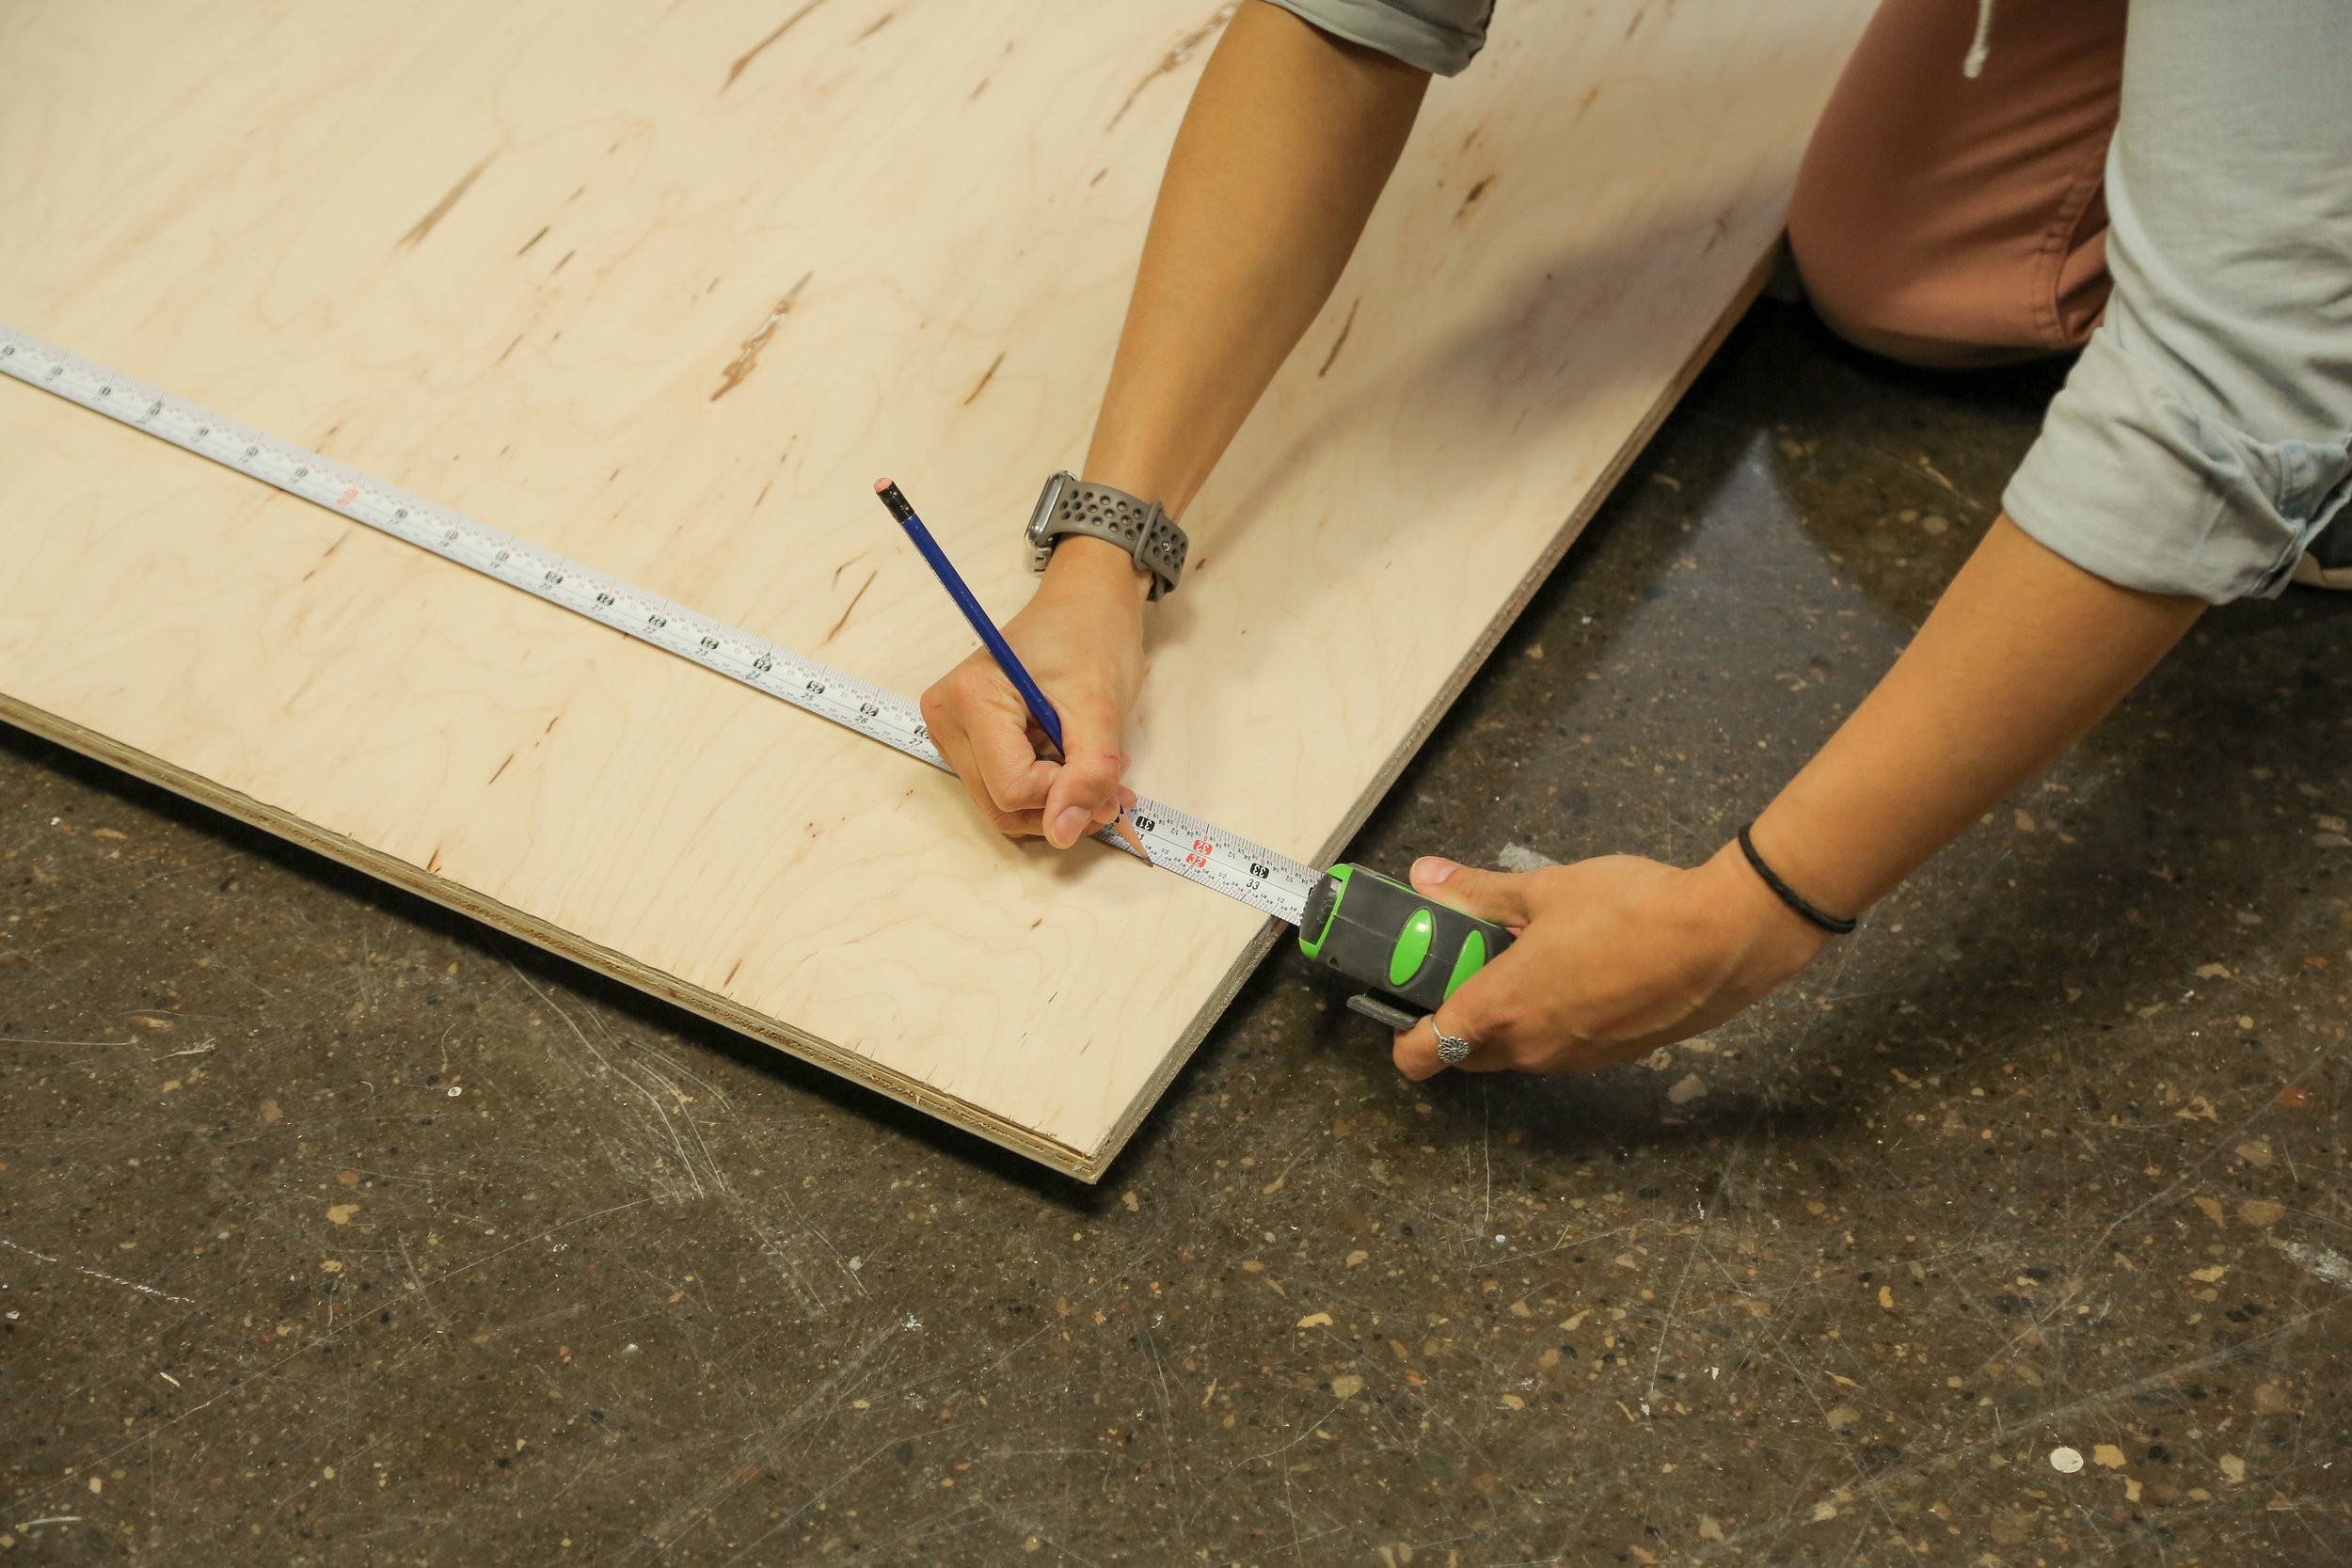
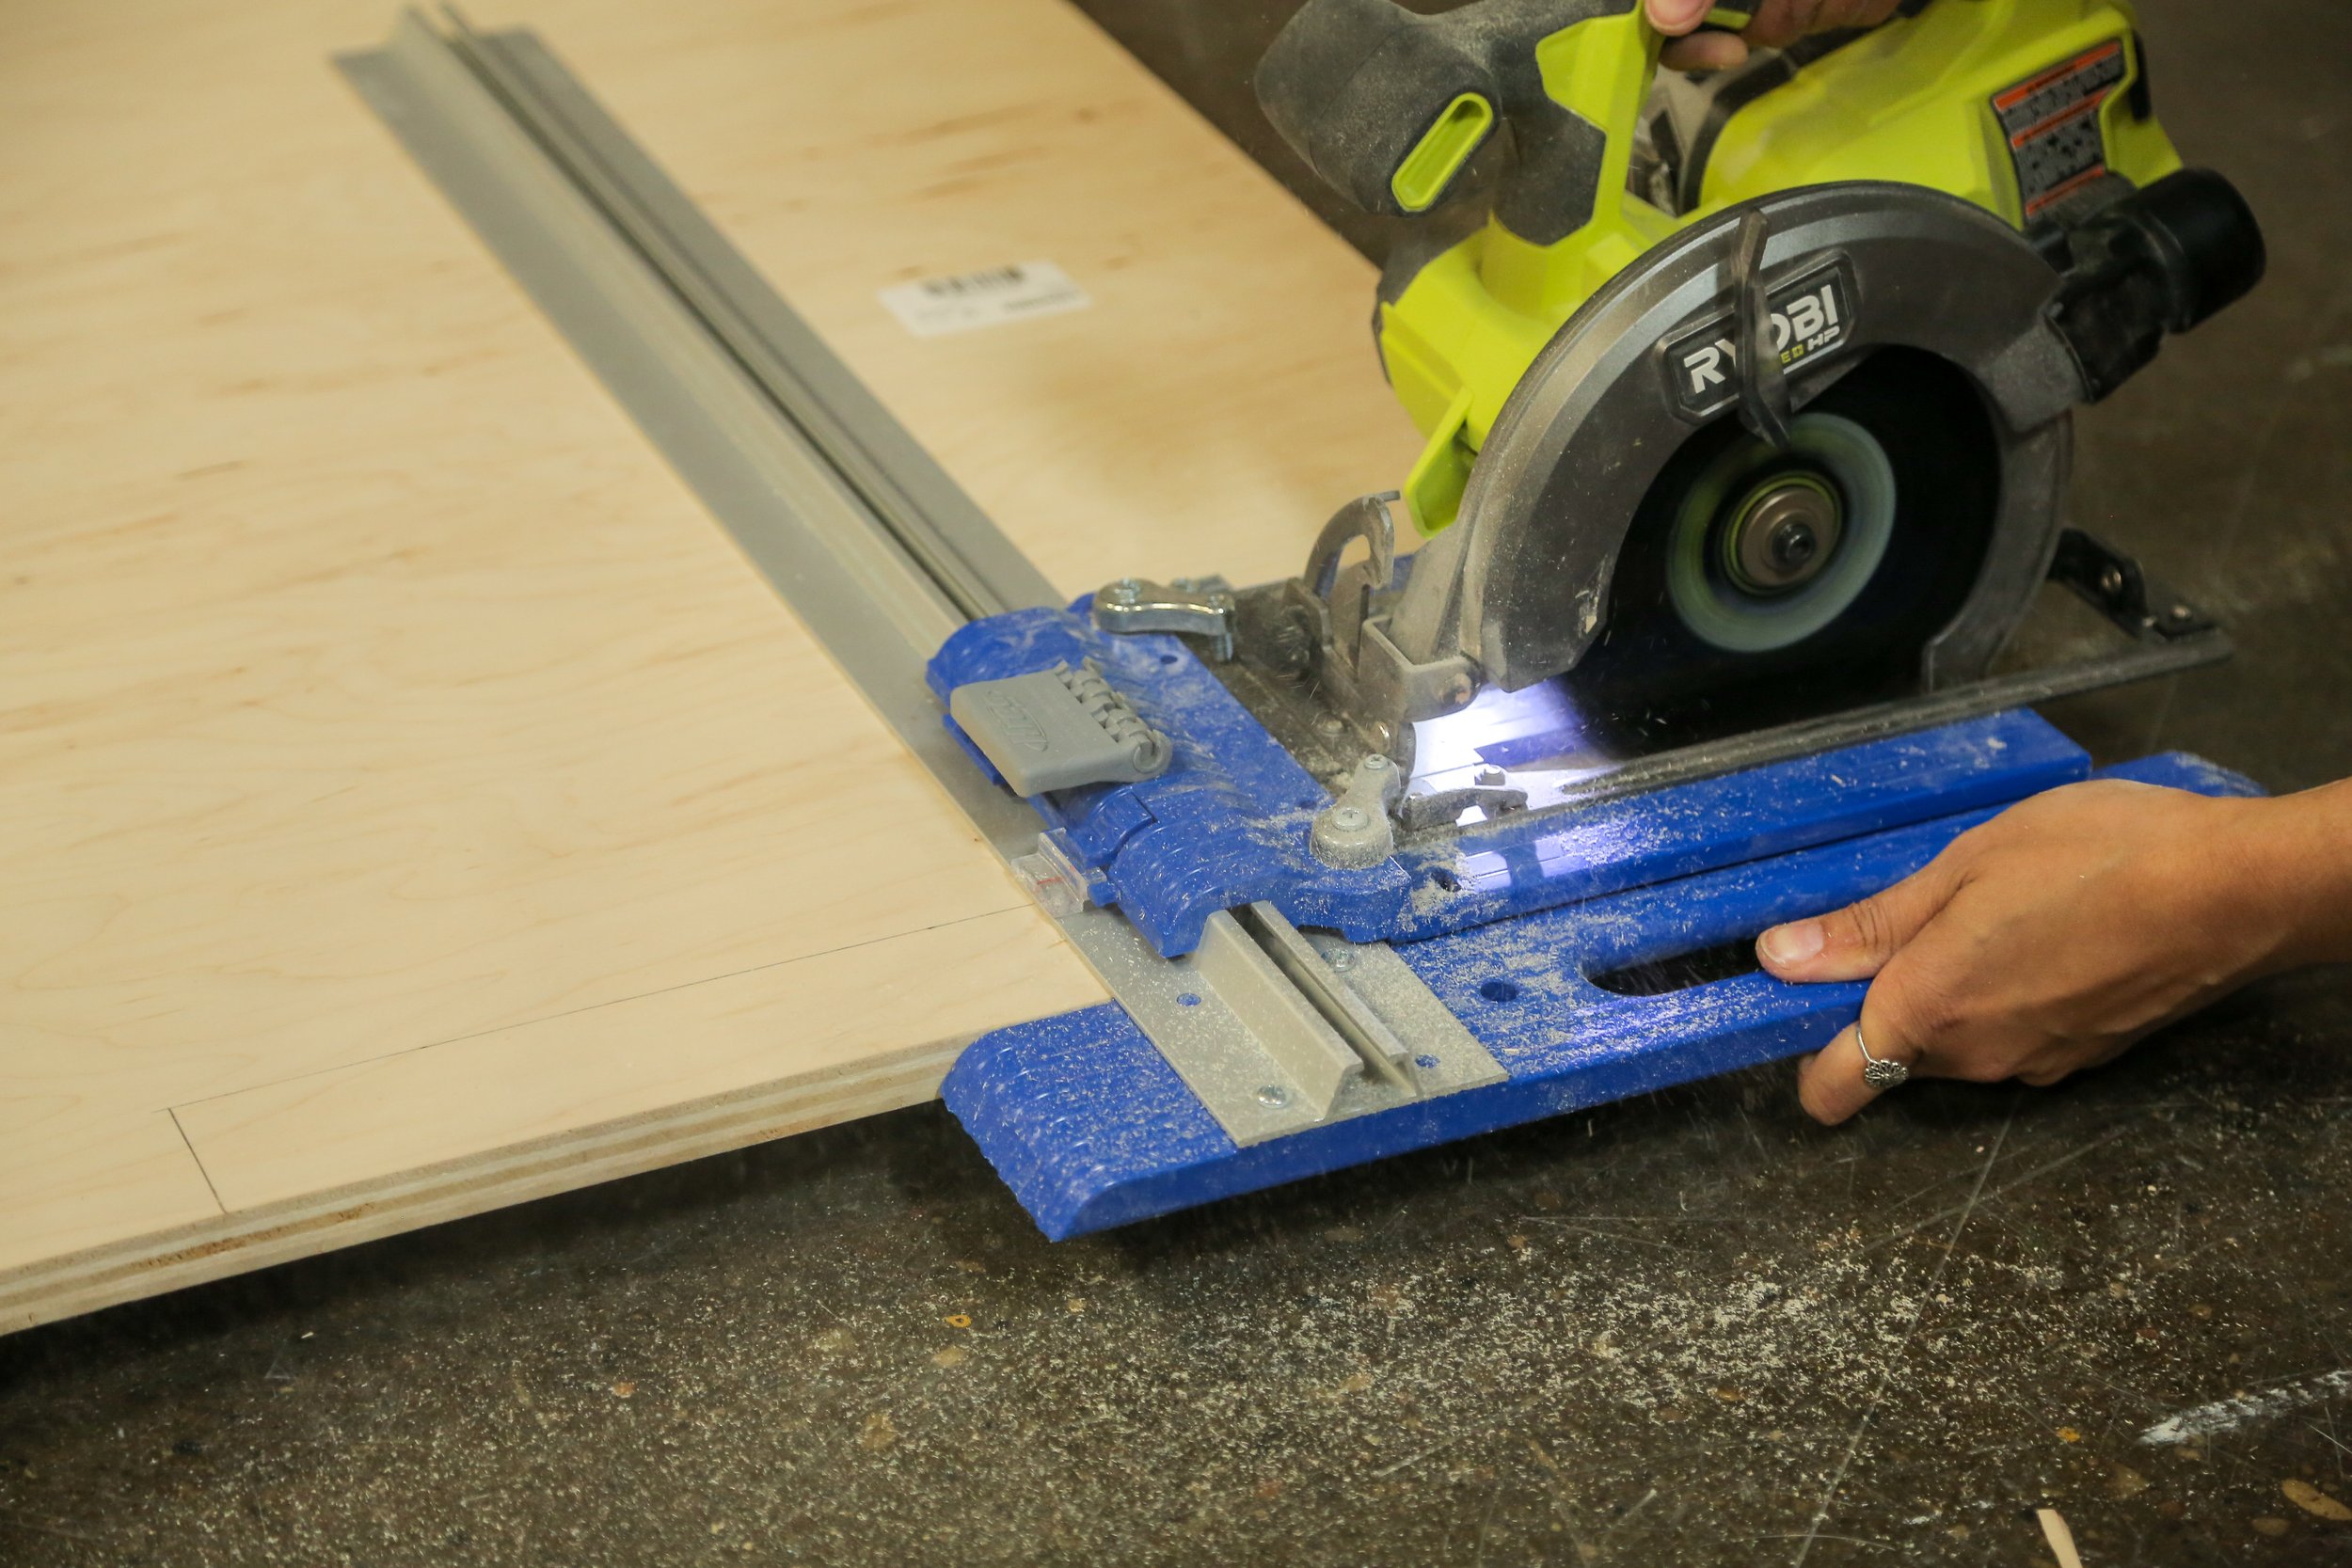
First things first: I whipped out my tape measure and got down to business. I found that the IKEA website measurements weren't accurate, so it was good that I took my own. I knew I would need large sheets of plywood but the question was, how many? I started and was able to map out the headboard, footboard, floating nightstands, and even drawers and figured out that I would only need about two large sheets of plywood. Talk about maximizing every inch of material!

I started the construction of this bed frame by mapping out my pieces and making all of the cuts I wasn’t able to get done at the hardware store. First I cut out two notches from either side of the headboard using both my circular and jigsaw (aka my worst enemy). This would allow the new headboard to sit on the side rails of the original HEMNES unit.
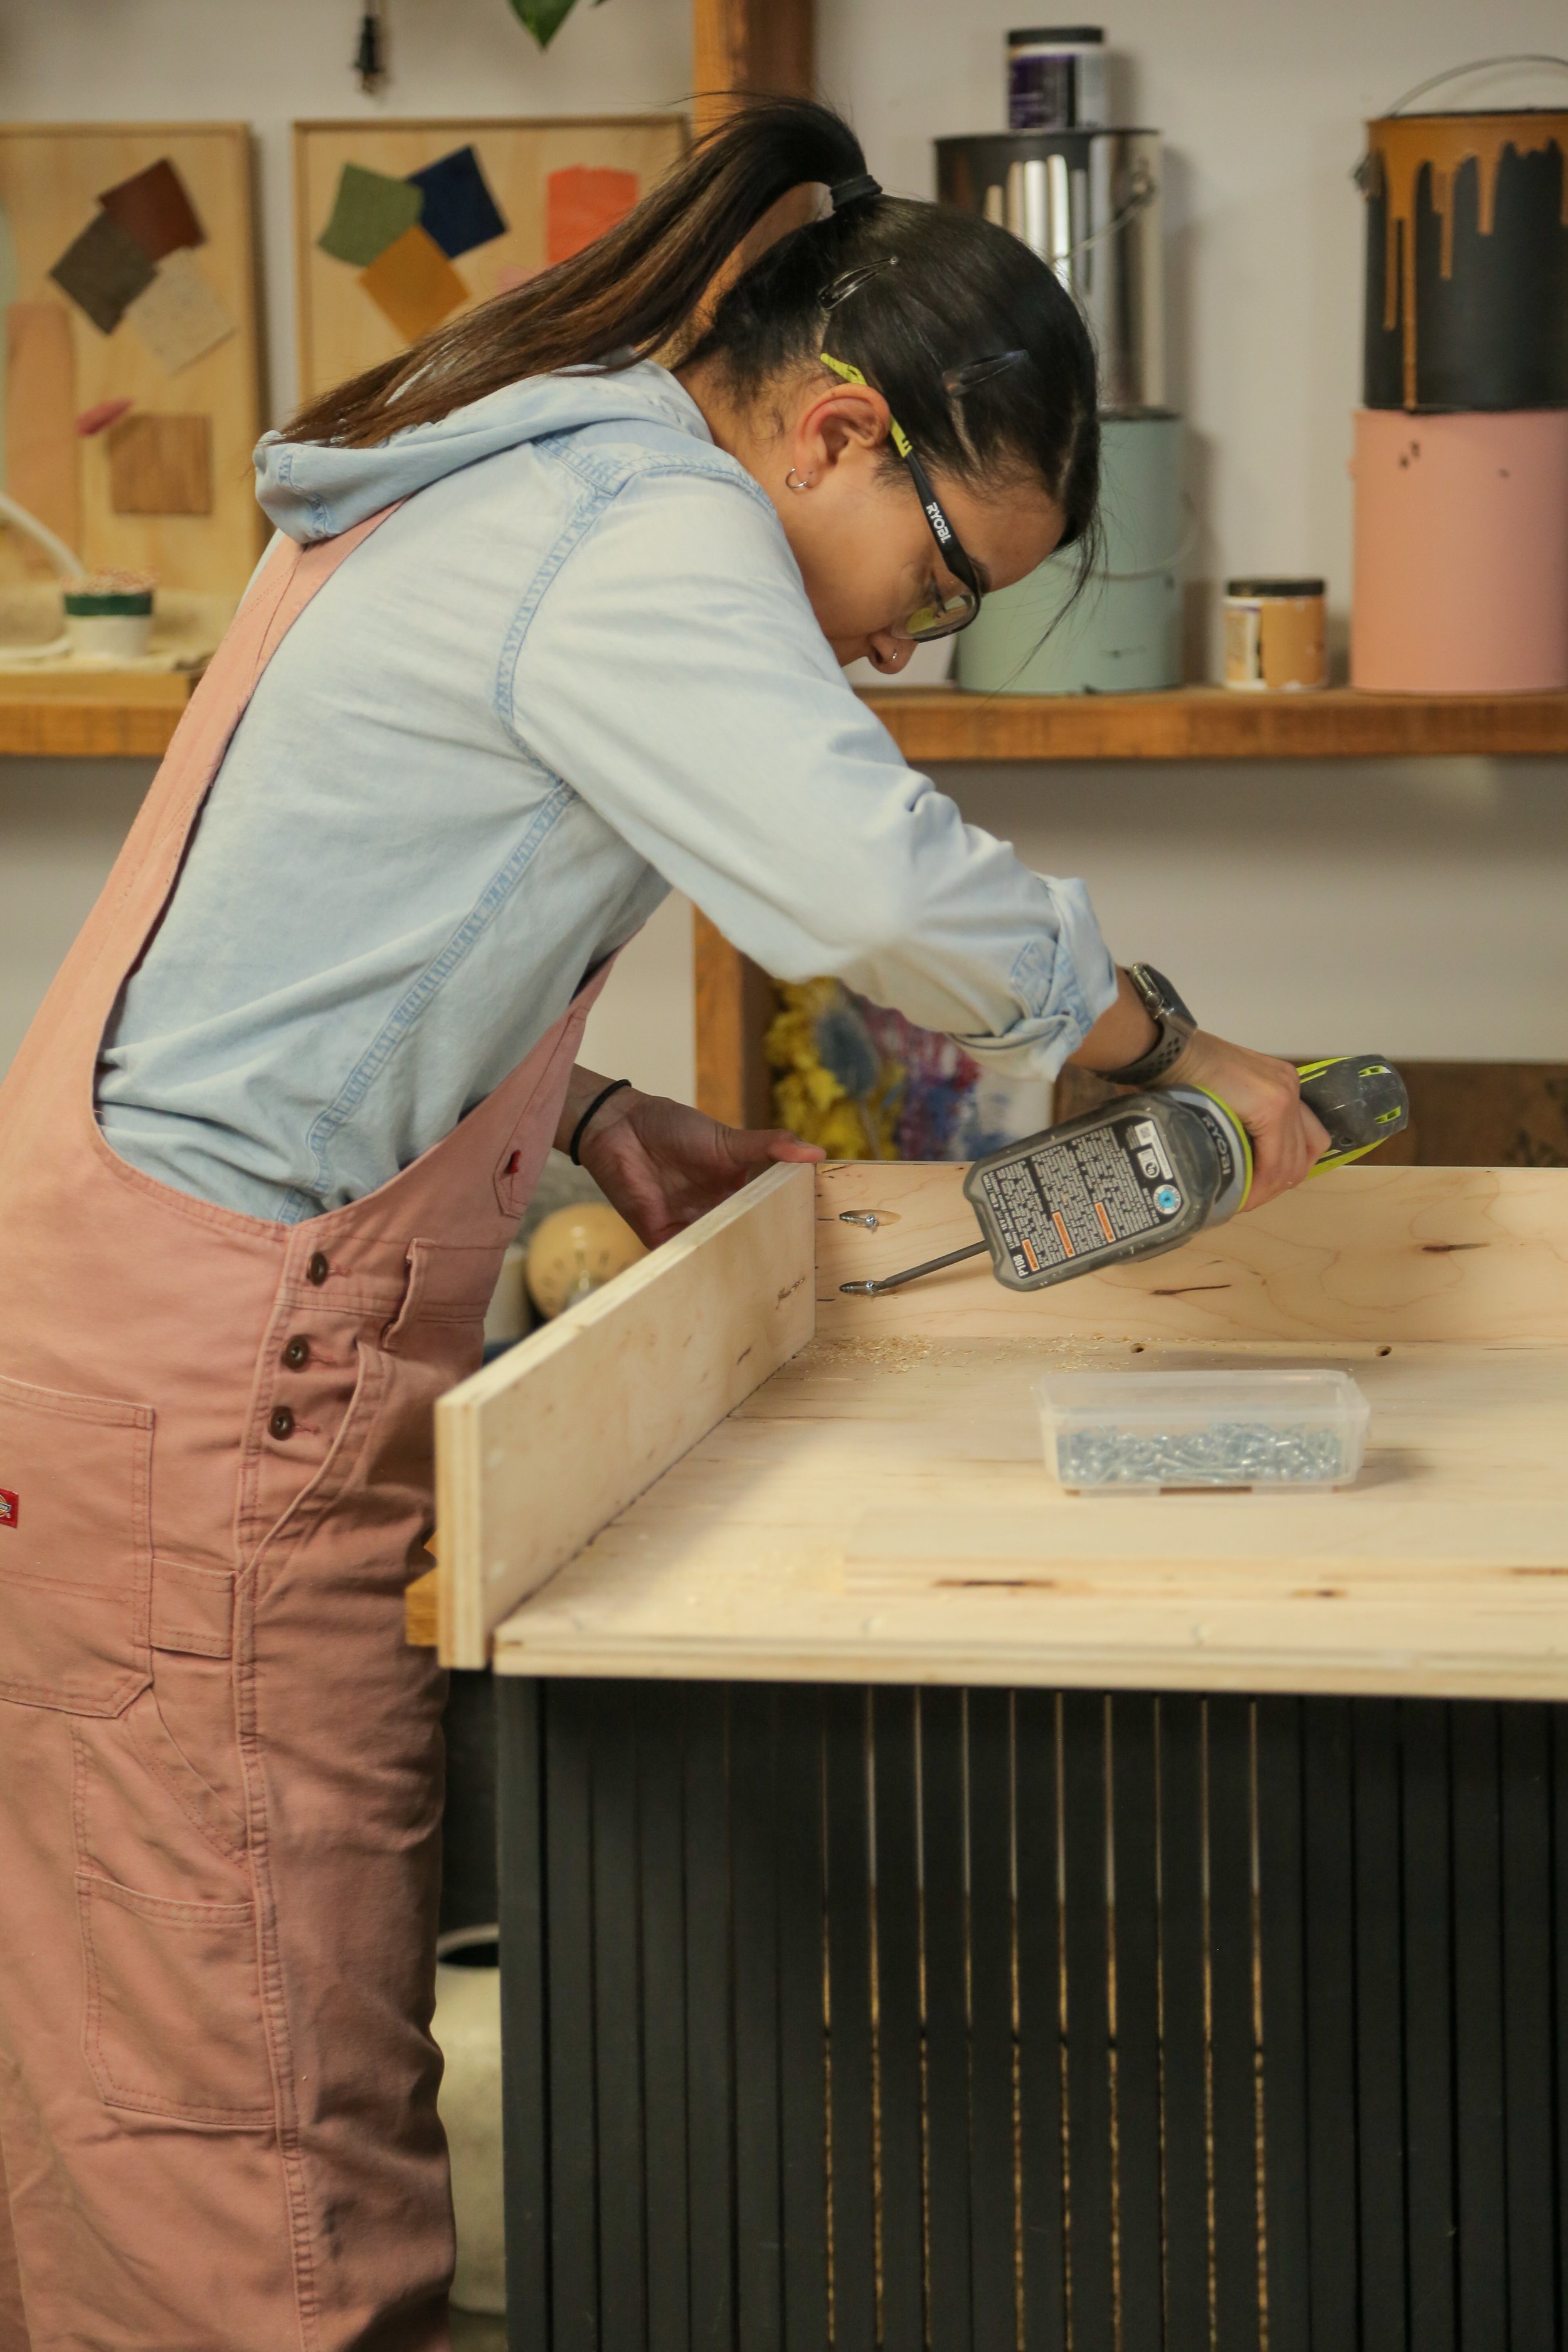
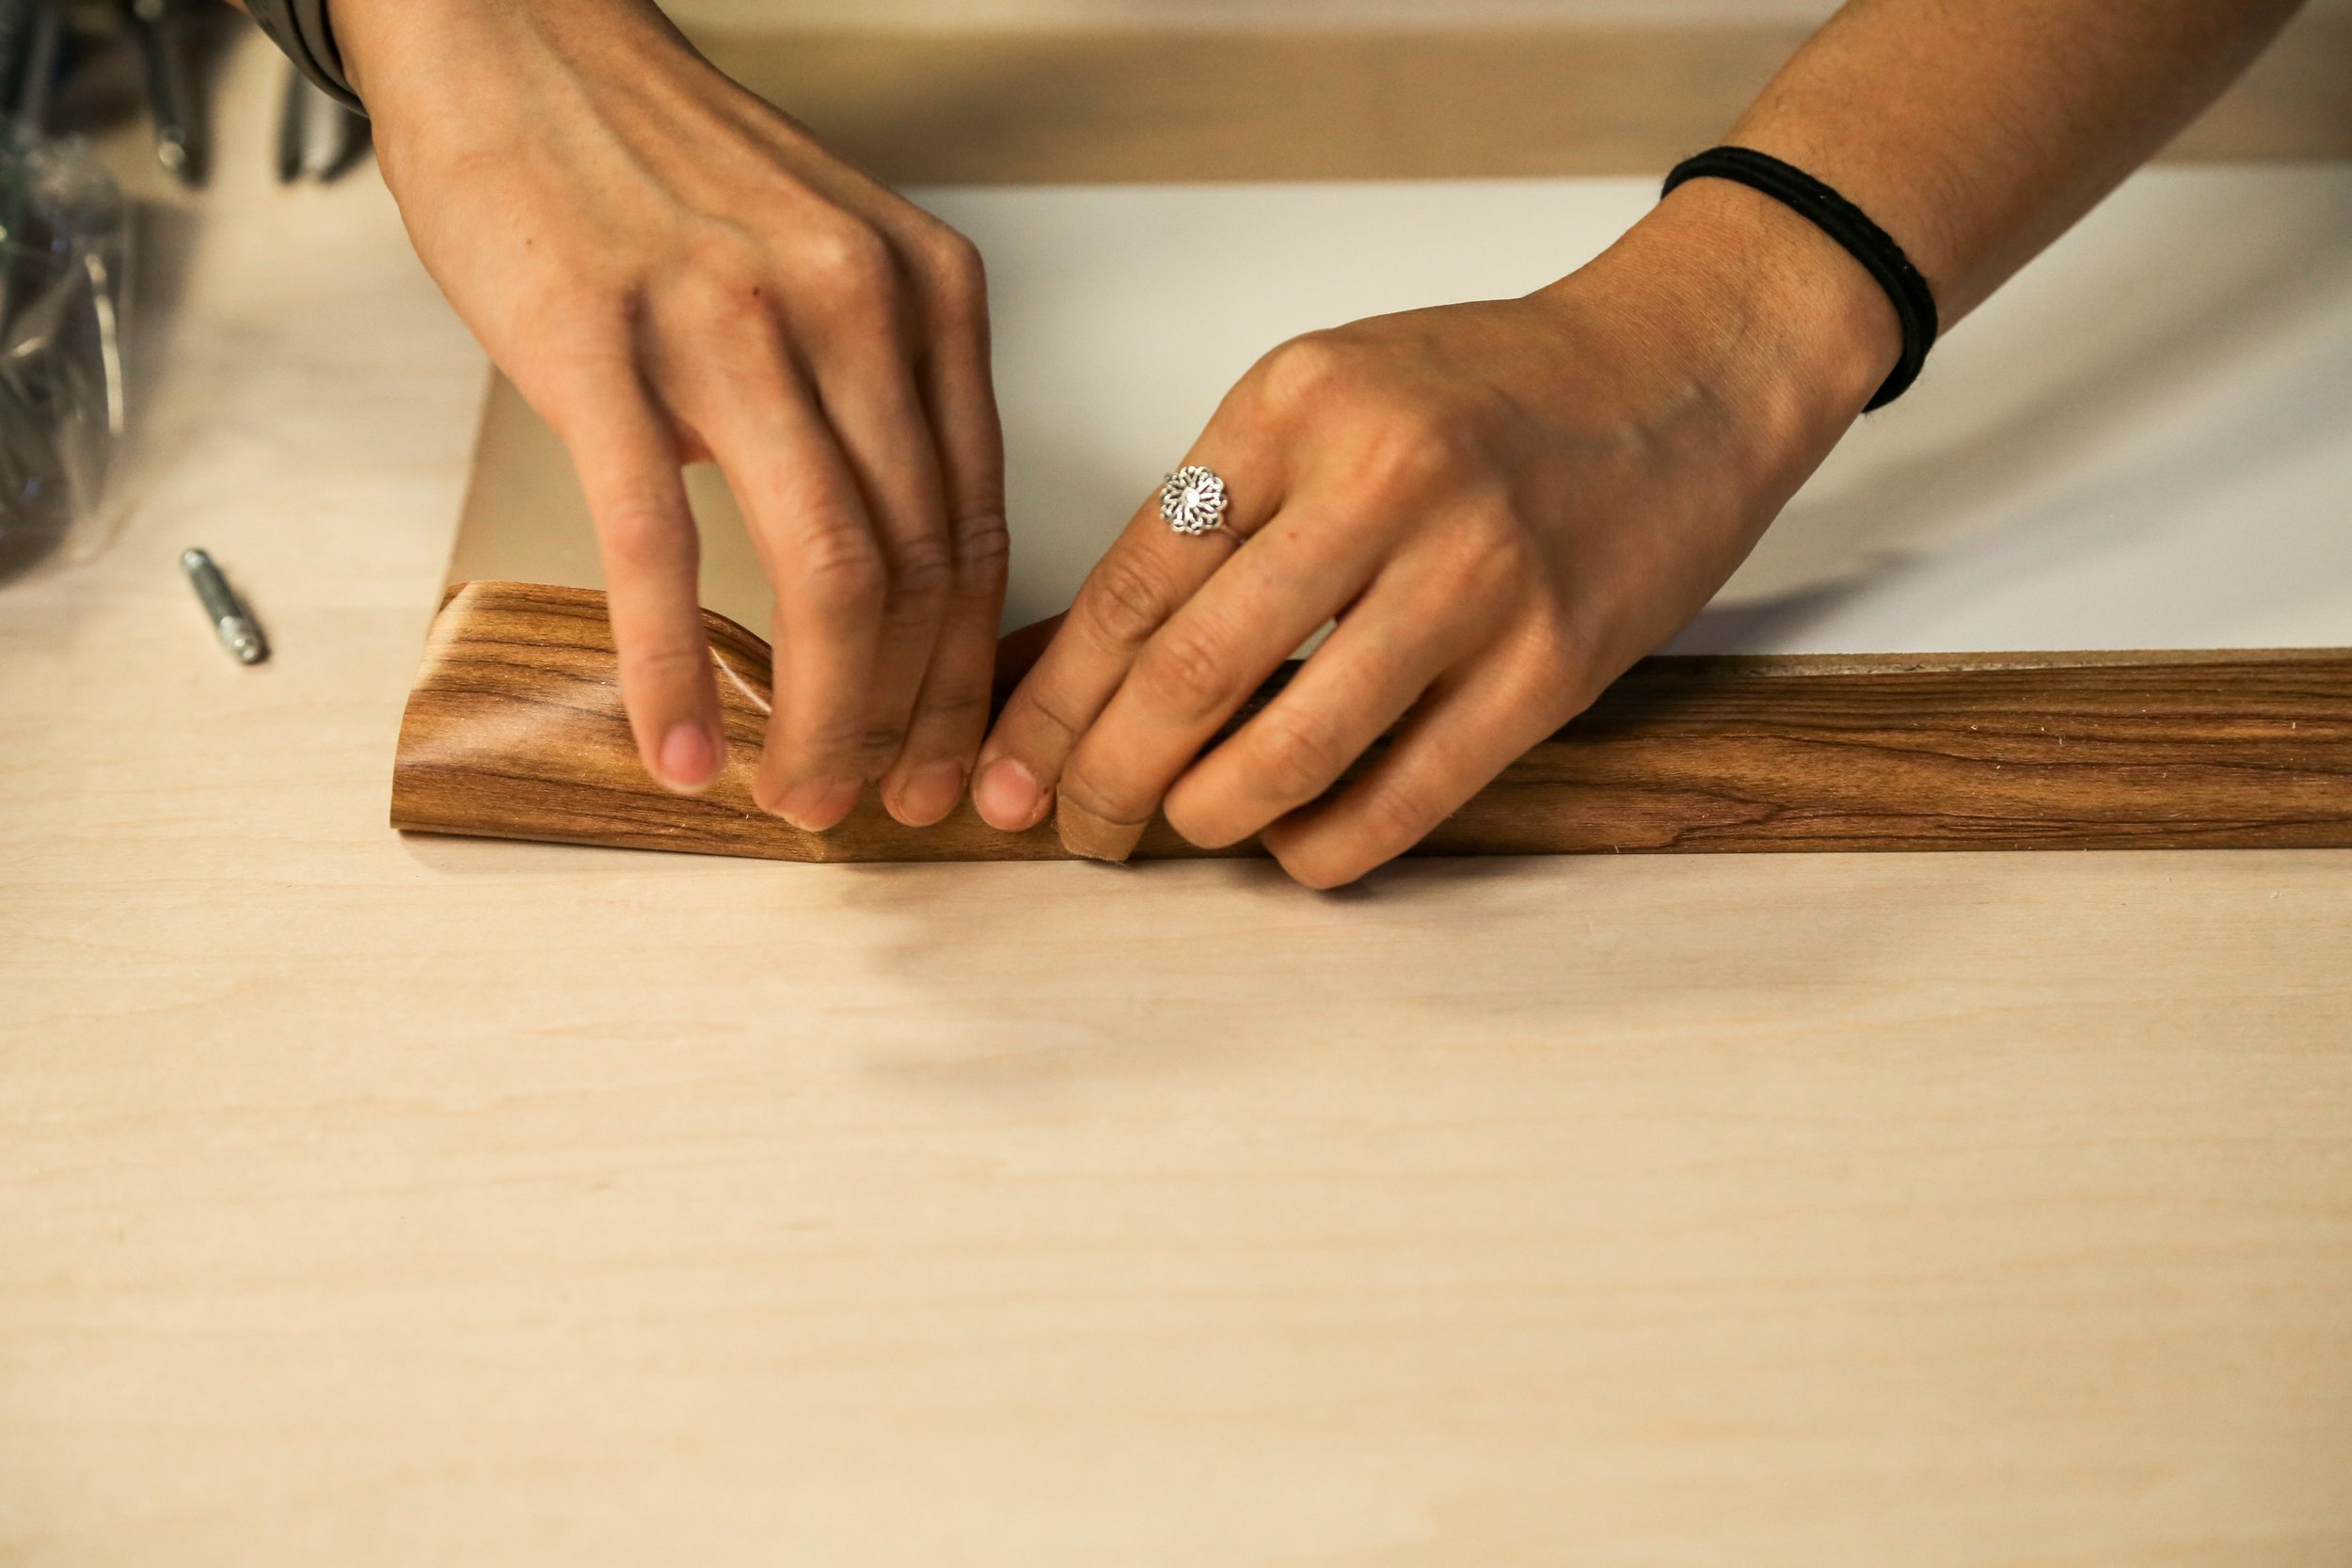
My next step was to trim out and attach wooden pieces to each side of the head and footboards (except for the bottoms) to create the seamless cover and essentially encase the bed.
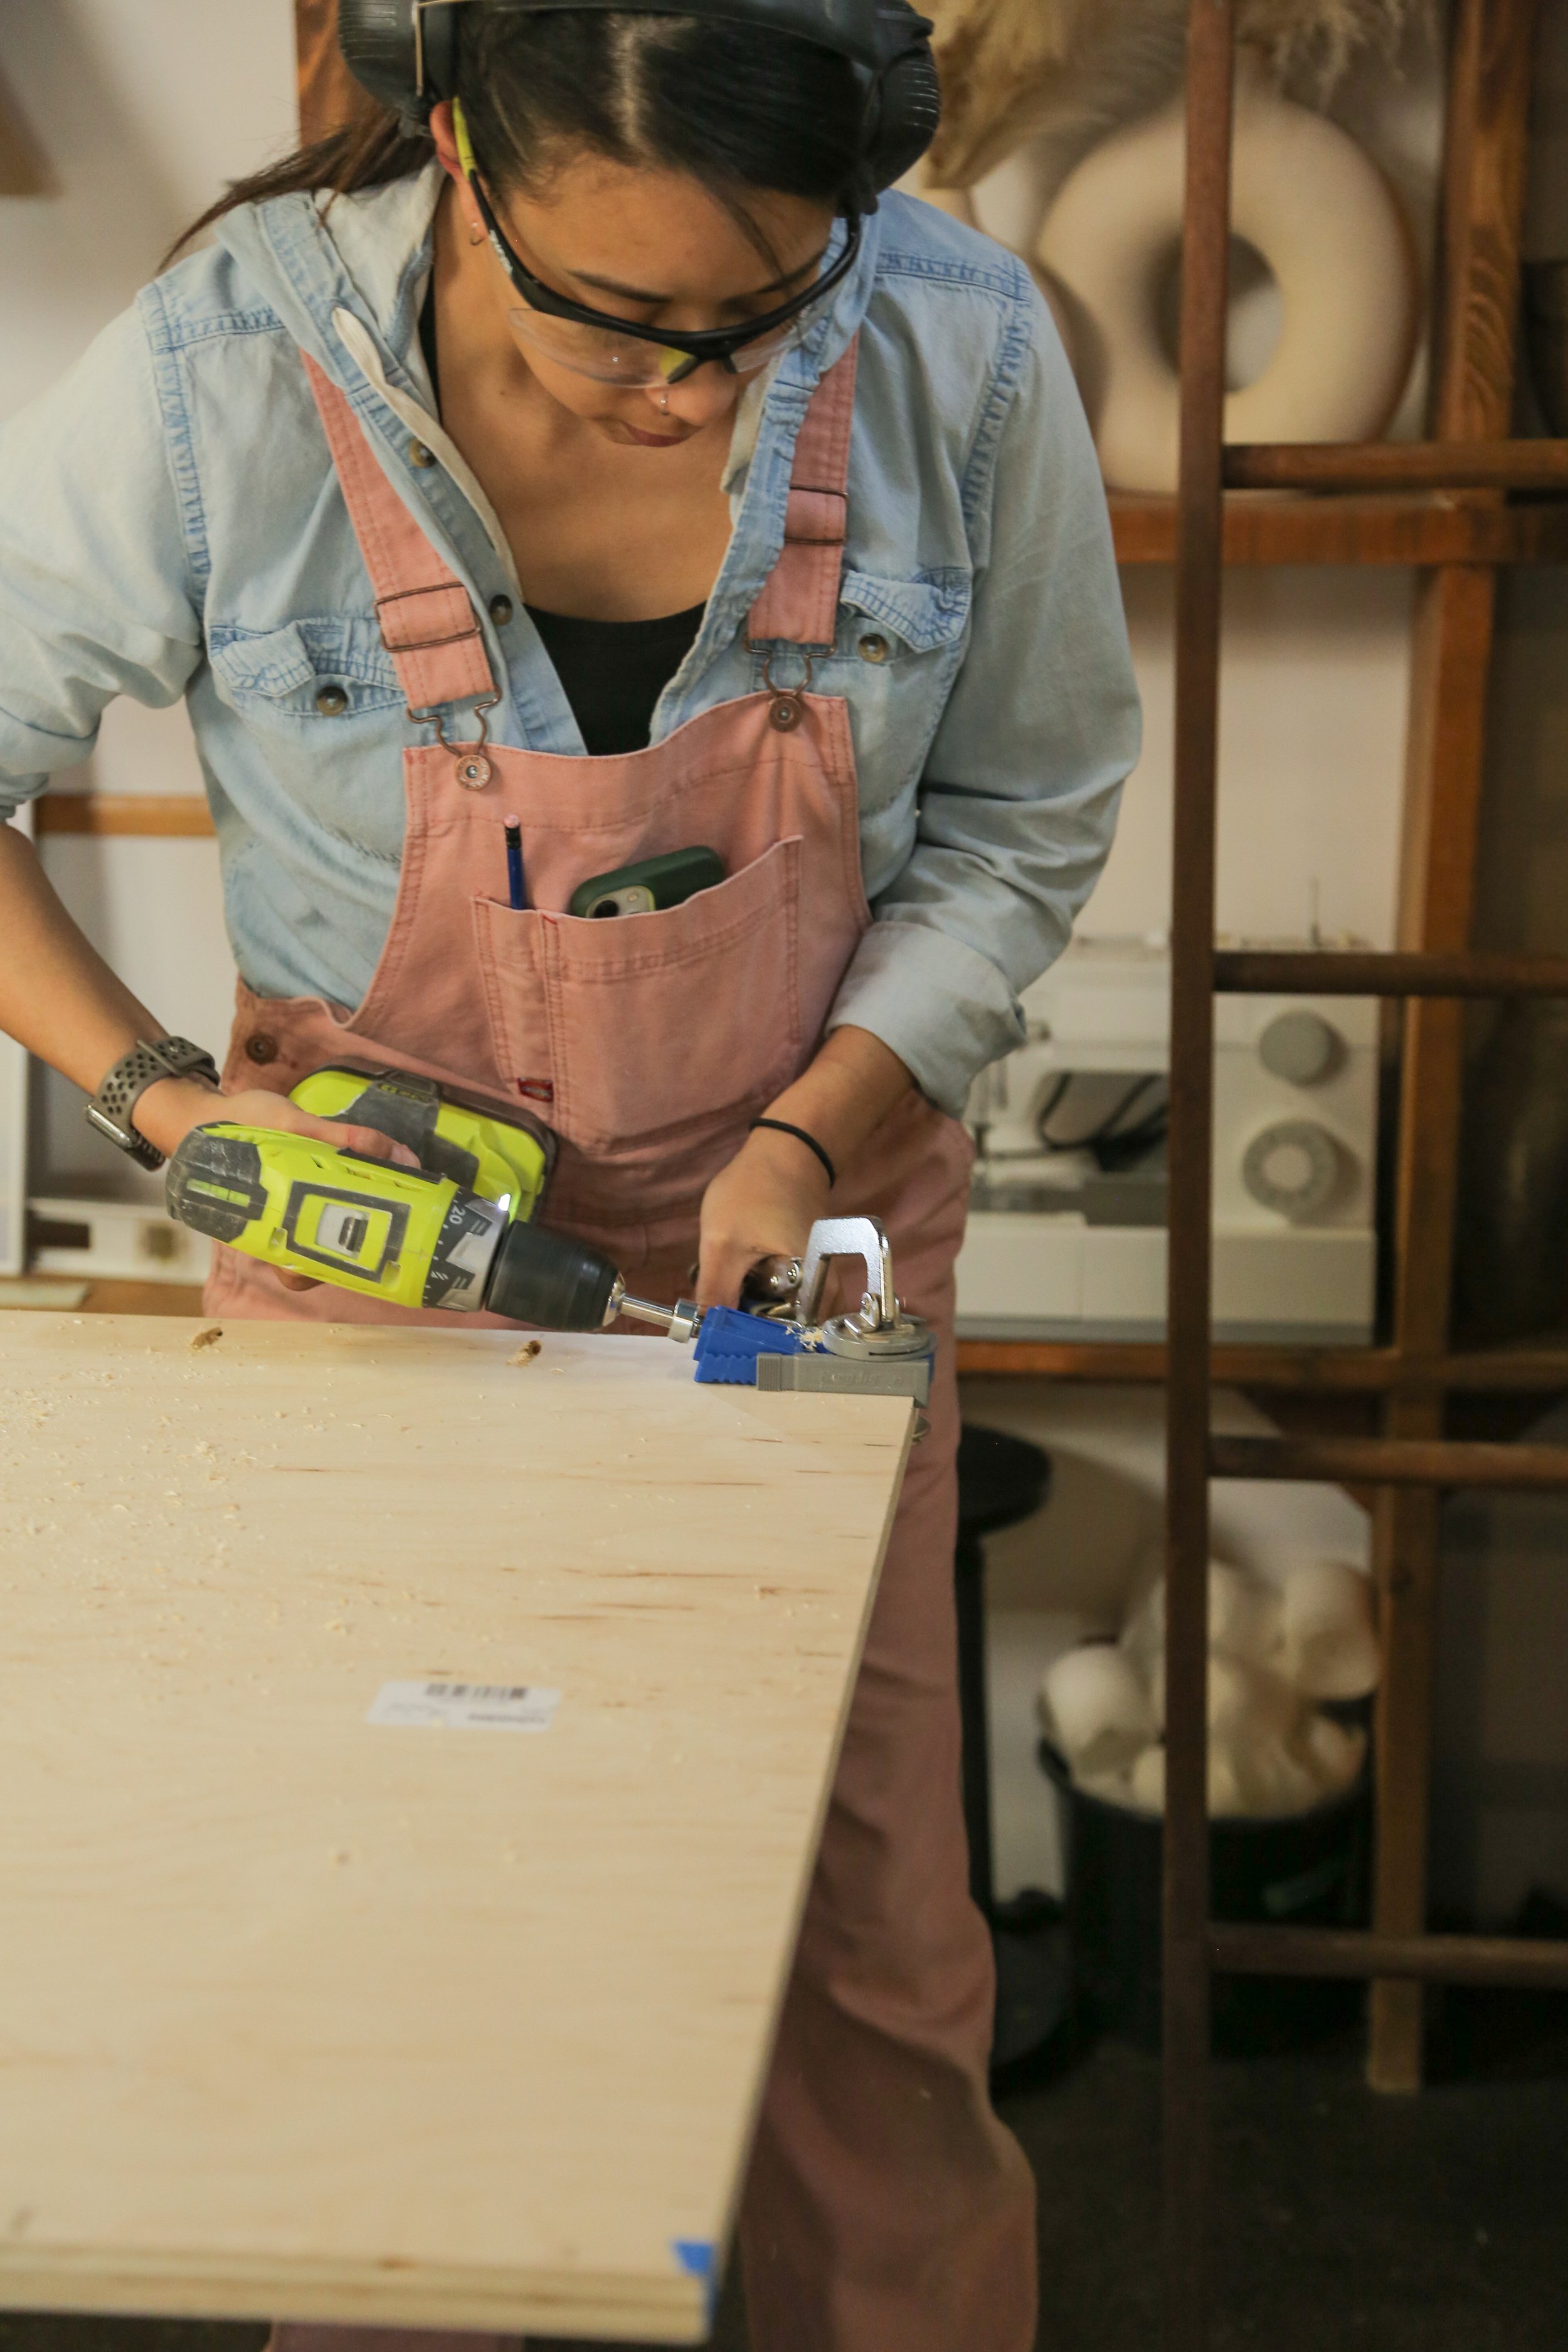
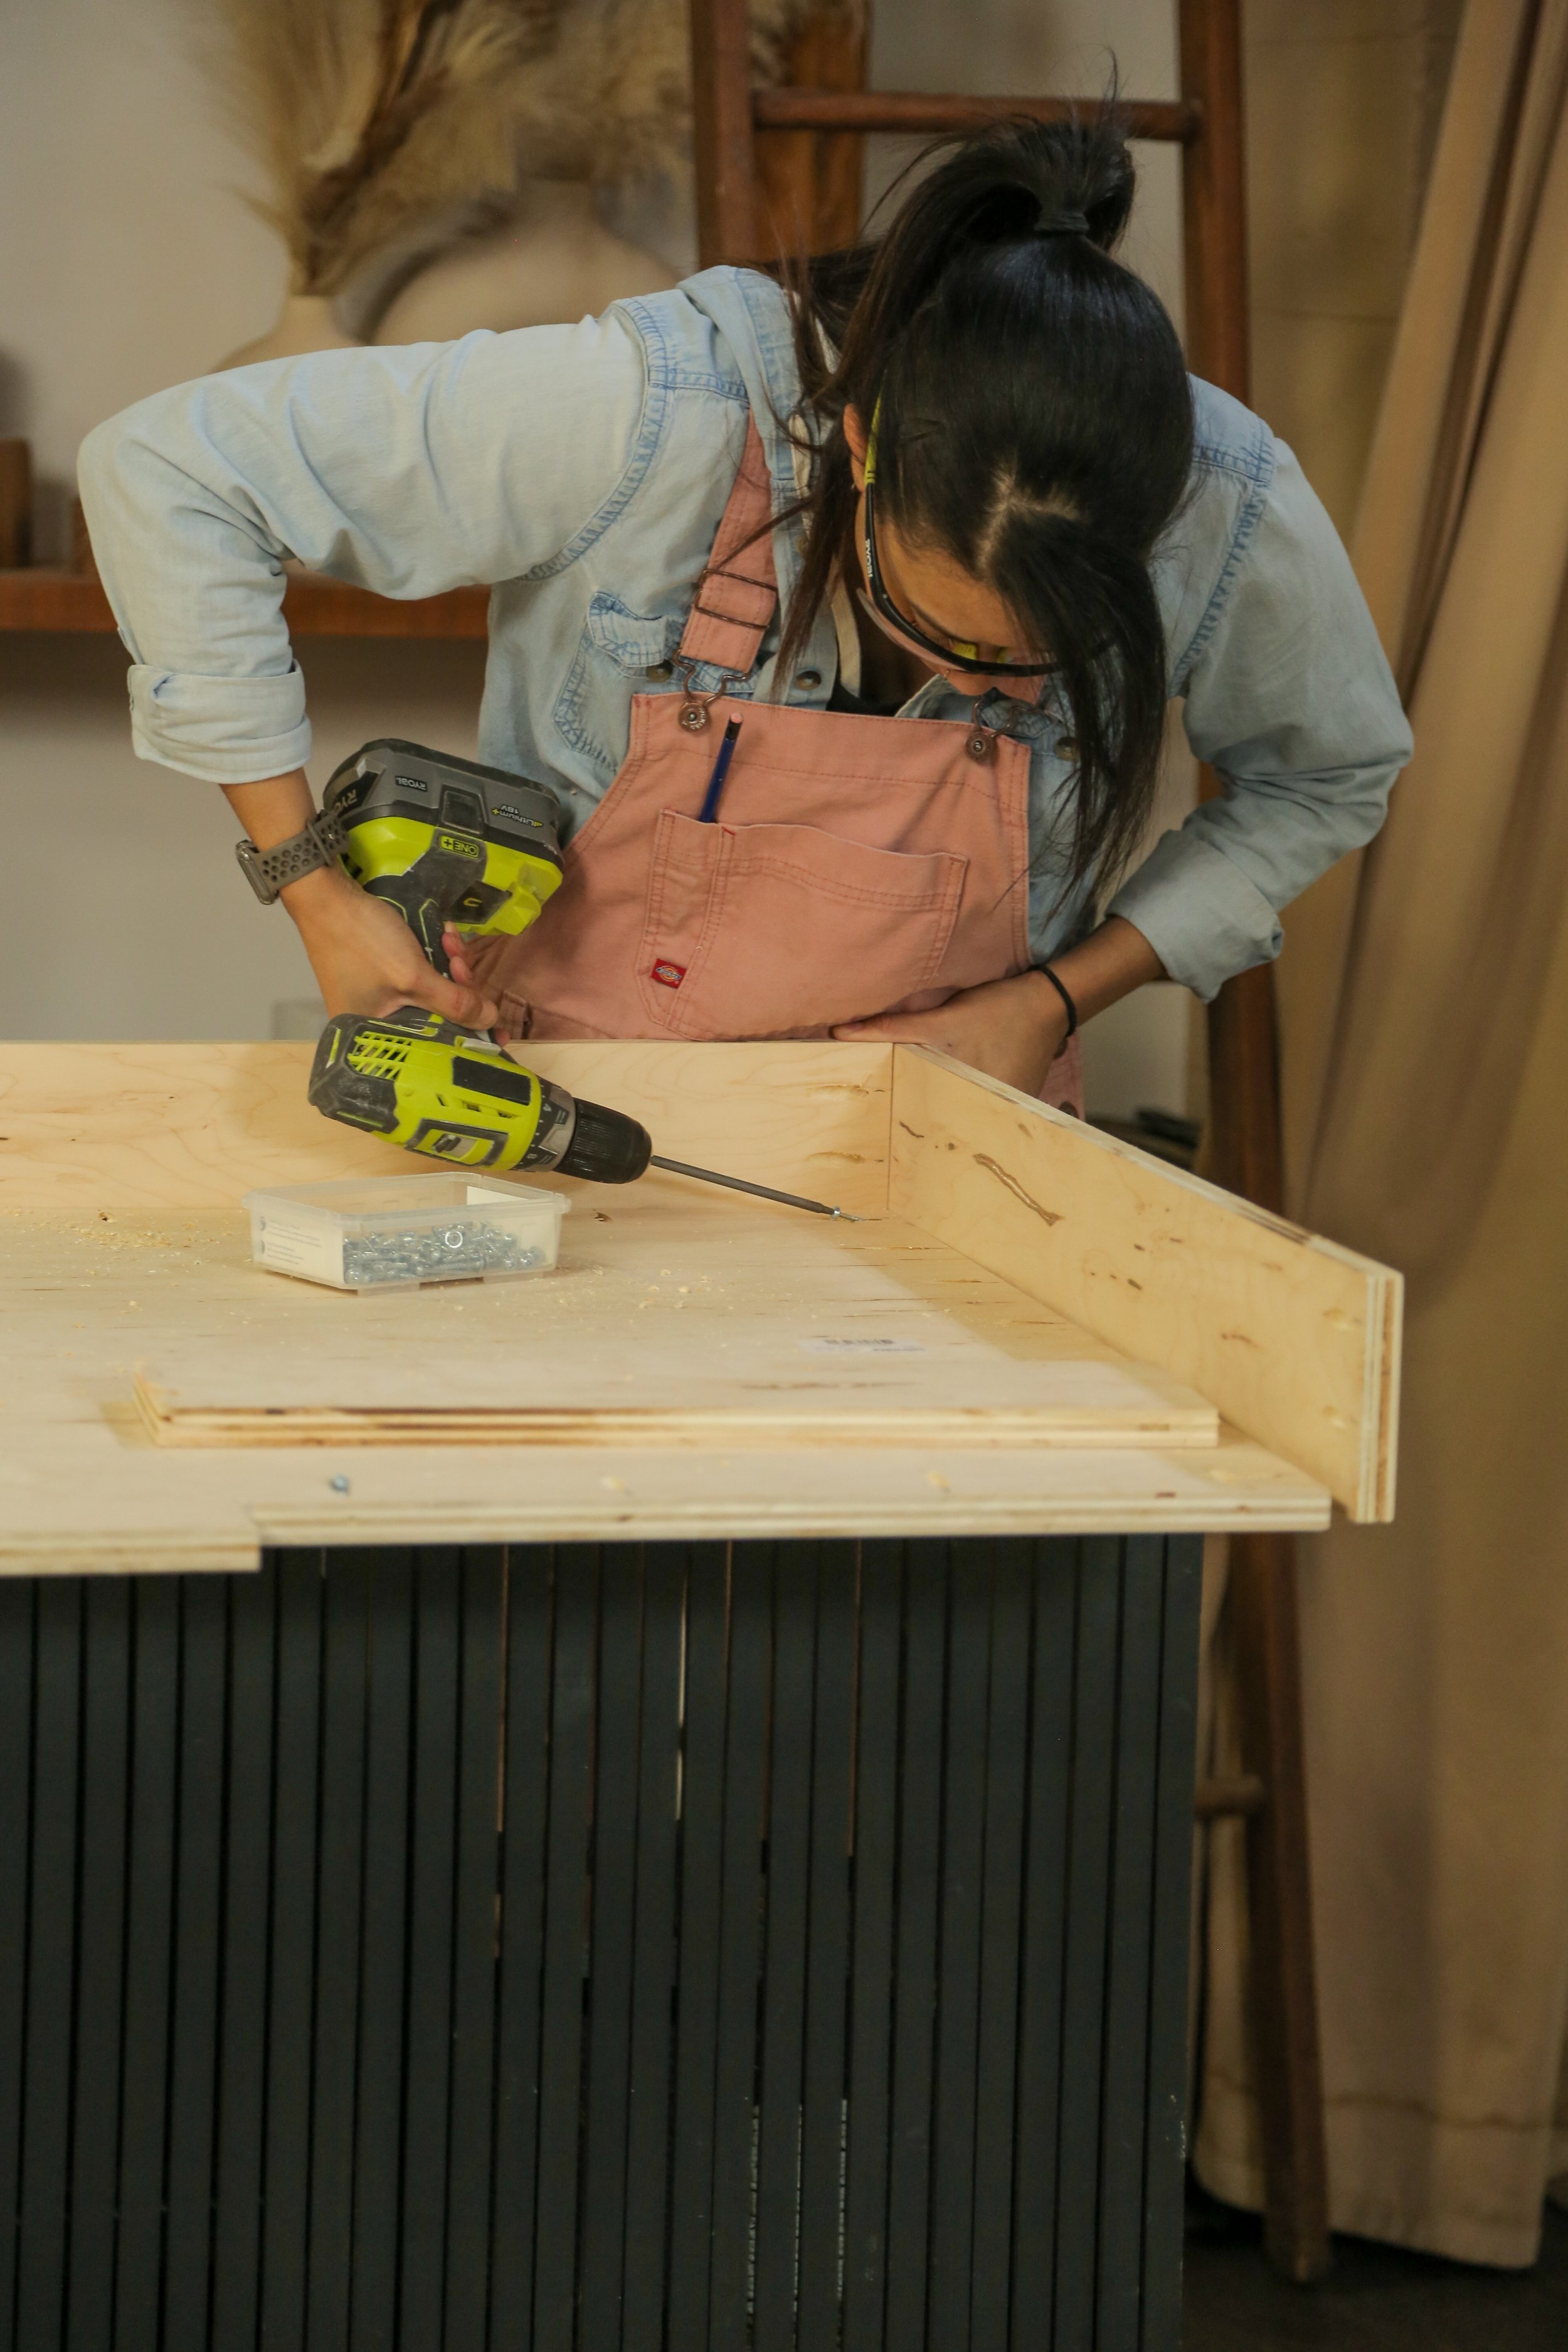
Next up, I made floating nightstands. Using my table saw, I bevel cut each piece ensuring that they each met at a clean 45 degree angle (we love when things match up properly the first time around). I then created a drawer sliding system by cheating a channel through the sides of my drawers, and attaching a piece that fits inside that channel to the inside of my side table. This allows for the drawer to slide along the pieces of wood inside the box seamlessly.
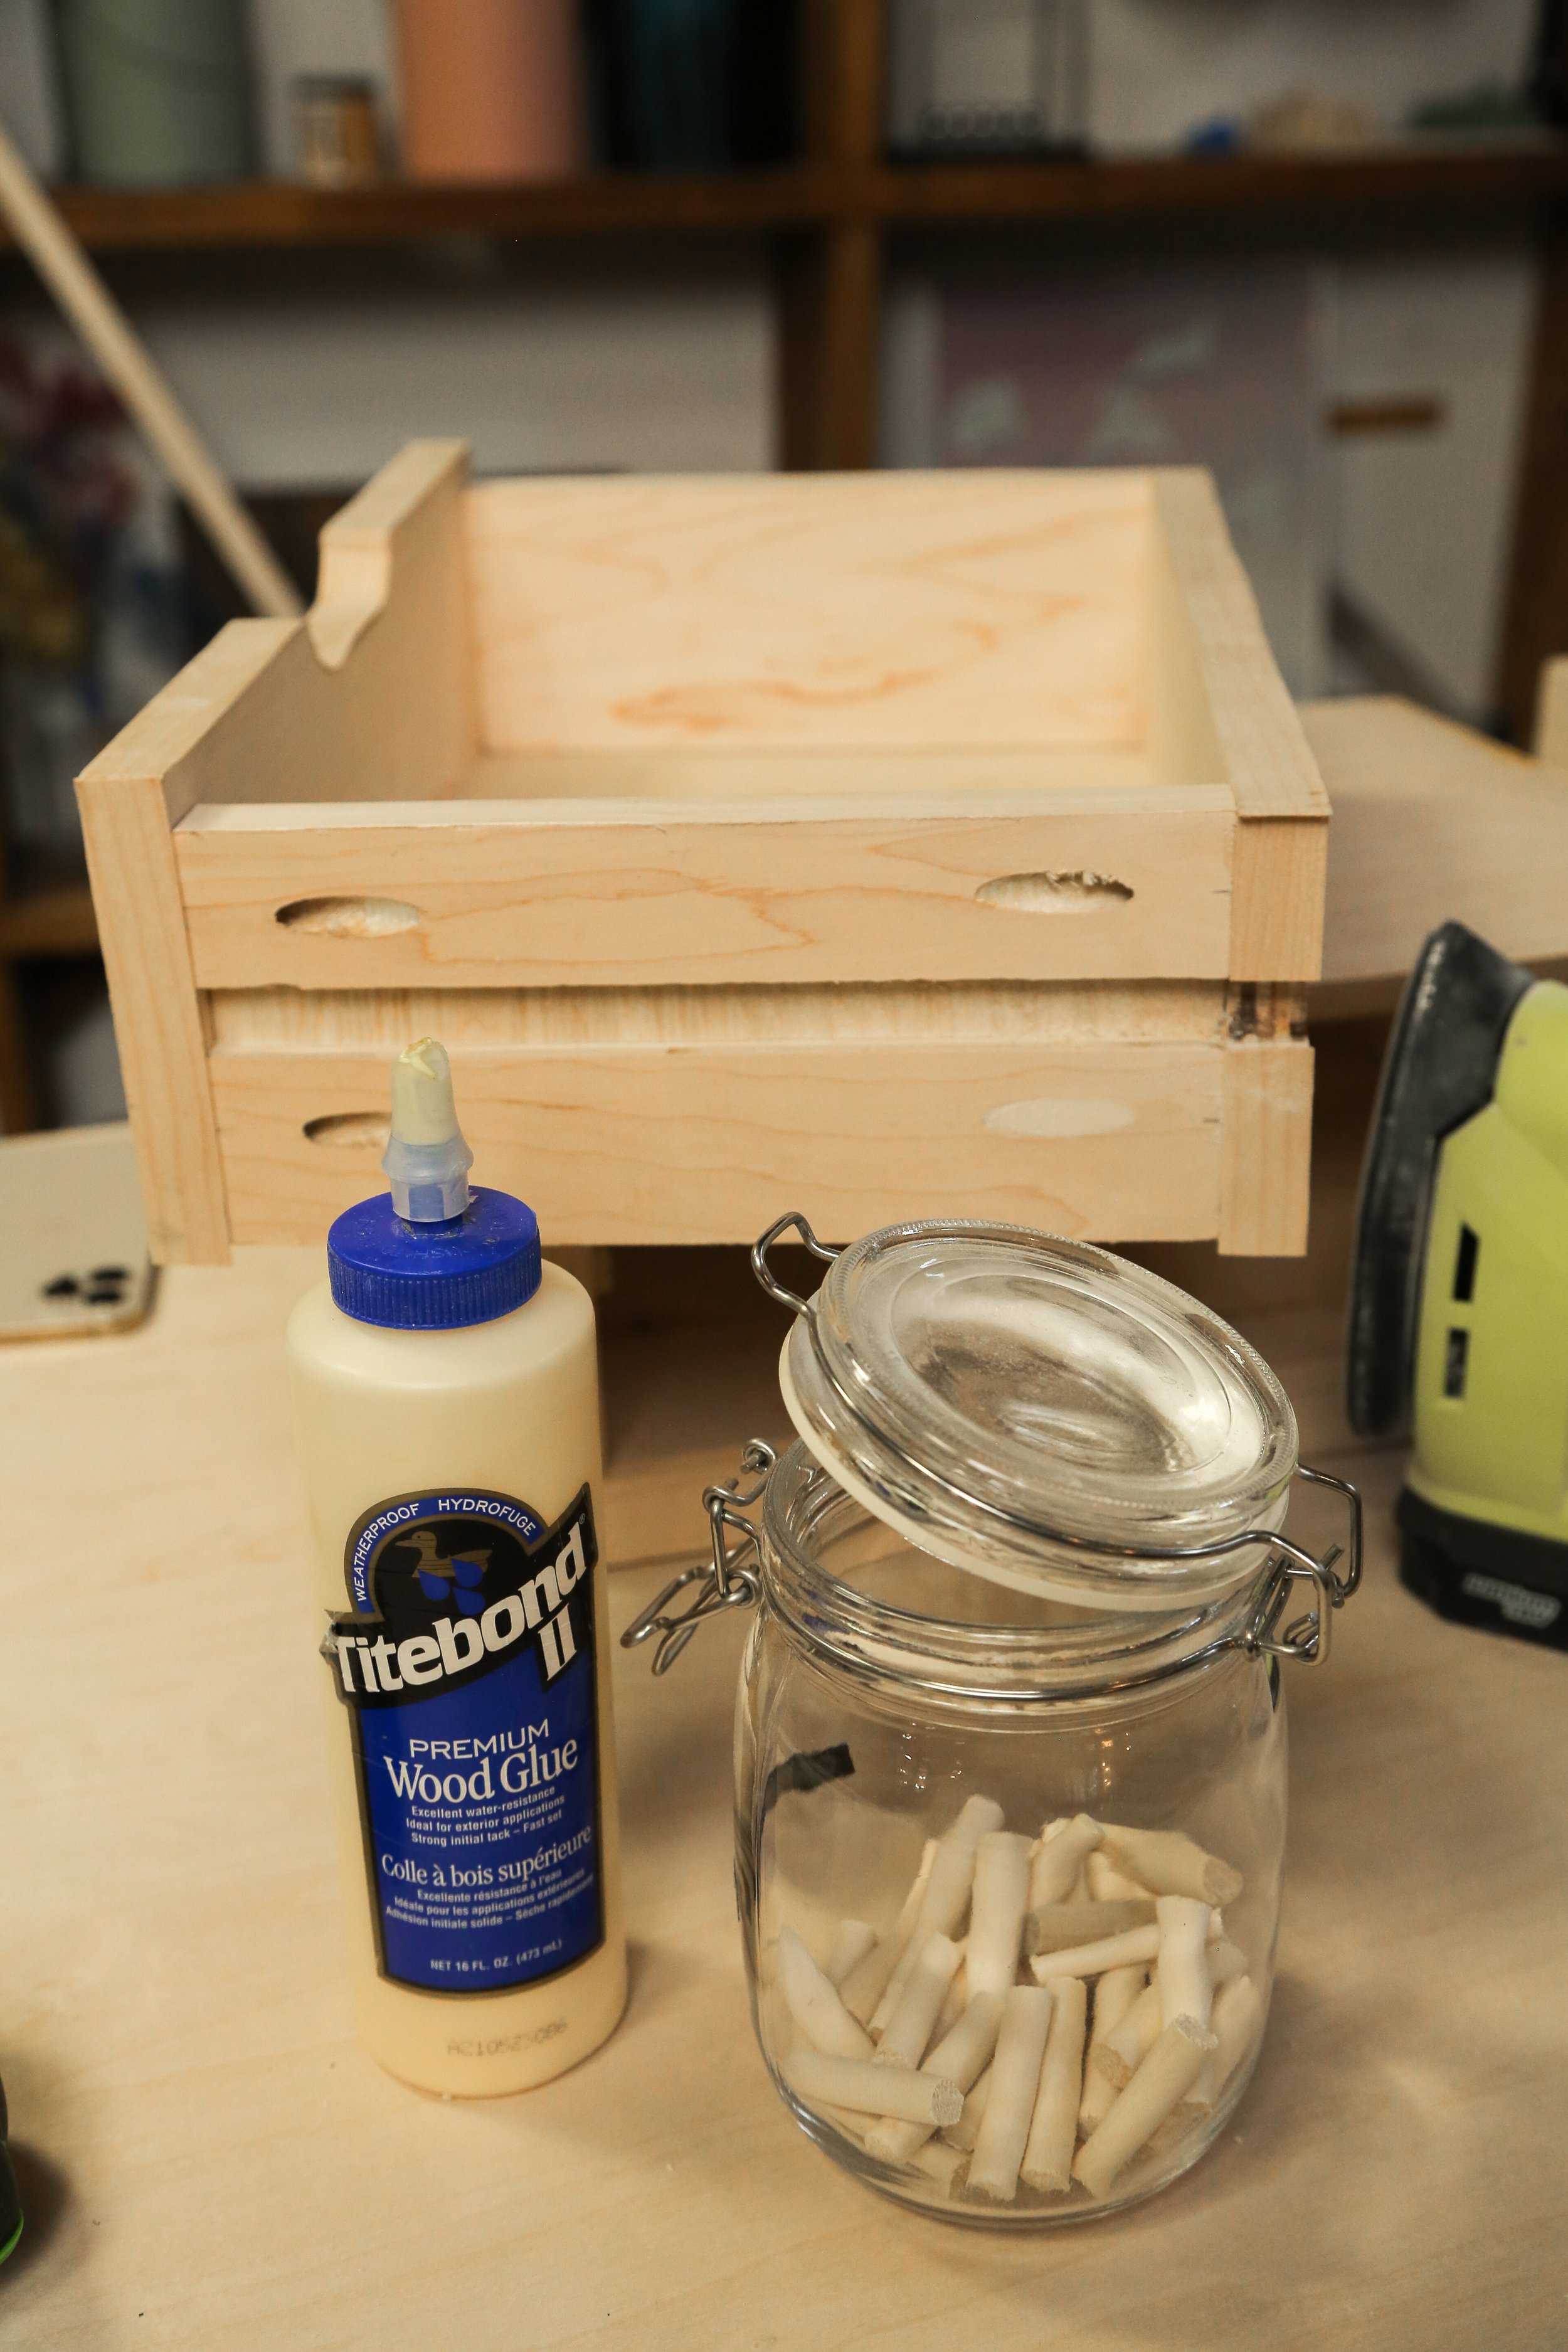

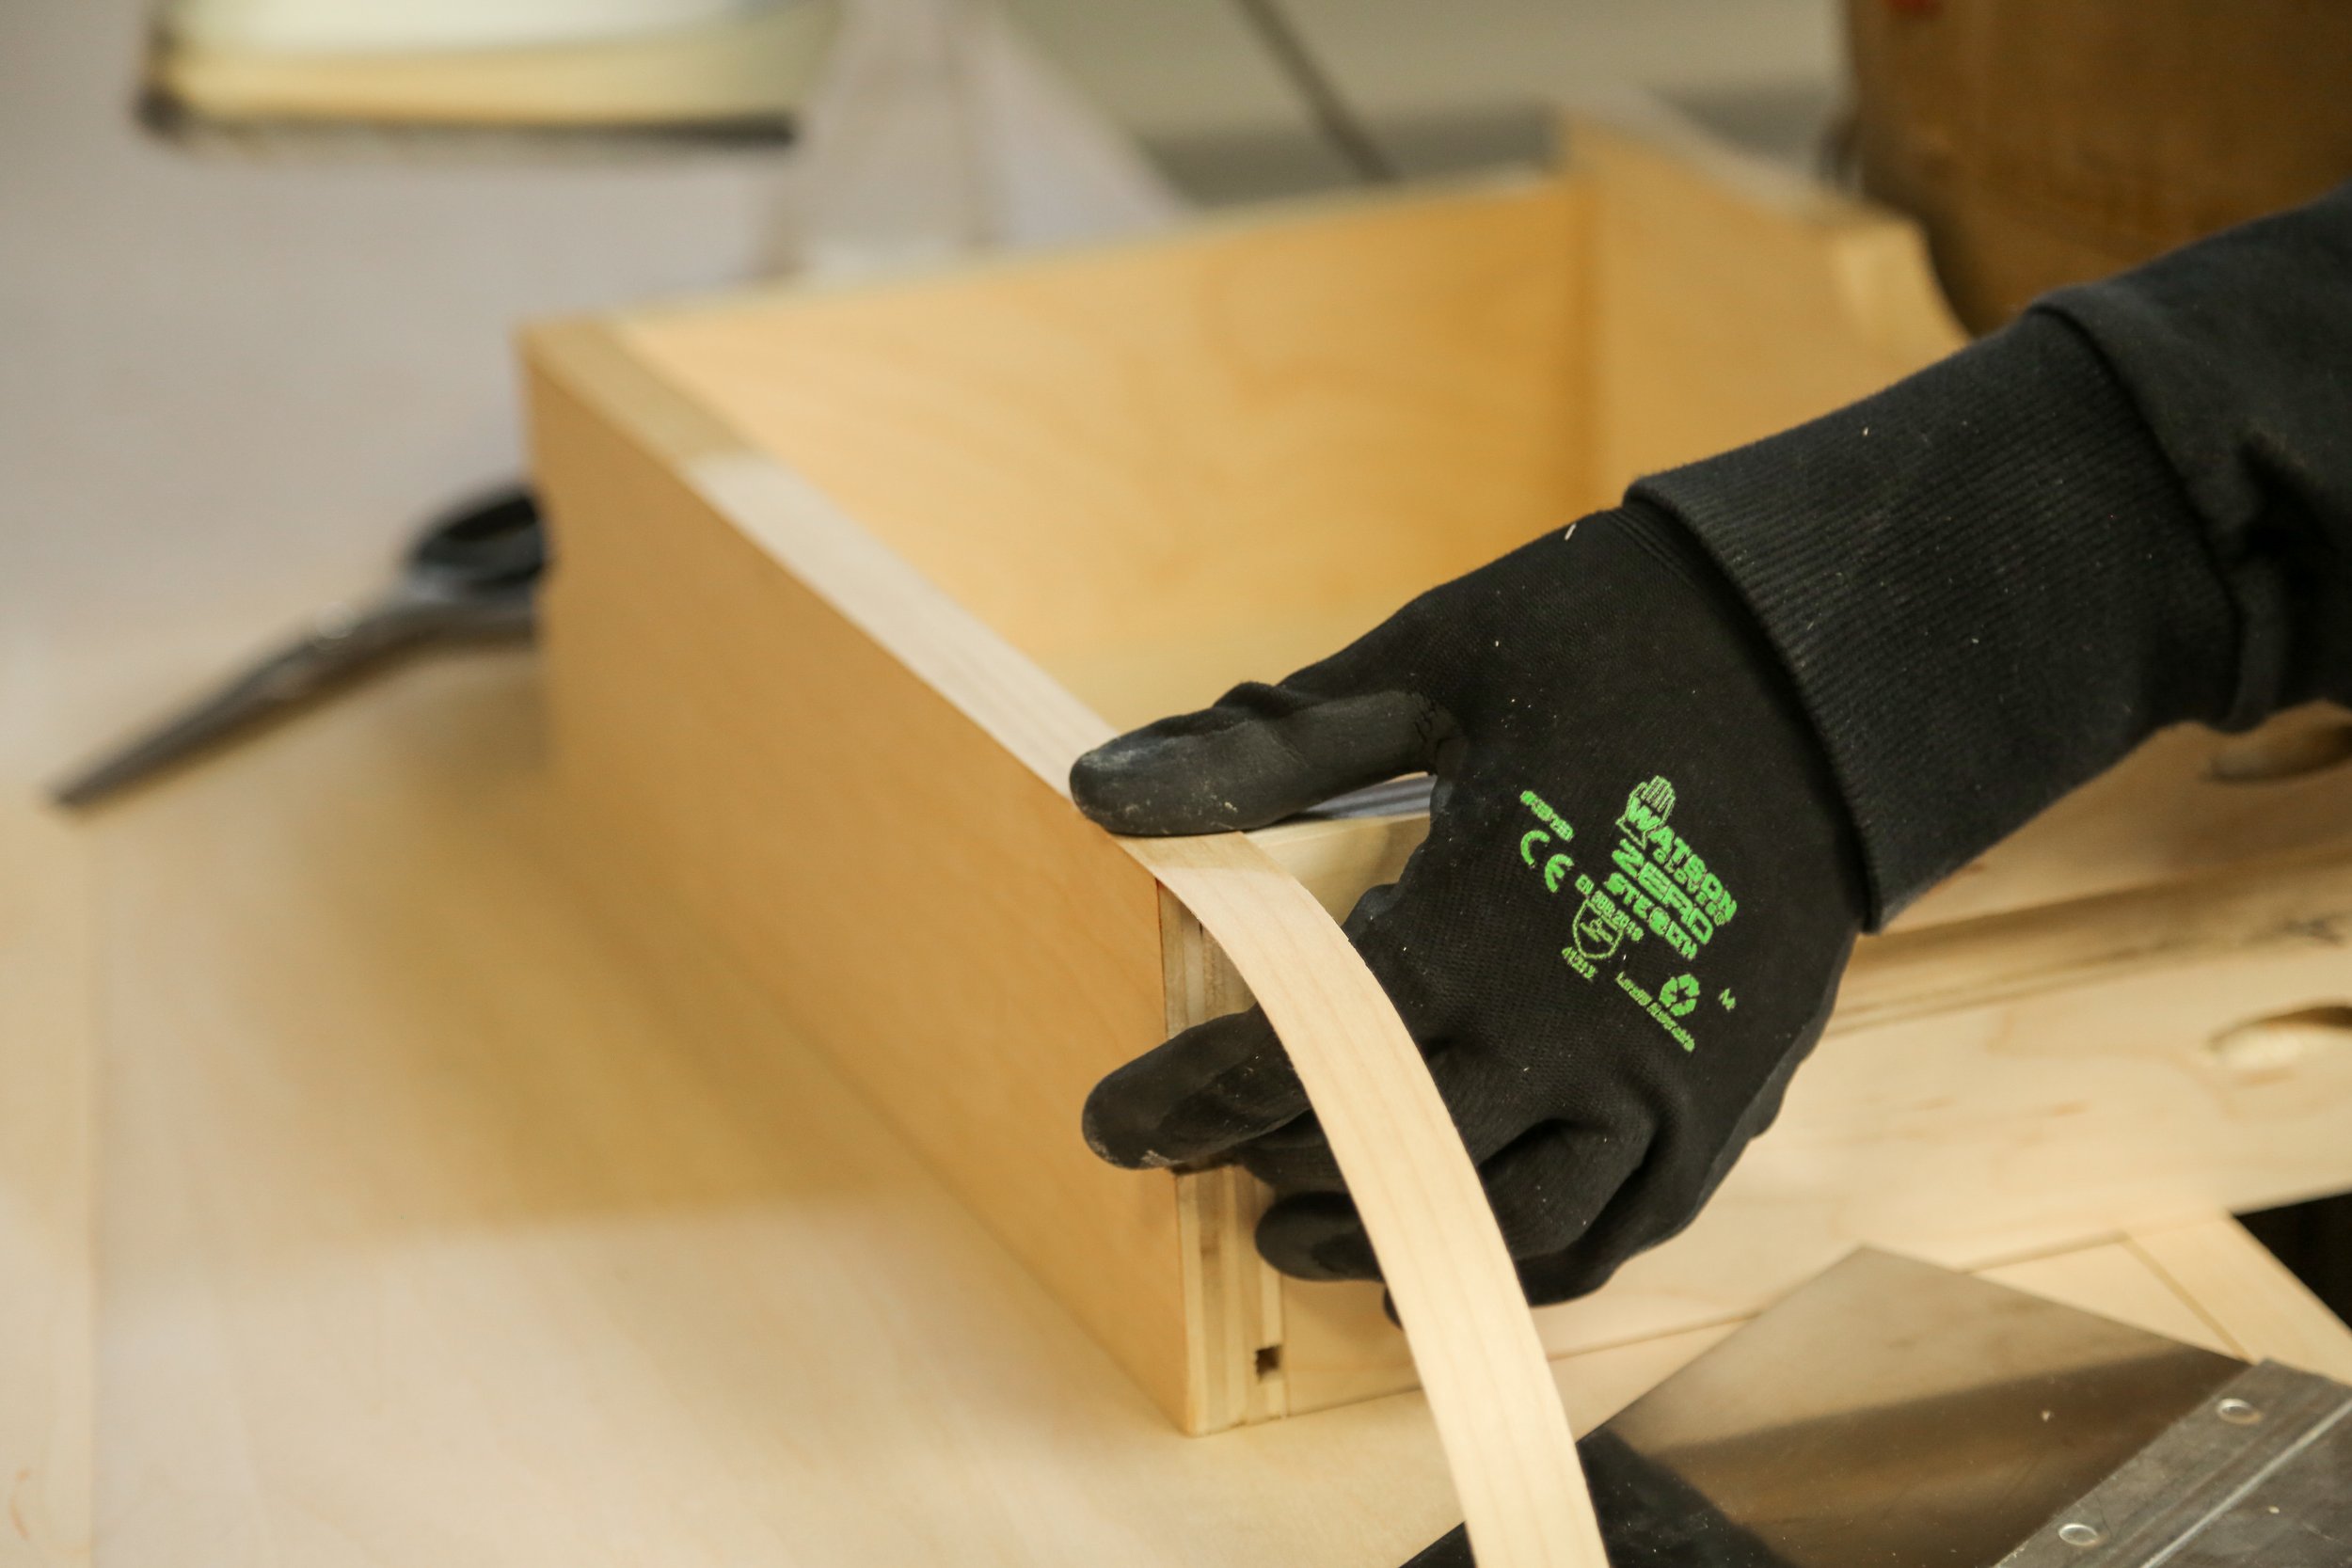
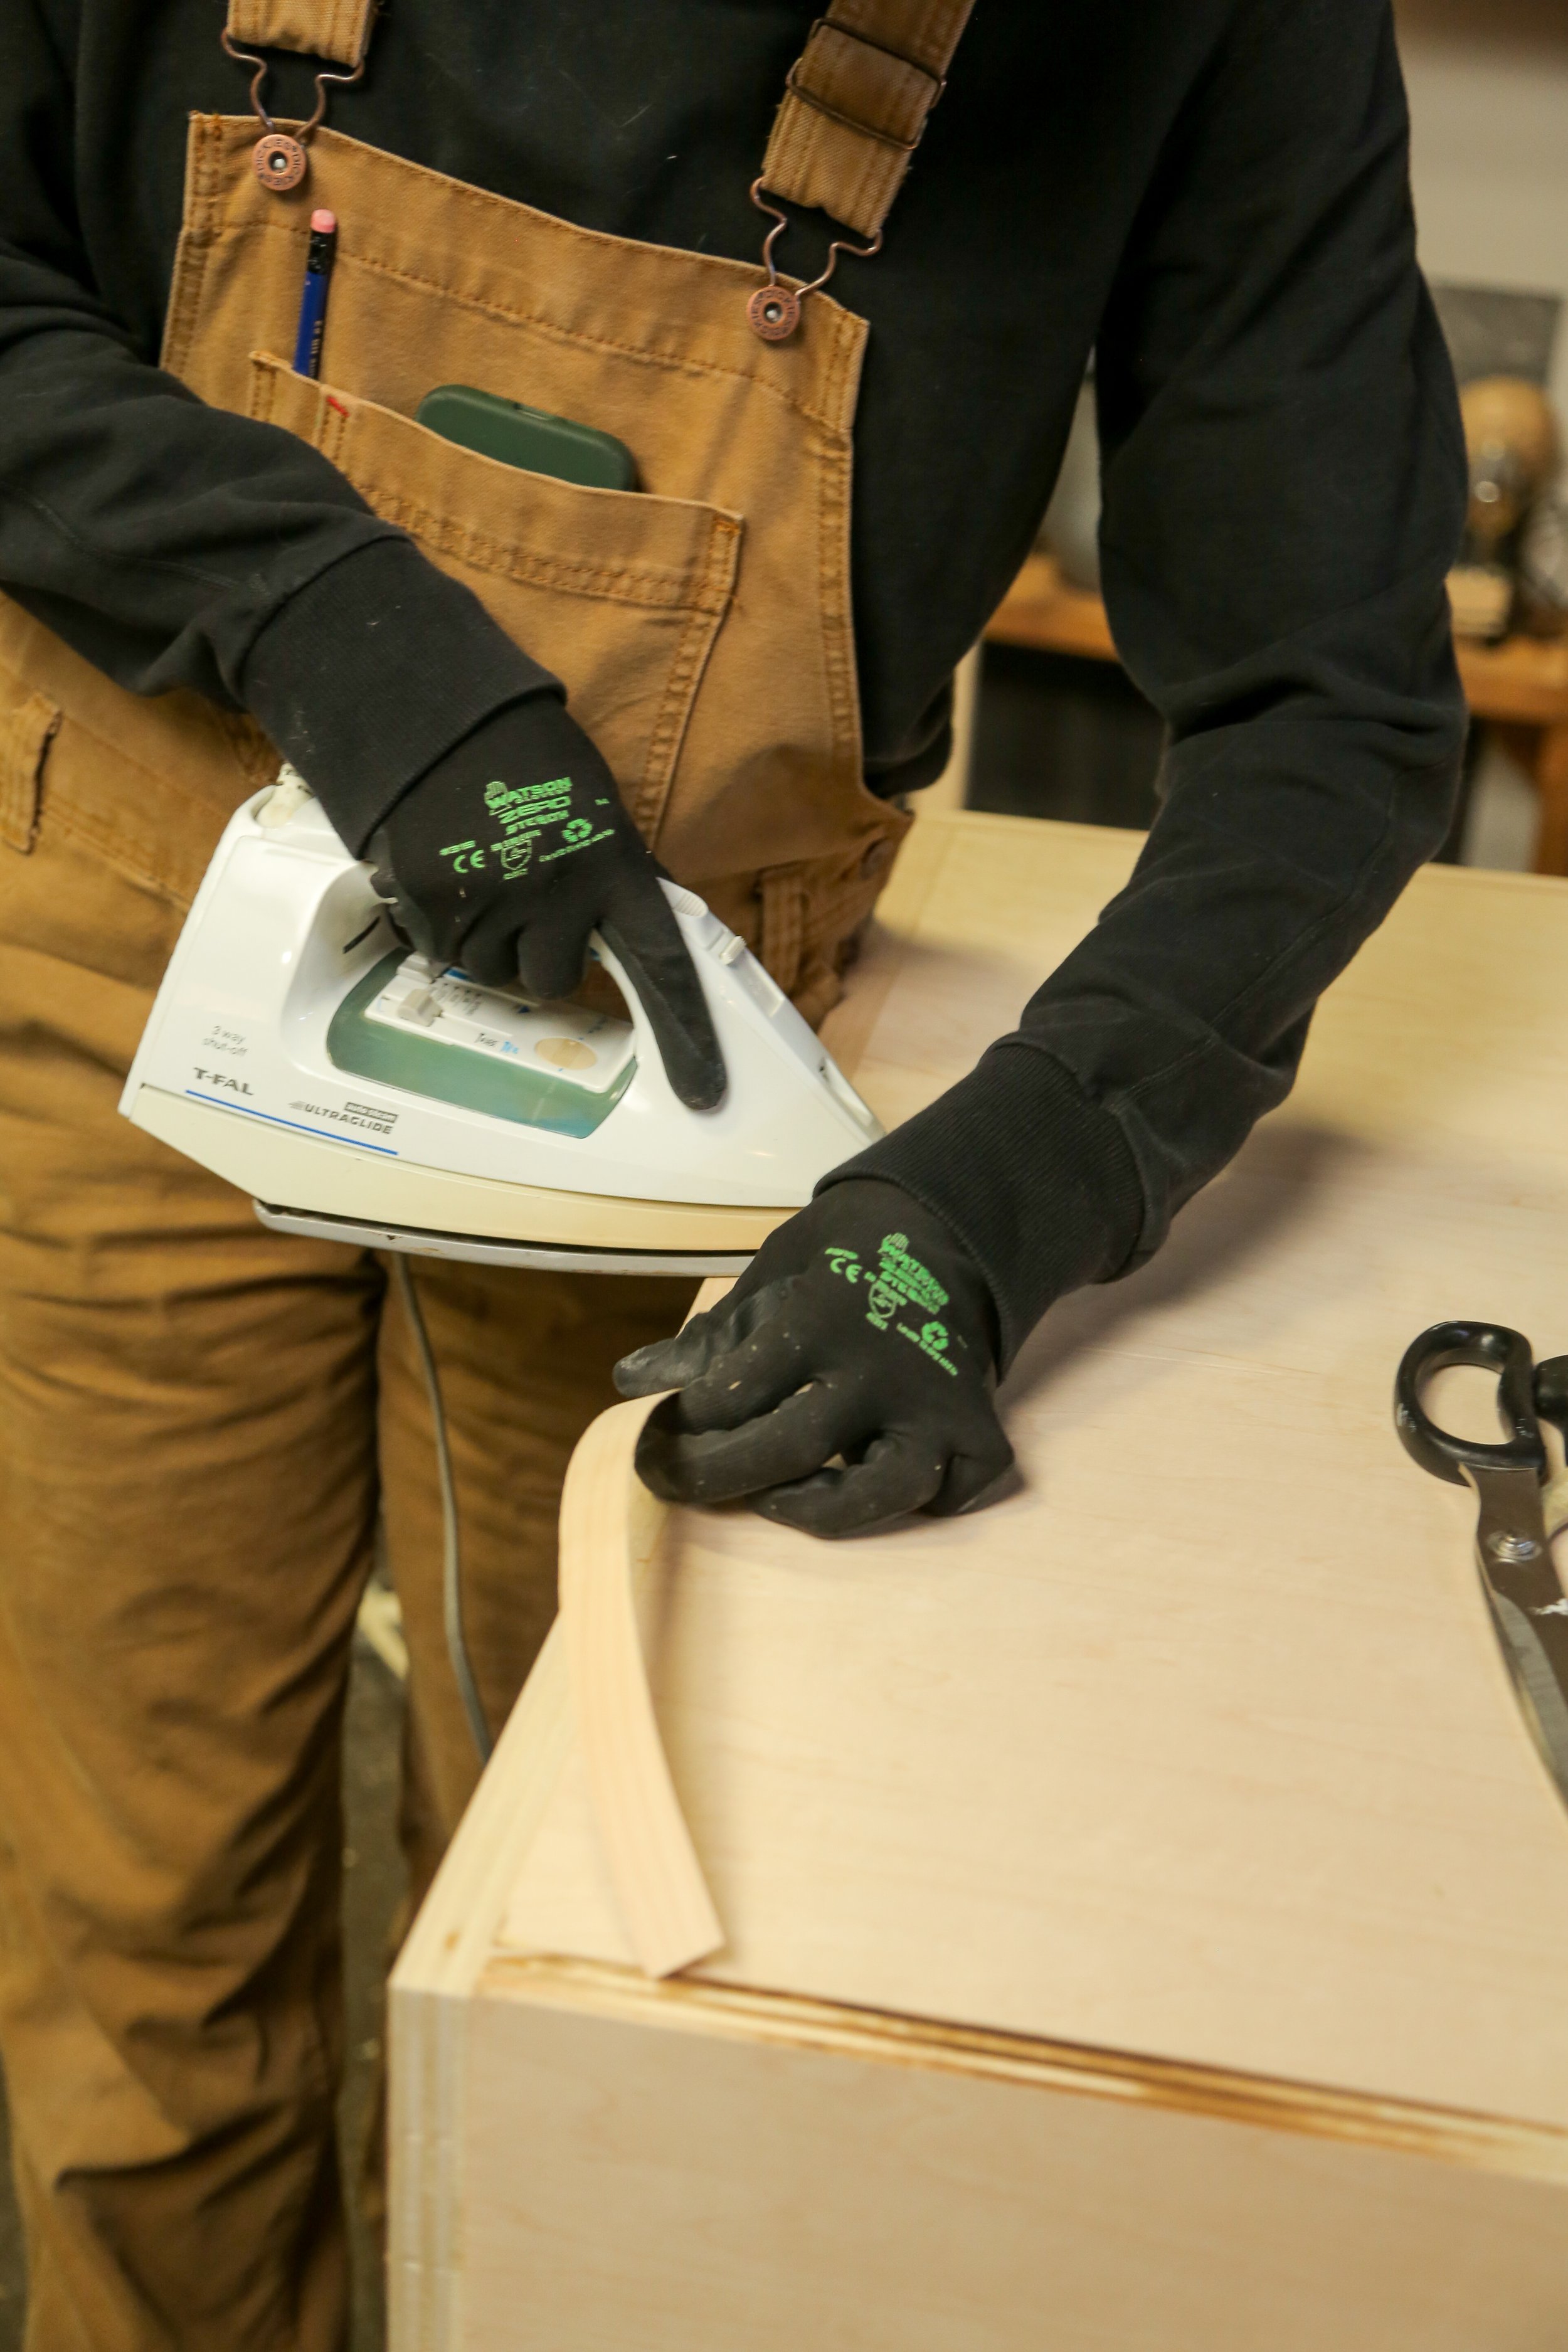
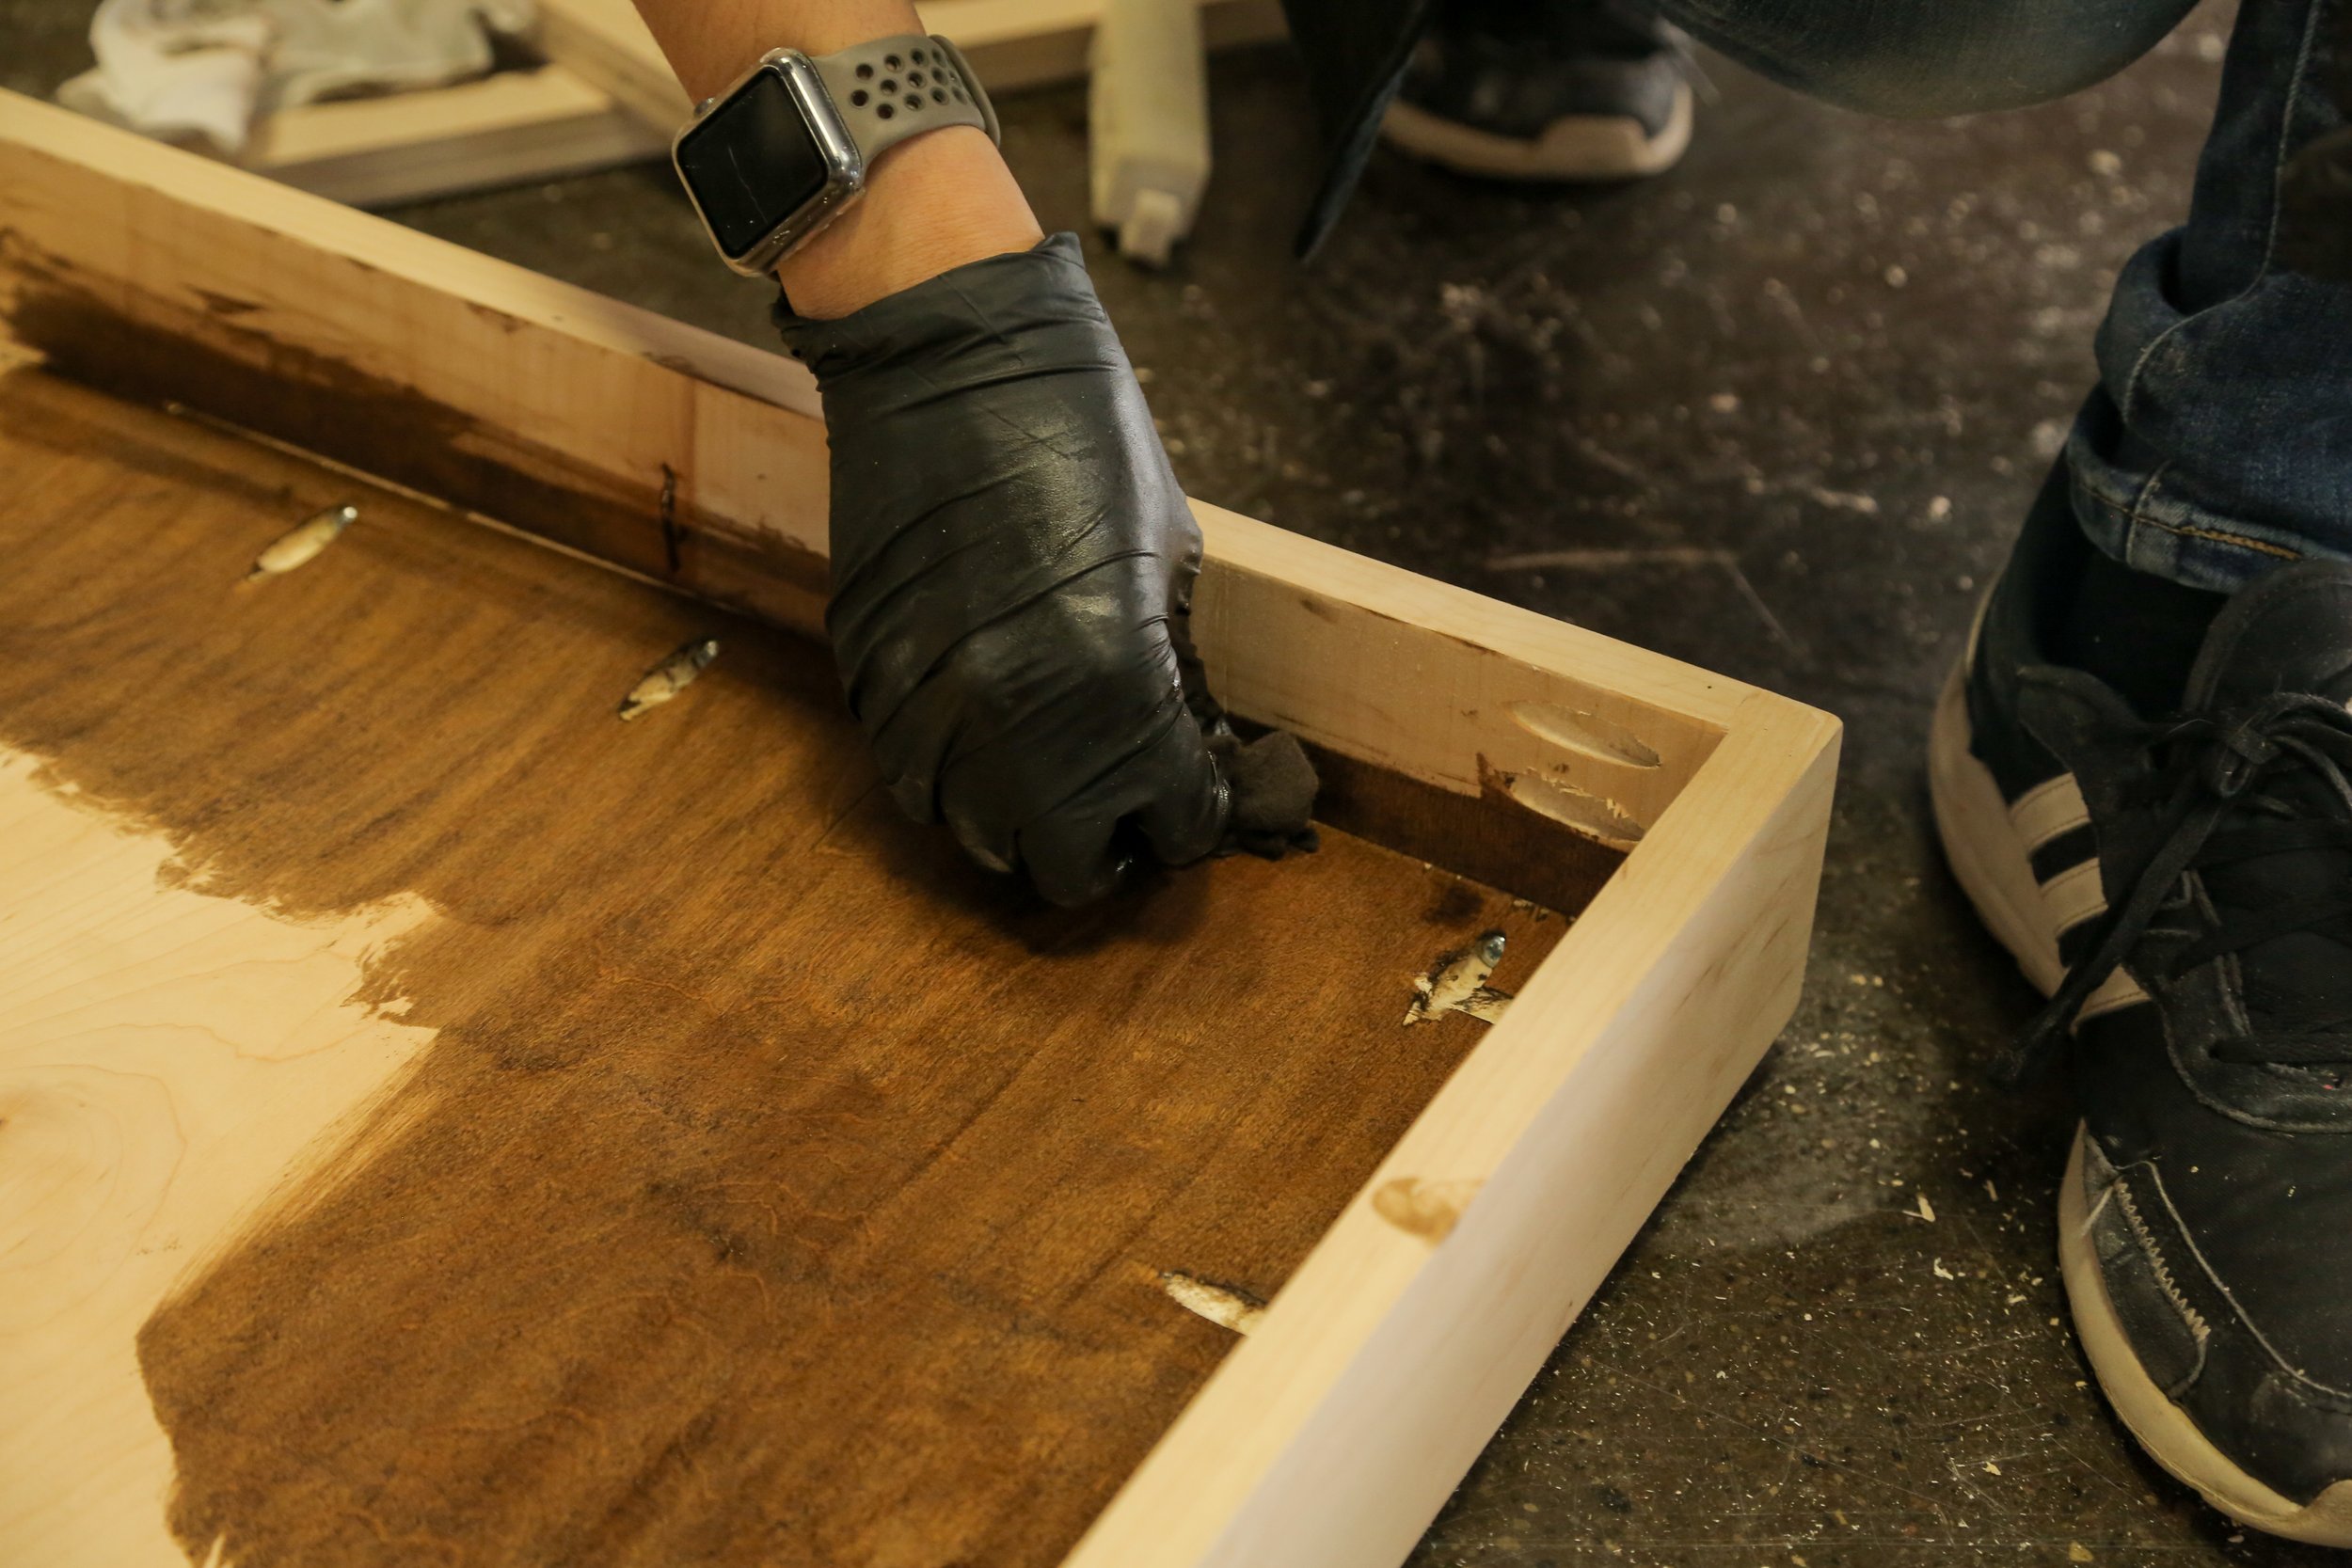
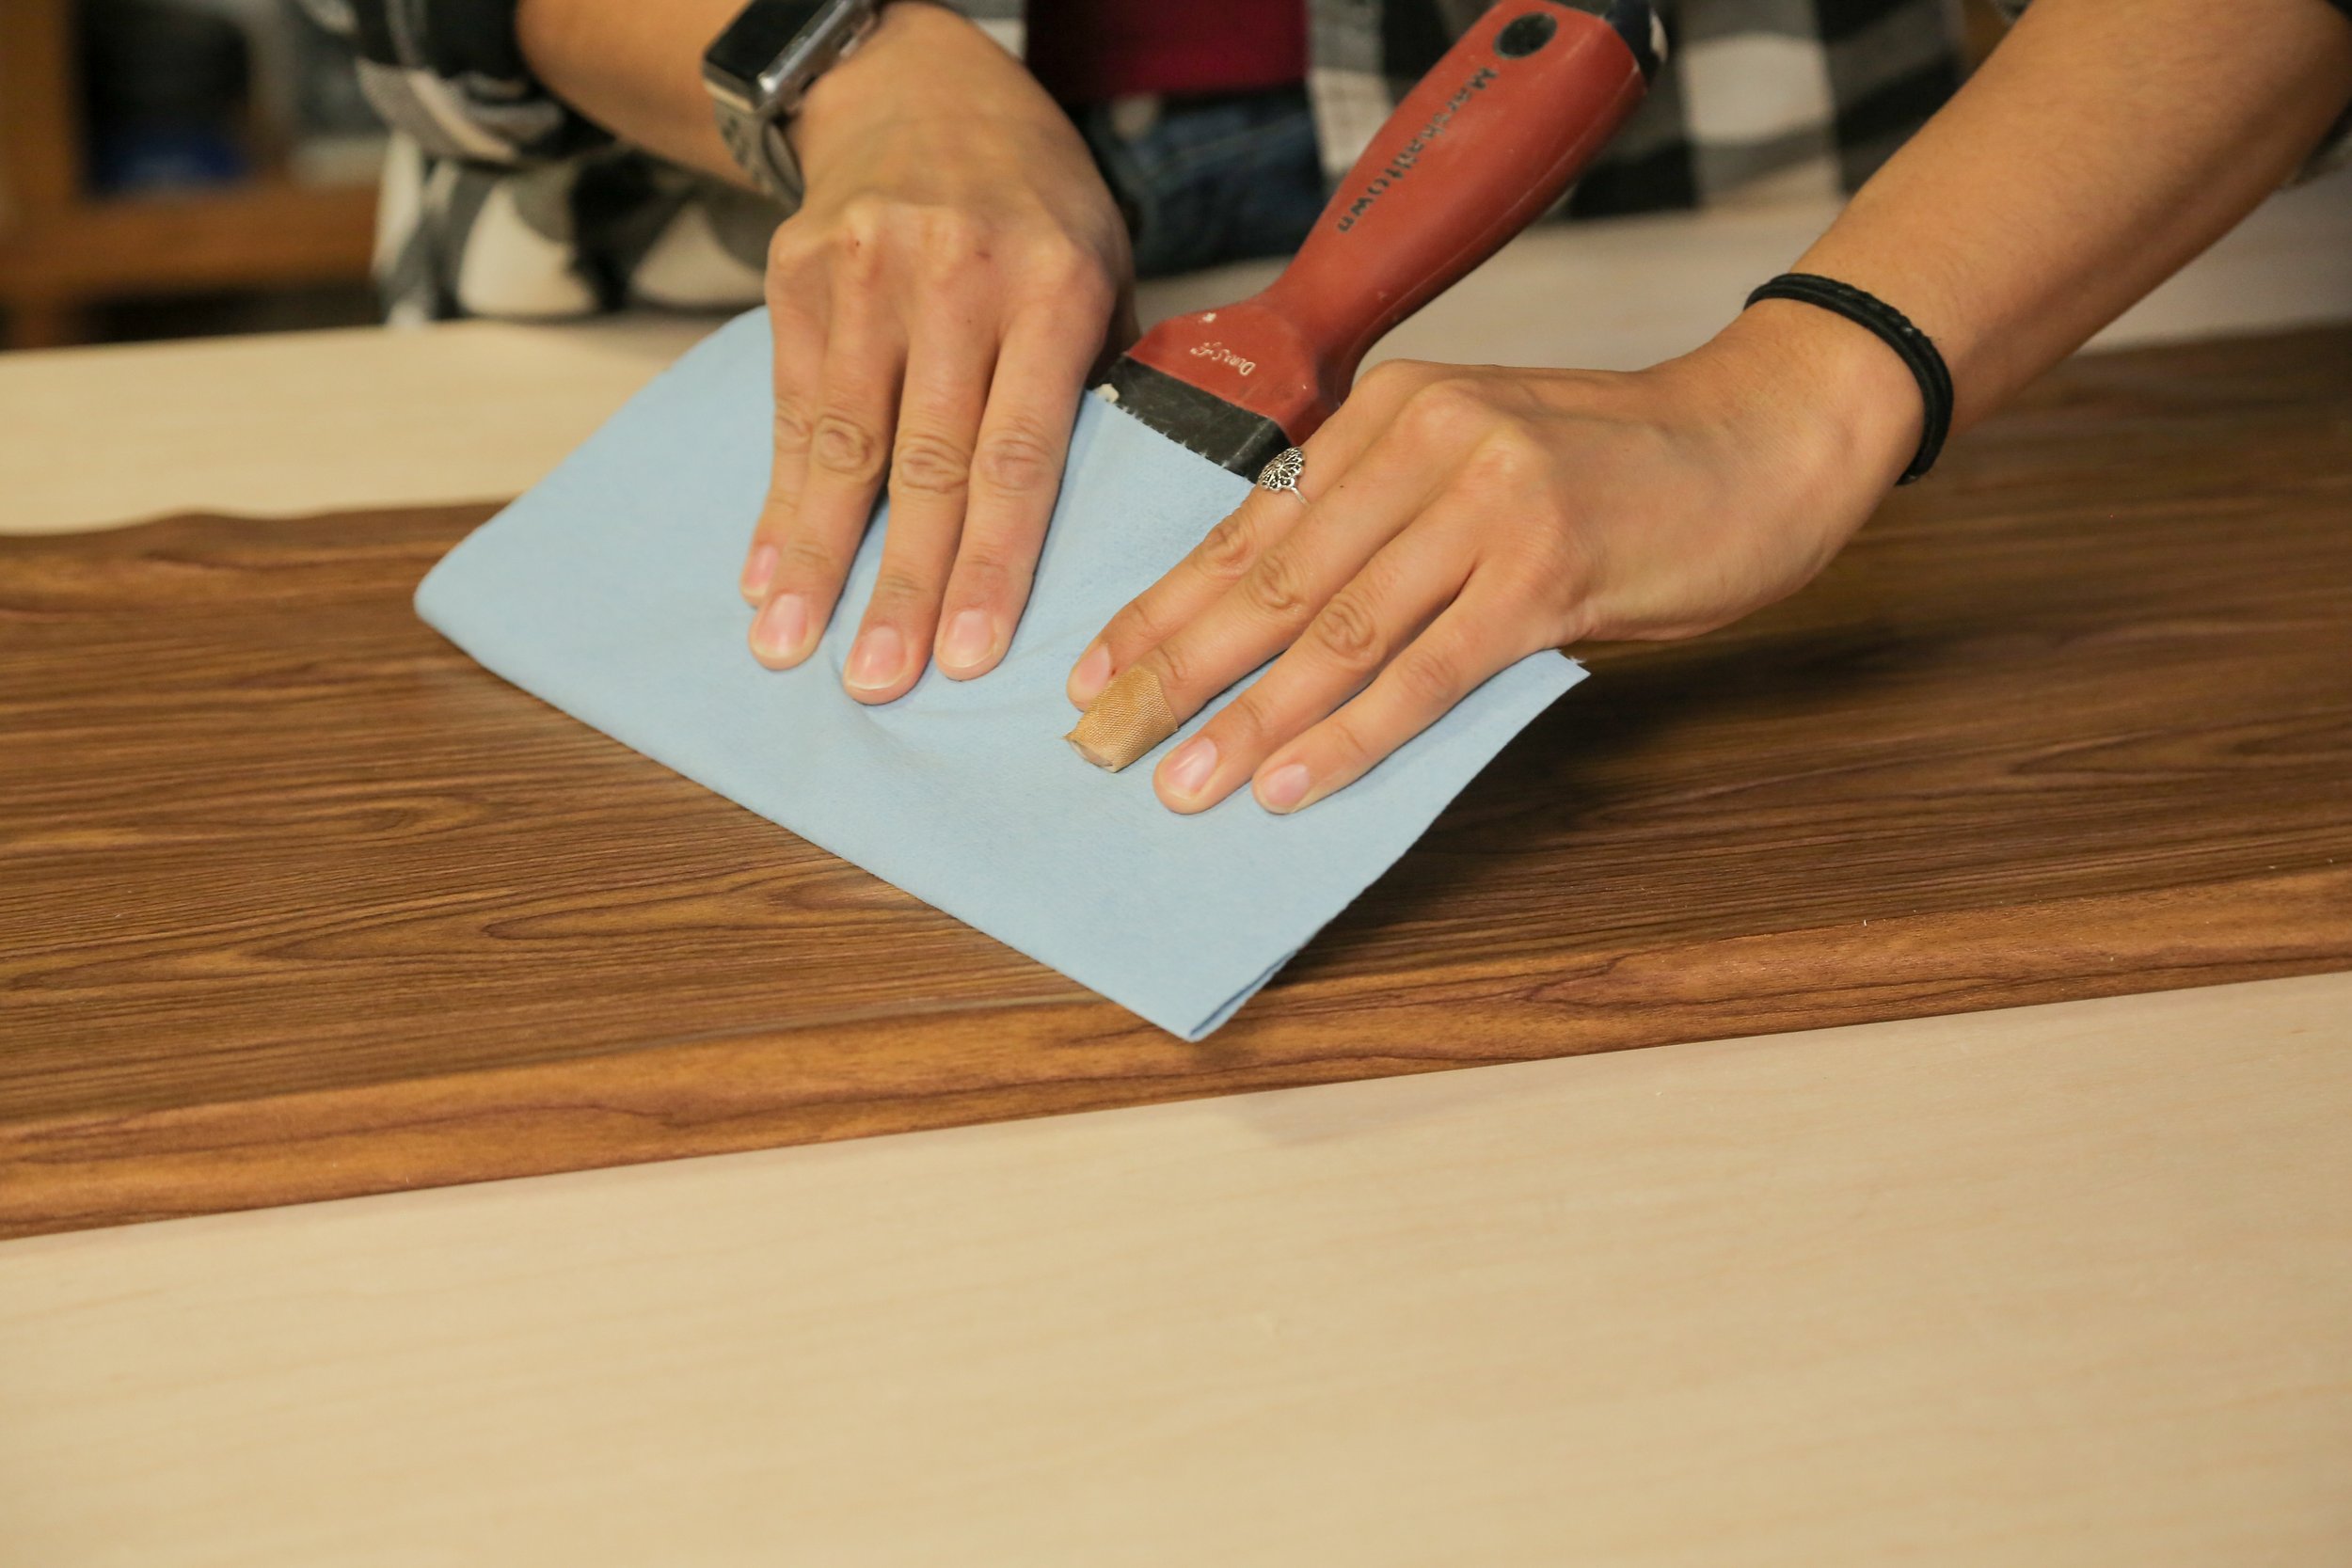
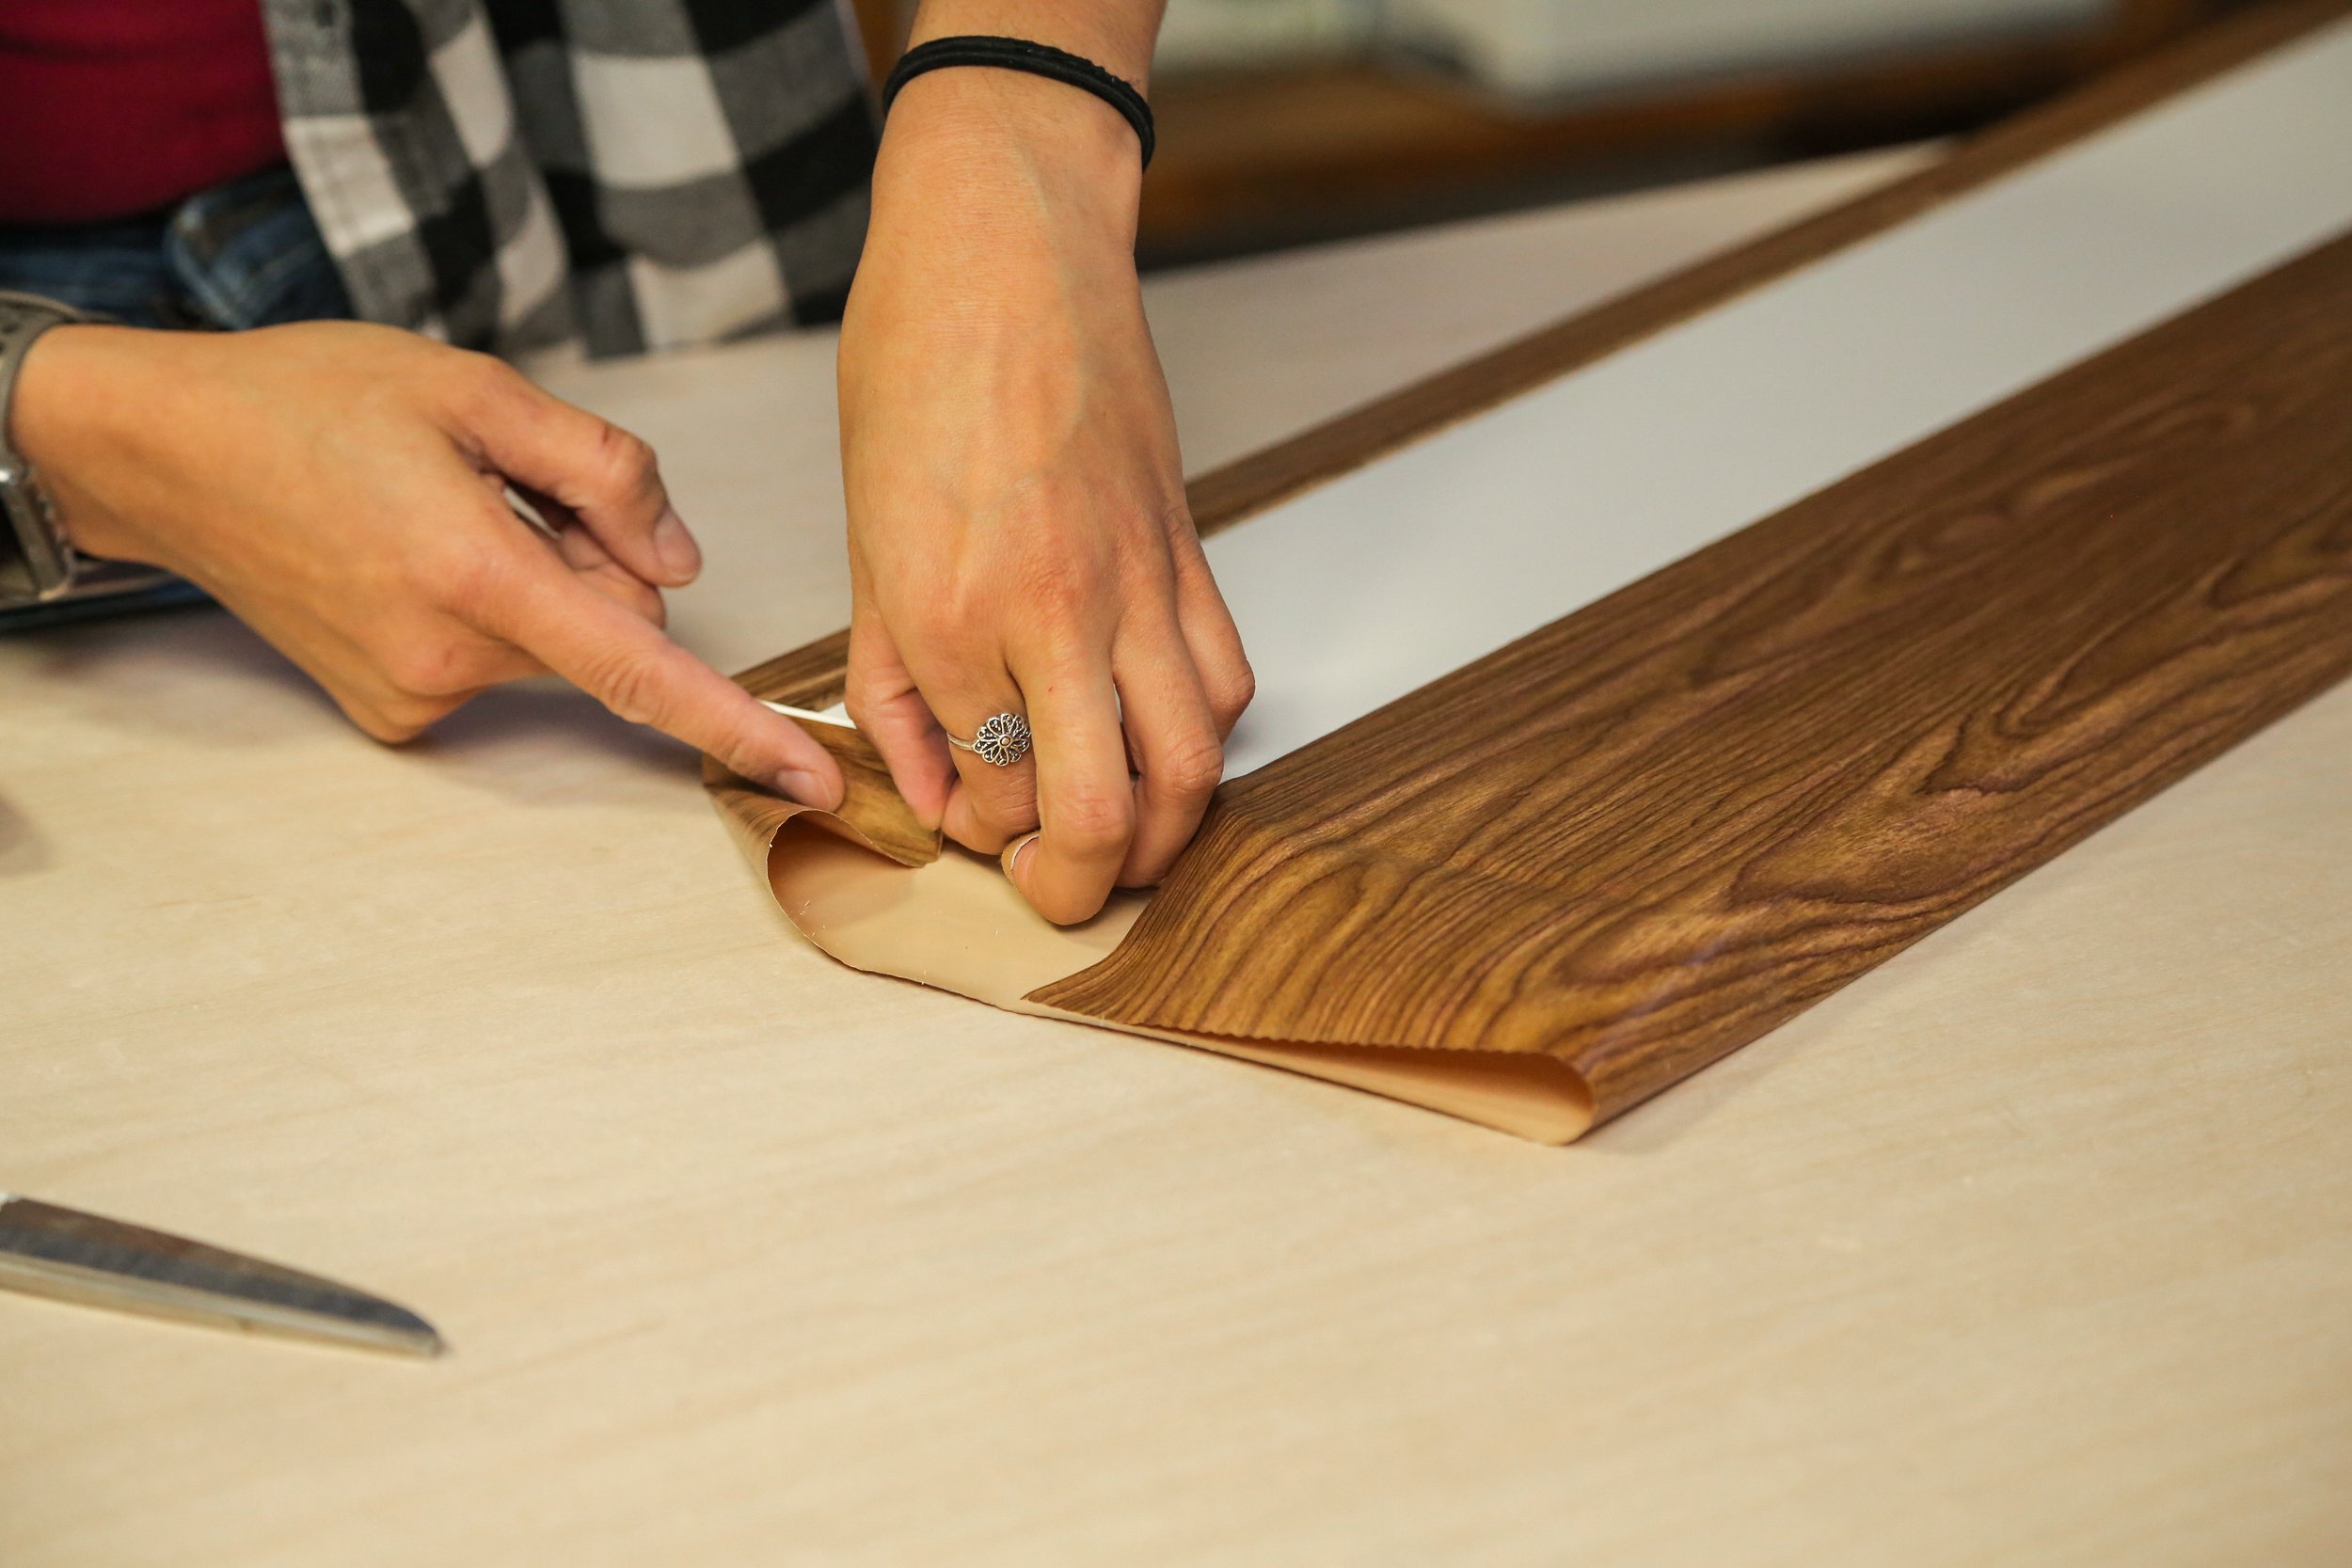
Now that all of the construction was finished, it was time for the final touches! This included edge banding with wood veneer adhesive, staining the unit in the colours provincial and gunshot by Minwax, and adding contact paper to Anne’s already existing under-bed storage boxes, for that elevated cohesive look.
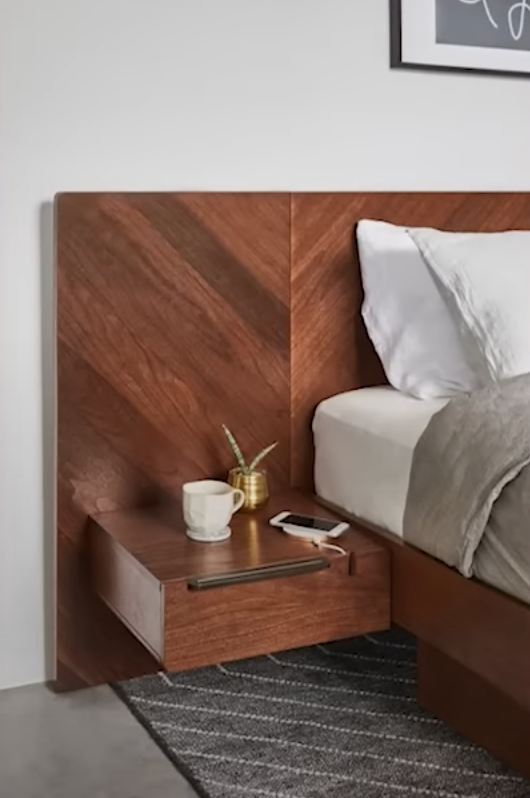
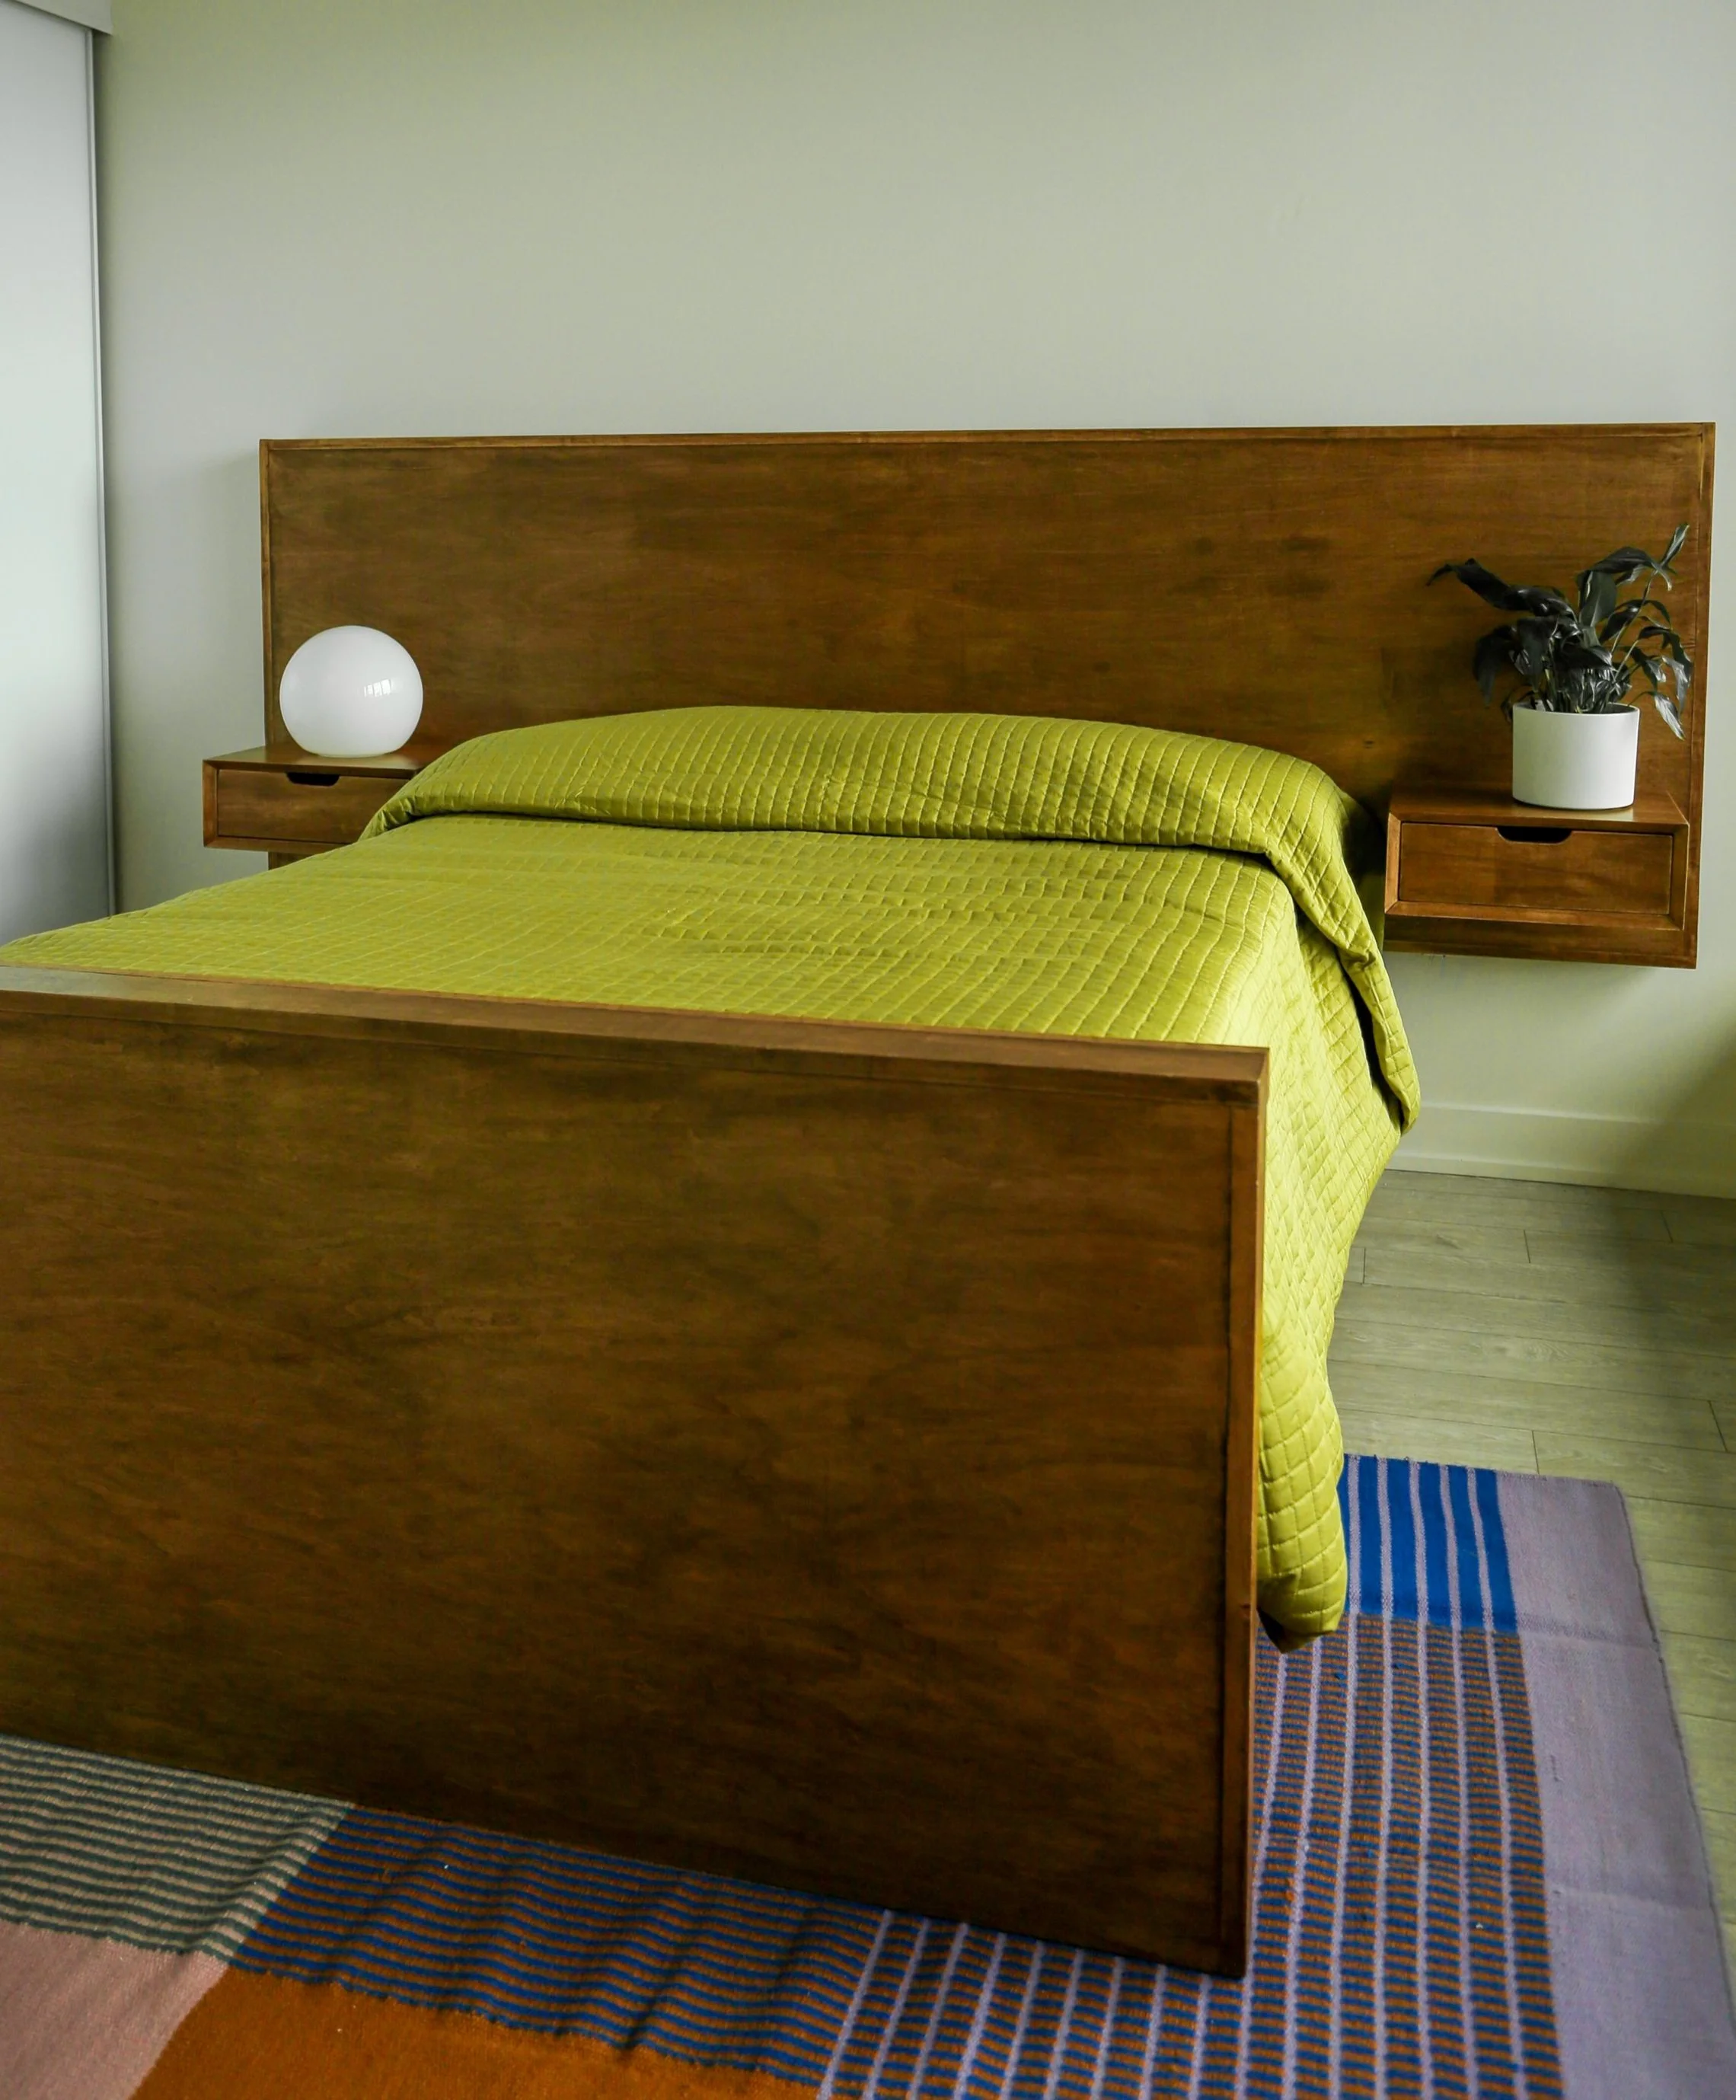
Final results once installed:


Watch the DIY video below!