1930s ART DECO Vanity Restoration
Rachael here! Welcome back to Project Profit, the series where I transform used items into profits for non-profit organizations. In this blog post, I’m reviving a GORGEOUS 1930s vanity that was being given away for free. It is such a special piece that has so much storage and a unique turning mirror. This vintage vanity comes with a lot of history but its age is definitely reflected in its condition, with residual paint, stains, cracks, and chips on its surface. I'm thrilled to take you through the step-by-step process of completely restoring this stunning vanity.
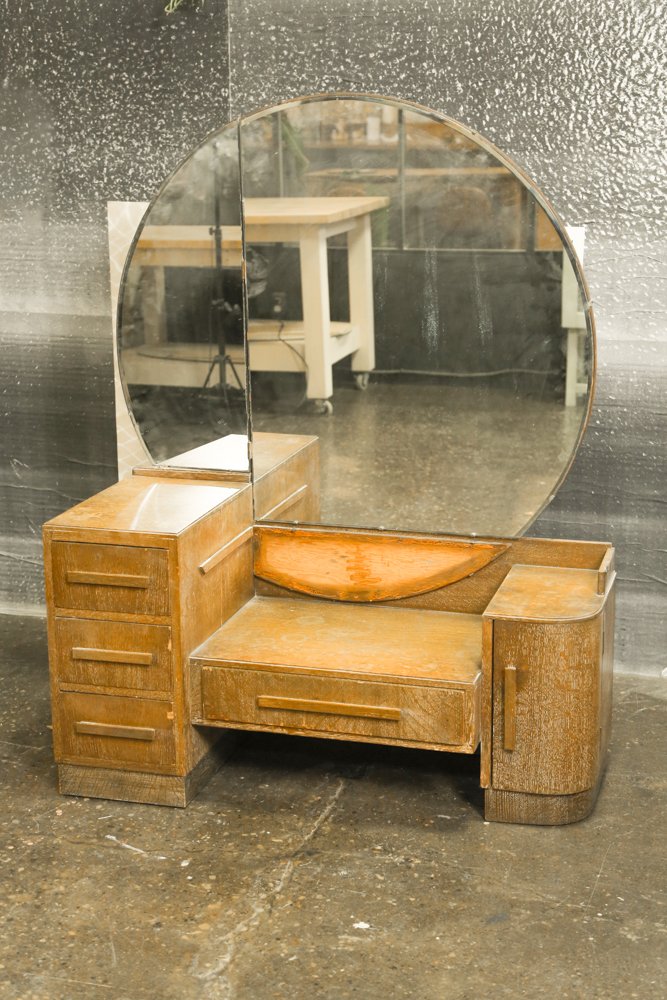
Before

STEP 1: SANDING THE SURFACE
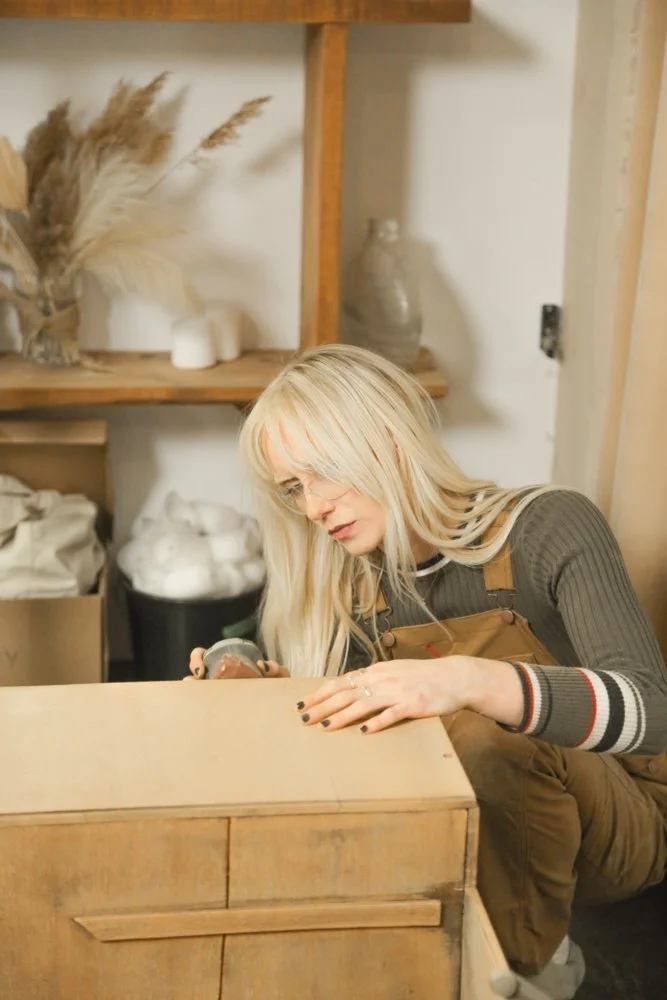
The first and by far, the biggest job of this restoration project, was the sanding. After disassembling the vanity, I took a lot of time and care into sanding each piece until it was mostly smooth and even. I had to take extra care as I realized that I was sanding wood veneer. That, paired with the age of the piece, meant I needed to take extra care as to not damage it further while still getting rid of surface stains and as much residual paint as possible.

STEP 2: FIXING THE CHIPS AND CRACKS
I had to go in with a significant amount of wood filler to smooth out the bigger chips and cracks. I decided to use wood filler instead of a wood glue and sawdust mixture, because the wood filler I had is stainable unlike wood glue, and I knew this piece would be getting a good stain.
TIP: For larger cracks where the wood filler might be more obvious, you can mix some of the wood filler with sawdust to darken it, and help blend it a bit better.
Once the wood filler was dry, I sanded it again and then used mineral spirits to prep the wood for staining, ensuring optimal absorption and a lasting finish.


STEP 3: REPAIRING BROKEN PARTS
With the wooden base mostly restored, it was time to address the broken mirror and missing shelf.
I found a suitable glass shelf from Ikea that was the correct width but was a bit too short in length. To make it work, I simply added an extra wood piece that I cut and sanded to fit the vanity, and attached later on.
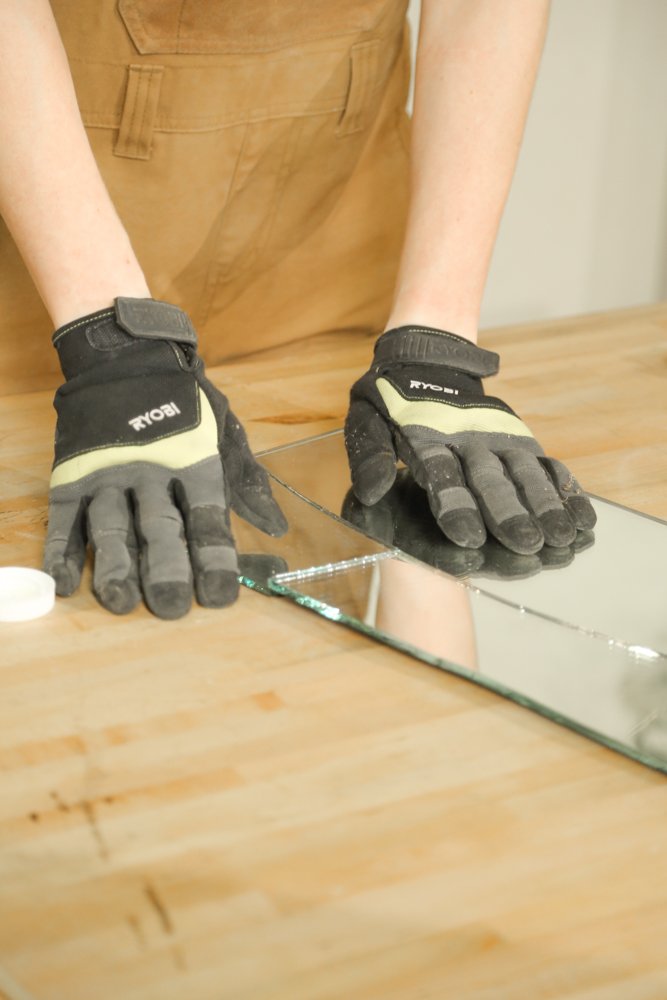
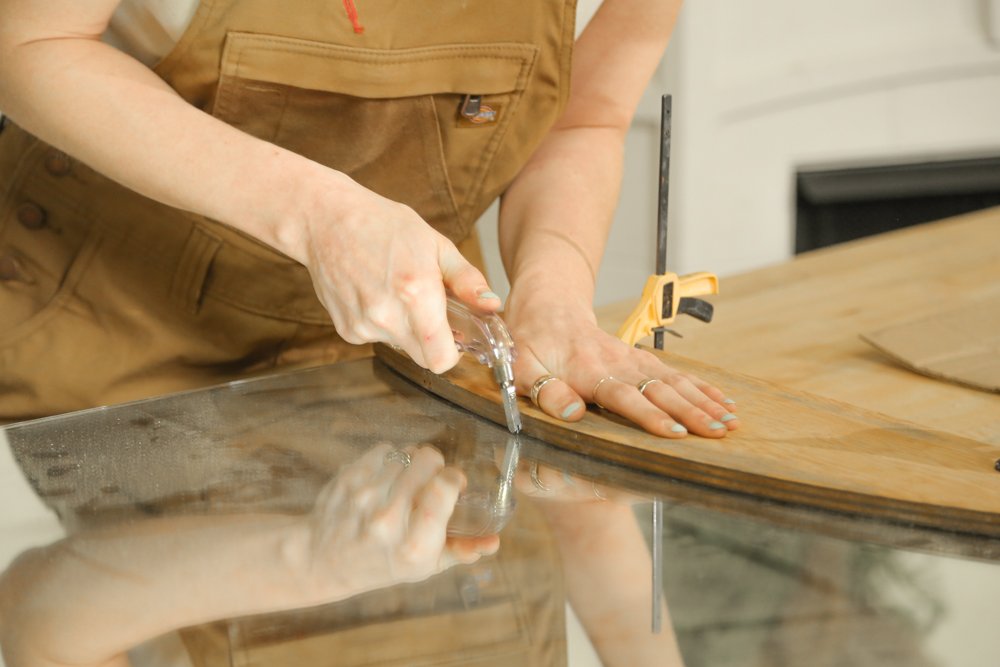
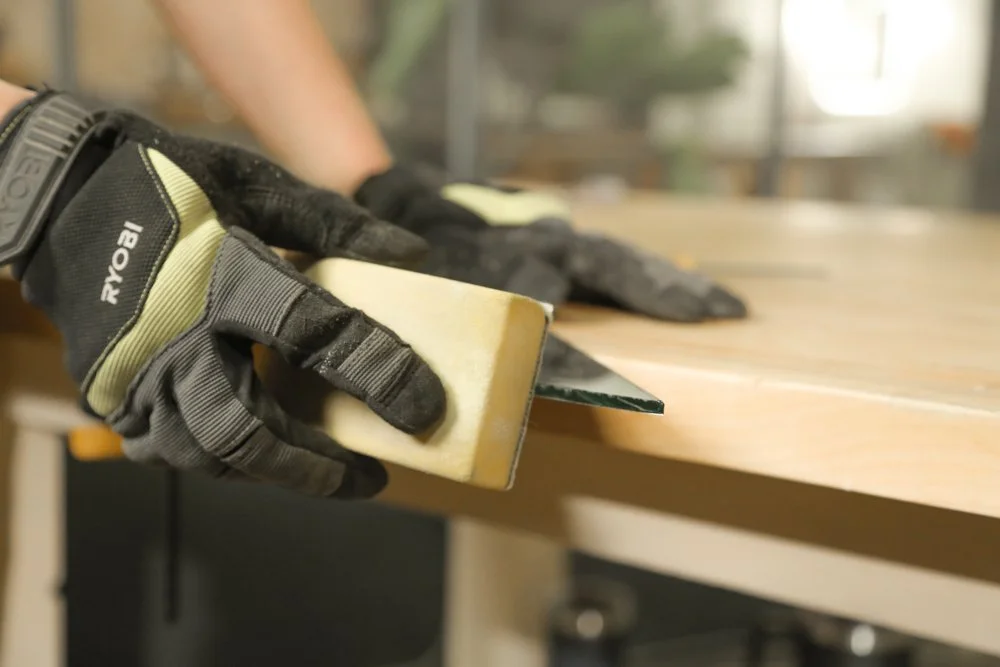
As for the mirror, I thrifted this one that I needed to cut to the specific shape of the vanity’s wood frame. I elevated the mirror on some scrap wood and clamped the wood frame onto it. Then, using a pistol grip glass cutter dipped in multi-purpose oil, I carefully cut along the wood frame. I had to break the mirror which is always a bit nerve-wracking, but with a steady hand and some pressure, the mirror broke evenly along the scored lines. I then sanded down the rough edges of the broken mirror pieces to prevent any accidental cuts in the future. Finally, I used mirror-safe adhesive to glue the mirror onto the wood piece.
Warning! Wear a mask when handling glass in this way, as to not inhale any glass particles.


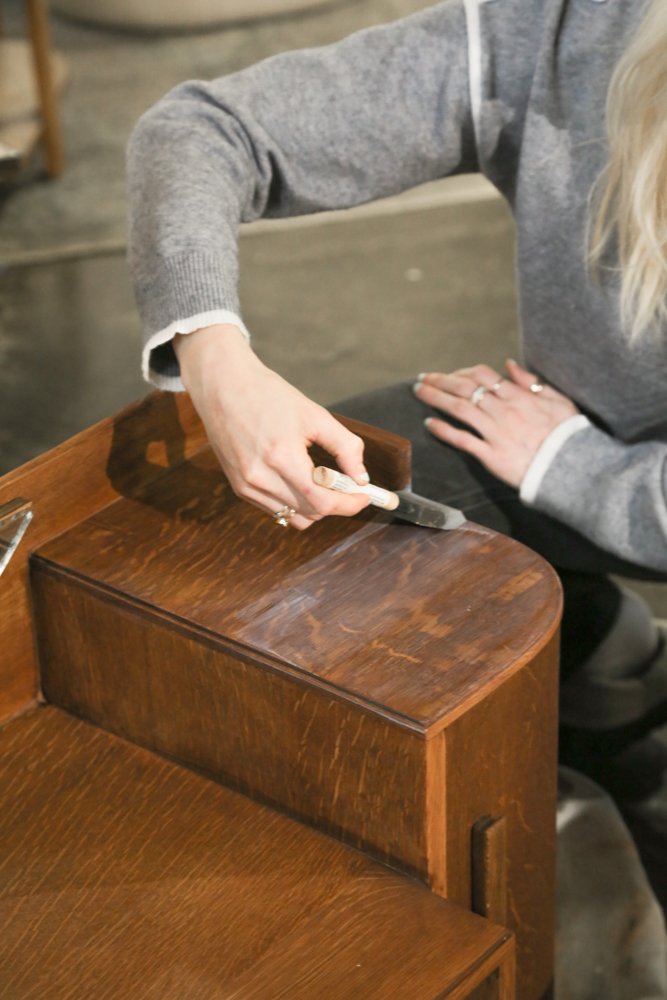
STEP 4: STAINING AND REASSEMBLING
With the repairs complete, it was time to stain. I applied a rich stain to the wood, carefully covering every surface for a uniform finish. To address any obvious spots with the lighter wood filler, I went over those spots with a darker stain, ensuring as seamless an appearance as possible. After applying three topcoats for durability and letting it fully dry, I reassembled the vanity.

THE FINAL RESULT
After some styling, this vintage piece has been completely revived. Now, it was time to sell! With the help of local vintage expert Rob from Mr.Vintage, it sold for $450!
All proceeds from these restoration will be going to a non-profit organization. Your suggestions for organizations are invaluable, so please leave them in the comments on the [Youtube Video]. We're grateful for your continued support and excited to continue making a difference together. Happy DIYing


