Mid Century Modern Entryway Transformation
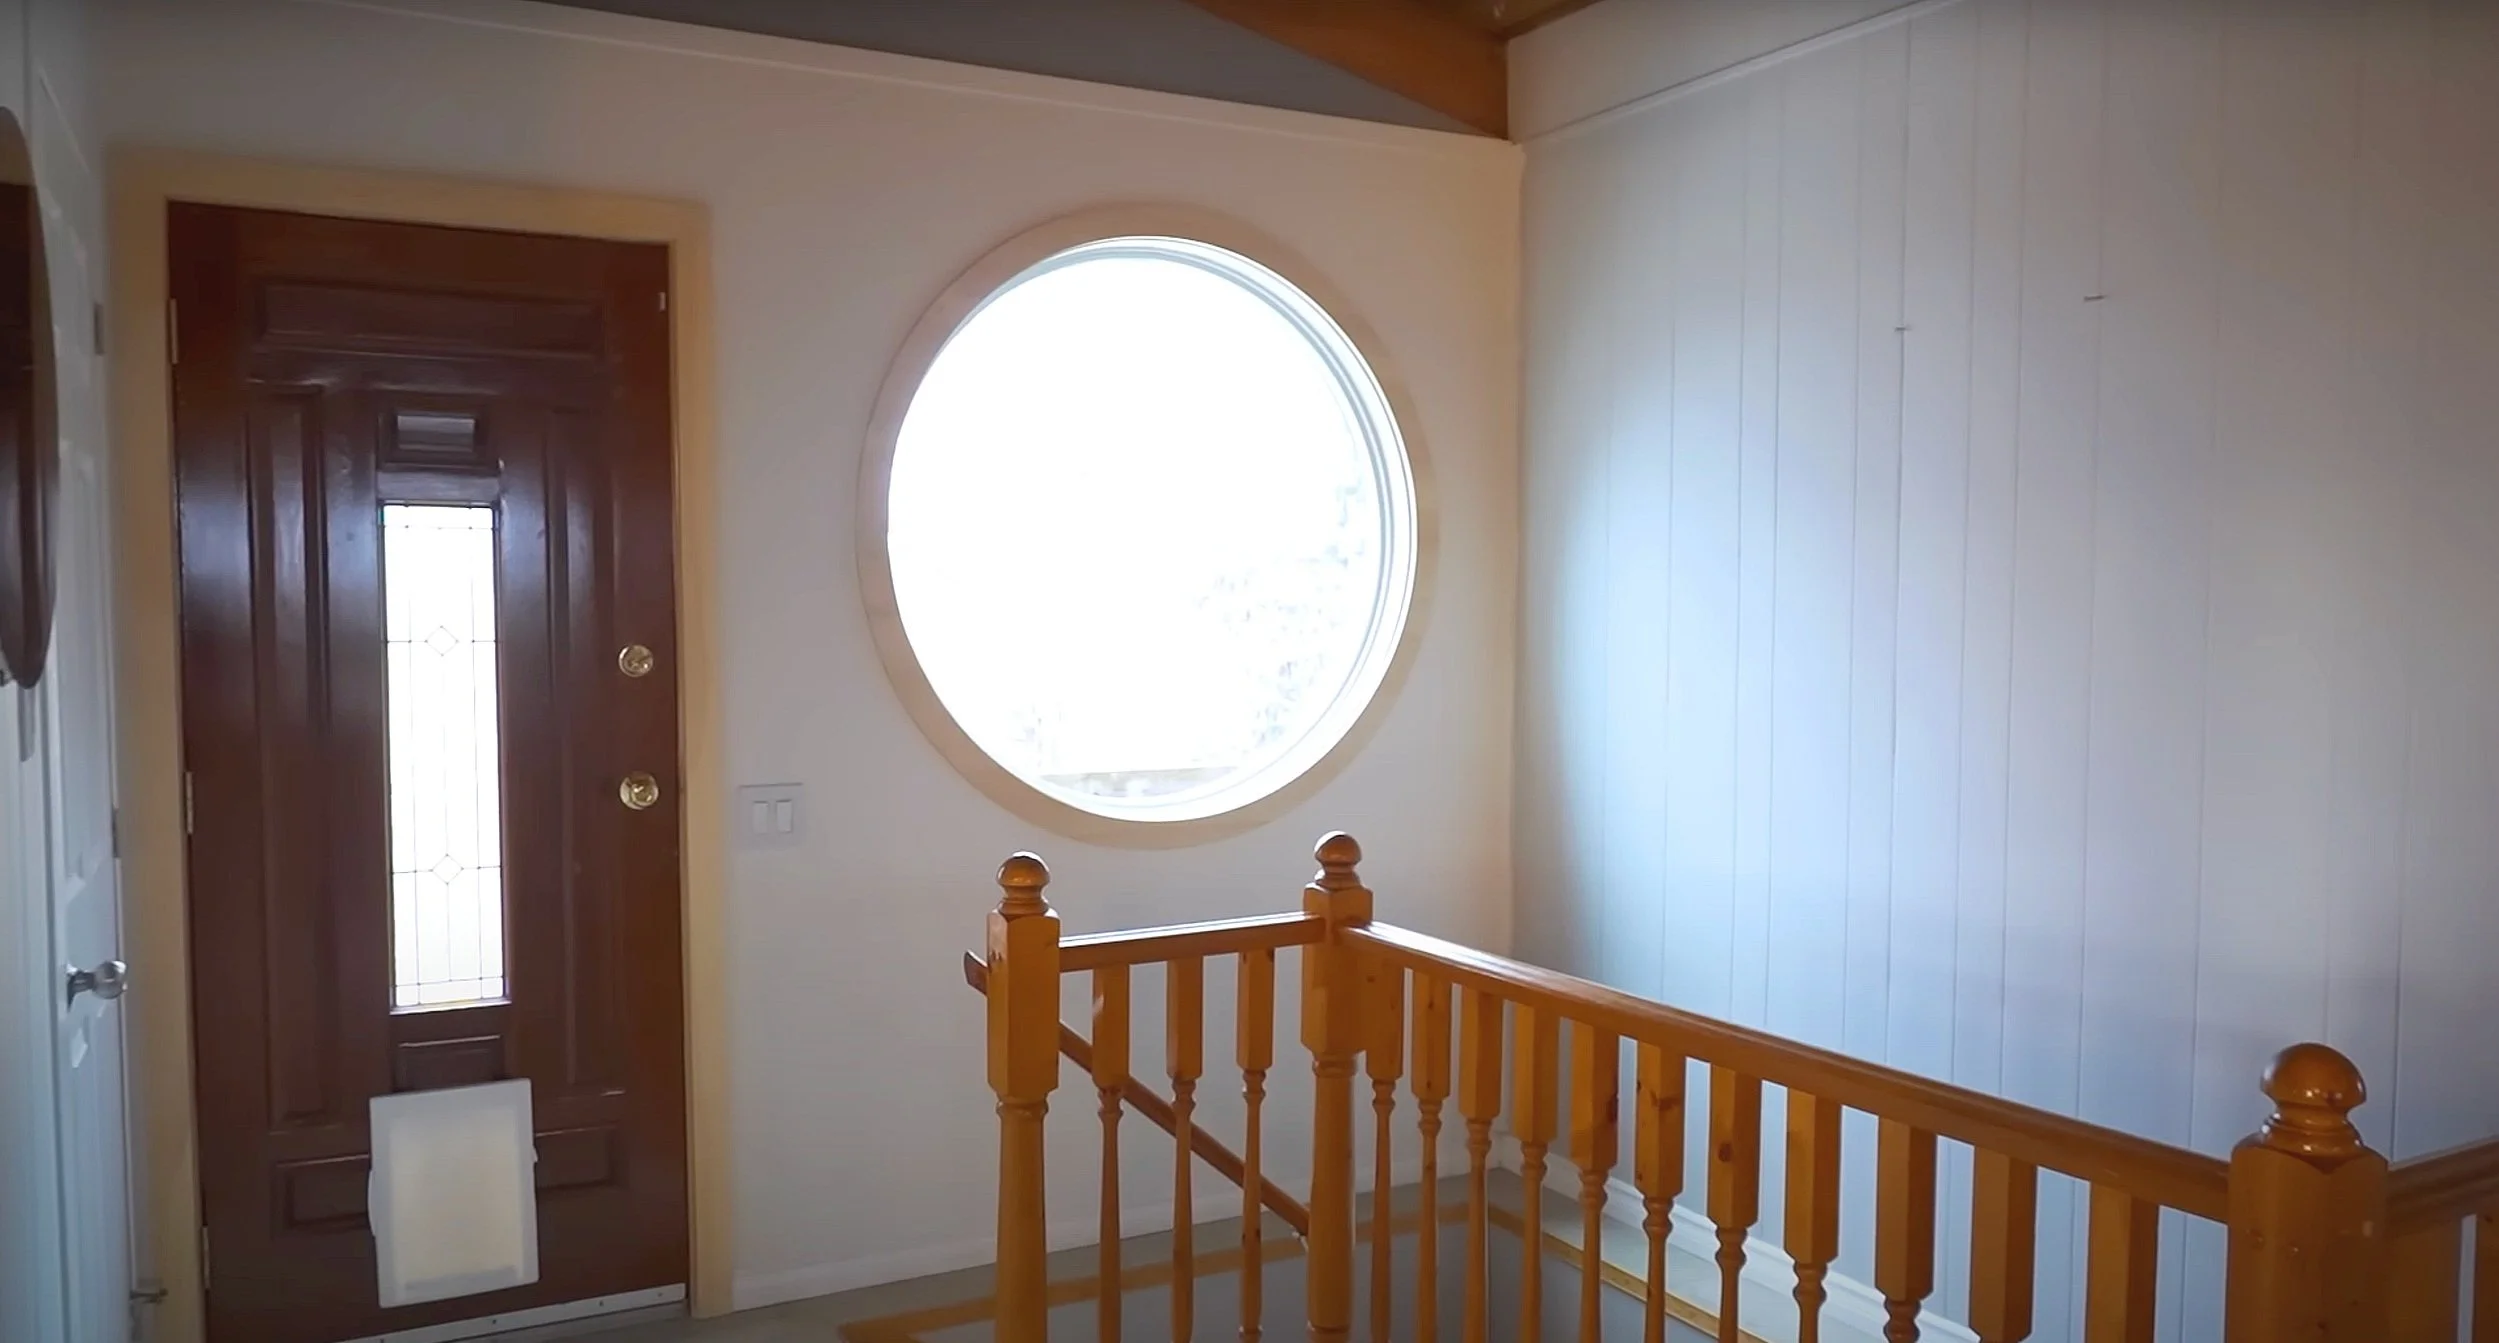
Hey everyone, Becky here! Today, I'm sharing the makeover journey of my home's entryway, where I turn a dark and uninspiring corner into a Mid Century Modern interior design dream. It's time to shift this corner from "DARK, CREEPY, AND SLIGHTLY DANGEROUS" to a vibrant "MID CENTURY MODERN" vibe.
MY Vision
Lighting Upgrade: Replace the current pendant light with an option that will make a big impact in the space.
Statement Window: Introduce a gigantic circle window to flood the space with beautiful daylight.
Custom Railing: Instal a new custom railing for added style and safety.
Gallery Wall: Create a massive gallery wall on the back to bring some cool retro vibes into the space.

Dream Window Installation
Months ago, I partnered with Canadian Choice Windows and Doors to bring my dream circle window to life. The collaboration with their professional team, from manufacturers to installers, made the ambitious change of this window seamless!

Window Upgrades
Canadian Choice Windows and Doors also installed two more windows - one in the upstairs powder room and the other as a replacement for the old, drafty kitchen window. All of their windows feature revolutionary draft lock technology and triple-pane glass, which are perfect for Canadian climates.


Space Prep
After the window installation, I prepped the space for all the DIYs by demoing the railing, painting the walls in Benjamin Moore's Swiss Coffee OC-45, and staining the new trim on the window.
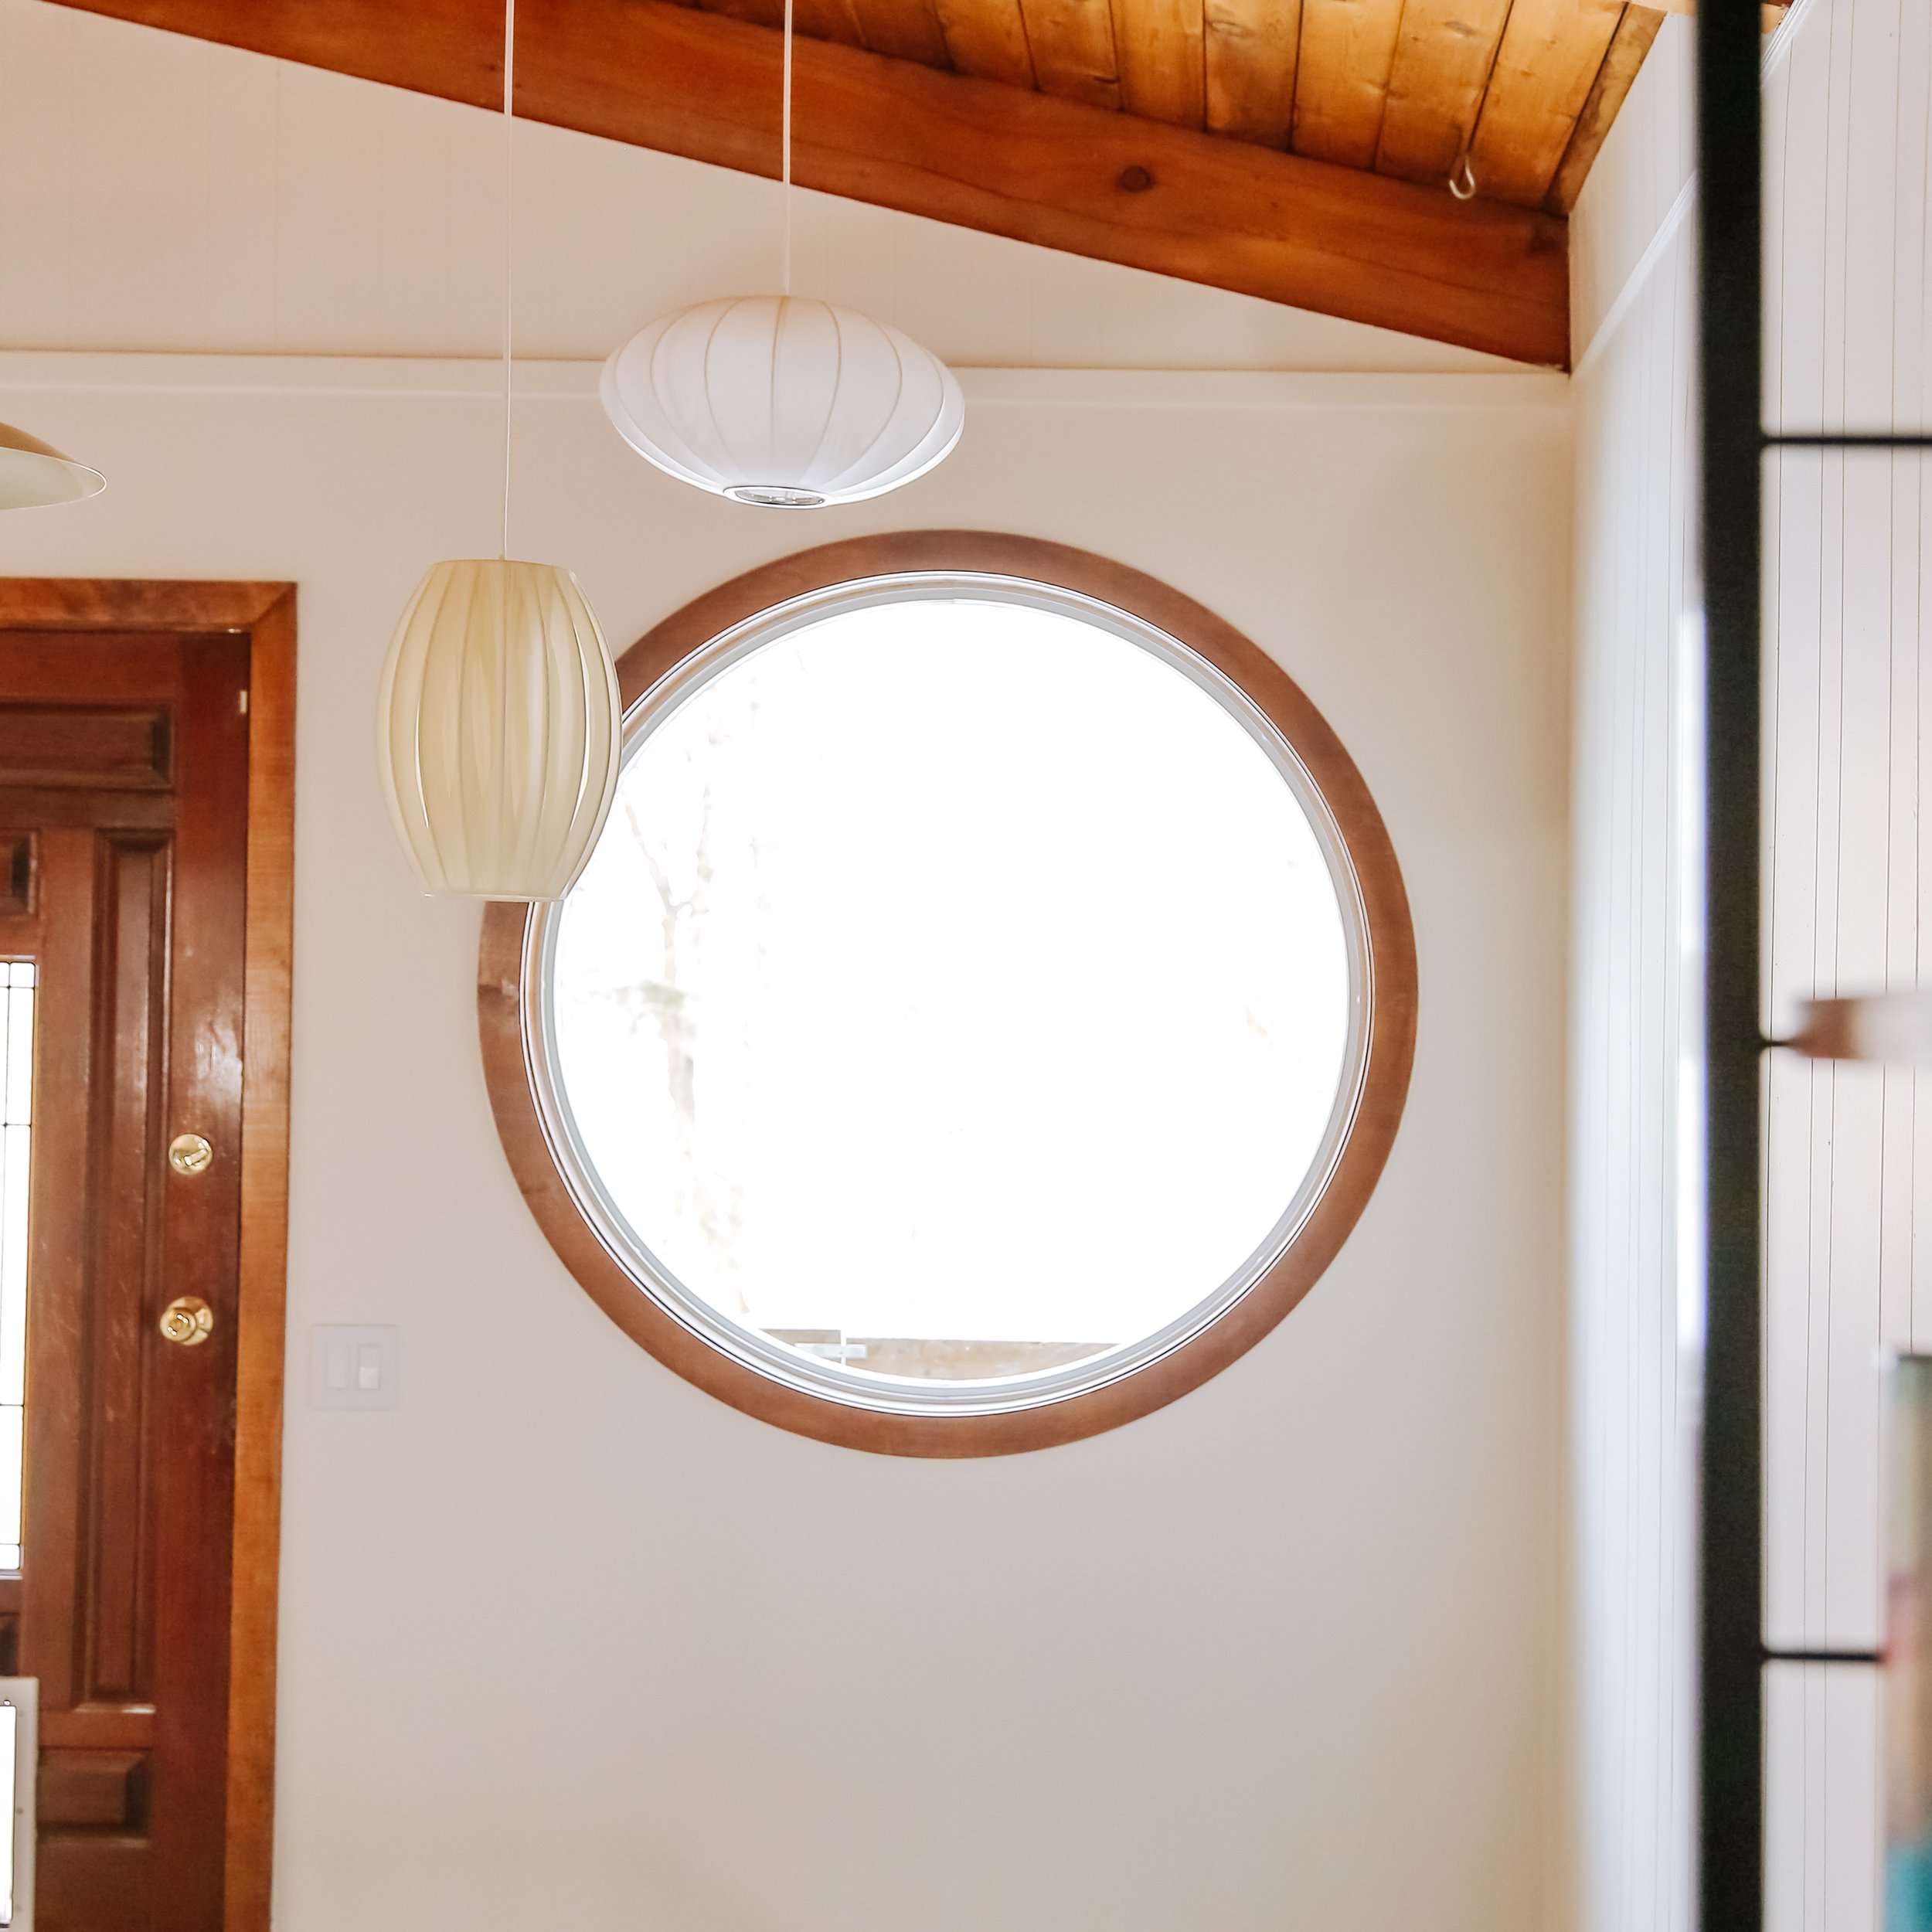
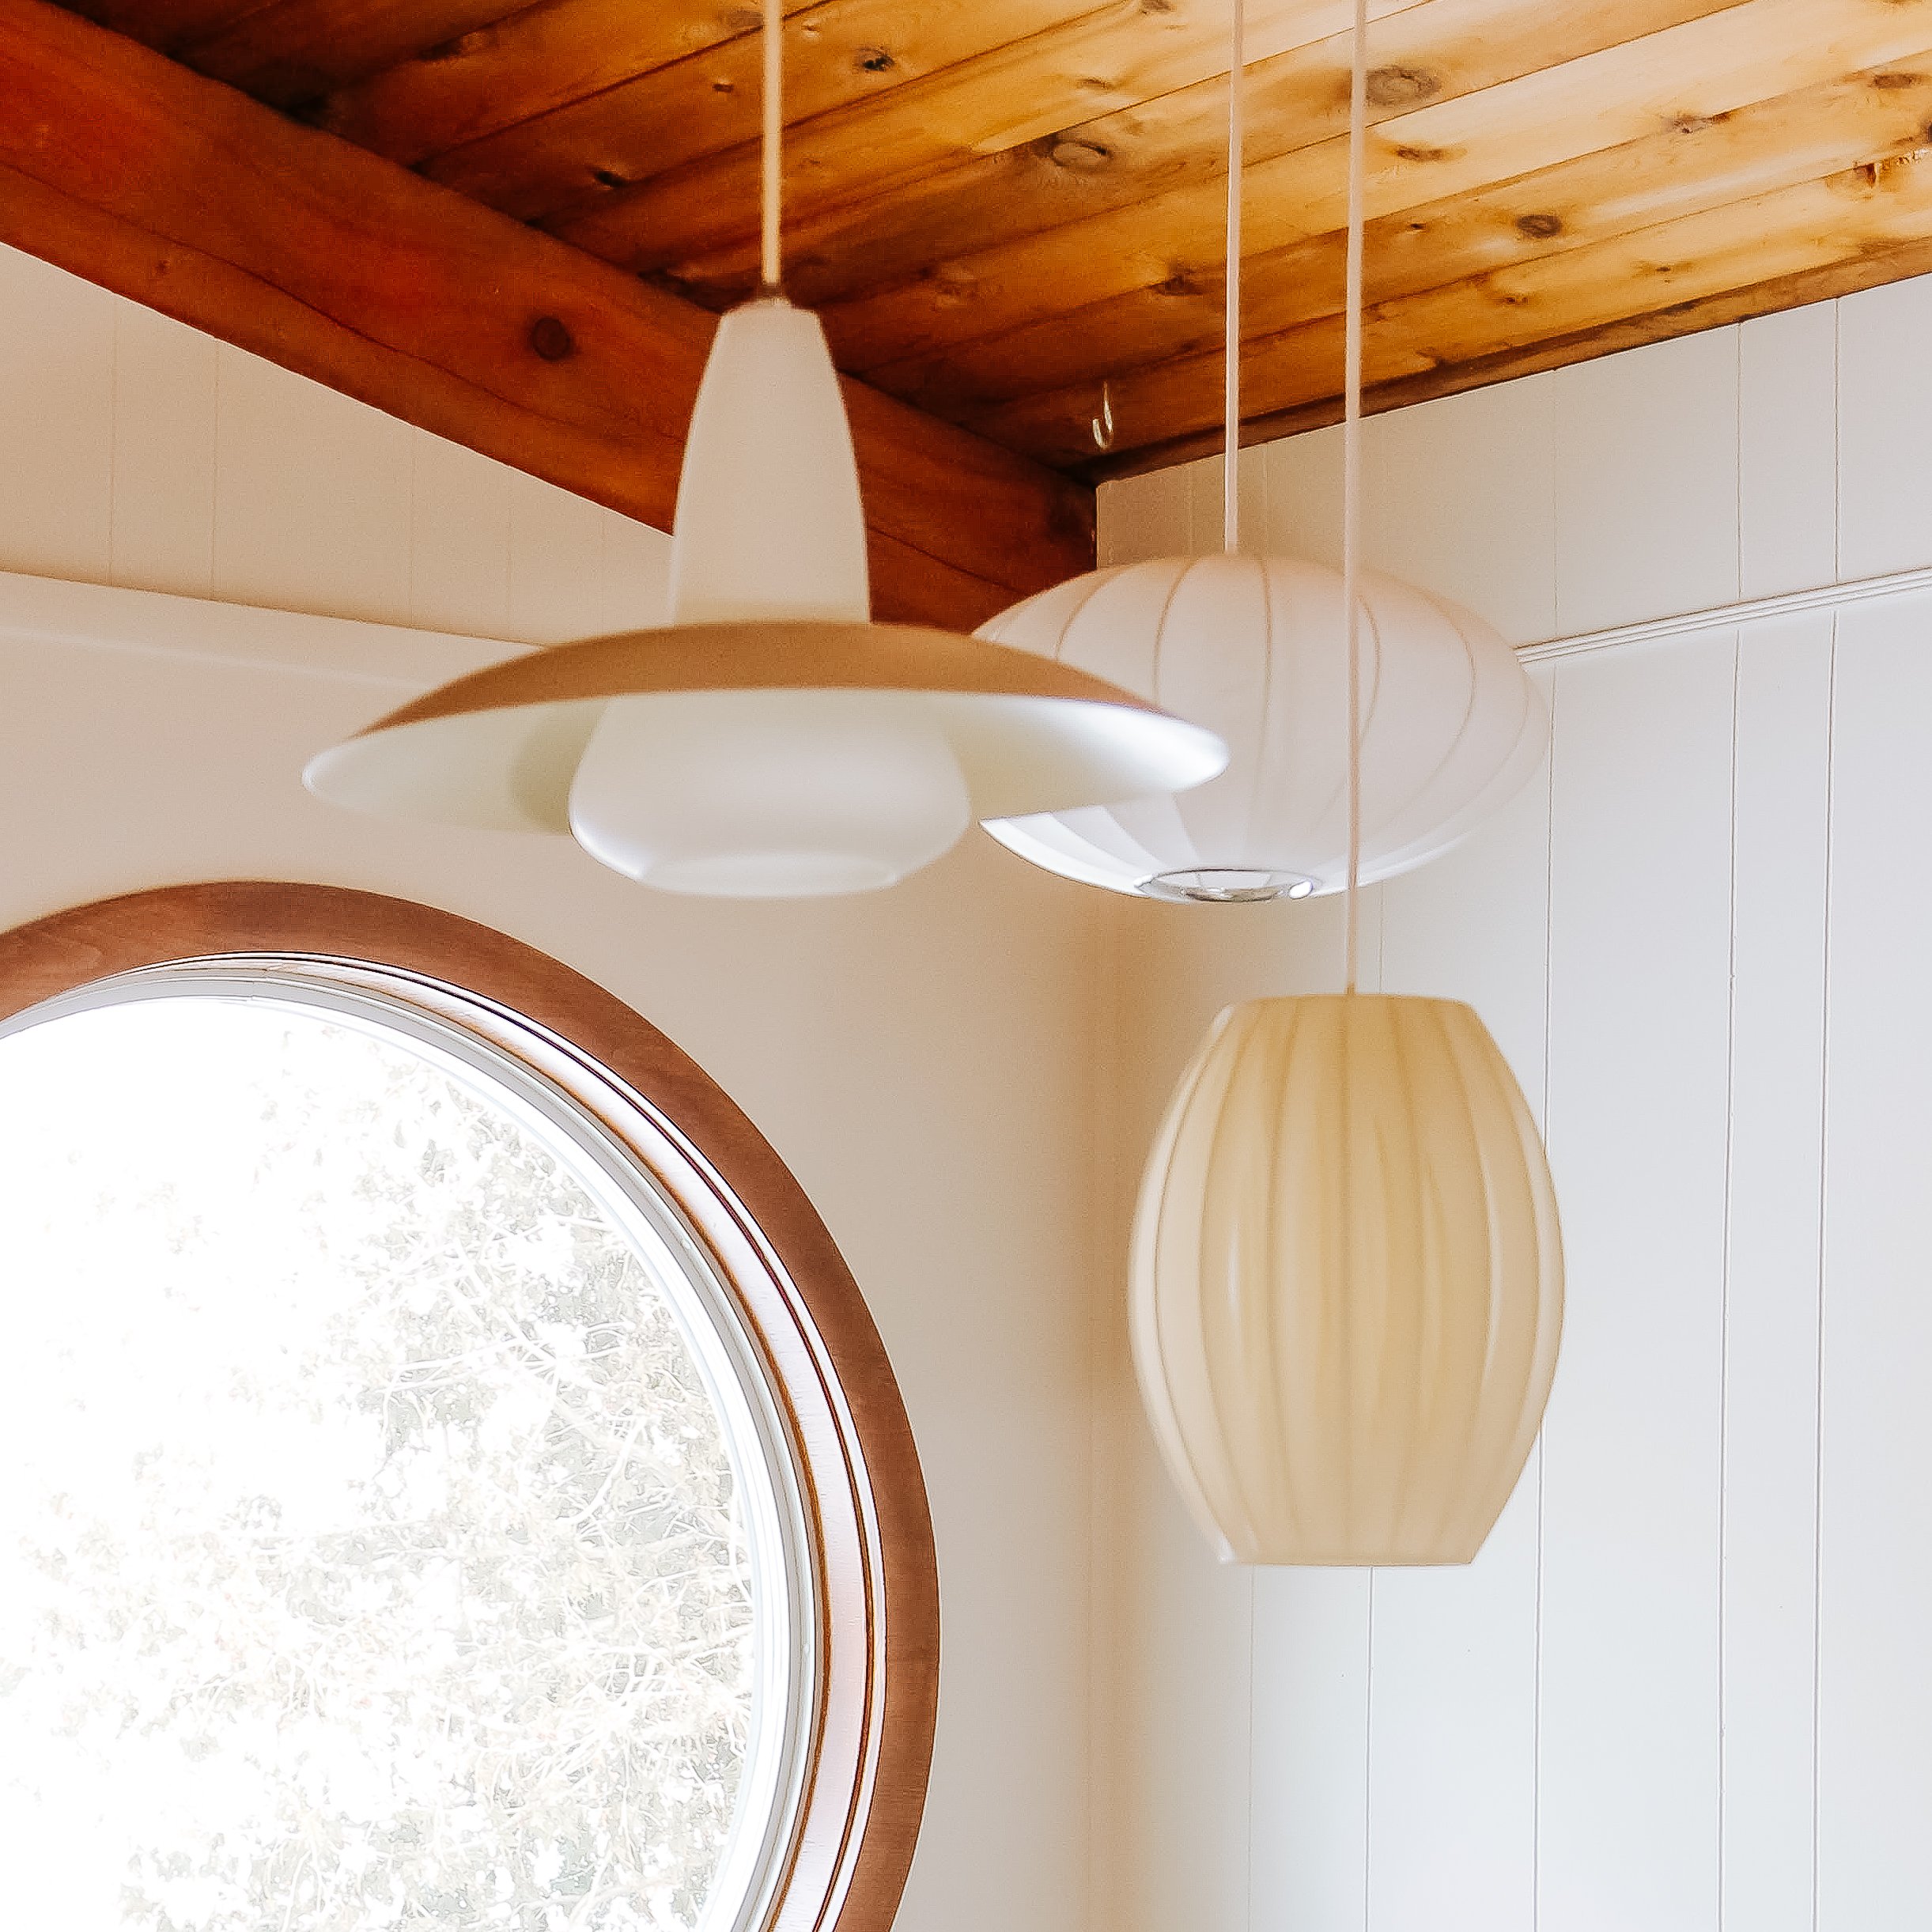
Lighting Magic
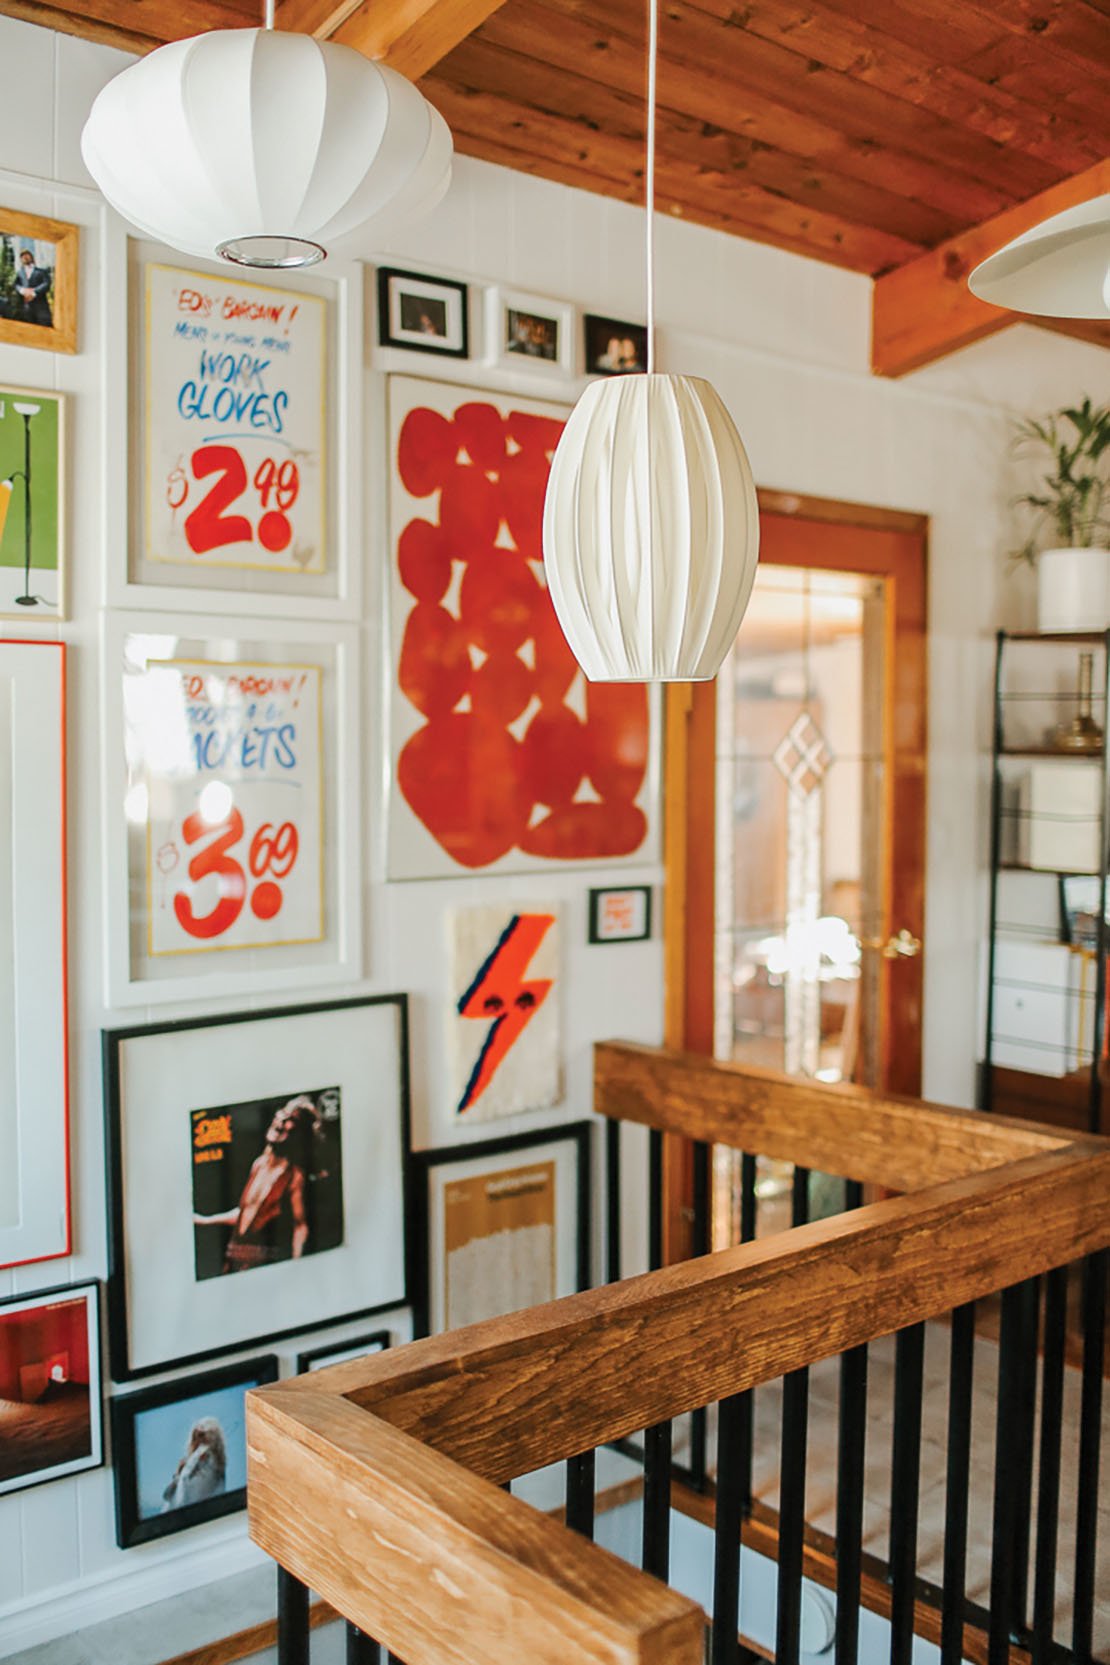
Searching through my storage room, I found three eclectic pendant shades. After figuring out the placement I first hung each cord on a hook from my ceiling and zip tied the cord to keep the pendants exactly where I wanted them. After that I just needed to wire them through a pendant canopy. This was definitely a two person job. And not gonna lie I actually thought that these 3 pendants put together would bother me because they’re so different but I actually love how all the shapes speak to each other for an interesting and cohesive look.

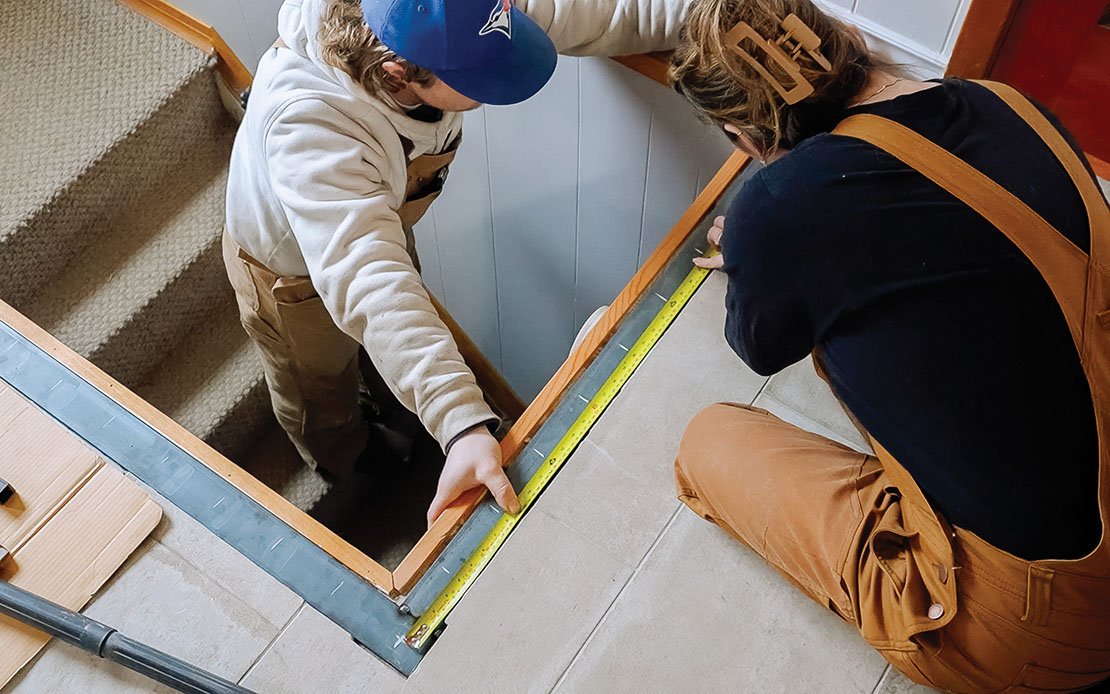
Railing & Welding
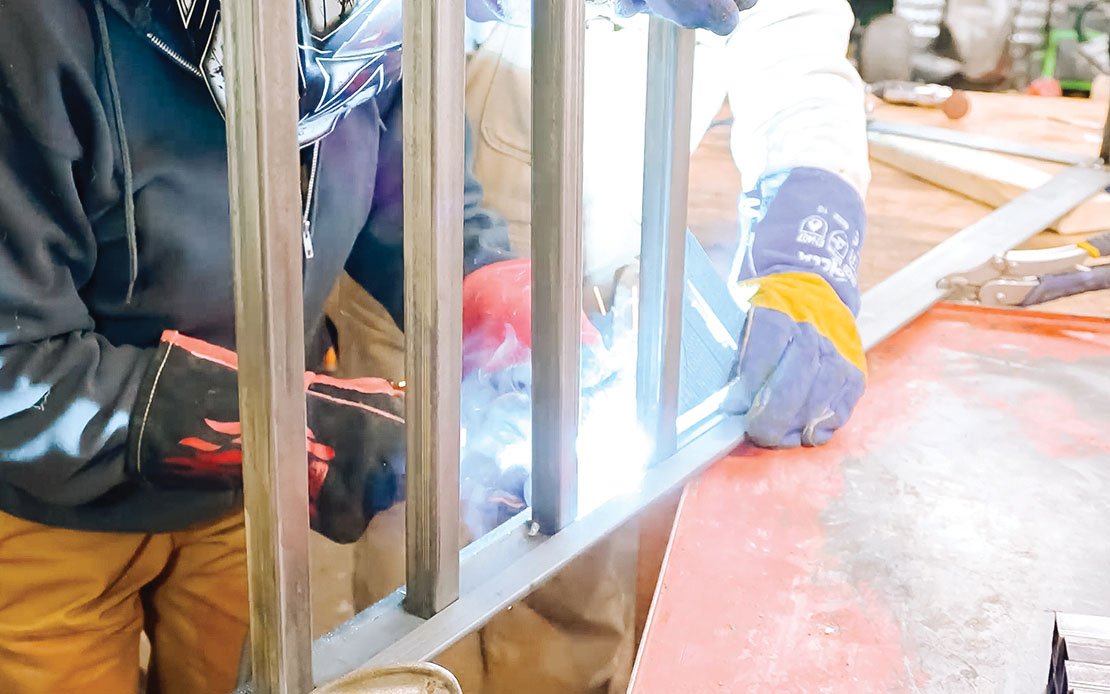
My stair railing was both unattractive and the least safe thing I'd ever seen, so I needed to replace it and make a new one, that requires me learning a new skill…welding!

I ordered 28 square rungs and 2 flat steel bars. The flat steel bars were cut to fit the Z shape of my railing—one for the top and the other for the bottom. Then, I took some time to figure out the spacing of my rungs, which required some tricky math, but we got there in the end. Once that was figured out, it was time to weld. Fortunately, my husband has a welding machine for his job, so for me, it was just a matter of learning. It looks intimidating, but it's not that hard. I repeated the process until the metal railing was complete.

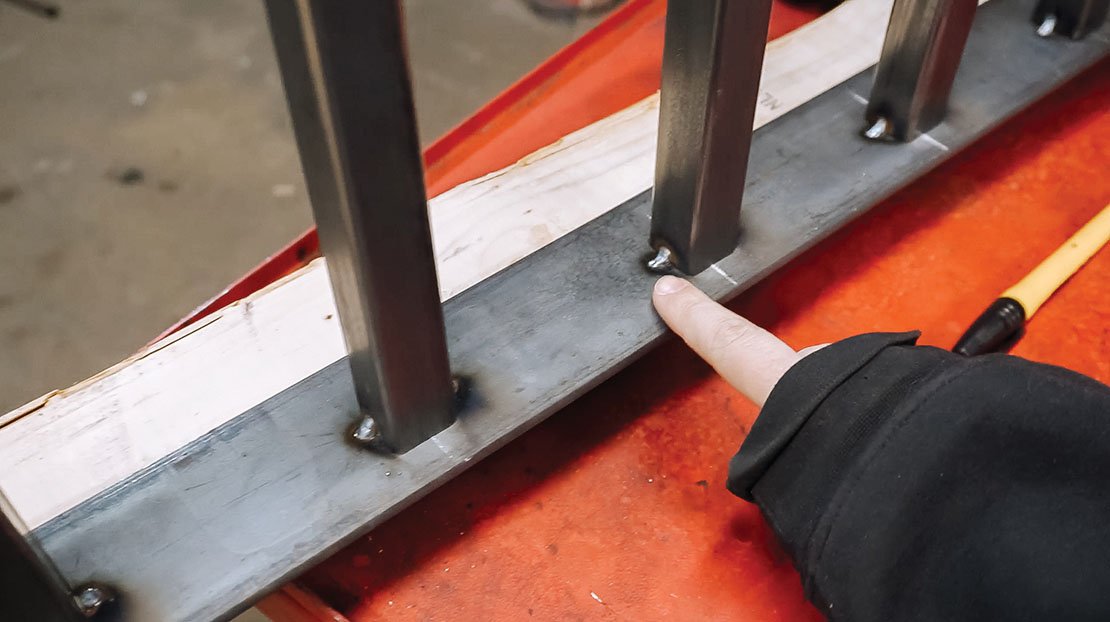
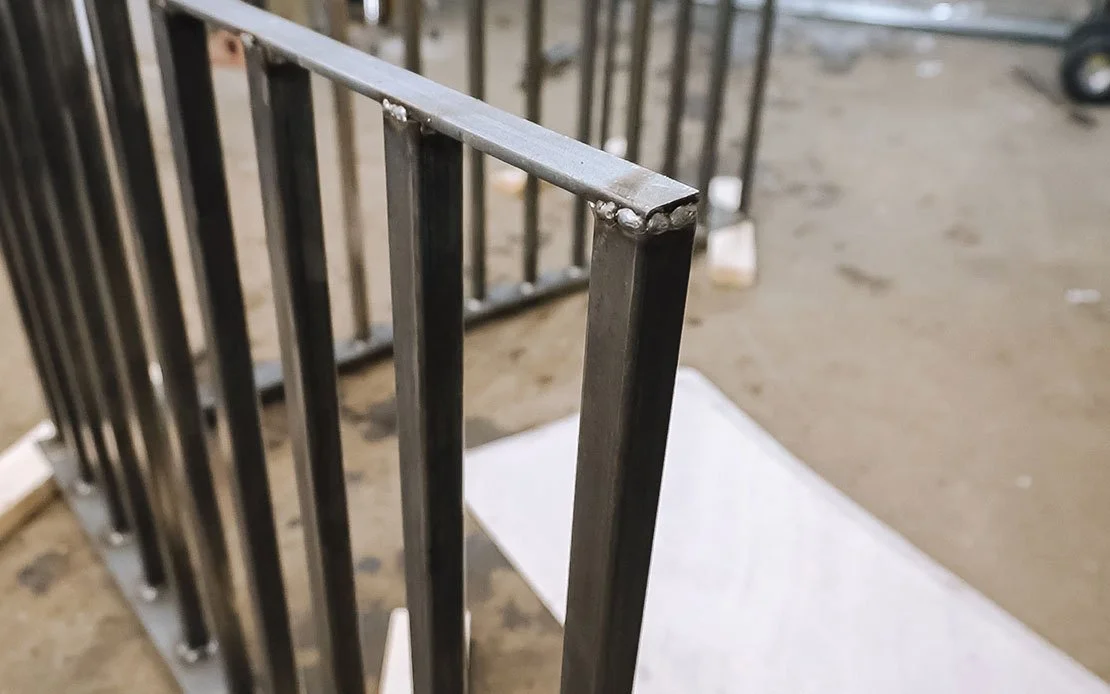
To make the railing aesthetically pleasing, I sanded down the weld marks to be as flat as possible. Next, I primed then spray-painted the whole thing black.

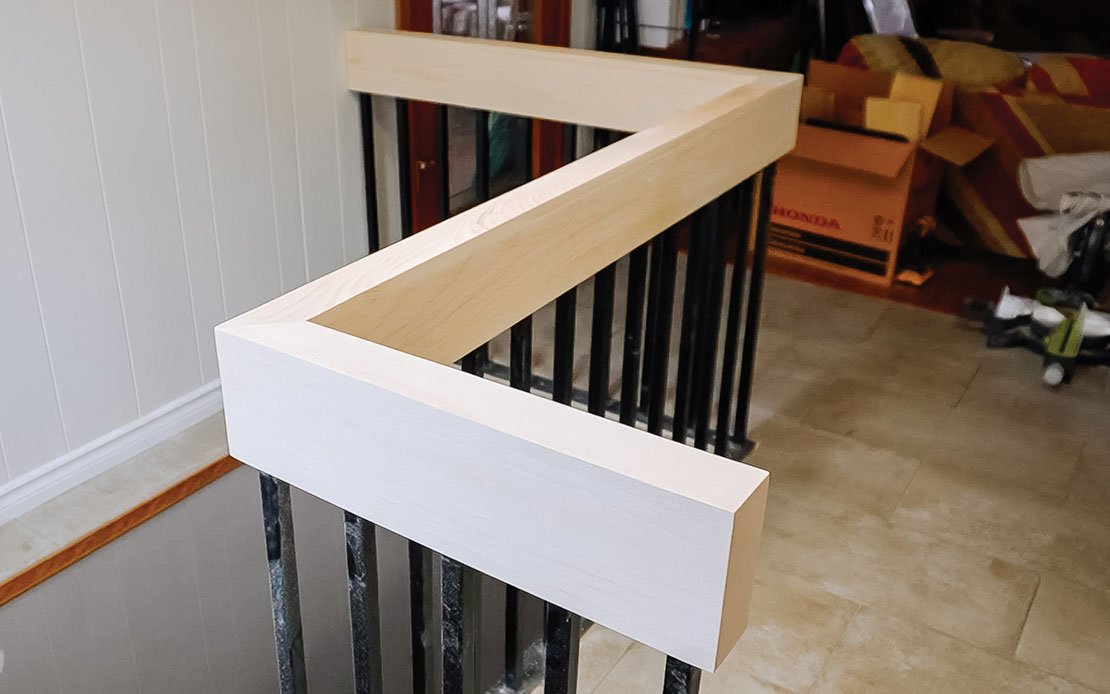
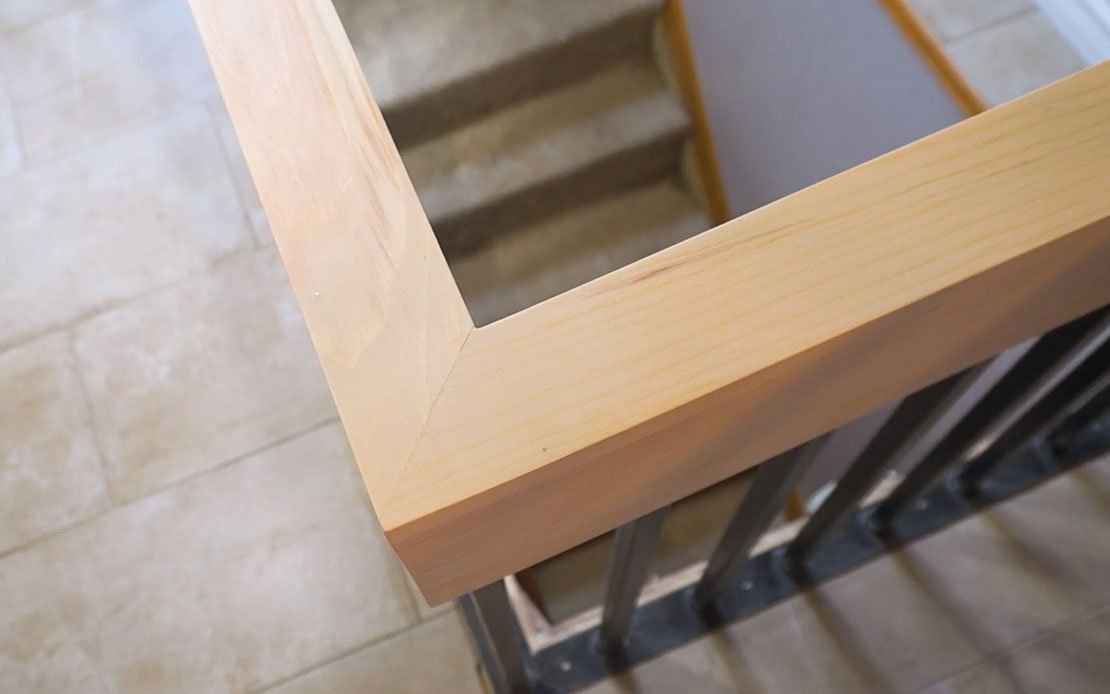
Then, I went ahead and made the wooden top that would sit on the metal railing. I glued four pieces of wood together to create a U shape so a wooden top could lay on top, and the metal railing could sit in between the wood. That part went smoothly, but then I had to make 45-degree angle cuts, and I actually had a mental breakdown, so I'm not gonna talk about it, but we got there in the end.

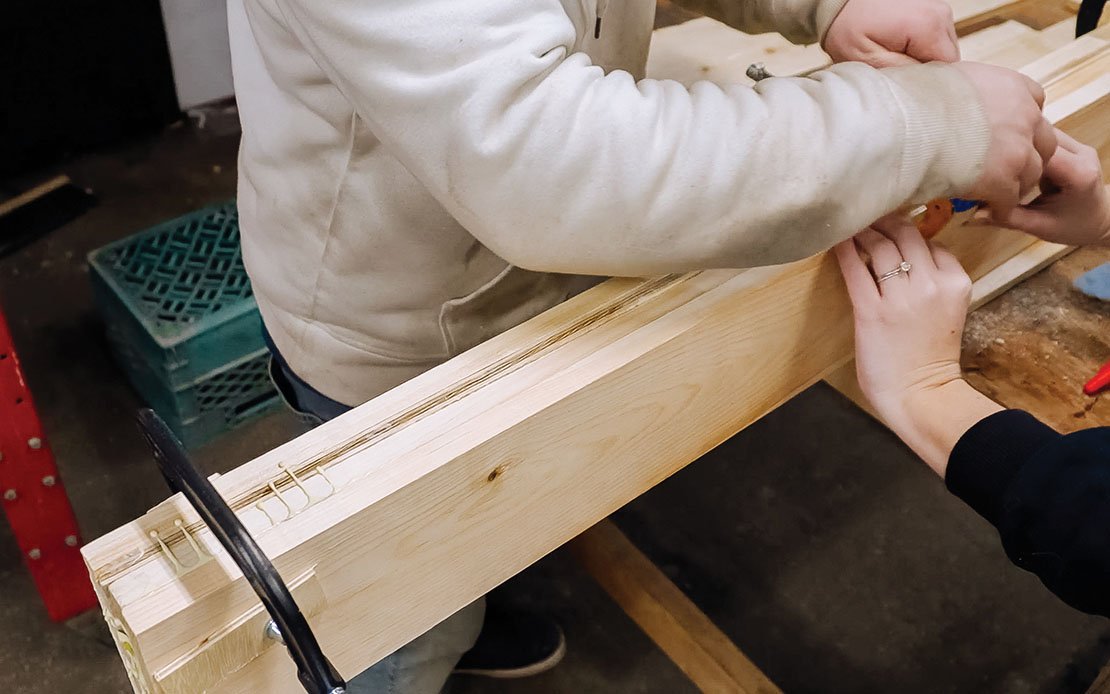

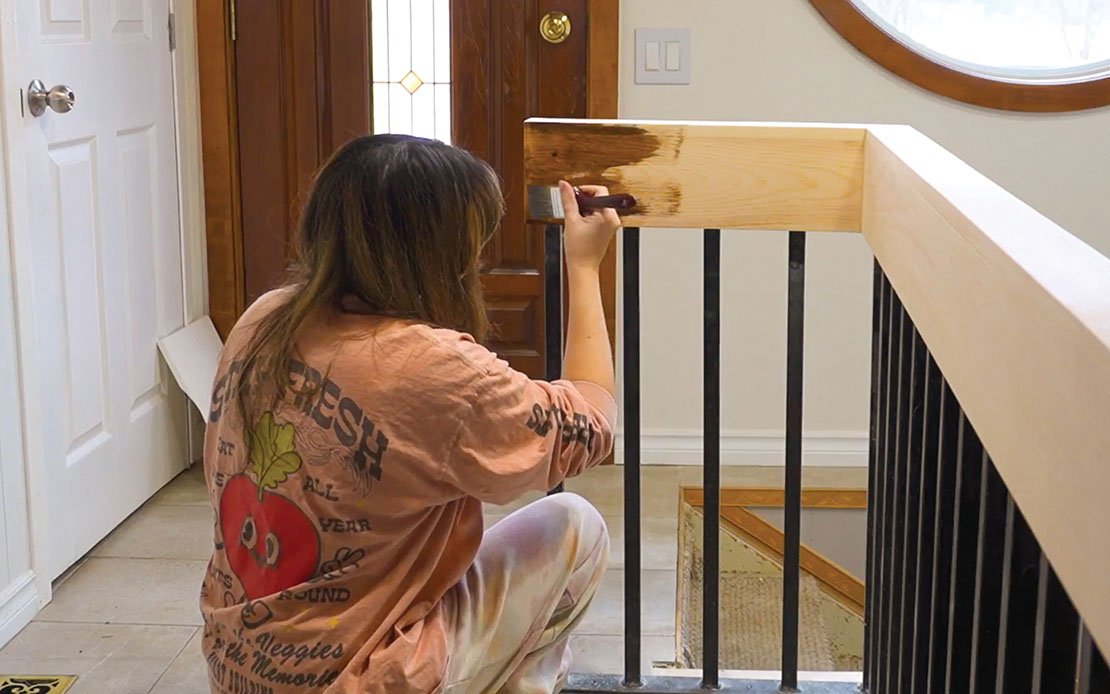
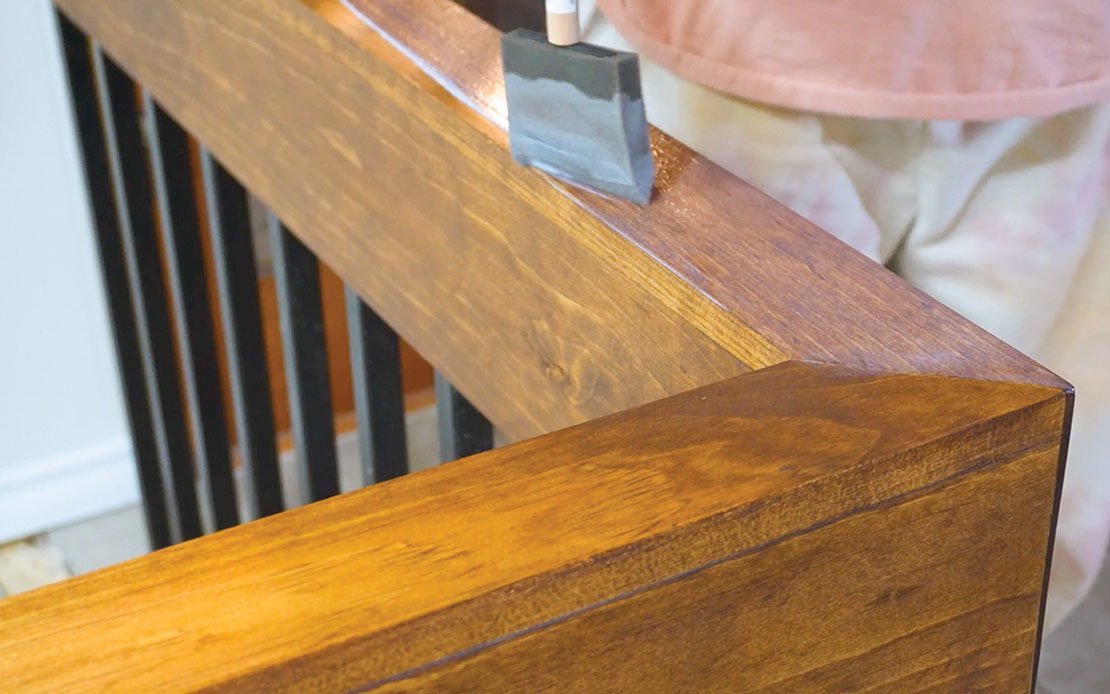
I screwed the wood top on and stained it this beautiful walnut. Then, I just had to secure my railing into the floor, and wow, I am so proud of myself! Between the welding and the mental breakdown, I made a freaking railing!

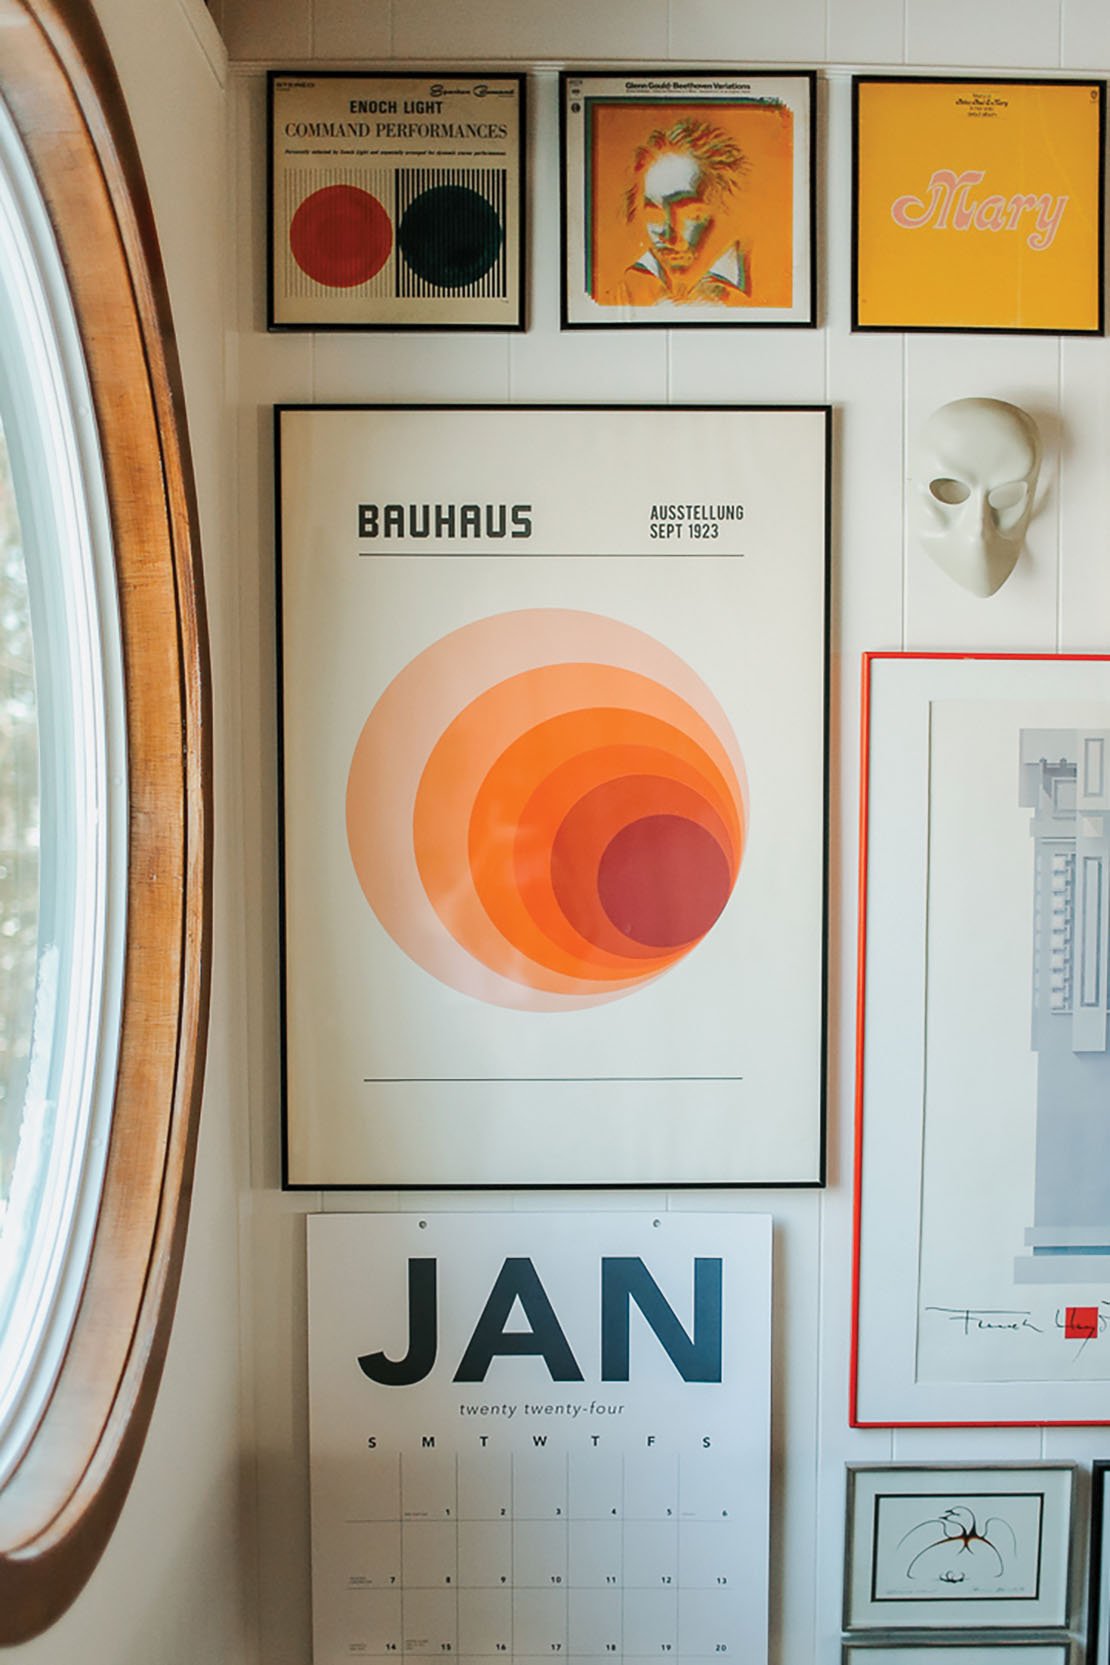
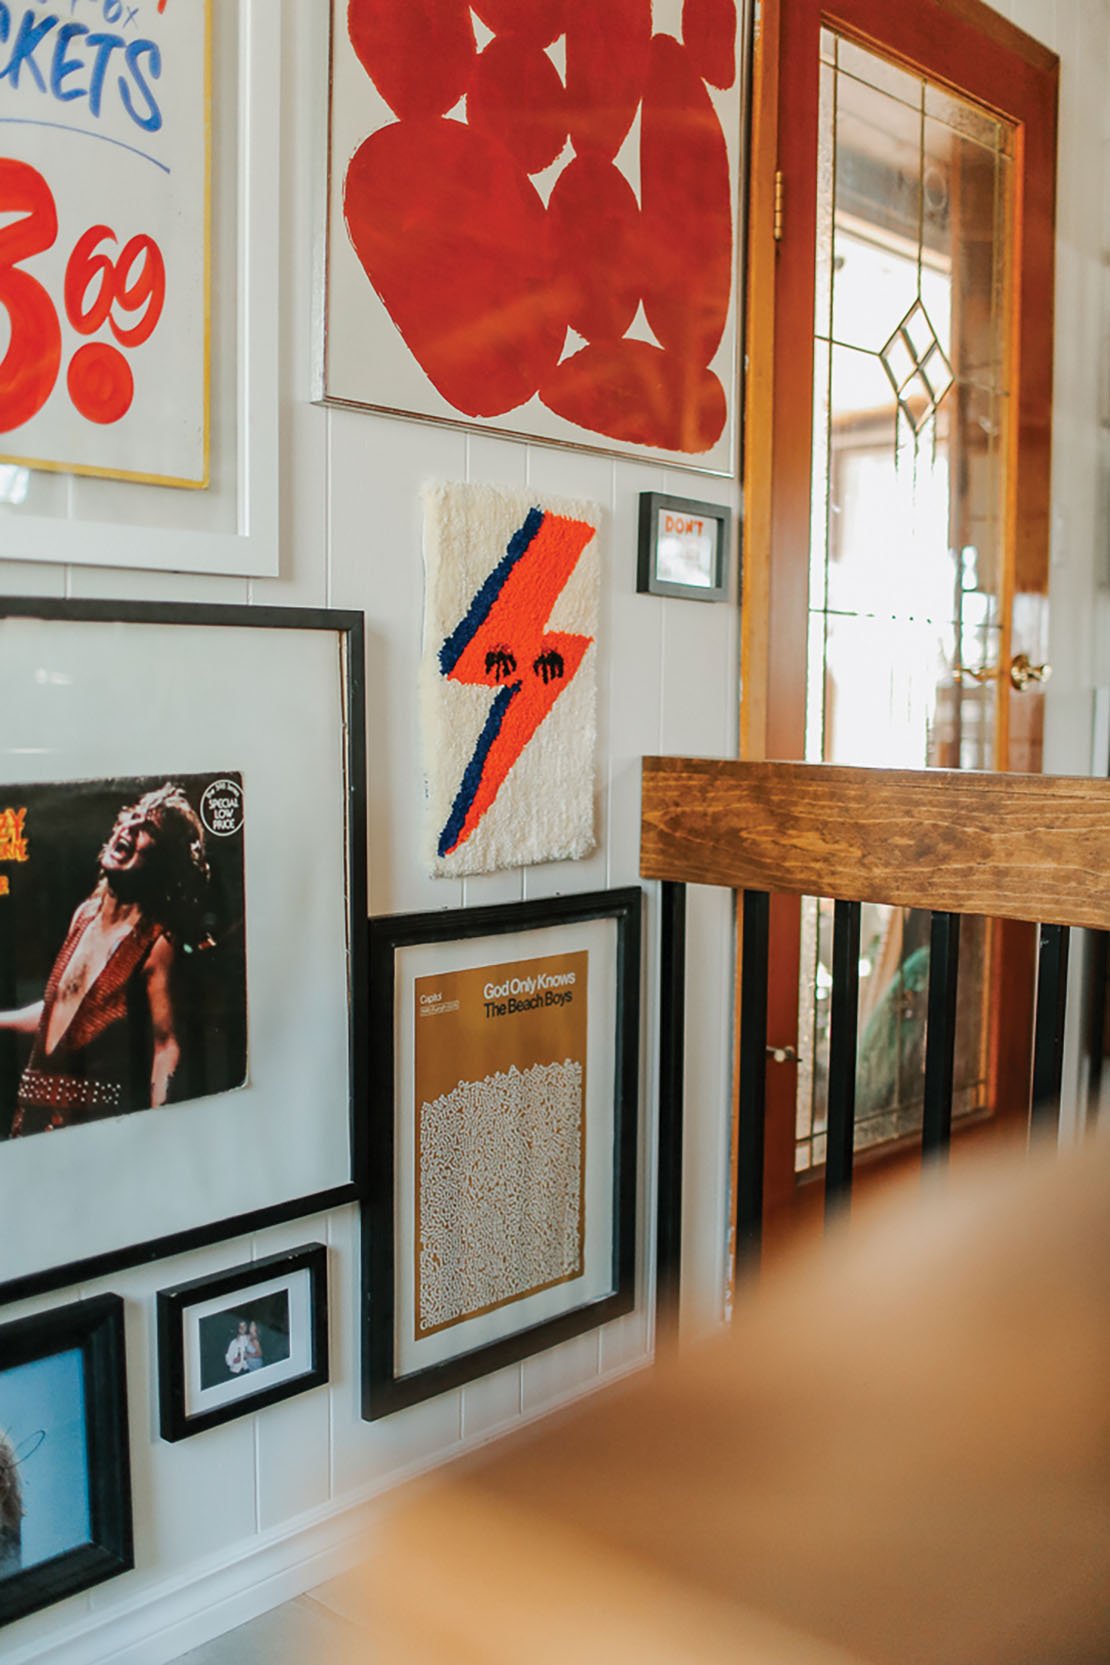
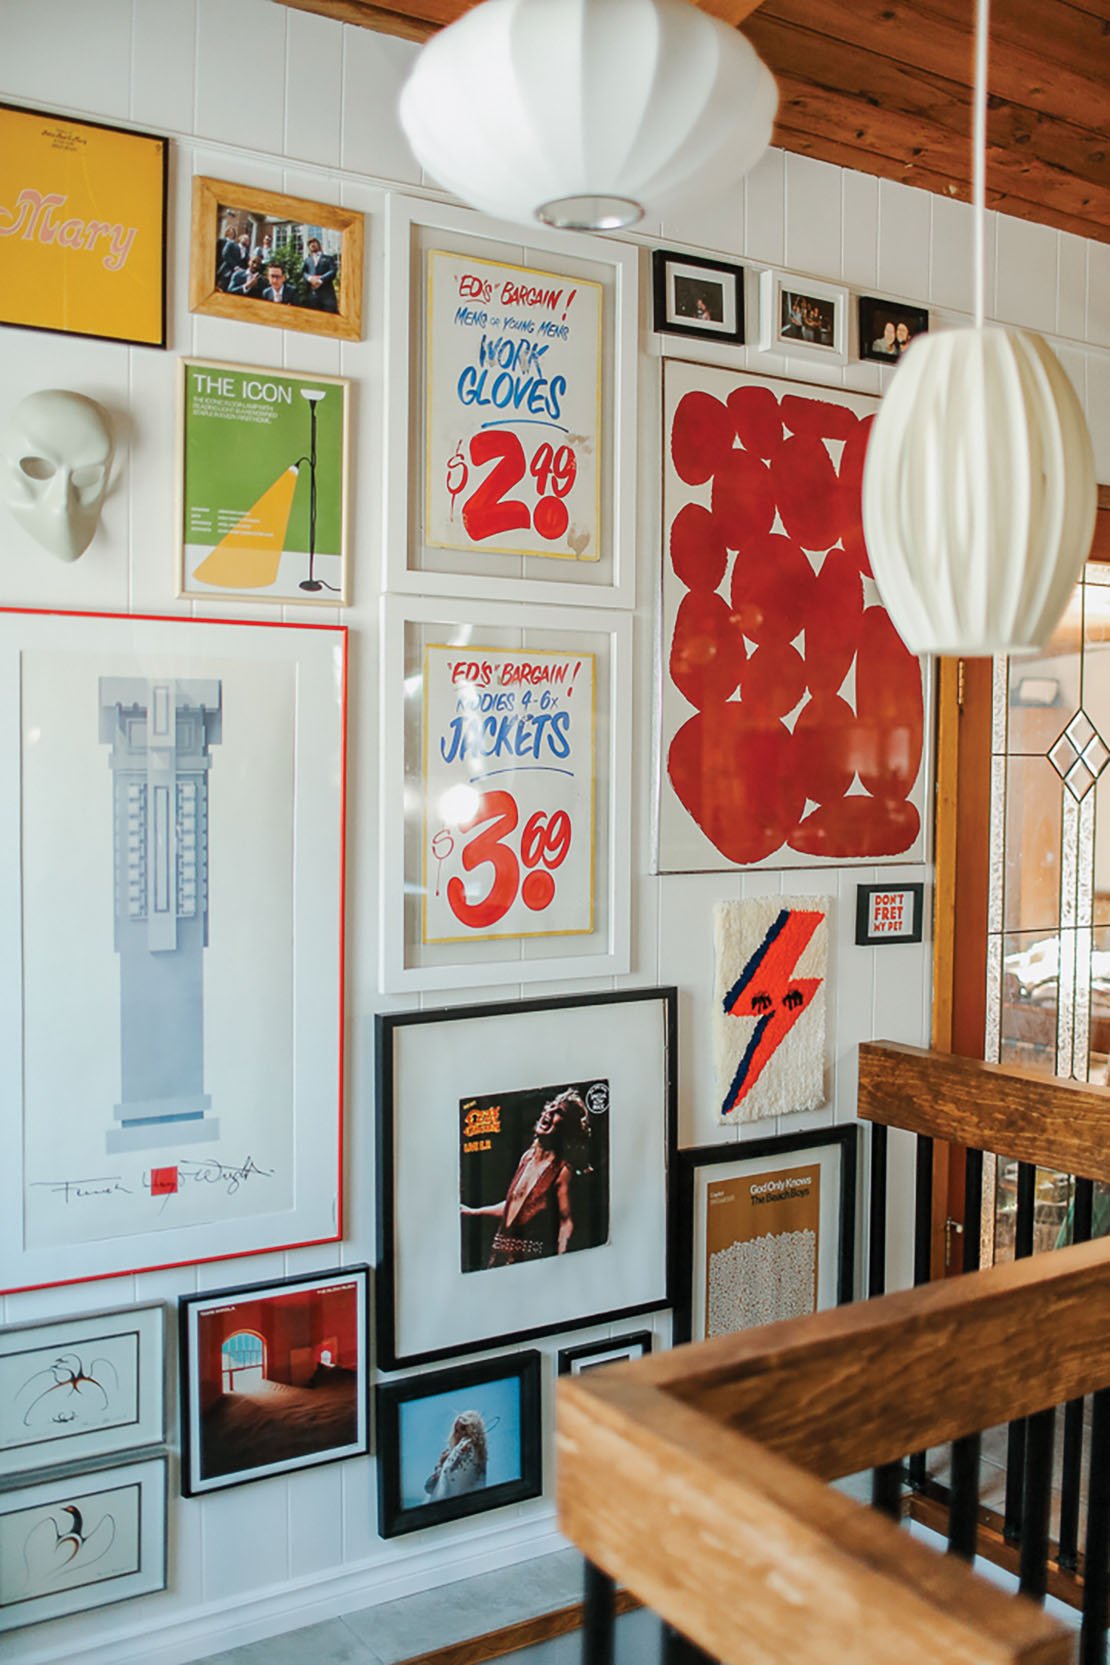
Gallery wall
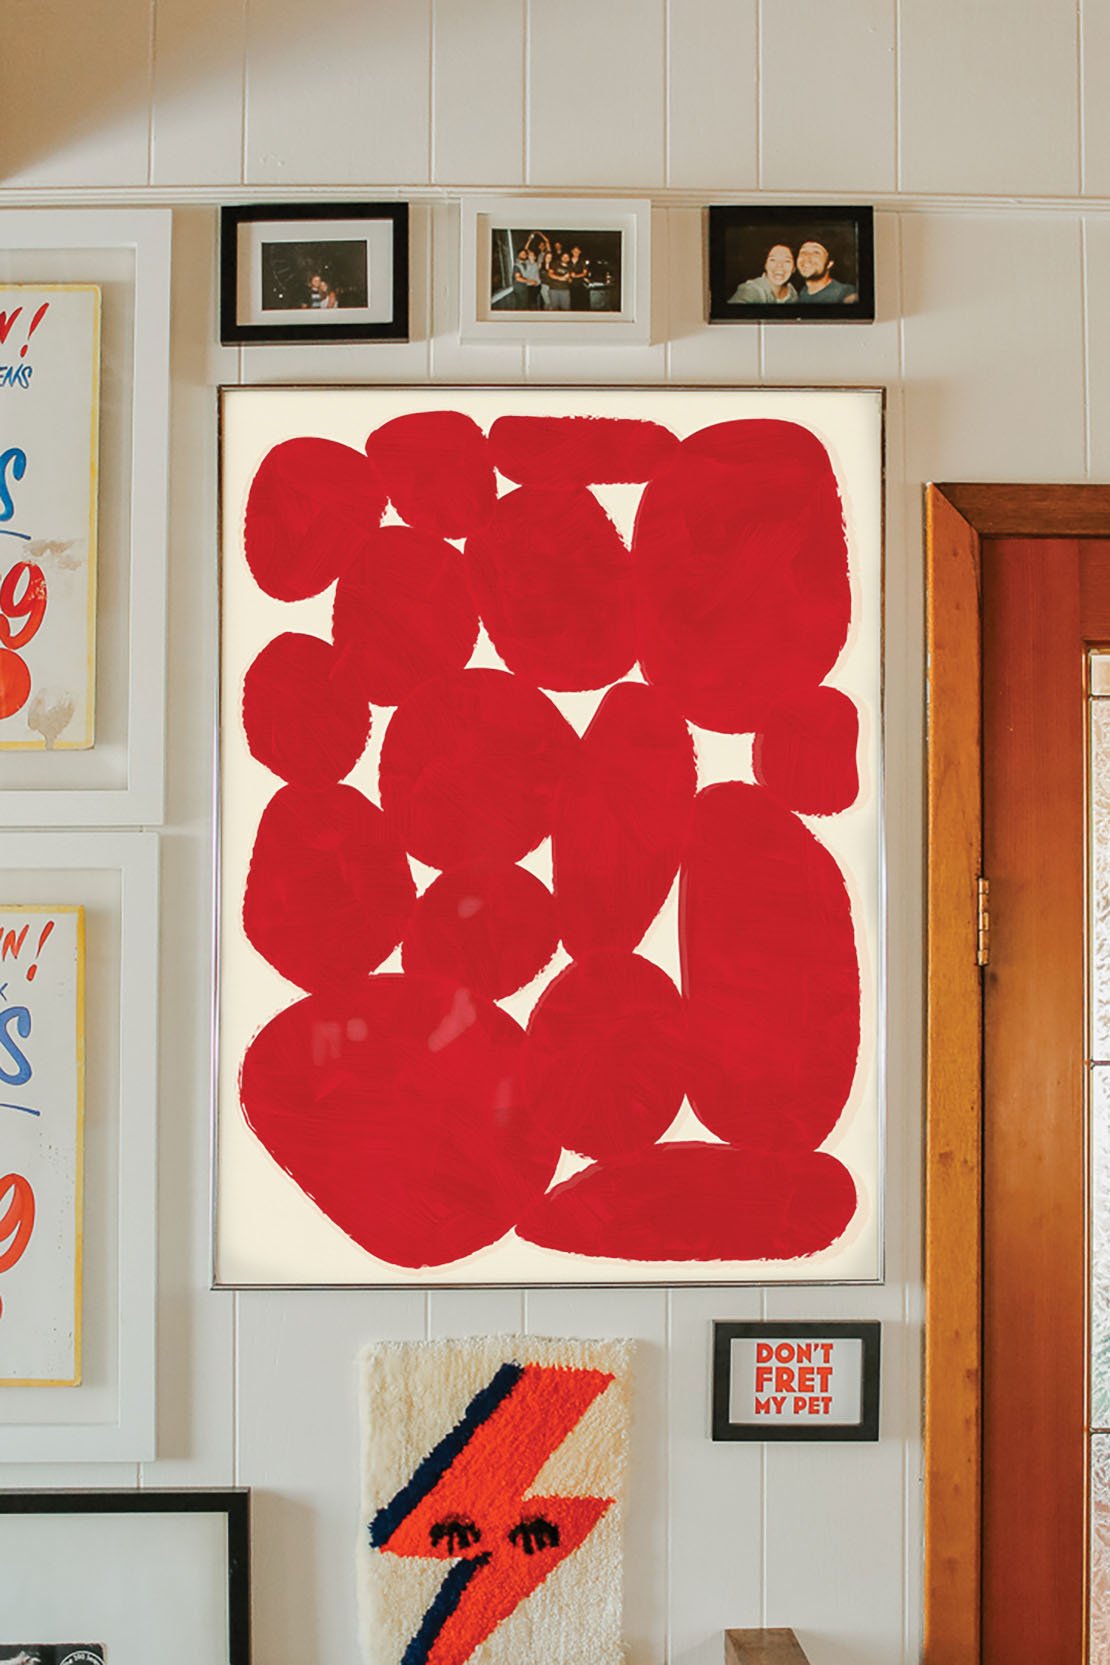
I had this huge blank wall that was screaming for a gallery wall. I had one in my old place and used that paper cut-out hack that people do when figuring out the placing. But this space is so big and so tall I realized that probably would take more time than it's worth. So, I actually put a picture of the wall into Photoshop, added a grid to scale, and placed digital pictures of all my prints in the grid to figure out the placing. What this did was predetermine the measurements between each print and the one next to it, so all I had to do was follow the measurements on the grid.

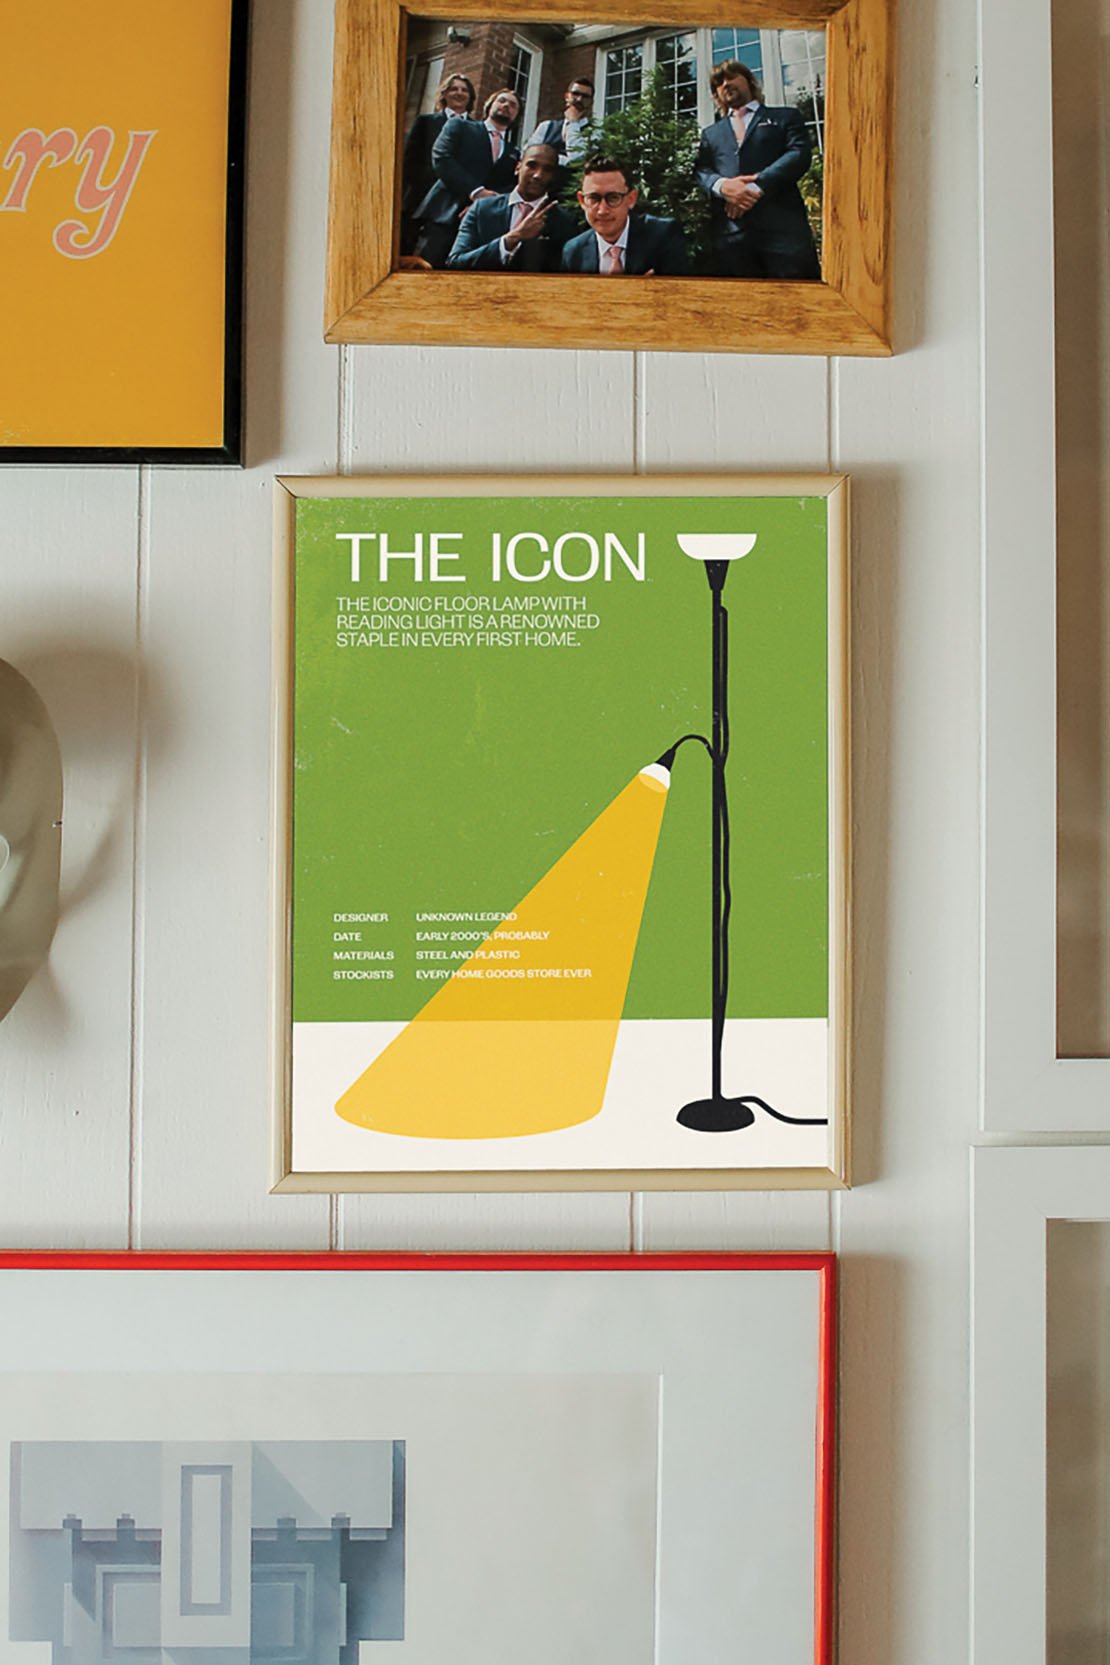
I made two digital art prints in collaboration with our creative director Emma, that are actually for sale right now on our website! We made a beautiful abstract piece and a funny vintage ad piece.
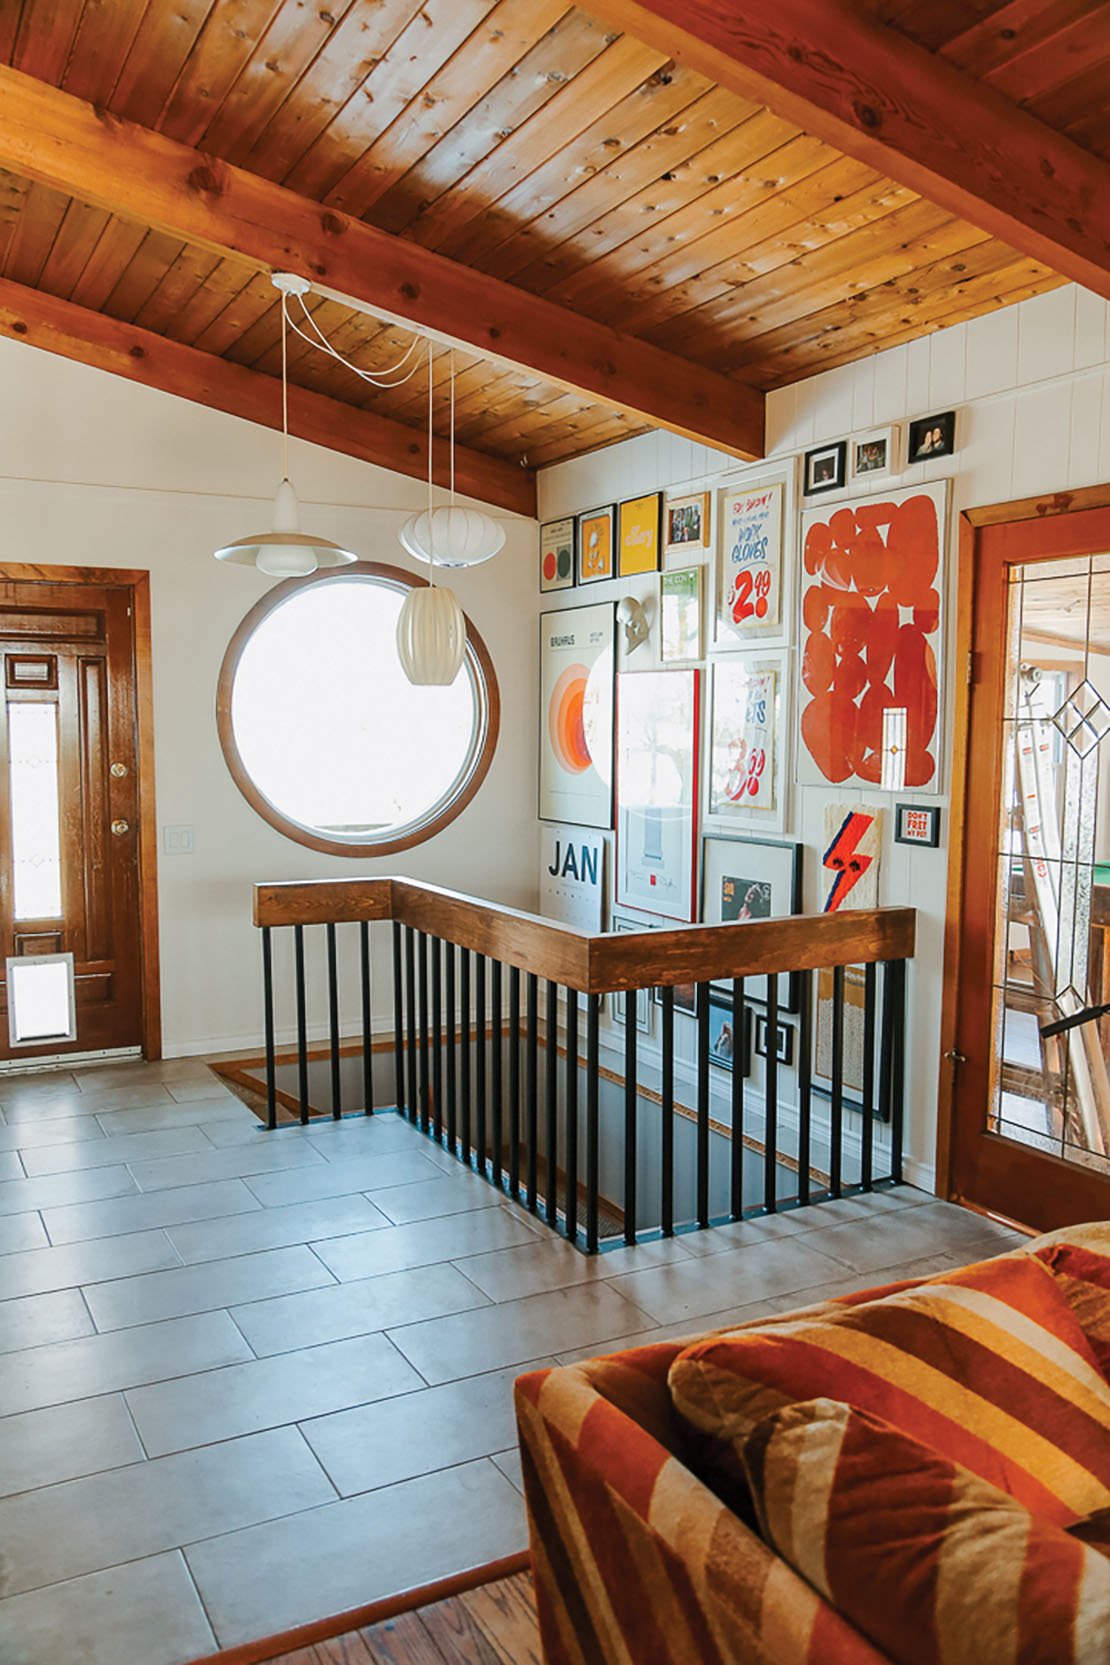
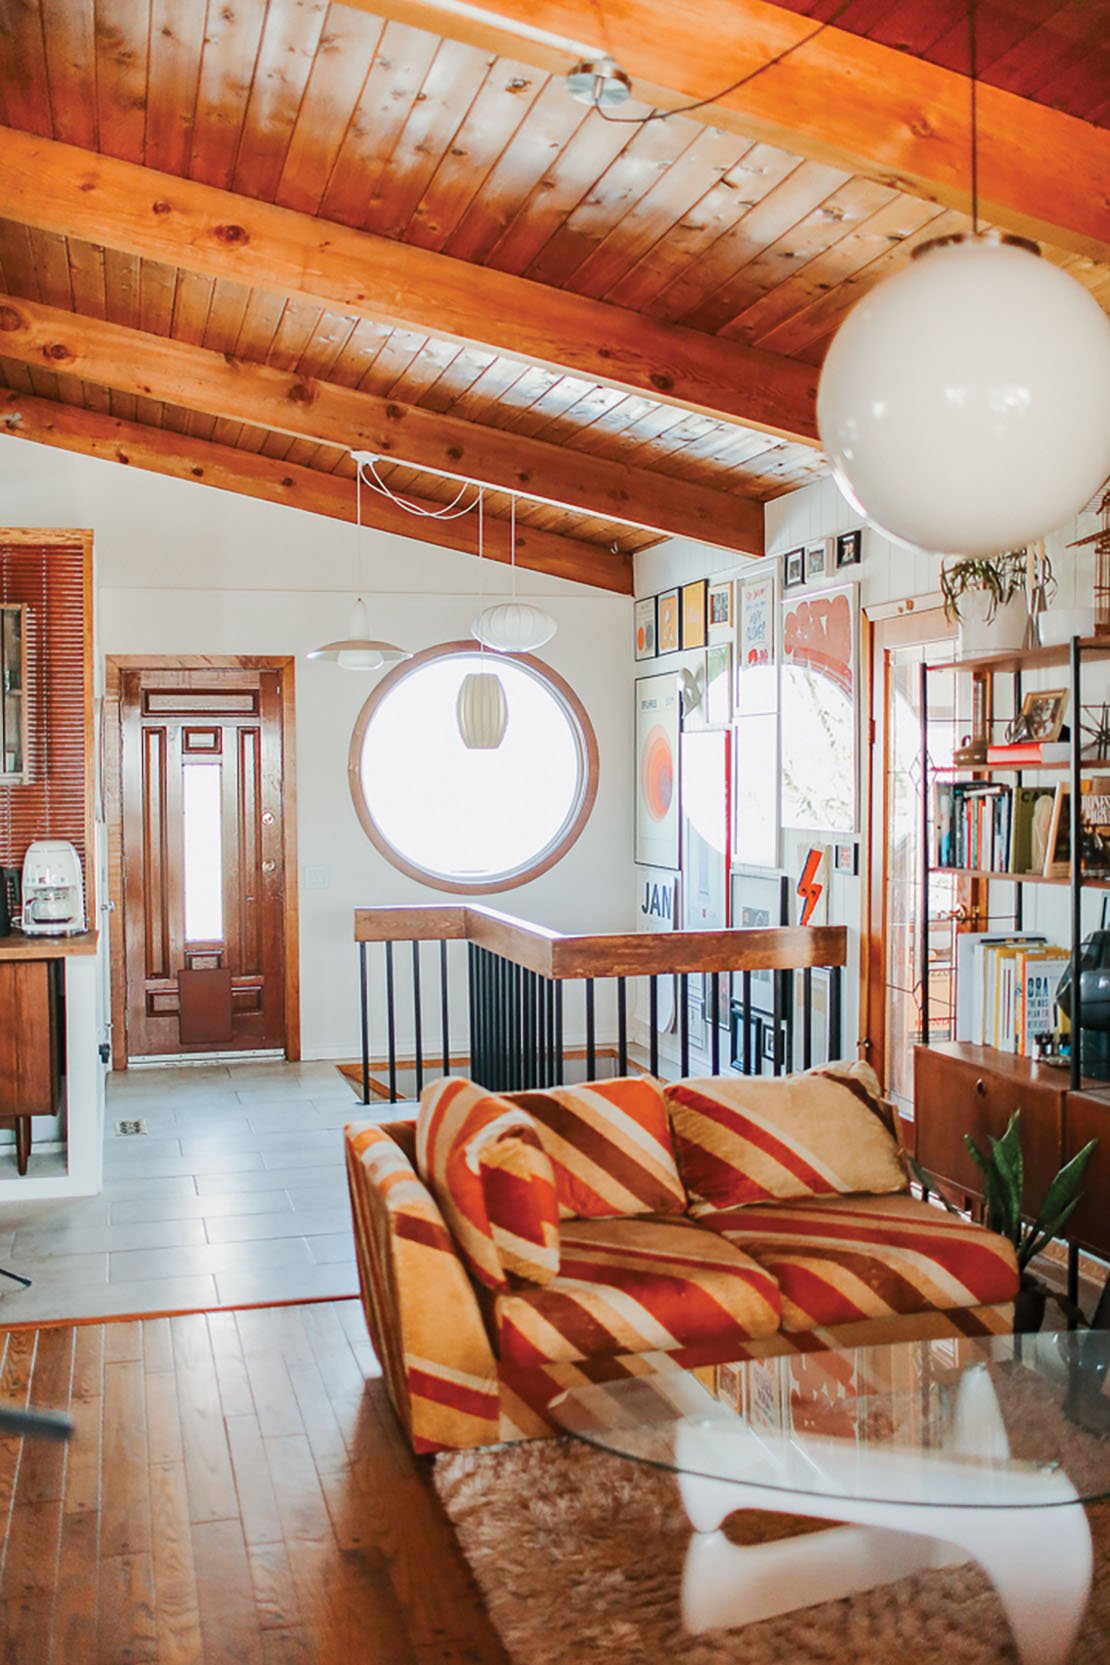
Final Space
I am in love with how this space turned out; I can't believe it is actually my home! And thank you to Canadian Choice Windows and Doors for making my dream front entryway come to fruition!

Part 1 of the entryway makeover!