Style Selected: Condo Patio Makeover!
We’re back with another episode of Style Selected! Style Selected is a series where we make over people’s spaces - with a twist! Becky comes up with one design, Kelsey comes up with another design, and our guest has to select which design they want us to execute in their space!
Today we’re at Kelsey’s friend Angela’s condo! Kelsey got this idea for this Style Selected when she went over to Angela’s condo, and couldn’t sit outside because the patio was kind of a disaster… so we’re here to help!
BEFORE
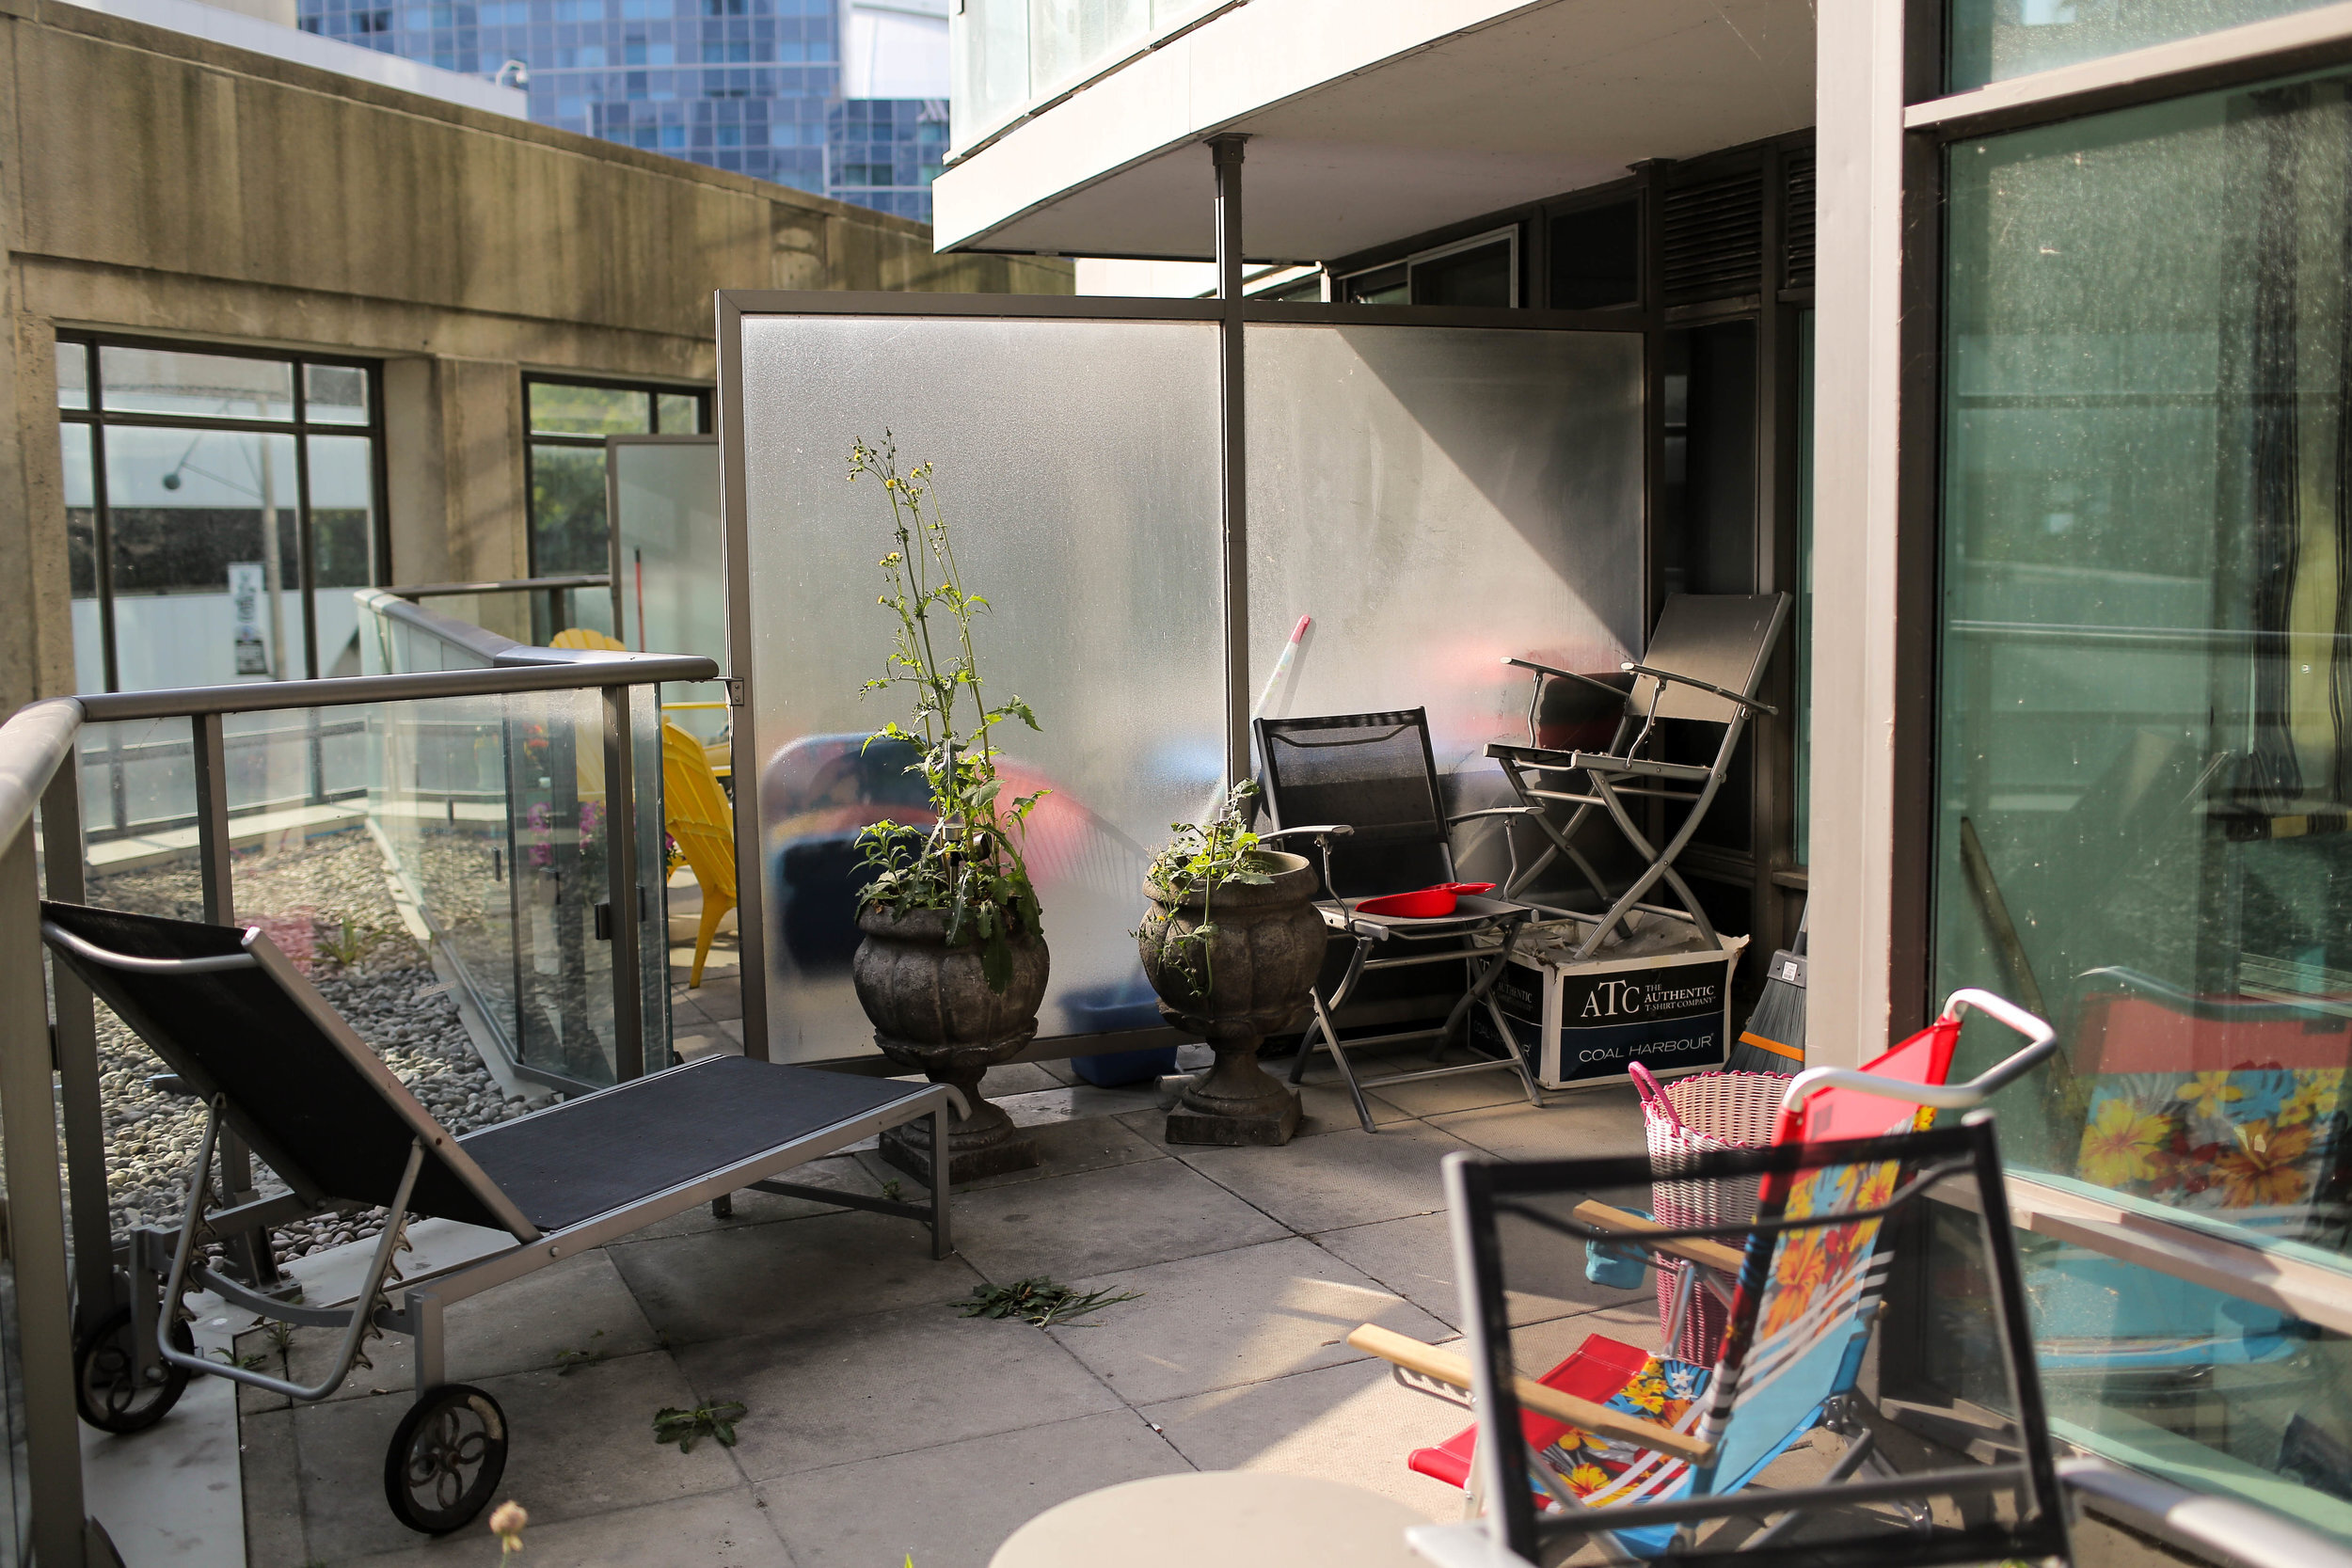
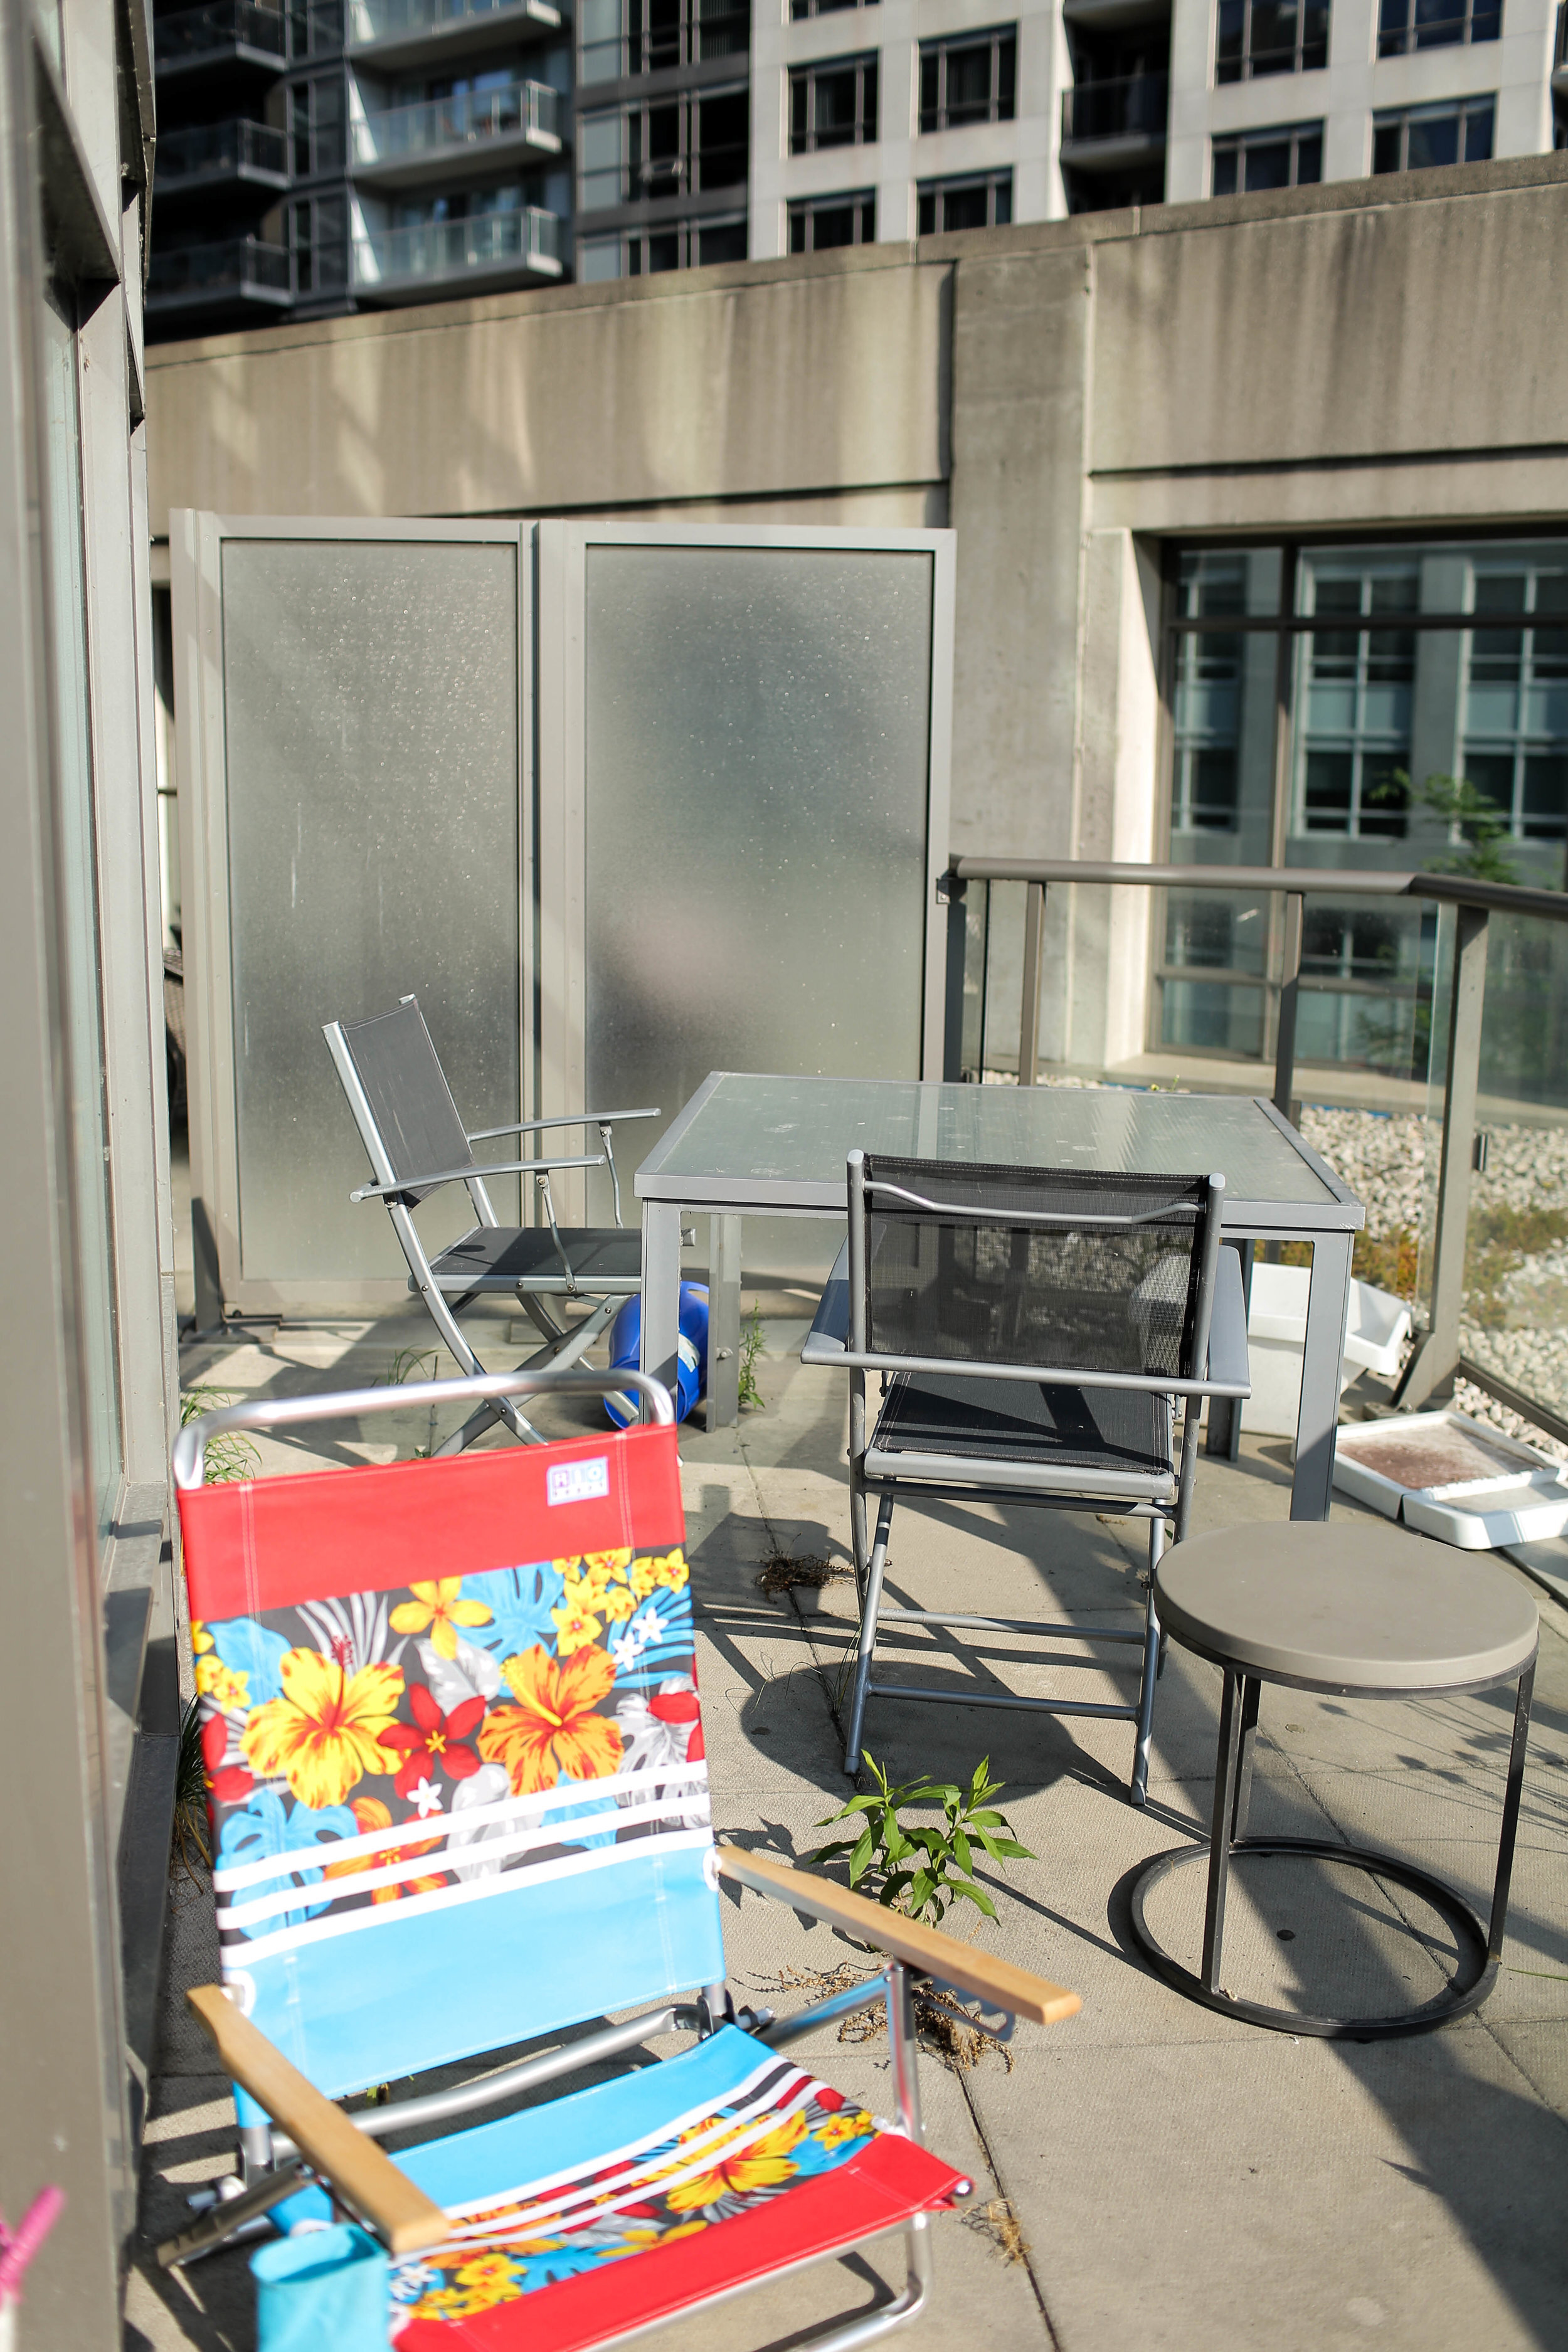


Here are some of the things Angela wants changed about her space…
The weeds and dirt need to go!
Adding brightness!
Lots of comfy seating.
More plants!
With this information, the girls got to work on their designs. Here’s what they came up with.
KELSEY’S DESIGN

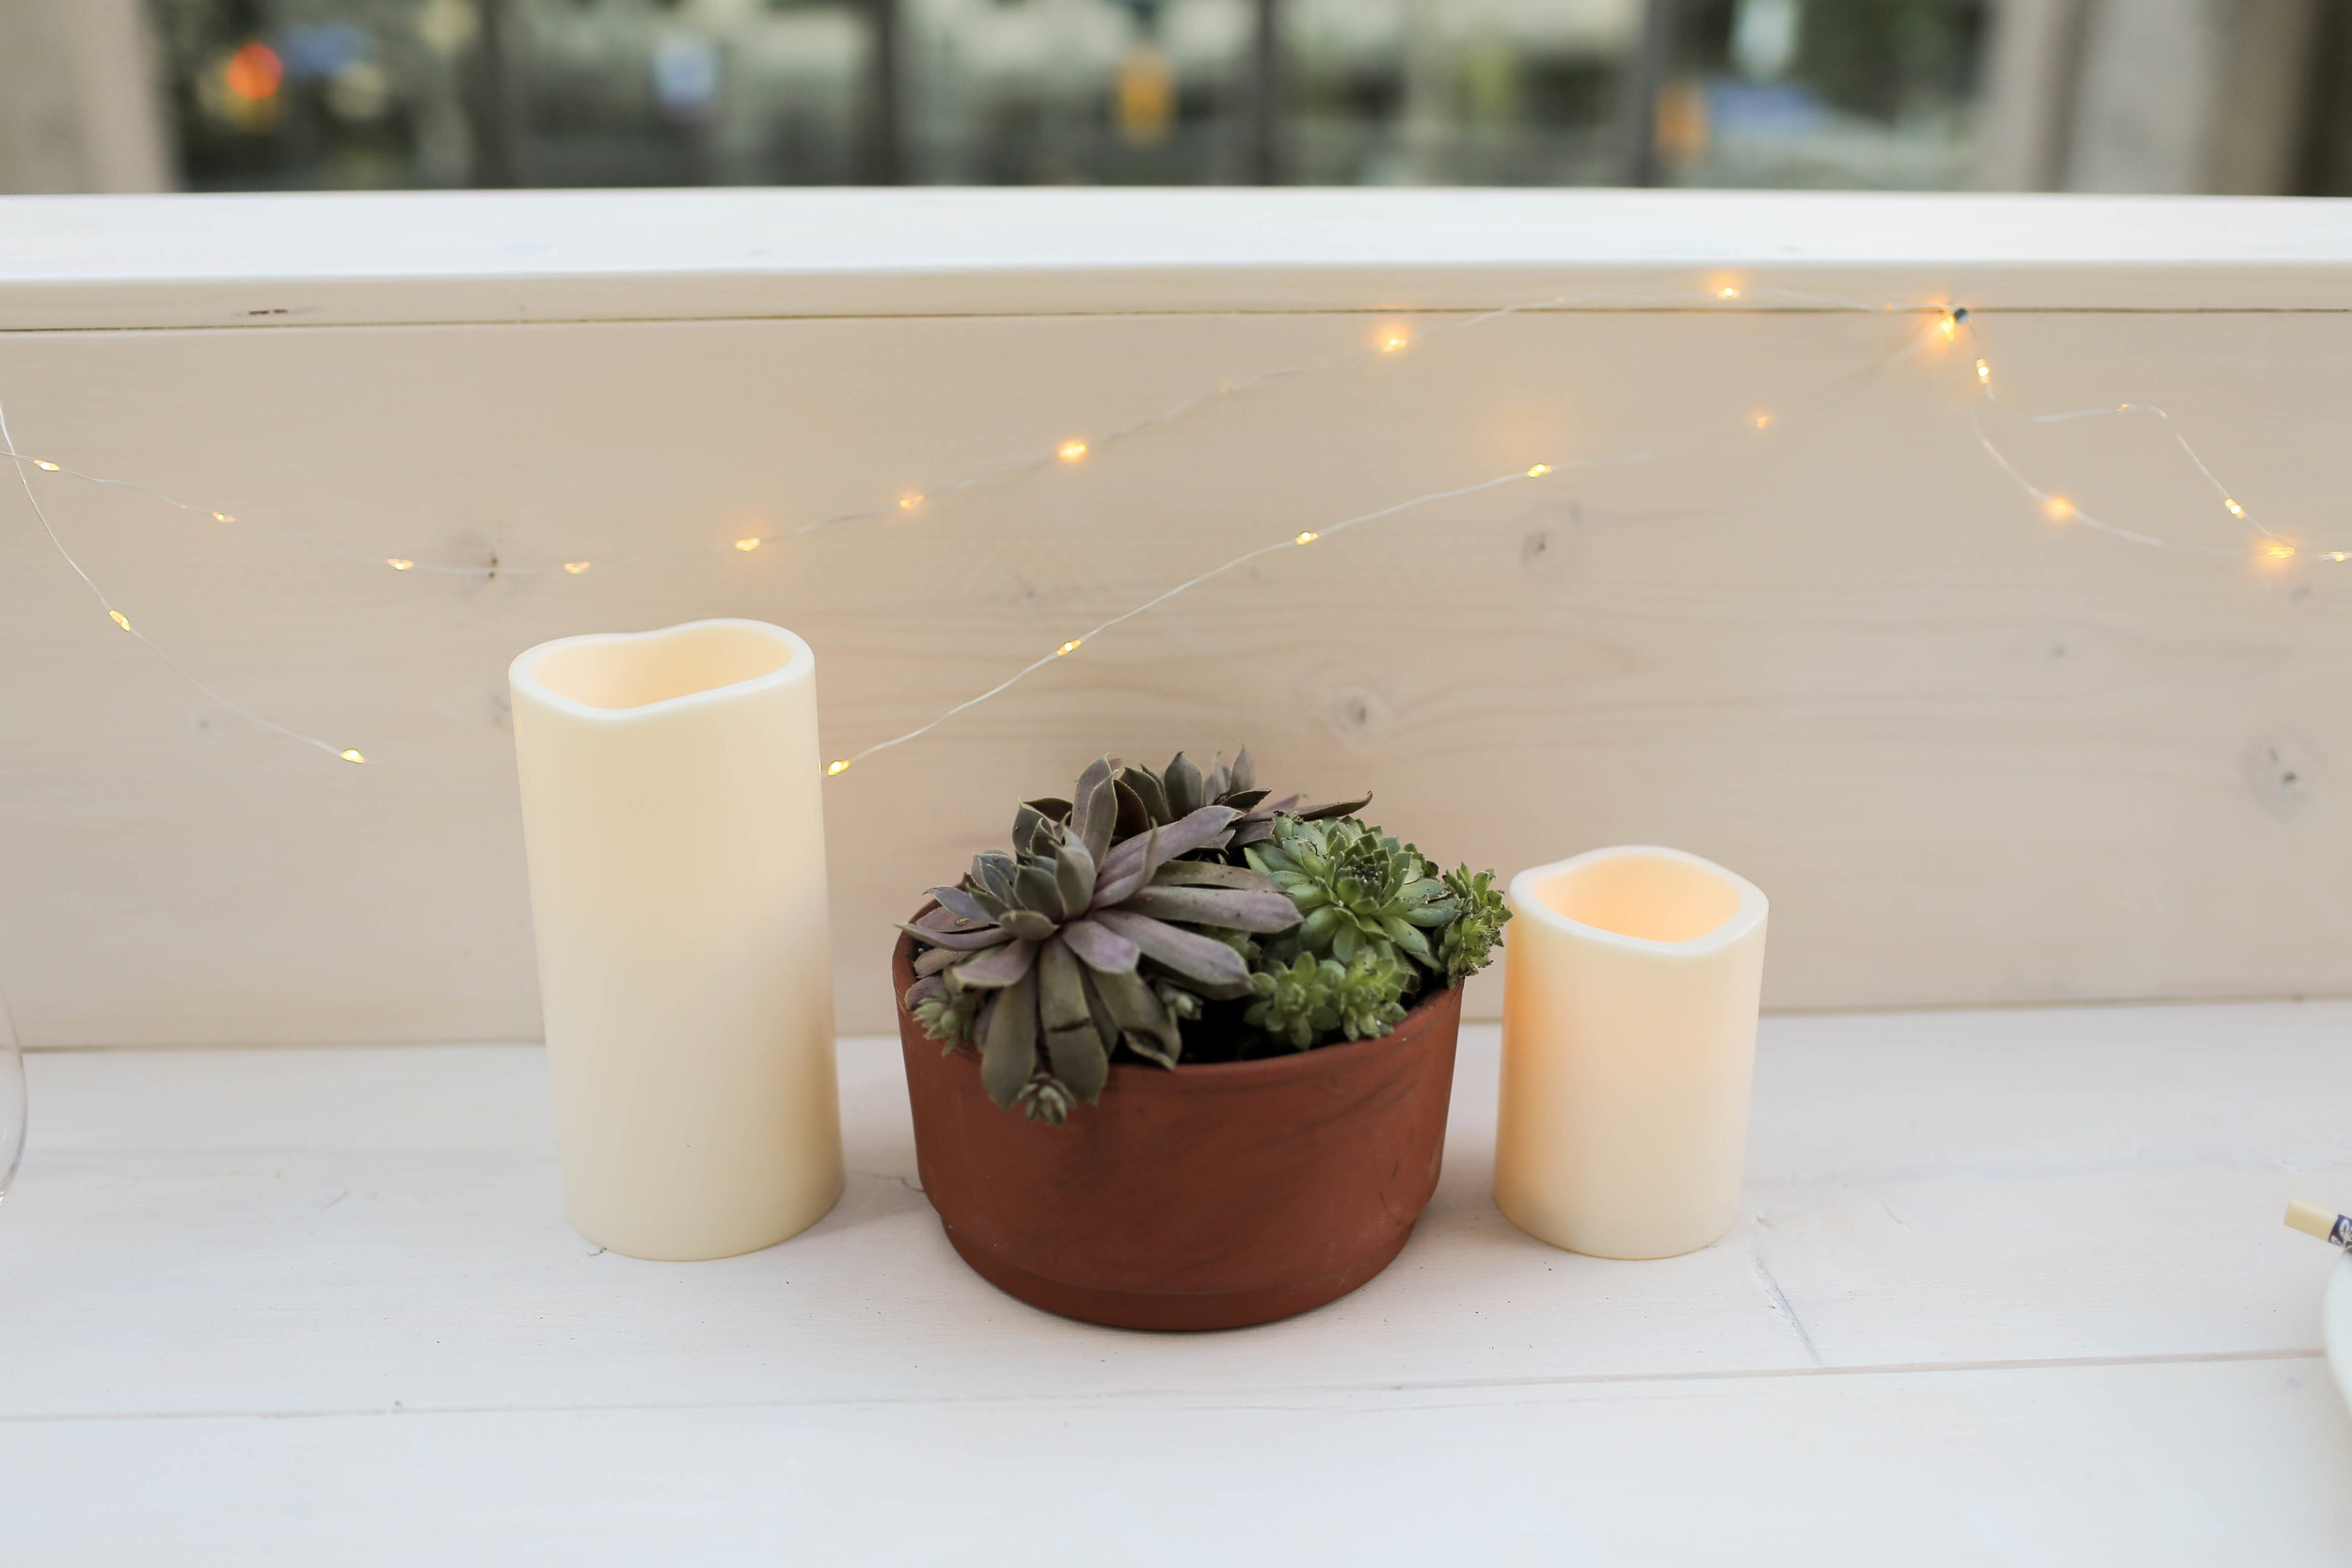
Kelsey decided to base her design a couch that she found on Article, that had some darker more rich themes. She also planned to add lots of plants, of course, to add a more natural feel to the space. Angela has these glass divider walls that aren’t super cute, so Kelsey planned to cover them up with a really cool chevron plant design! There is definitely going to be tons of seating, and the inclusion of a bar cart for all of Angela’s sweet patio parties. To finish off the space, Kelsey is going to add lots of lighting with some hanging lights and faux candles.
BECKY’S DESIGN

Becky was inspired by light bleached wood tones, because Angela mentioned wanting a bright and airy feel to the patio. To make sure the light tones don’t blend into the grey of the concrete building, Becky plans to add pops of colour with orange and teal decor, and of course lots of greenery like she asked! Working with what she has, Becky plans to refresh Angela’s giant planters with a fresh coat of white paint. Becky also plans to add a super cute recycling station for all of her patio parties! Of course, she plans to add tons of comfy seating. To finish off the space, Becky plans to add a really cool over-the-railing bar/table top! Super cool and super functional.
Angela decided to go with Becky’s plan, so let’s get started!
THE TRANSFORMATION
The first step in any patio makeover is to pull weeds, and give the whole thing a good clean! Once the patio was clean and some shopping was done, it was time to get started on building the railing bar!


OVER-THE-RAILING BAR
The general idea we had when making this bar was to build a tall table that would be able to support itself, but add a backsplash and additional pieces to hook the table over the railing for extra security and to hide the railing!
We started by lying two thicker pieces of pine wood on the floor, and attaching them together using two shorter pieces of wood drilled in vertically across the two thicker pieces. Be sure to use wood screws for extra security.


We then attached 6 long thinner pieces of wood to our thicker wood using some corner brackets, to act as the legs of our table!


We then added the ‘backsplash’ and railing hook pieces, and set the bar over the railing.
We gave the bar a really good sand, and applied a light bleached wood stain to the entire bar. We ended up applying two thin coats of the stain, allowing a solid hour in between coats.

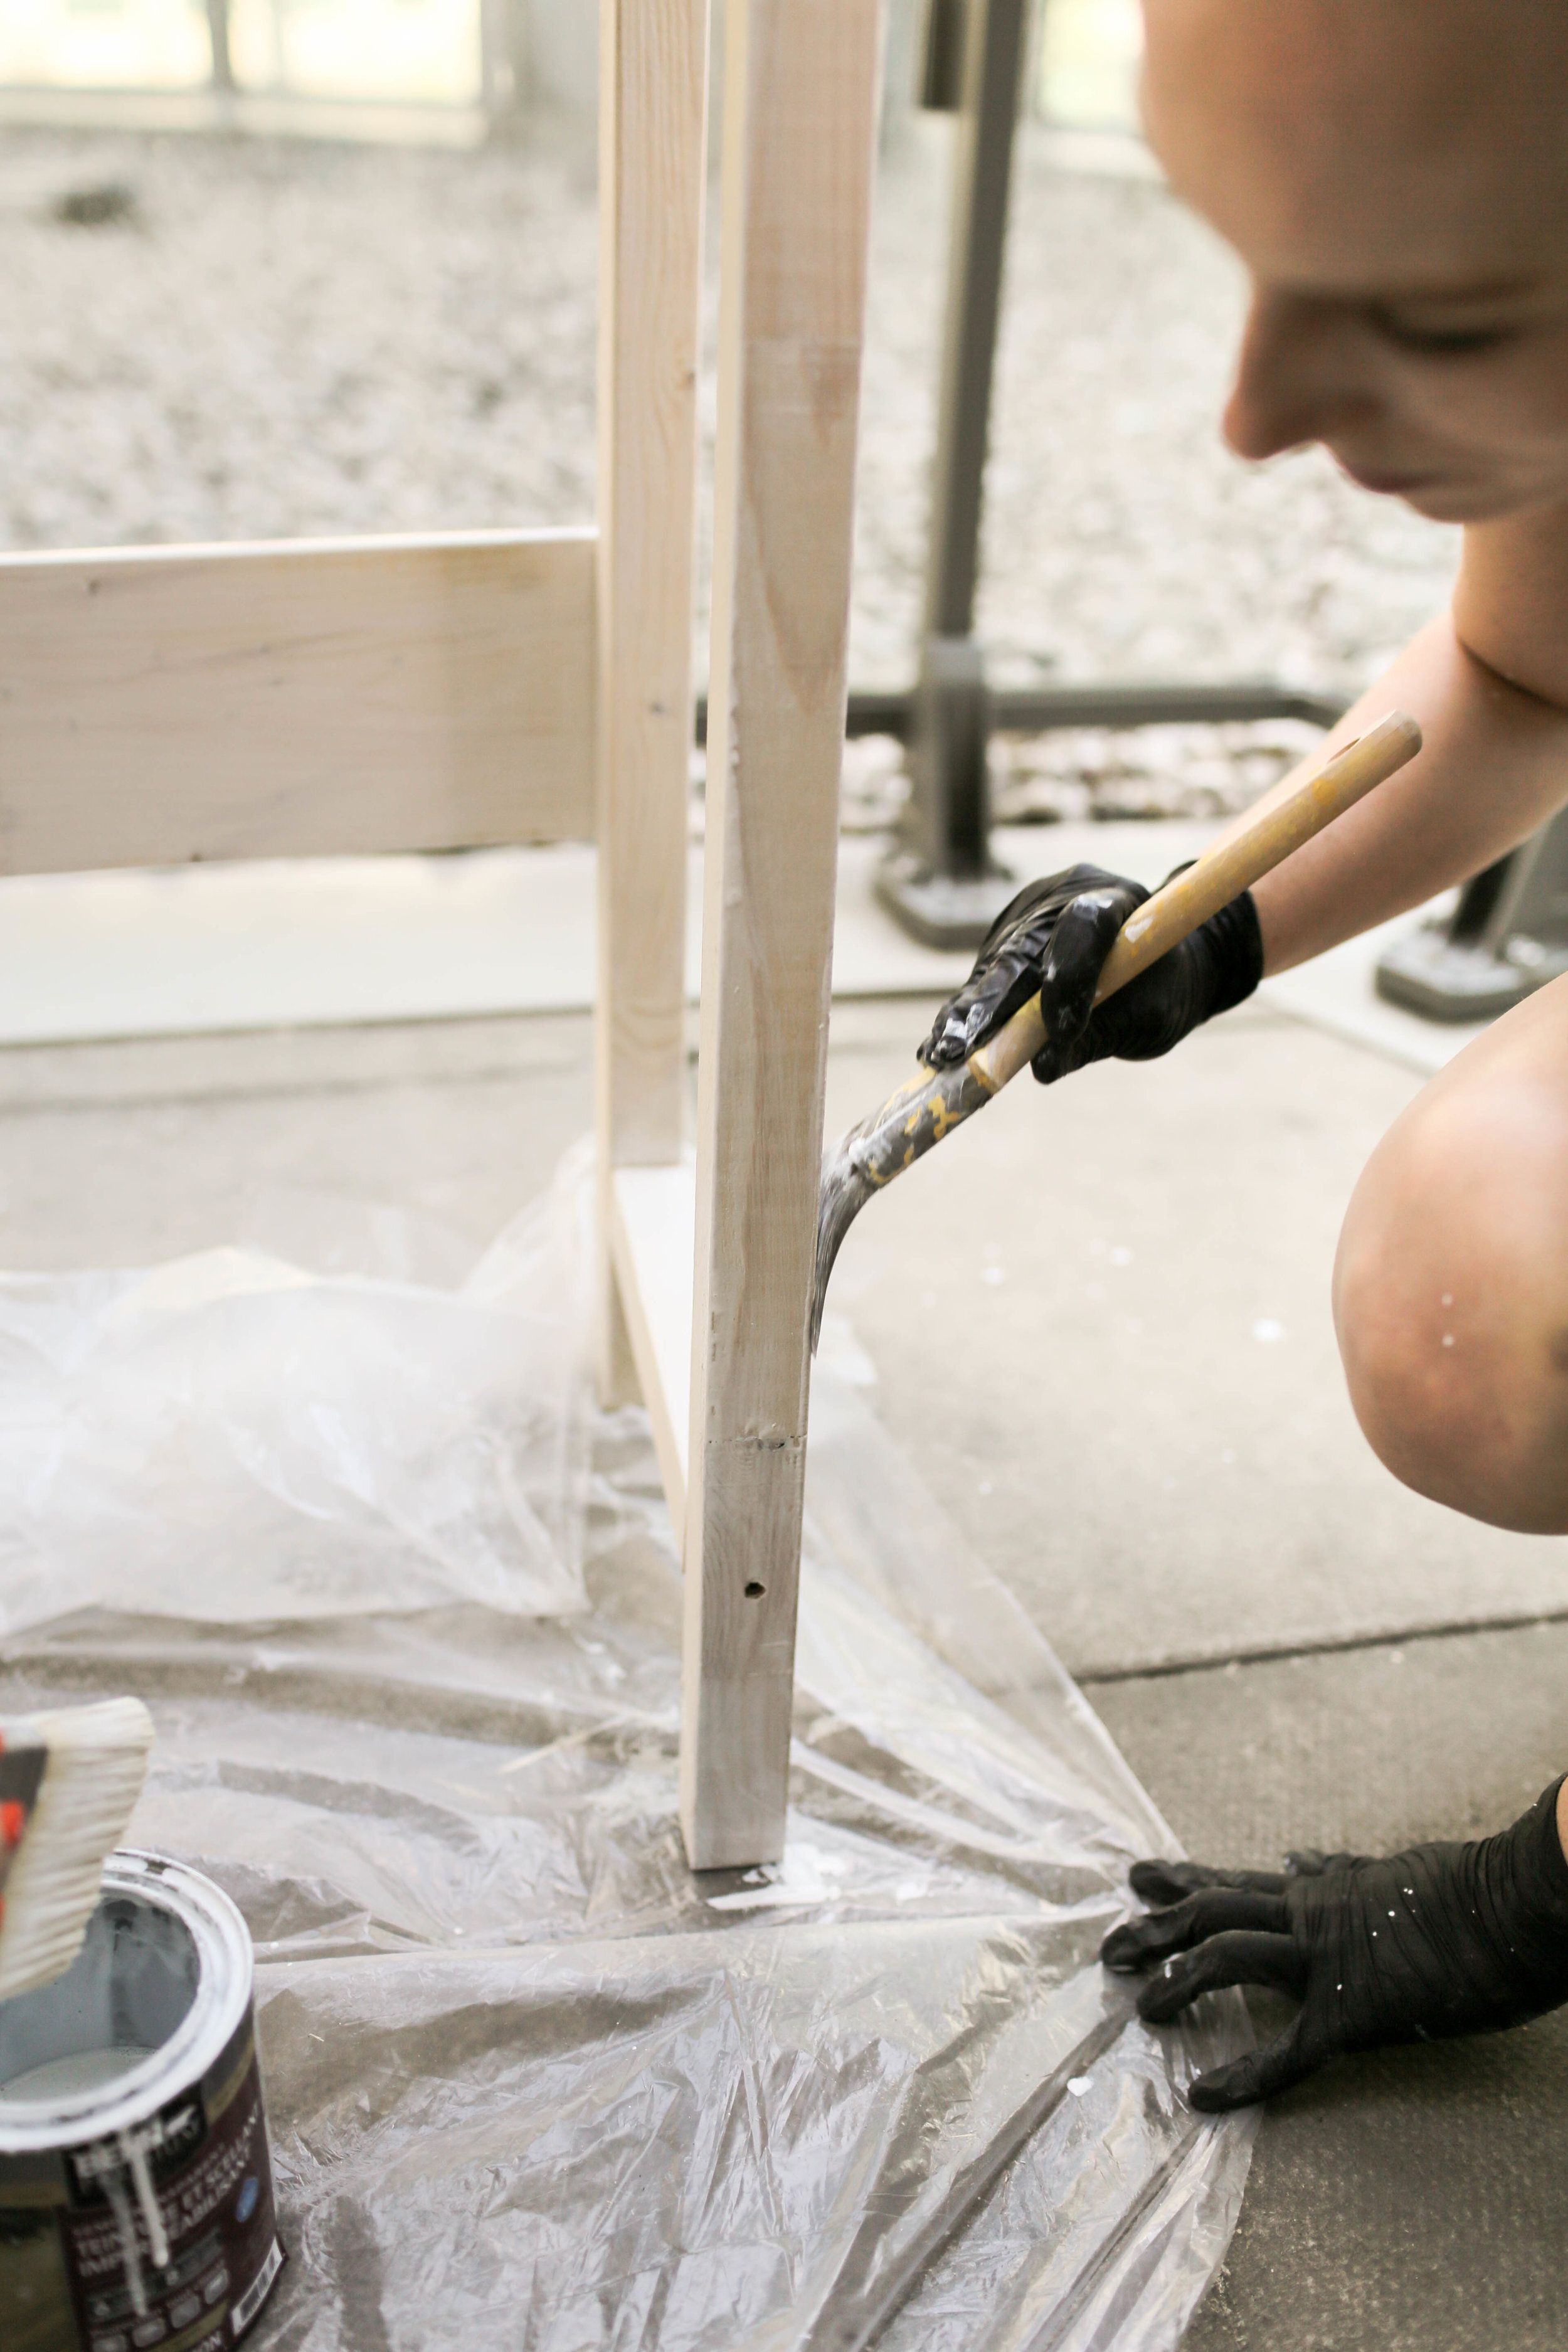
And that’s it! This IS just a guideline for this DIY, as we didn’t include exact measurements here. This is because this will all depend on the railing and patio that you are working with. This is very custom to the space!
The next step was to spray paint Angela’s existing planters with a fresh coat of white paint, and add some brand new plants once they were finished drying!

Next, we moved on to covering these frosted glass walls with something a little more trendy!
DIY CANVAS WALL HANGINGS
MATERIALS:
Canvas fabric of your choice
White paint
Outdoor removable sticky hooks
TOOLS:
Scissors
Paint brushes
We started by hanging our stunning warm coloured canvas fabric over the frosted glass walls using some outdoor removable sticky hooks. Once they were hung up, we used some white paint and painted on some bold graphic patterns! We decided to add in some accounting symbols to the mix, such as division signs and ticks, because Angela is an accountant! You can also paint the symbols on while the fabric is on the floor, it’s all up to you!


Time to bring in all of the furniture, accessories, decor, and lighting to finish off the space!
the reveal
BEFORE


AFTER


SALA WHITE DINING CHAIR


We are SO excited about how this space turned out, and we think Angela really liked it too!
If you want to see the video version of this post, check it out below!