Complete Workshop Makeover
Hey everyone, I’m Rochelle, an avid DIYer and (some may say) a color-lovin-maximalist. When I first set up this workshop, it wasn’t quite reflecting who I am. So, it was high time to give it a makeover that felt more "me." Here’s a detailed breakdown of the changes I made, step by step.
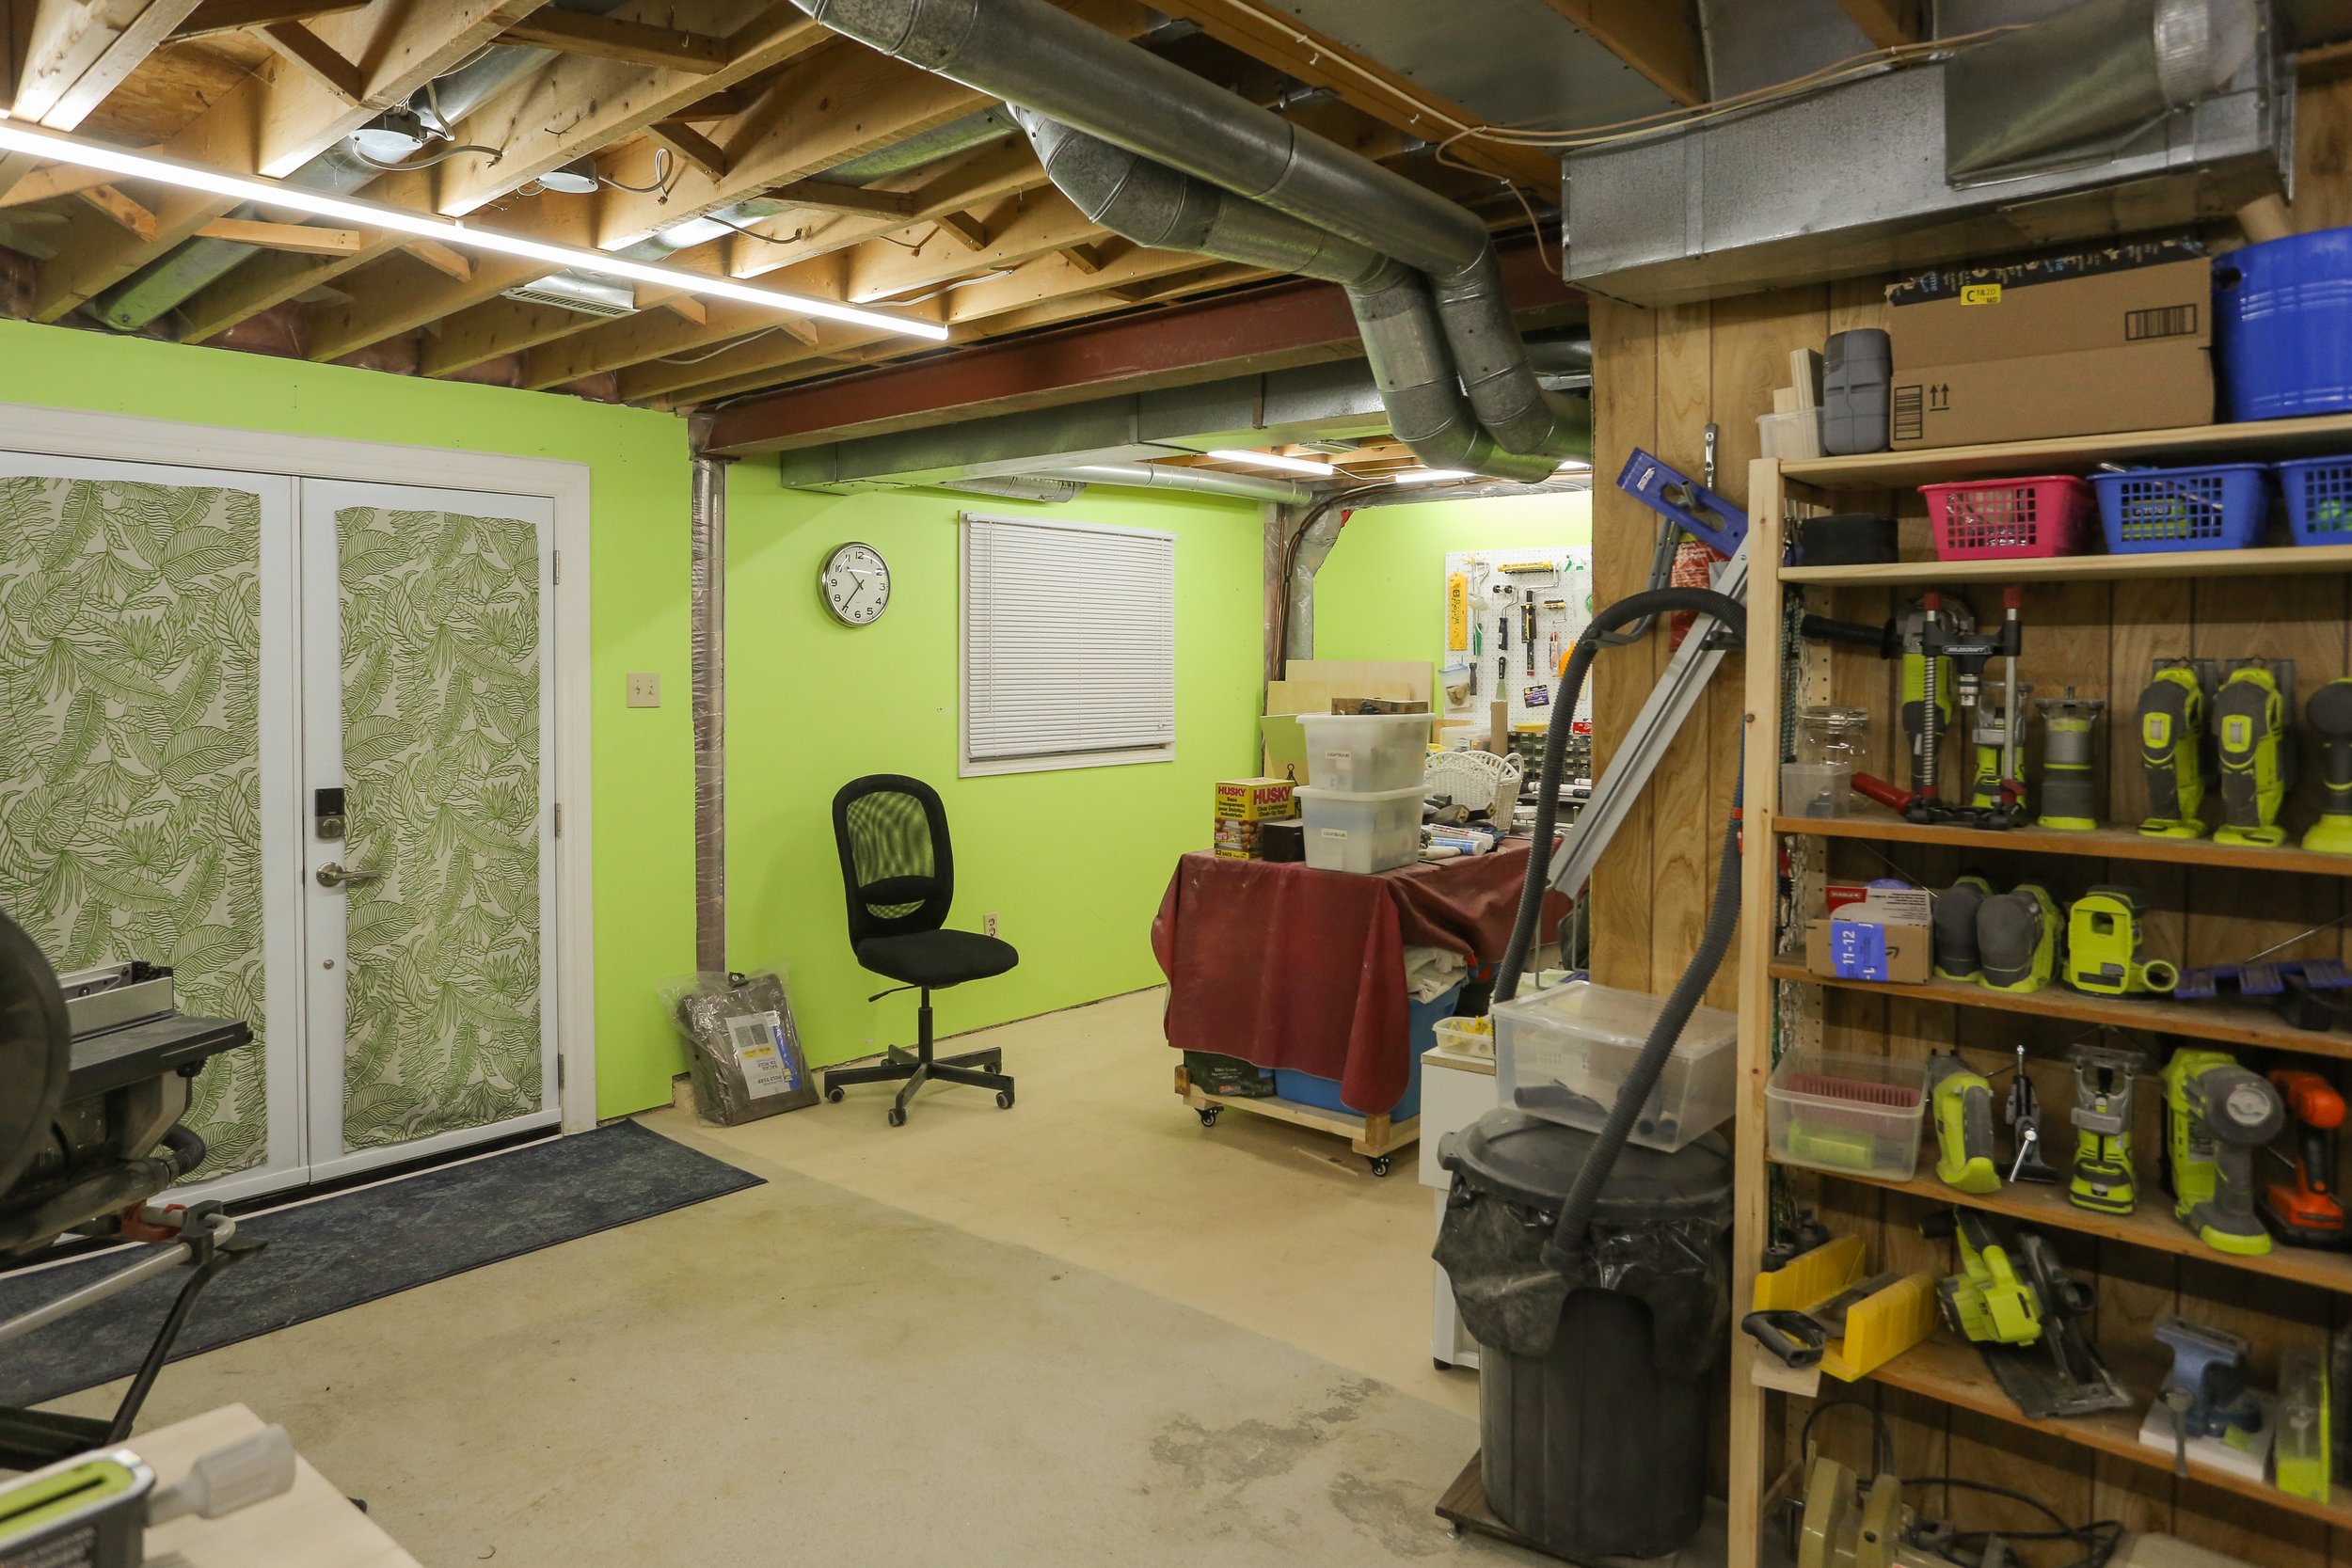
Before


Painting and Design
One of the first tasks was to repaint. The blue color in my workshop wasn’t resonating with me anymore. I wanted something that felt more vibrant and aligned with my personal style.
Color Selection: With the help of my friends, we narrowed down the colors and decided on a brighter pink for a more lively feel and a lighter, olive branch green for balance.
Painting the Walls and Floor: I painted both the walls and the floor to freshen up the space. The new colors gave the workshop a vibrant and cohesive look.


Decluttering and Organizing
My workshop had accumulated a lot of stuff on tables and in bins. I decided to get everything off the tables and out of the bins to make way for a more organized and functional space.
Pegboard and French Cleat Systems: While I had already been using a French cleat system for some of my tools, I needed even more organization. I expanded this system, as it’s incredibly efficient for organizing tools and supplies.
Dust Collection System: A crucial addition was a dust collection cart. Having a dedicated system for dust collection is vital in a workshop to maintain cleanliness and improve air quality.


Functional Upgrades
To improve the functionality of the workshop, I planned several builds and rearrangements.
Rearranging Furniture: I kept the work tables and table saw in their places but moved the shelving system and planer to enhance the workflow.
New Builds: I built a dust collection cart, a repurposed broom closet, and a cart for my miter saws. These additions not only increased storage but also helped in organizing tools more efficiently.
Countertop with Storage: I added a countertop with sliding doors underneath for hidden storage, which helped reduce visual clutter.


Curtains for Dust Control and Aesthetics
One of the practical yet aesthetic additions was the installation of blue curtains.
Dust Control: The curtains help section off the workshop from the rest of the basement, minimizing dust spread.
Visual Clutter Reduction: They also cover the shelving system, hiding the visual clutter and creating a cleaner look.

Additional Storage Solutions
Storage is always a priority in a workshop, so I made several enhancements to maximize it.
Hidden Storage: I designed hidden storage solutions, such as a cabinet repurposed from an IVAR unit. This cabinet now serves as a broom closet and storage for my apron, work shoes, and other essentials.
Pegboard Revival: Although I moved away from pegboards, I decided to paint them the same colour as the walls for better camouflage and to use them where needed.

Personal Touches and Final Details
Adding personal touches made the workshop truly mine.
Patterns and Colours: I experimented with colored trim for a tone-on-tone vibe, adding fun and personality to the space, as well as a variety of different patterns in the space.
DIY Projects: Inspired by various DIY YouTube videos, I crafted and customized several elements, like the cabinet with arched trim pieces, adding both functionality and aesthetic appeal.


Conclusion
After a lot of hard work, my workshop finally feels like a space that truly represents me. It’s colorful, functional, and well-organized. I can't wait to tackle more DIY projects in this refreshed environment.
Thank you for following along on this journey. Stay tuned for more updates and DIY adventures!


