Things We Aren't Buying Anymore!
Today we are super excited to share with you some things that we don’t buy anymore, because we have eco-friendly and DIYable alternatives!
REUSABLE COTTON SQUARES

MATERIALS:
Organic bamboo cotton (¼ yard)
Terry cloth (¼ yard)
TOOLS:
Rotary cutter OR scissors
Sewing machine
Pins
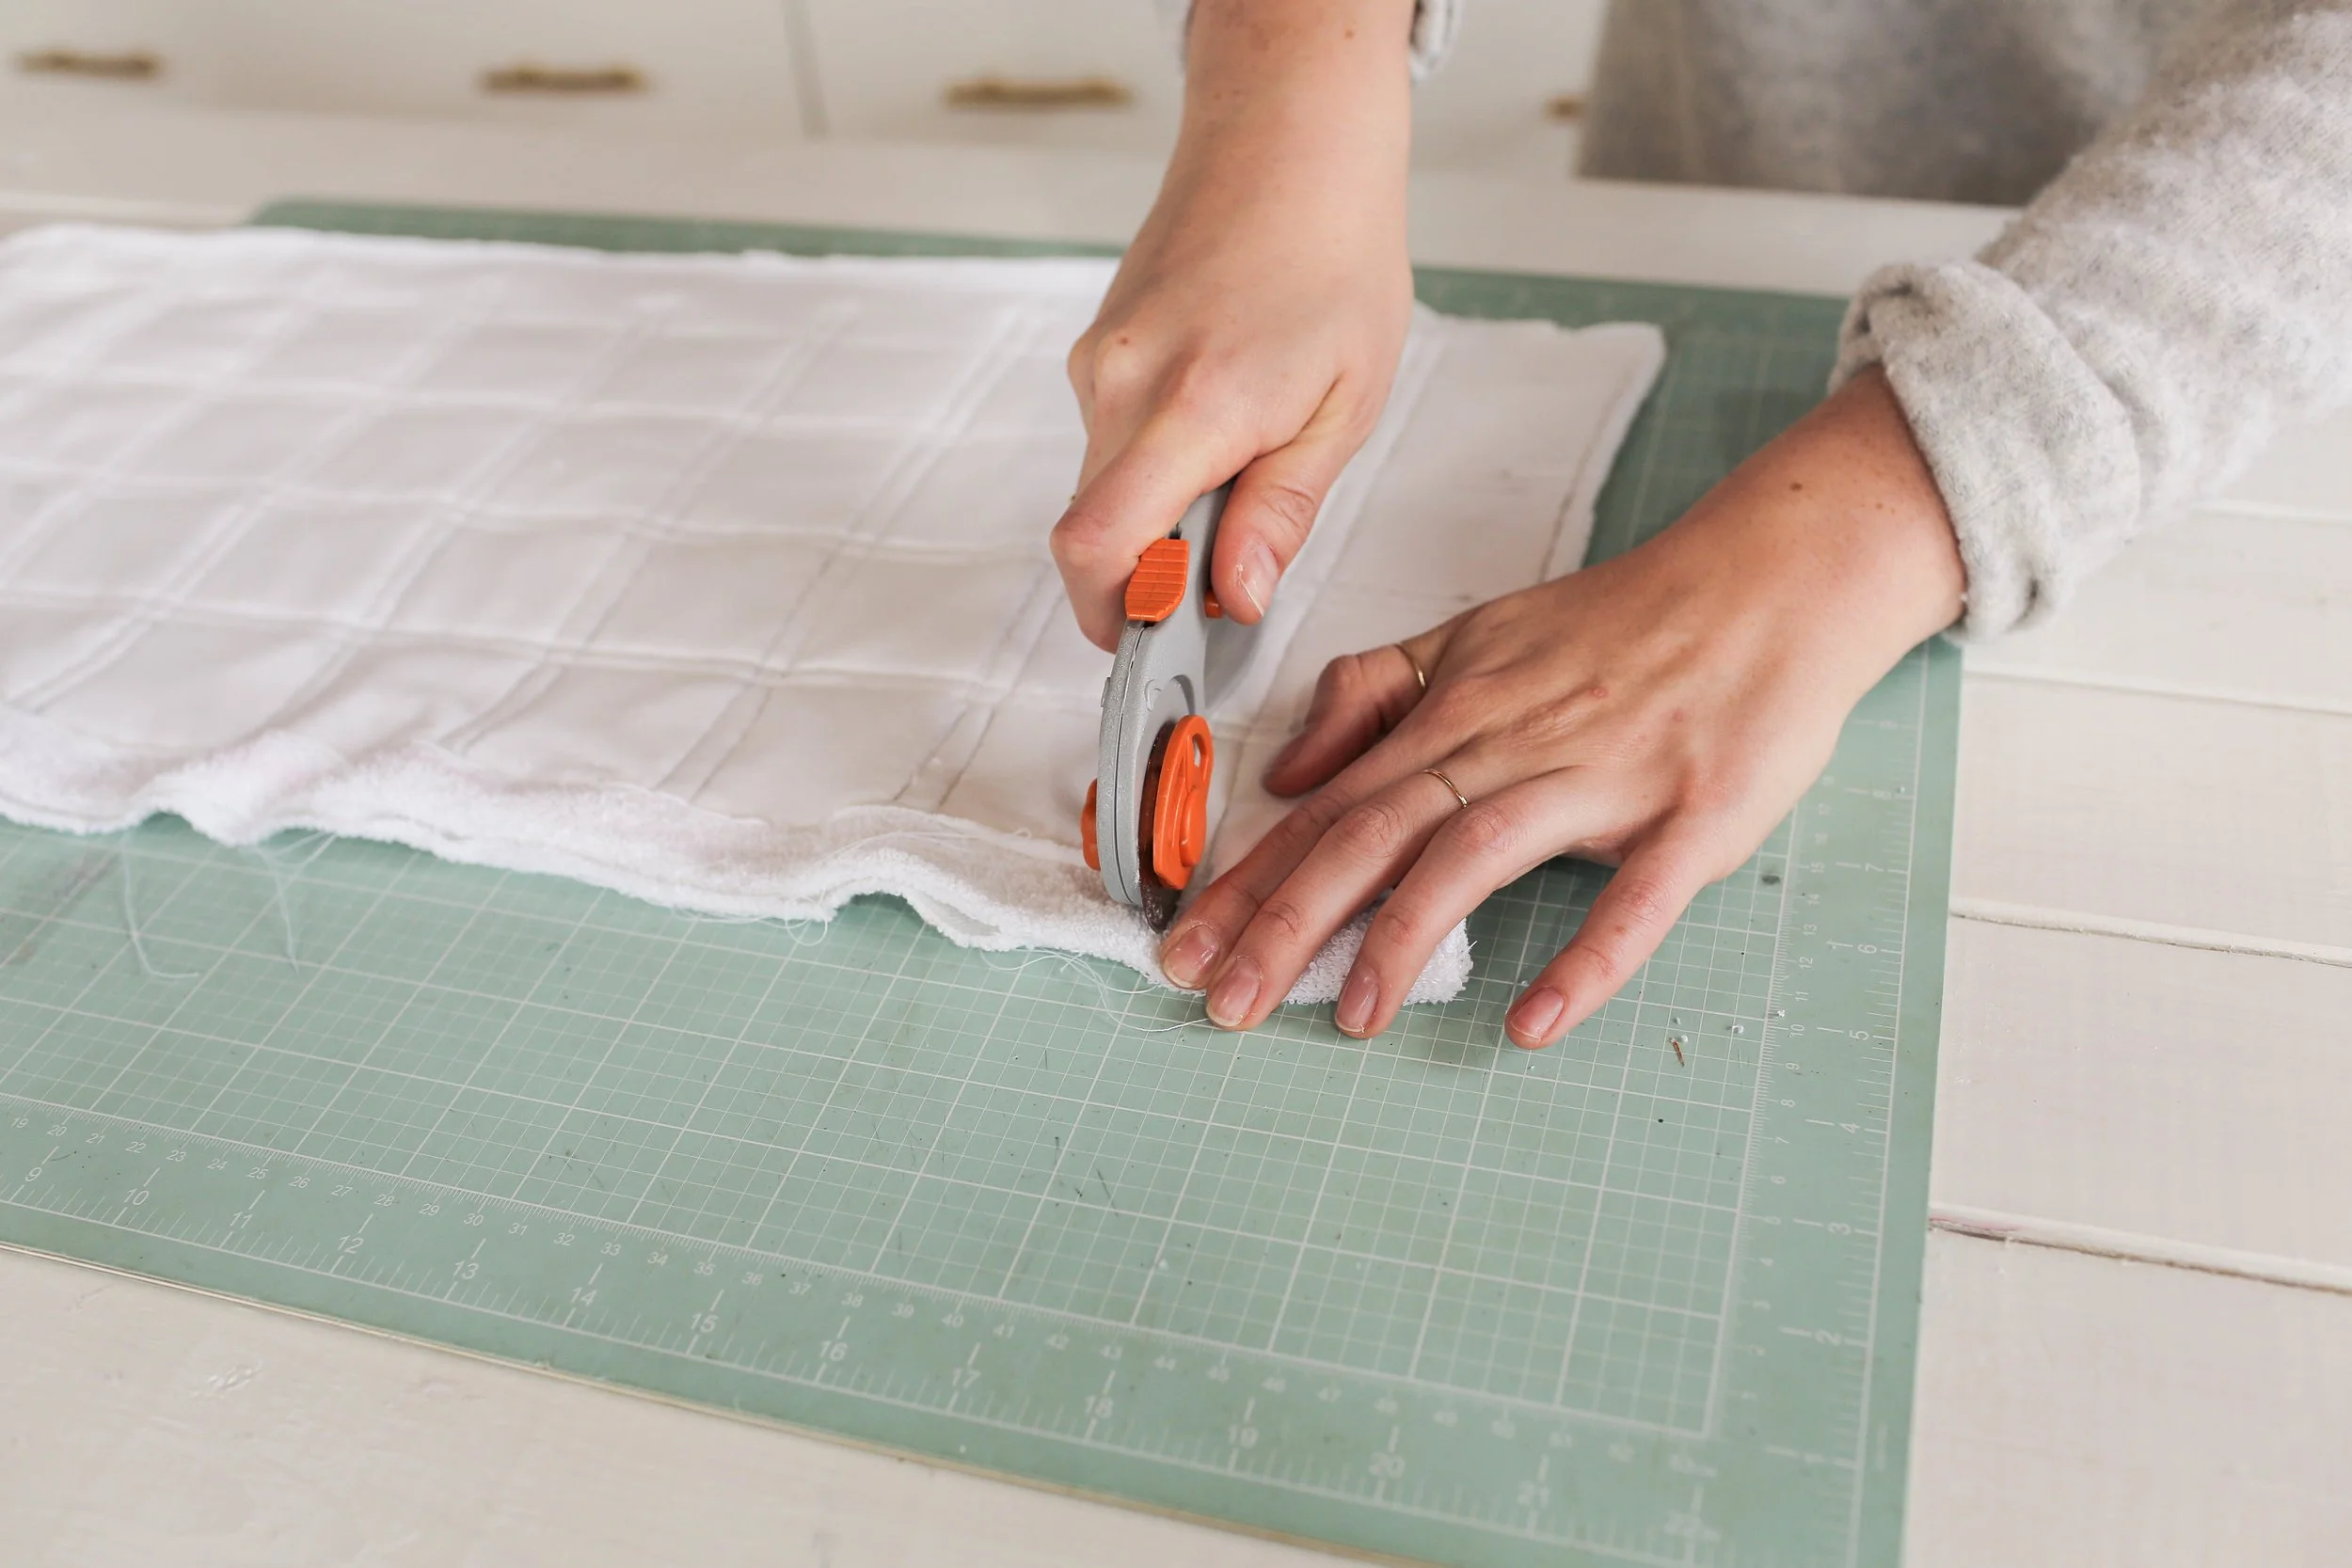
We started by cutting both materials in half to create two long rectangles that are 11” by 31”. We laid both rectangles of the terry cloth sandwiched in between the two layers of bamboo cotton. We pinned all of the layers together. Next, grab a ruler and start marking out lines on the edge of the rectangle that are 3/8th inches away from the edge.


Mark a 2 inch gap, followed by a 3/8th inch gap, followed by a two inch gap. Repeat this until you reach the end. Repeat this same pattern both vertically and horizontally. Connect all of the lines to create a grid. This will leave you with a bunch of 2x2” squares with a 3/8th inch border.

Next, take this to the sewing machine, sewing straight lines along the pencil lines. Make sure to back stitch every time you cross another stitch, to make sure the stitching doesn’t come undone.


Go ahead and cut the squares out! We used a rotary cutter for this. Pop em in a mesh laundry bag when you're washing them, and you're good to go!


ECO MULTI-PURPOSE CLEANER

YOU WILL NEED:
White vinegar
Water

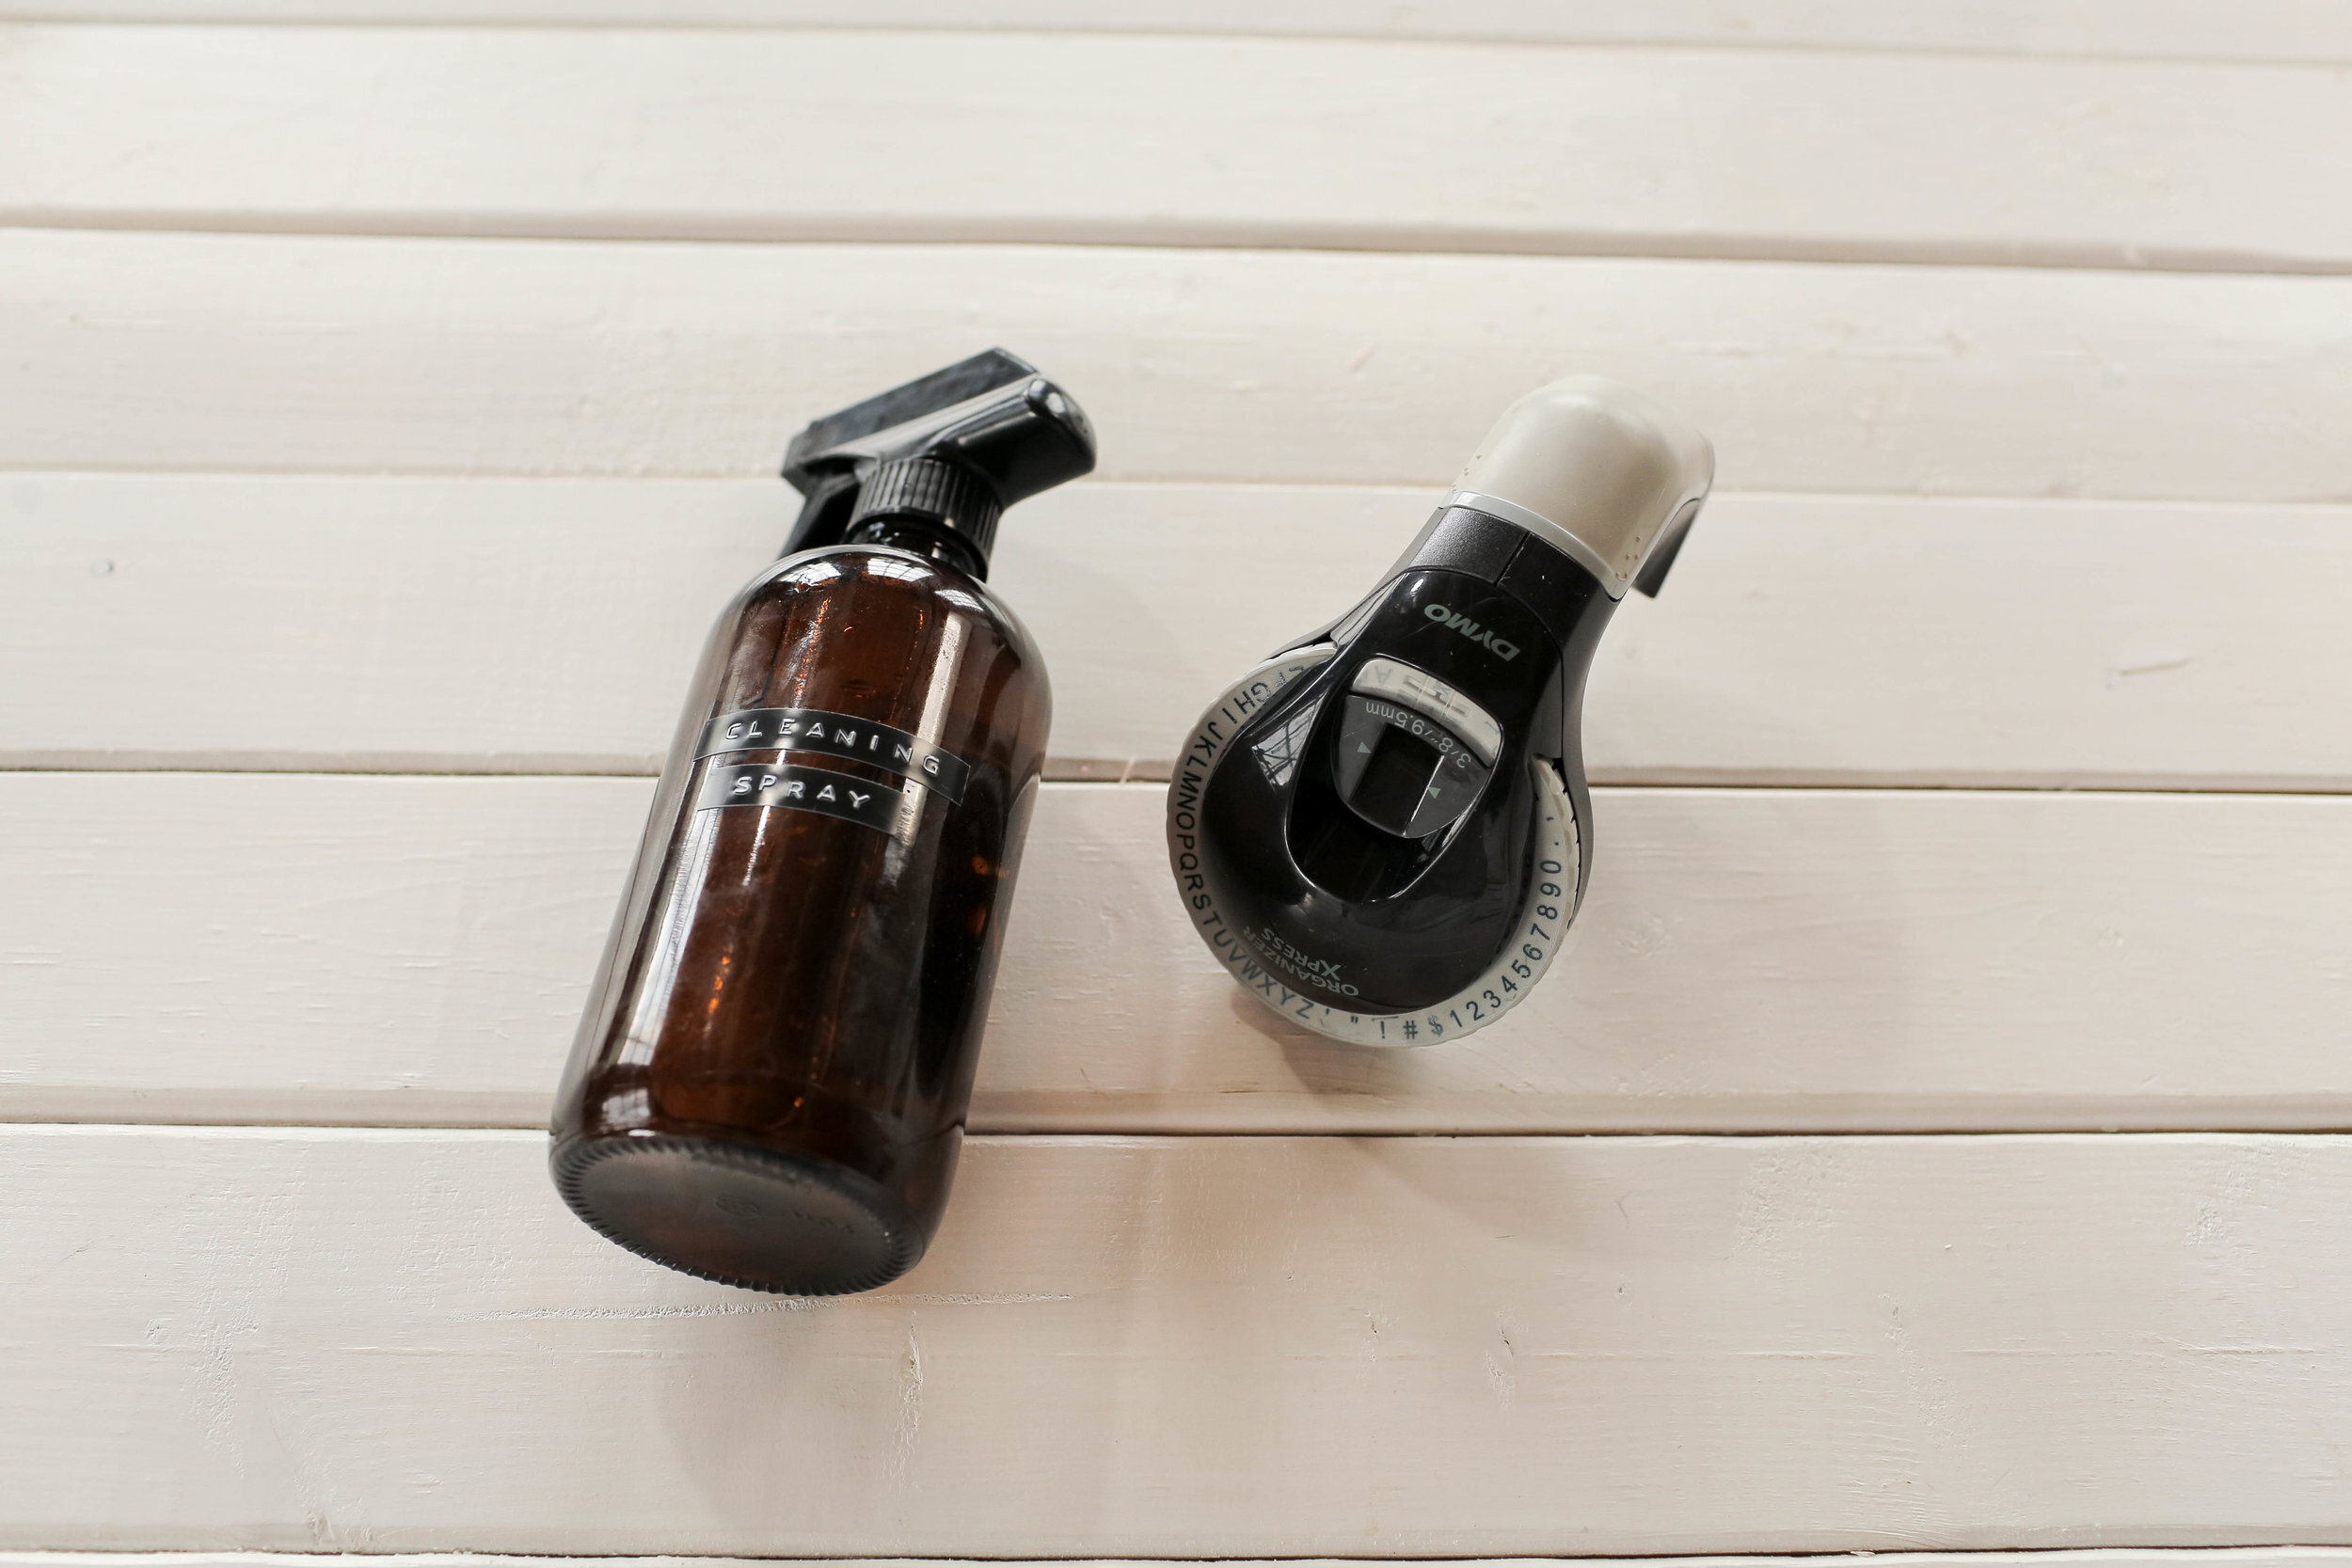
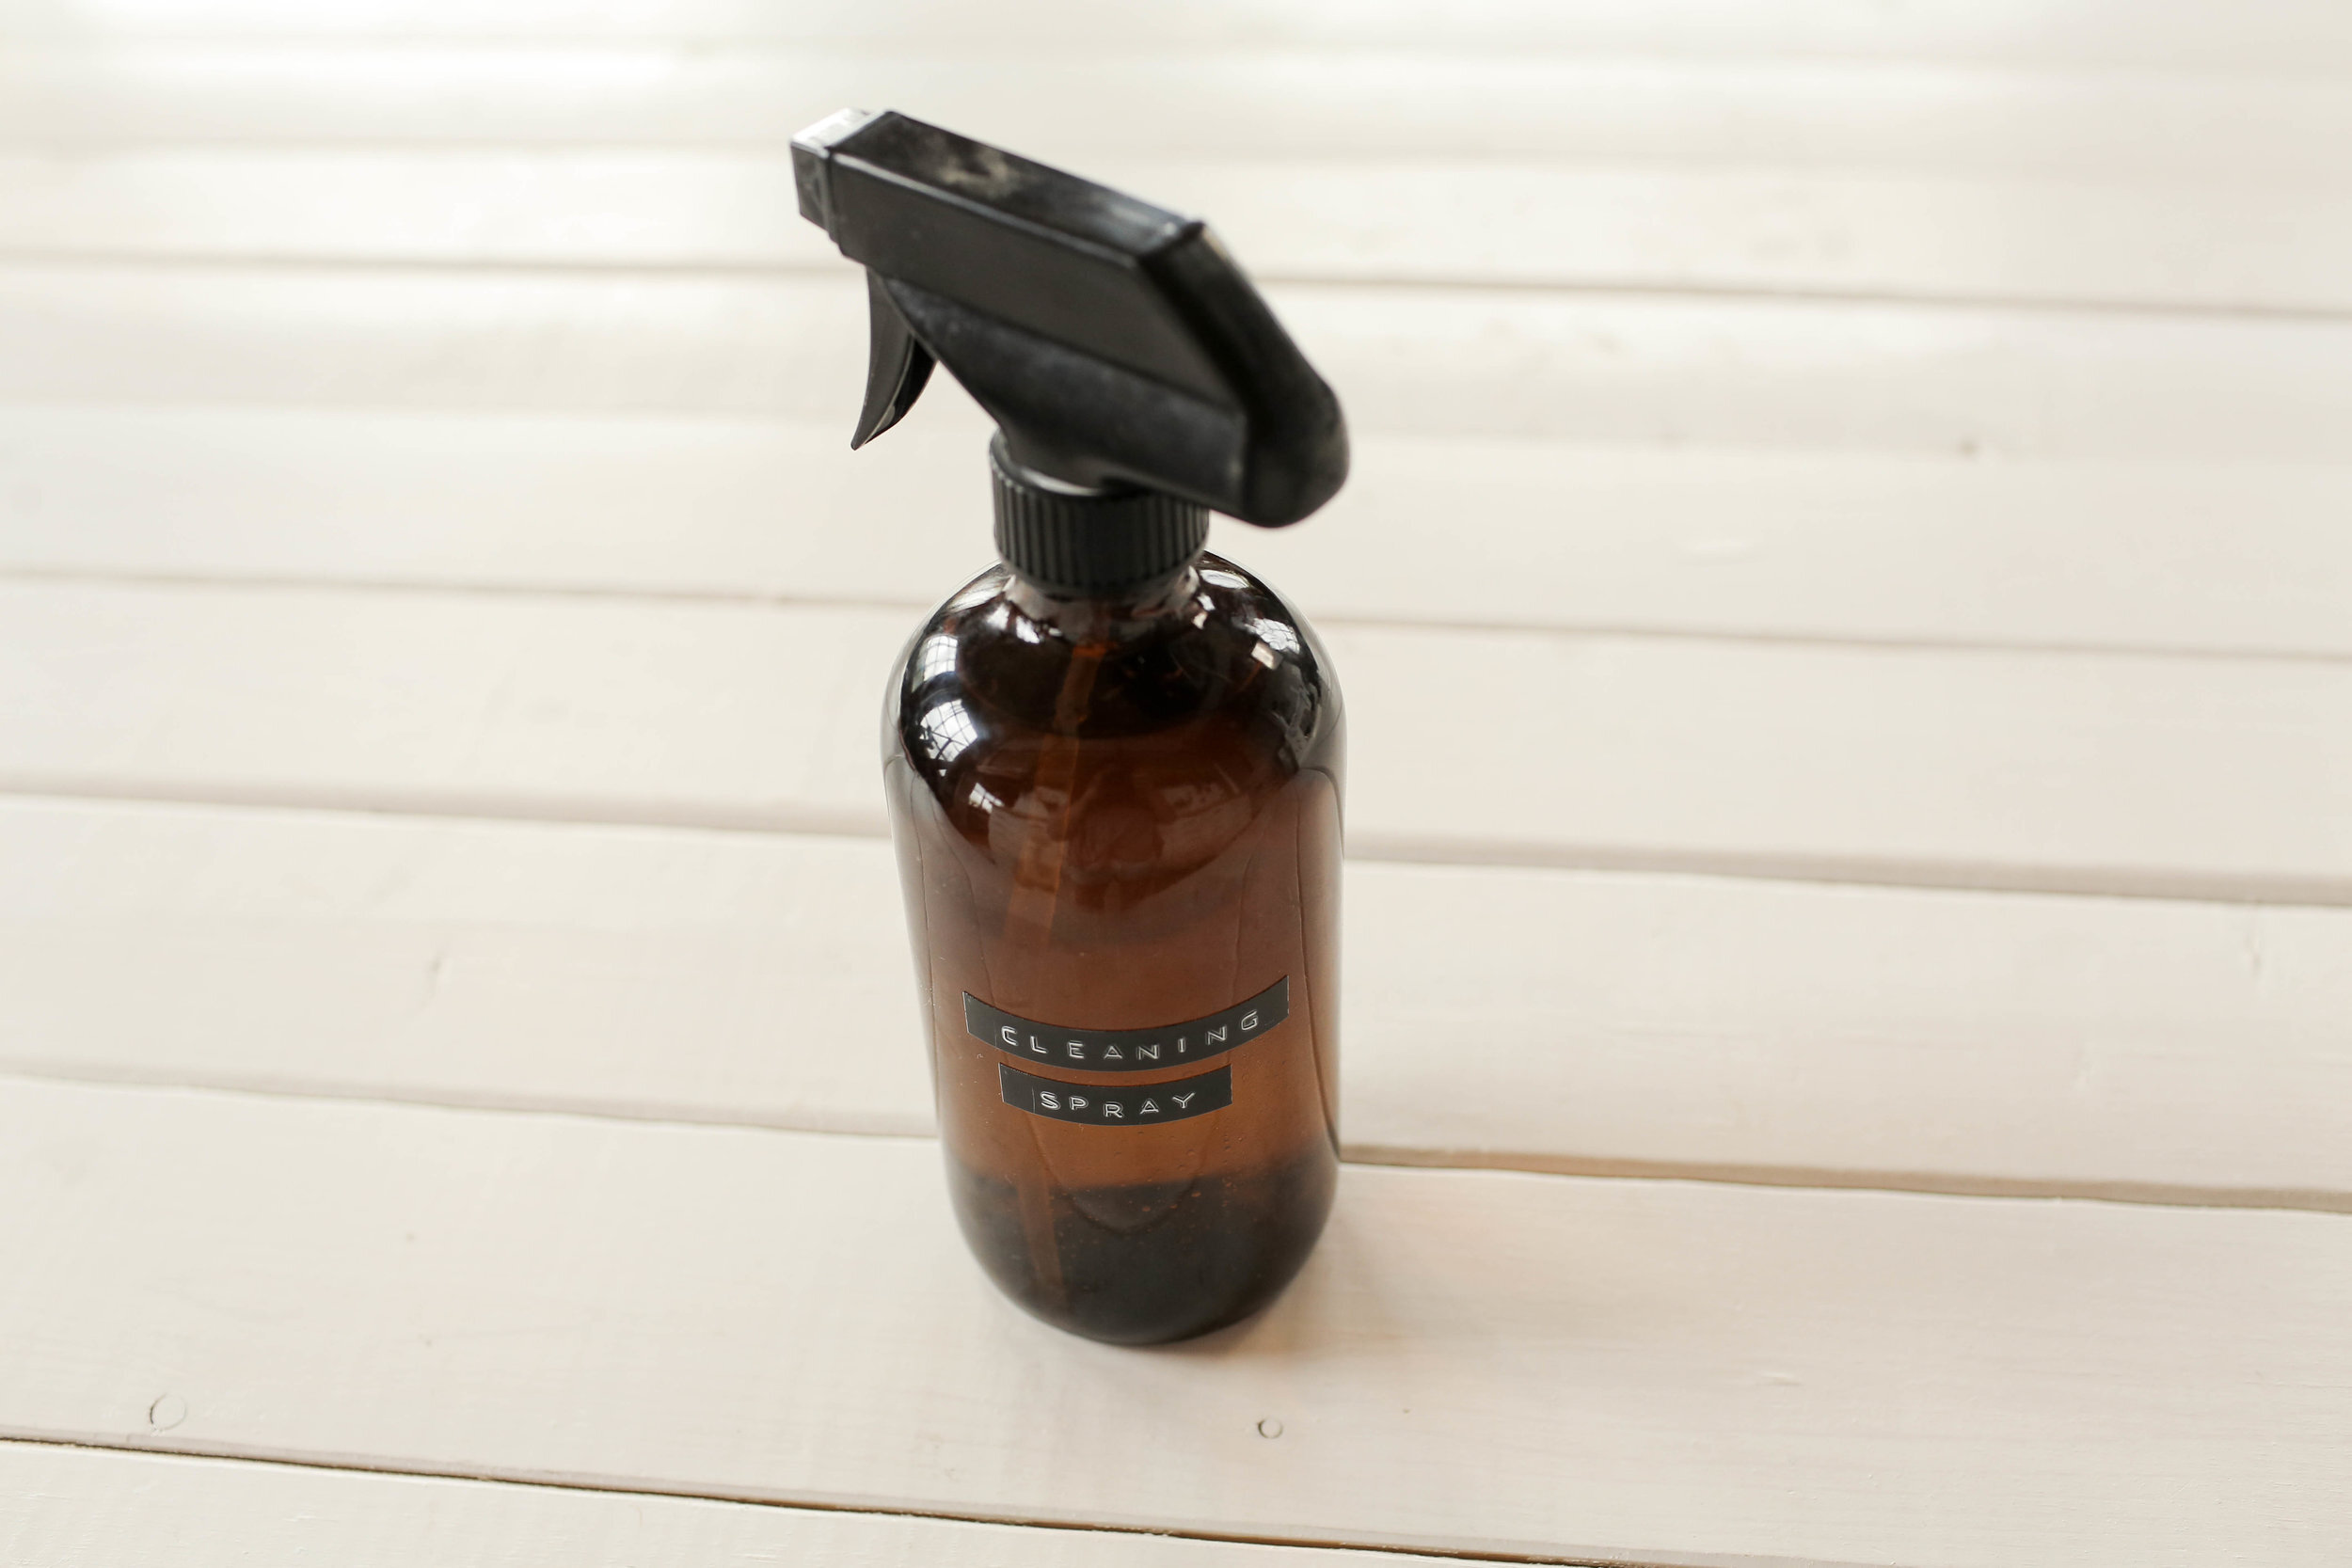
Go ahead and grab your spray bottle of choice, and fill it ¾ of the way full with water and the rest with white vinegar.


You can now add essential oils of your choice! We went for a citrus-ey theme, using grapefruit essential oil. Finally, we labelled out bottle using this amazing embossing label maker!
PAPER TOWEL ALTERNATIVE

MATERIALS:
Absorbent terry cloth
Cotton
TOOLS:
Pins
Sewing machine
Iron

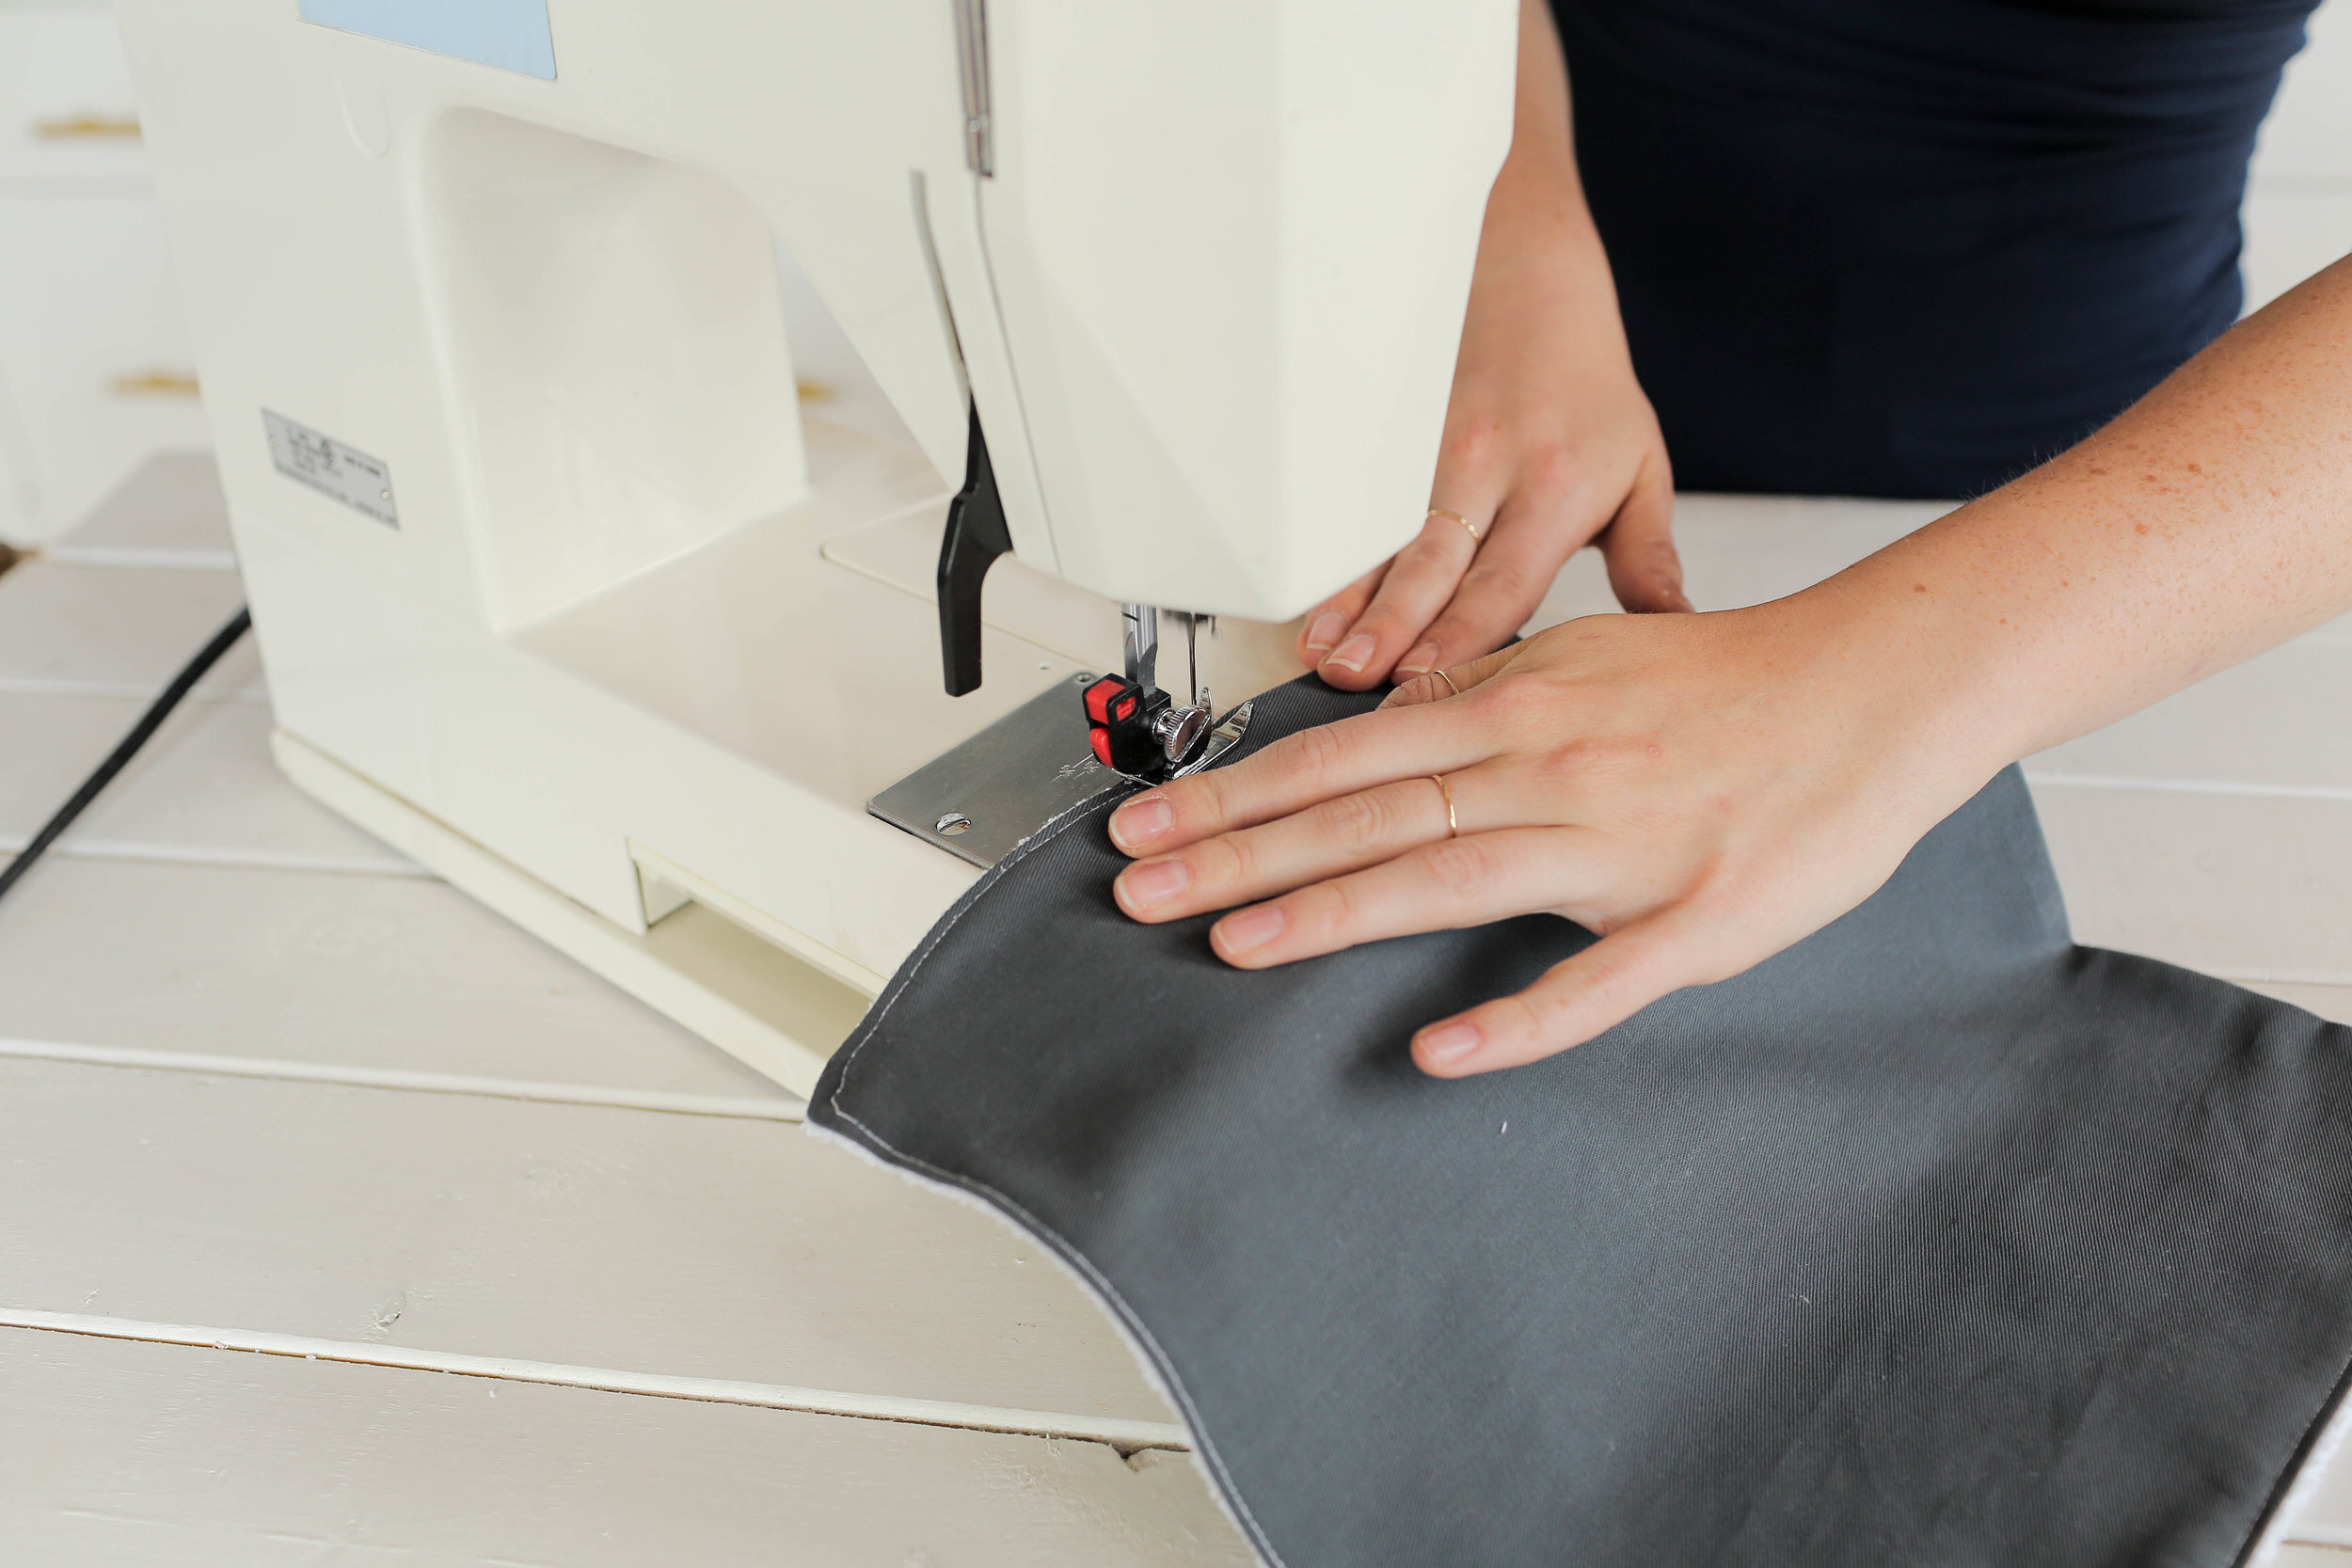
Start by cutting out 12x12 squares out of your terry cloth and cotton. Lay down one cotton square, good side facing up, and lay a terry cloth square on top, good side facing down. Pin the edges and sew, making sure to leave a 4” gap on one side to allow you to flip it inside out.

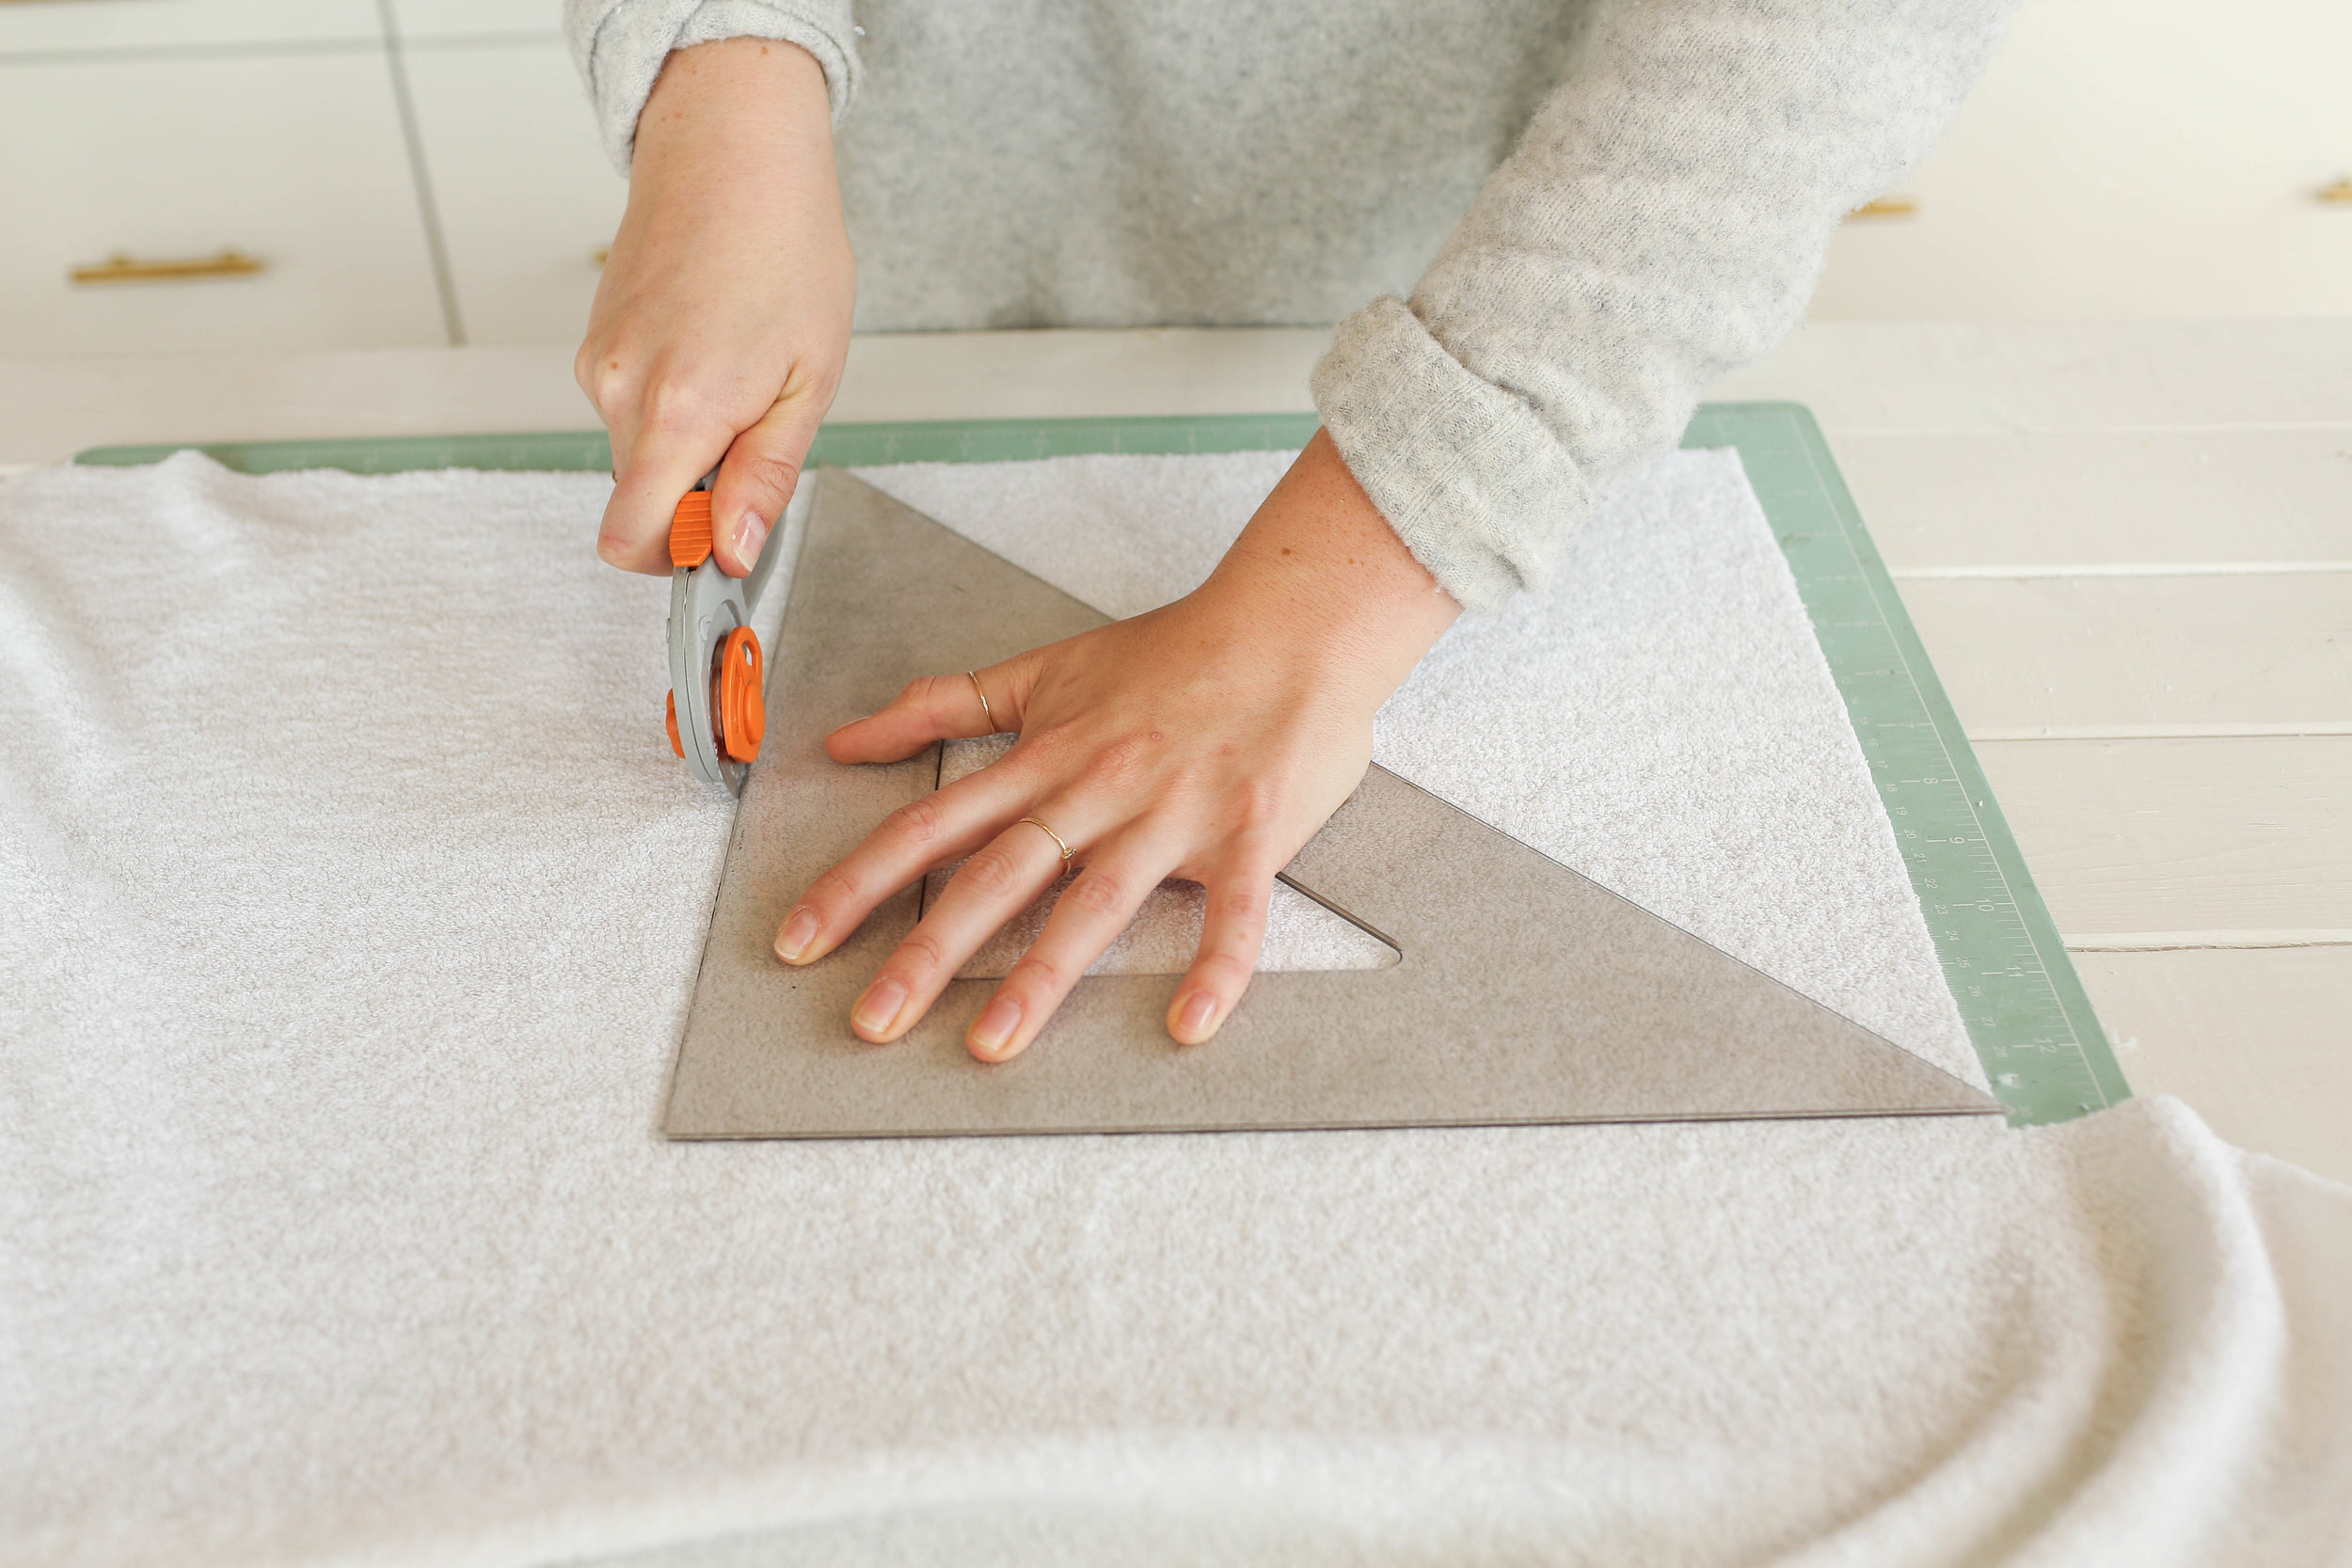


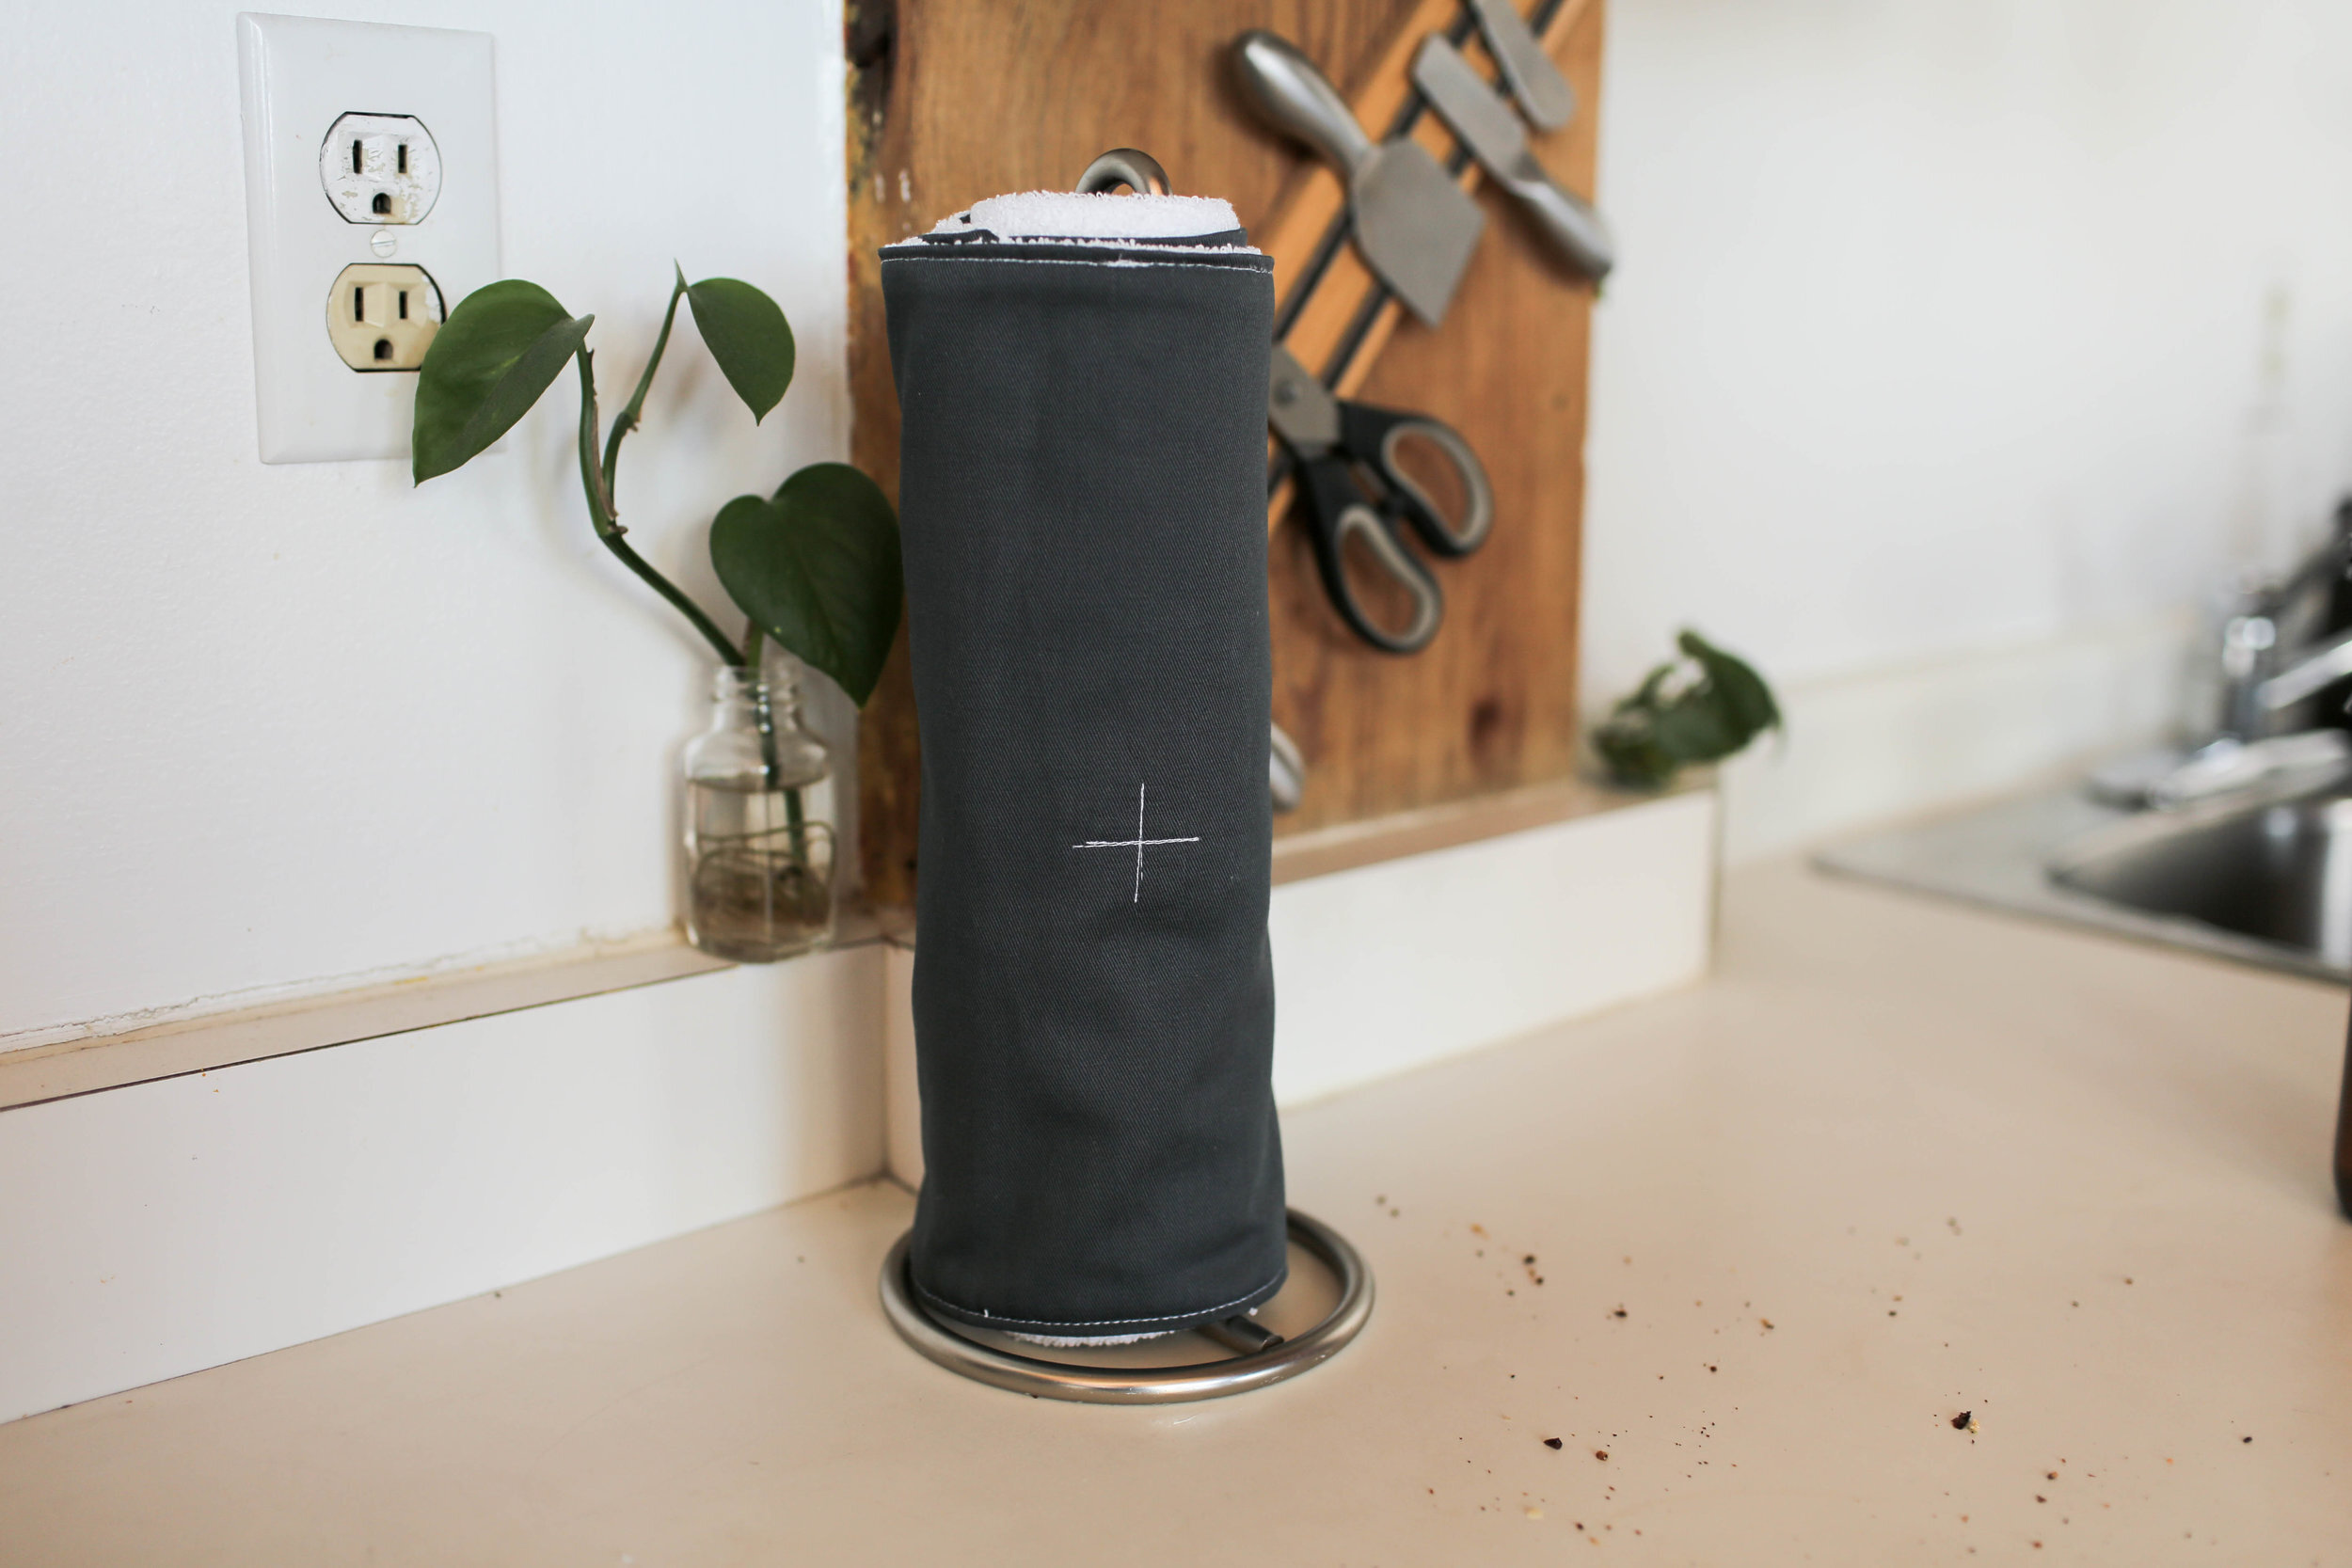
Once sewn, flip your towels inside out and iron smooth. Make sure to iron the unsown edge folded in. Next, go ahead and sew a line all the way around the outside edge! Finally, sew a little plus sign into the centre of the towel for added security.


REUSABLE STRAW BAG

MATERIALS:
TOOLS:
Sewing machine
Pins
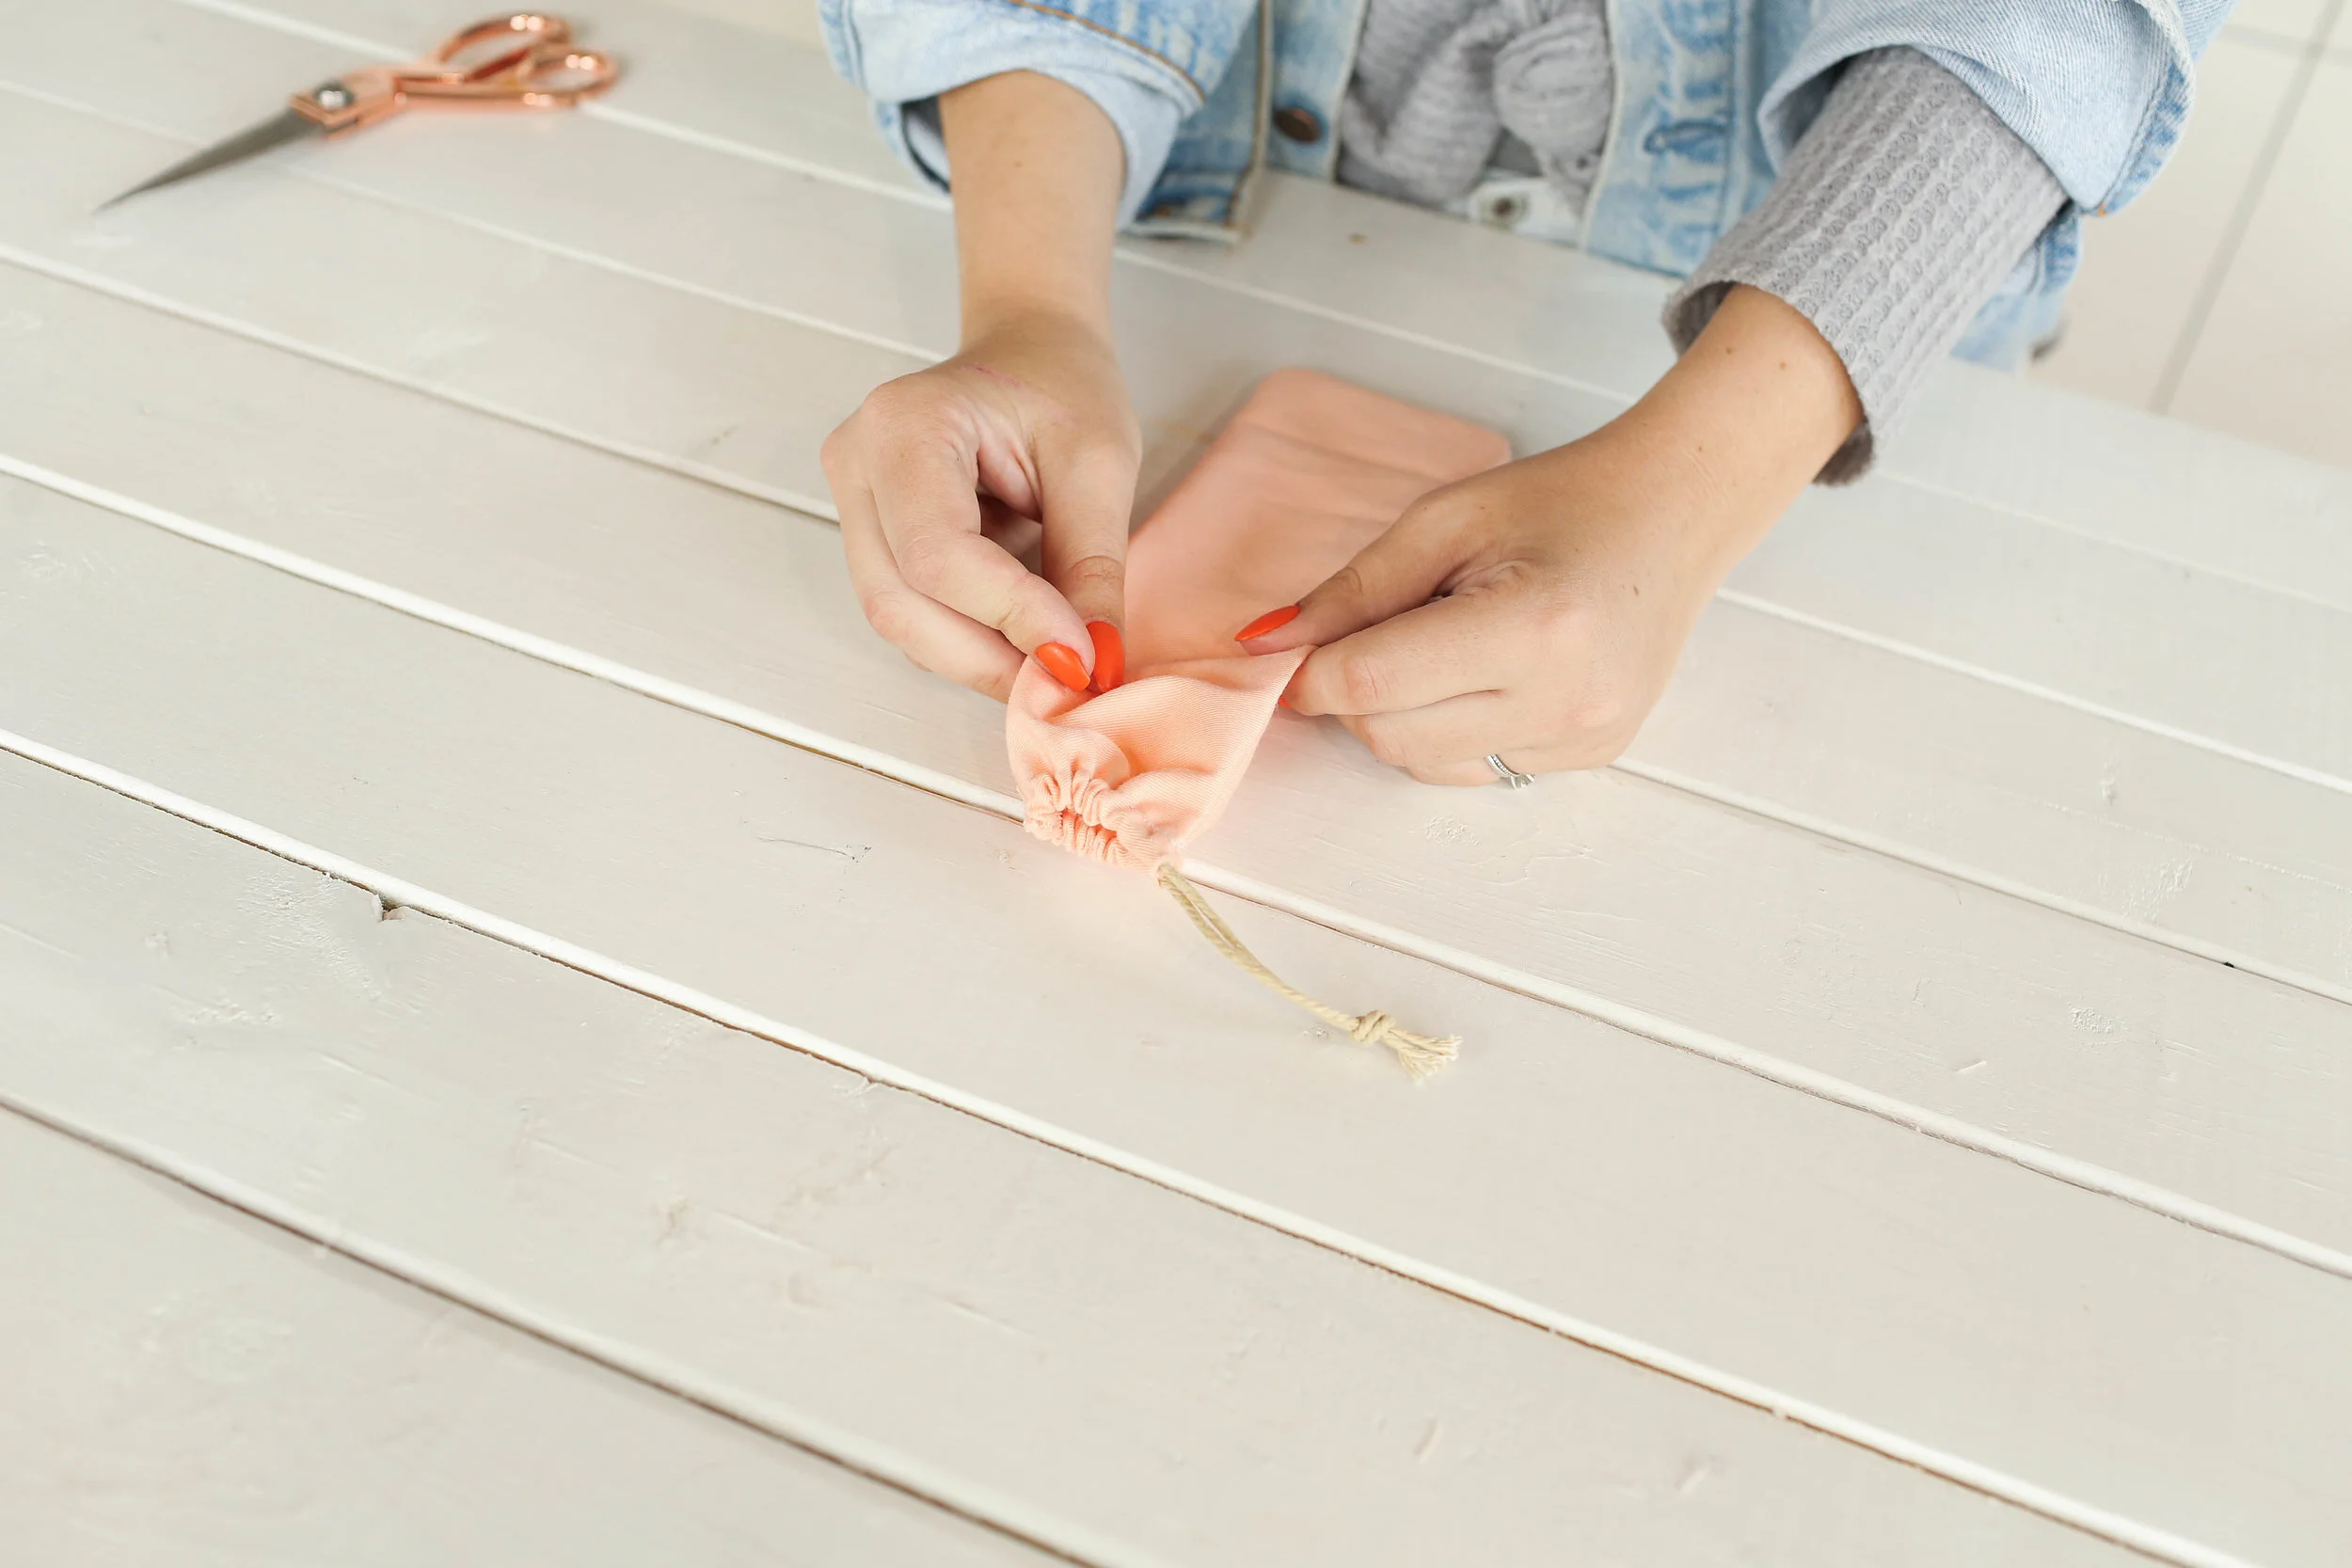
Reusable straws are a fun and eco new trend that we have been LOVING! Why not make a carrying case for your straw?! Start by laying your straw over your fabric of choice. Mark out a rectangle that is double the length, and wider than your straw.


With the good sides facing together, fold over the two shortest edges and pin to create two tubes. Go ahead and sew this. Fold the good sides together, pin and sew, leaving the top edge with the tubes open. Be sure to not sew the tubes closed. Flip the carrying case inside out, and grab some cord that is about double the width of our fabric. Thread the cord through your tube, through the front, around the back, and back through the front. Knot the cord at the end.
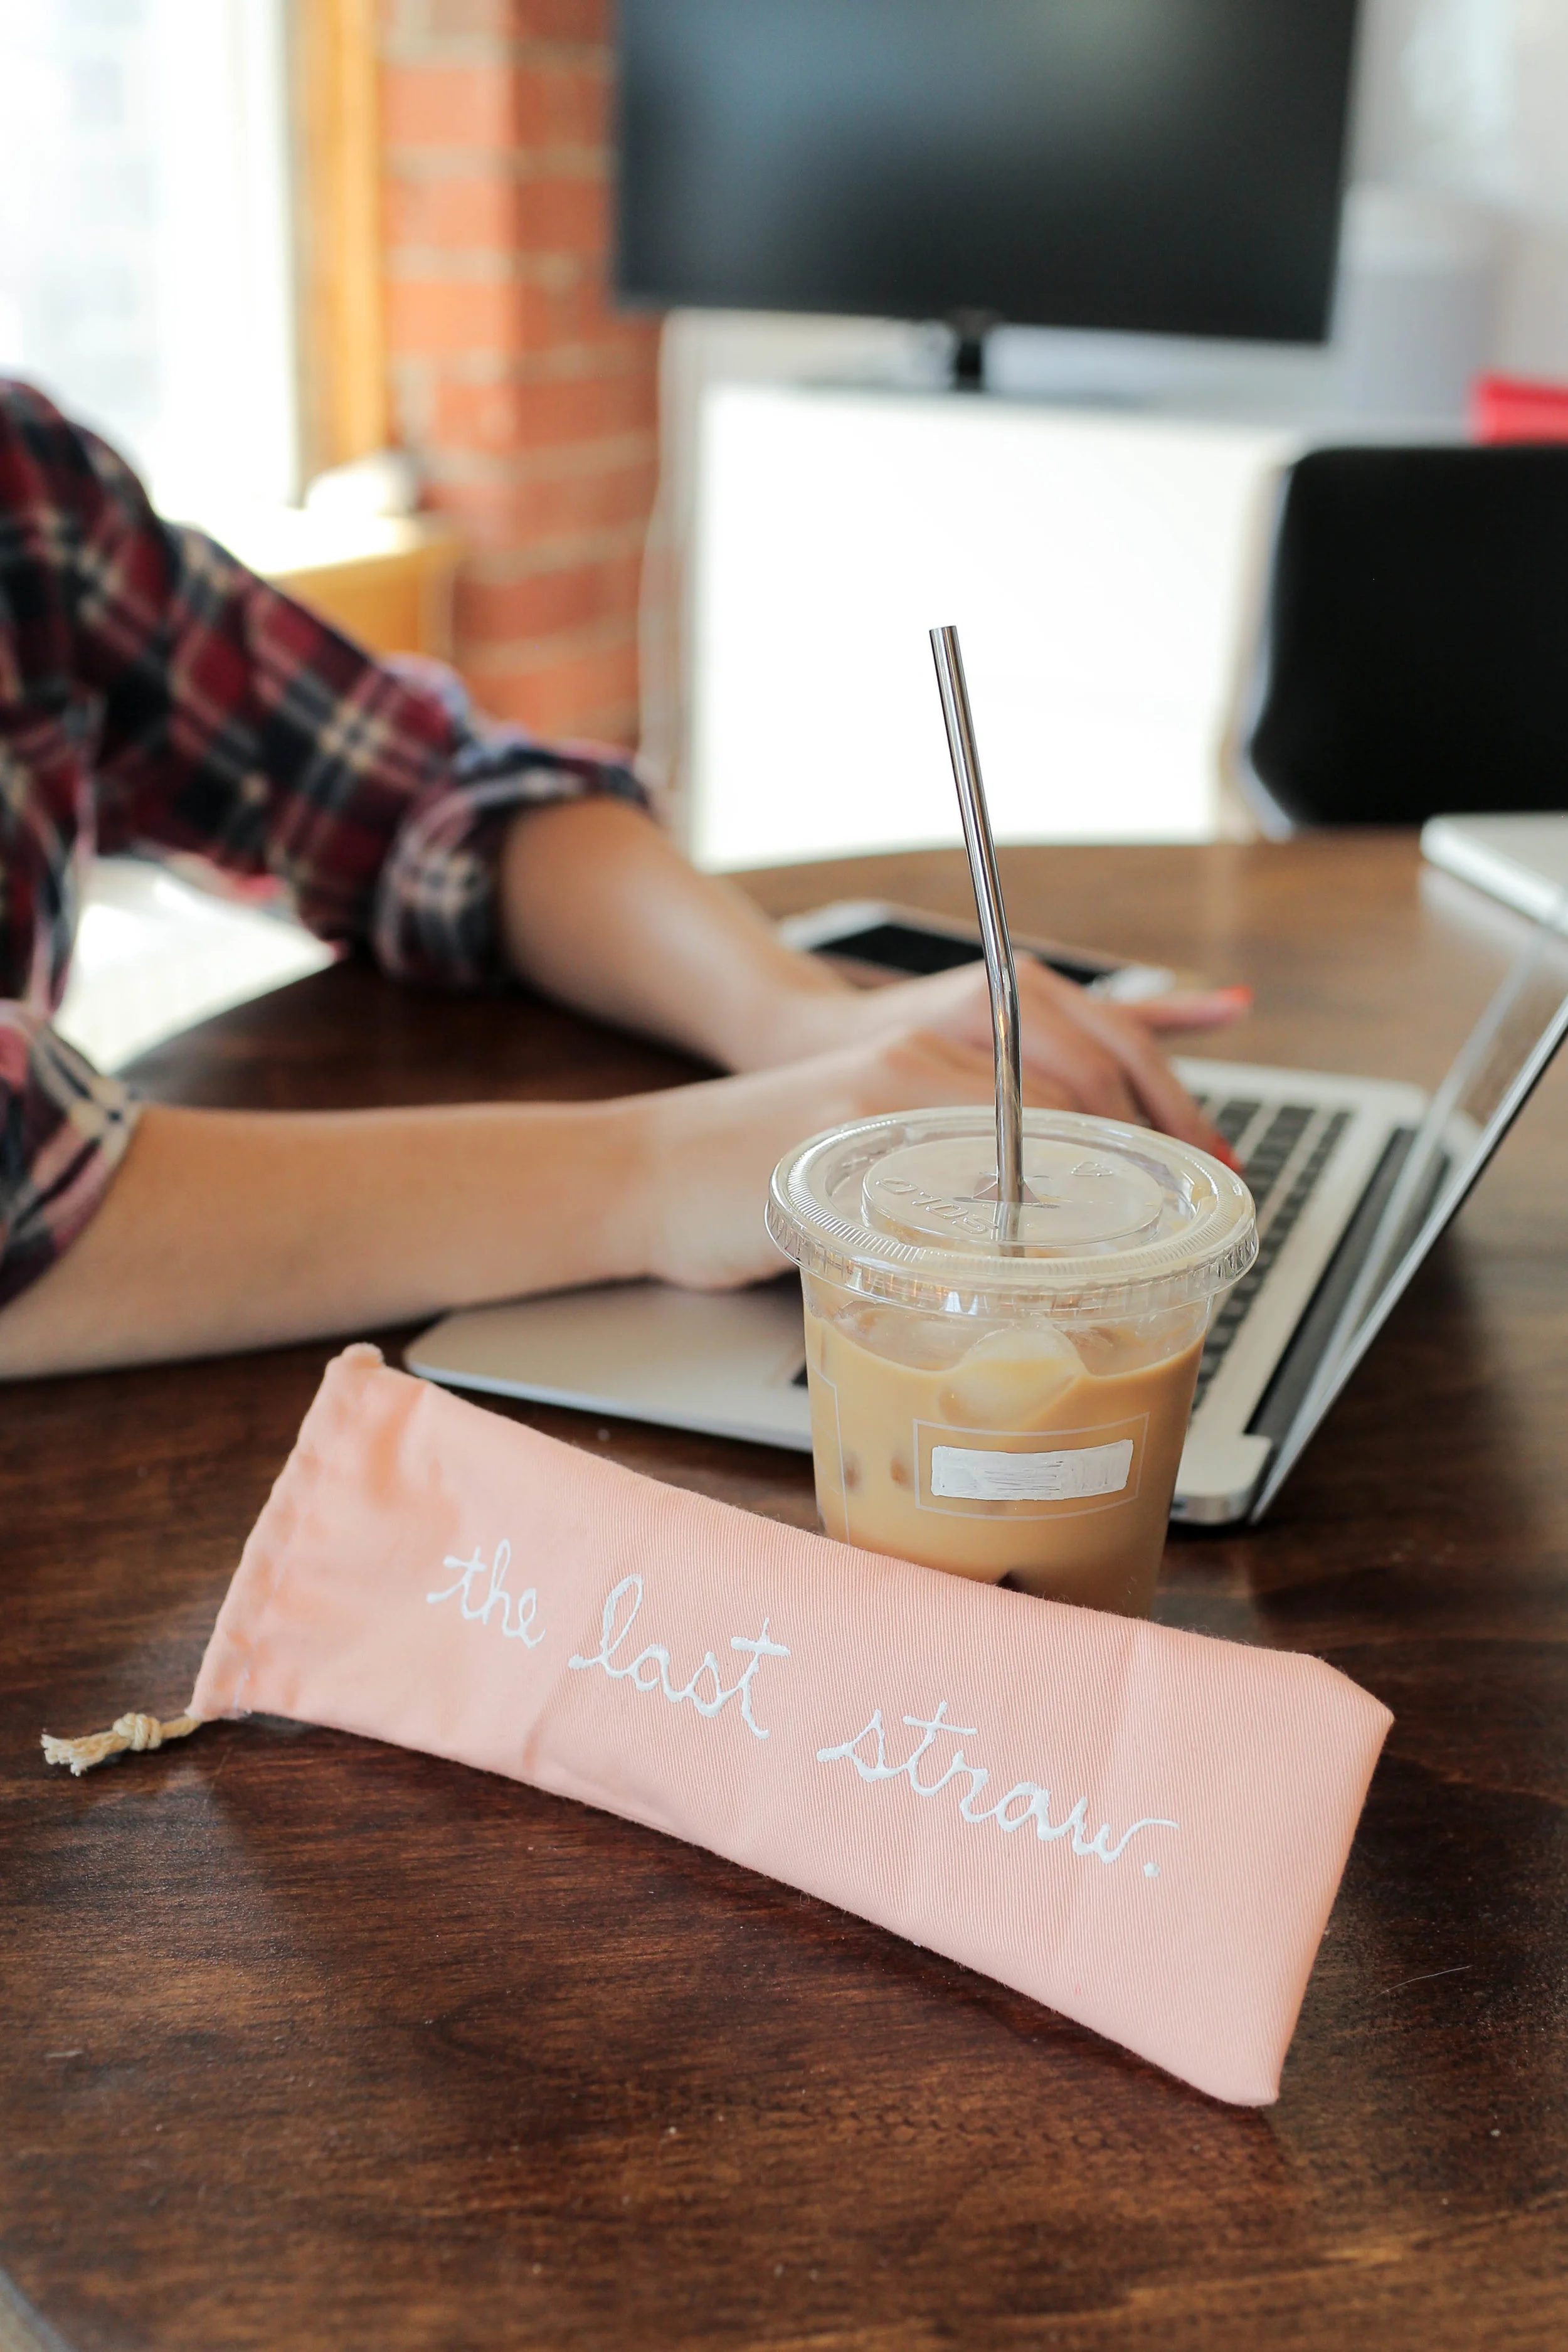
Go ahead and decorate your bag with whatever you want, we used some puffy paint to write out the phrase “the last straw”.


And that’s it! Some eco DIYs and hacks to make you a better human! Check out the video below for a couple more hacks, and a visual of what is going on here. If you make any of these DIYs, send us your photos using the hashtag #SorryGirlsSquad!