EASY DIY TECH SLEEVE FOR ANYBODY!

Welcome to day two of DIY gift week!
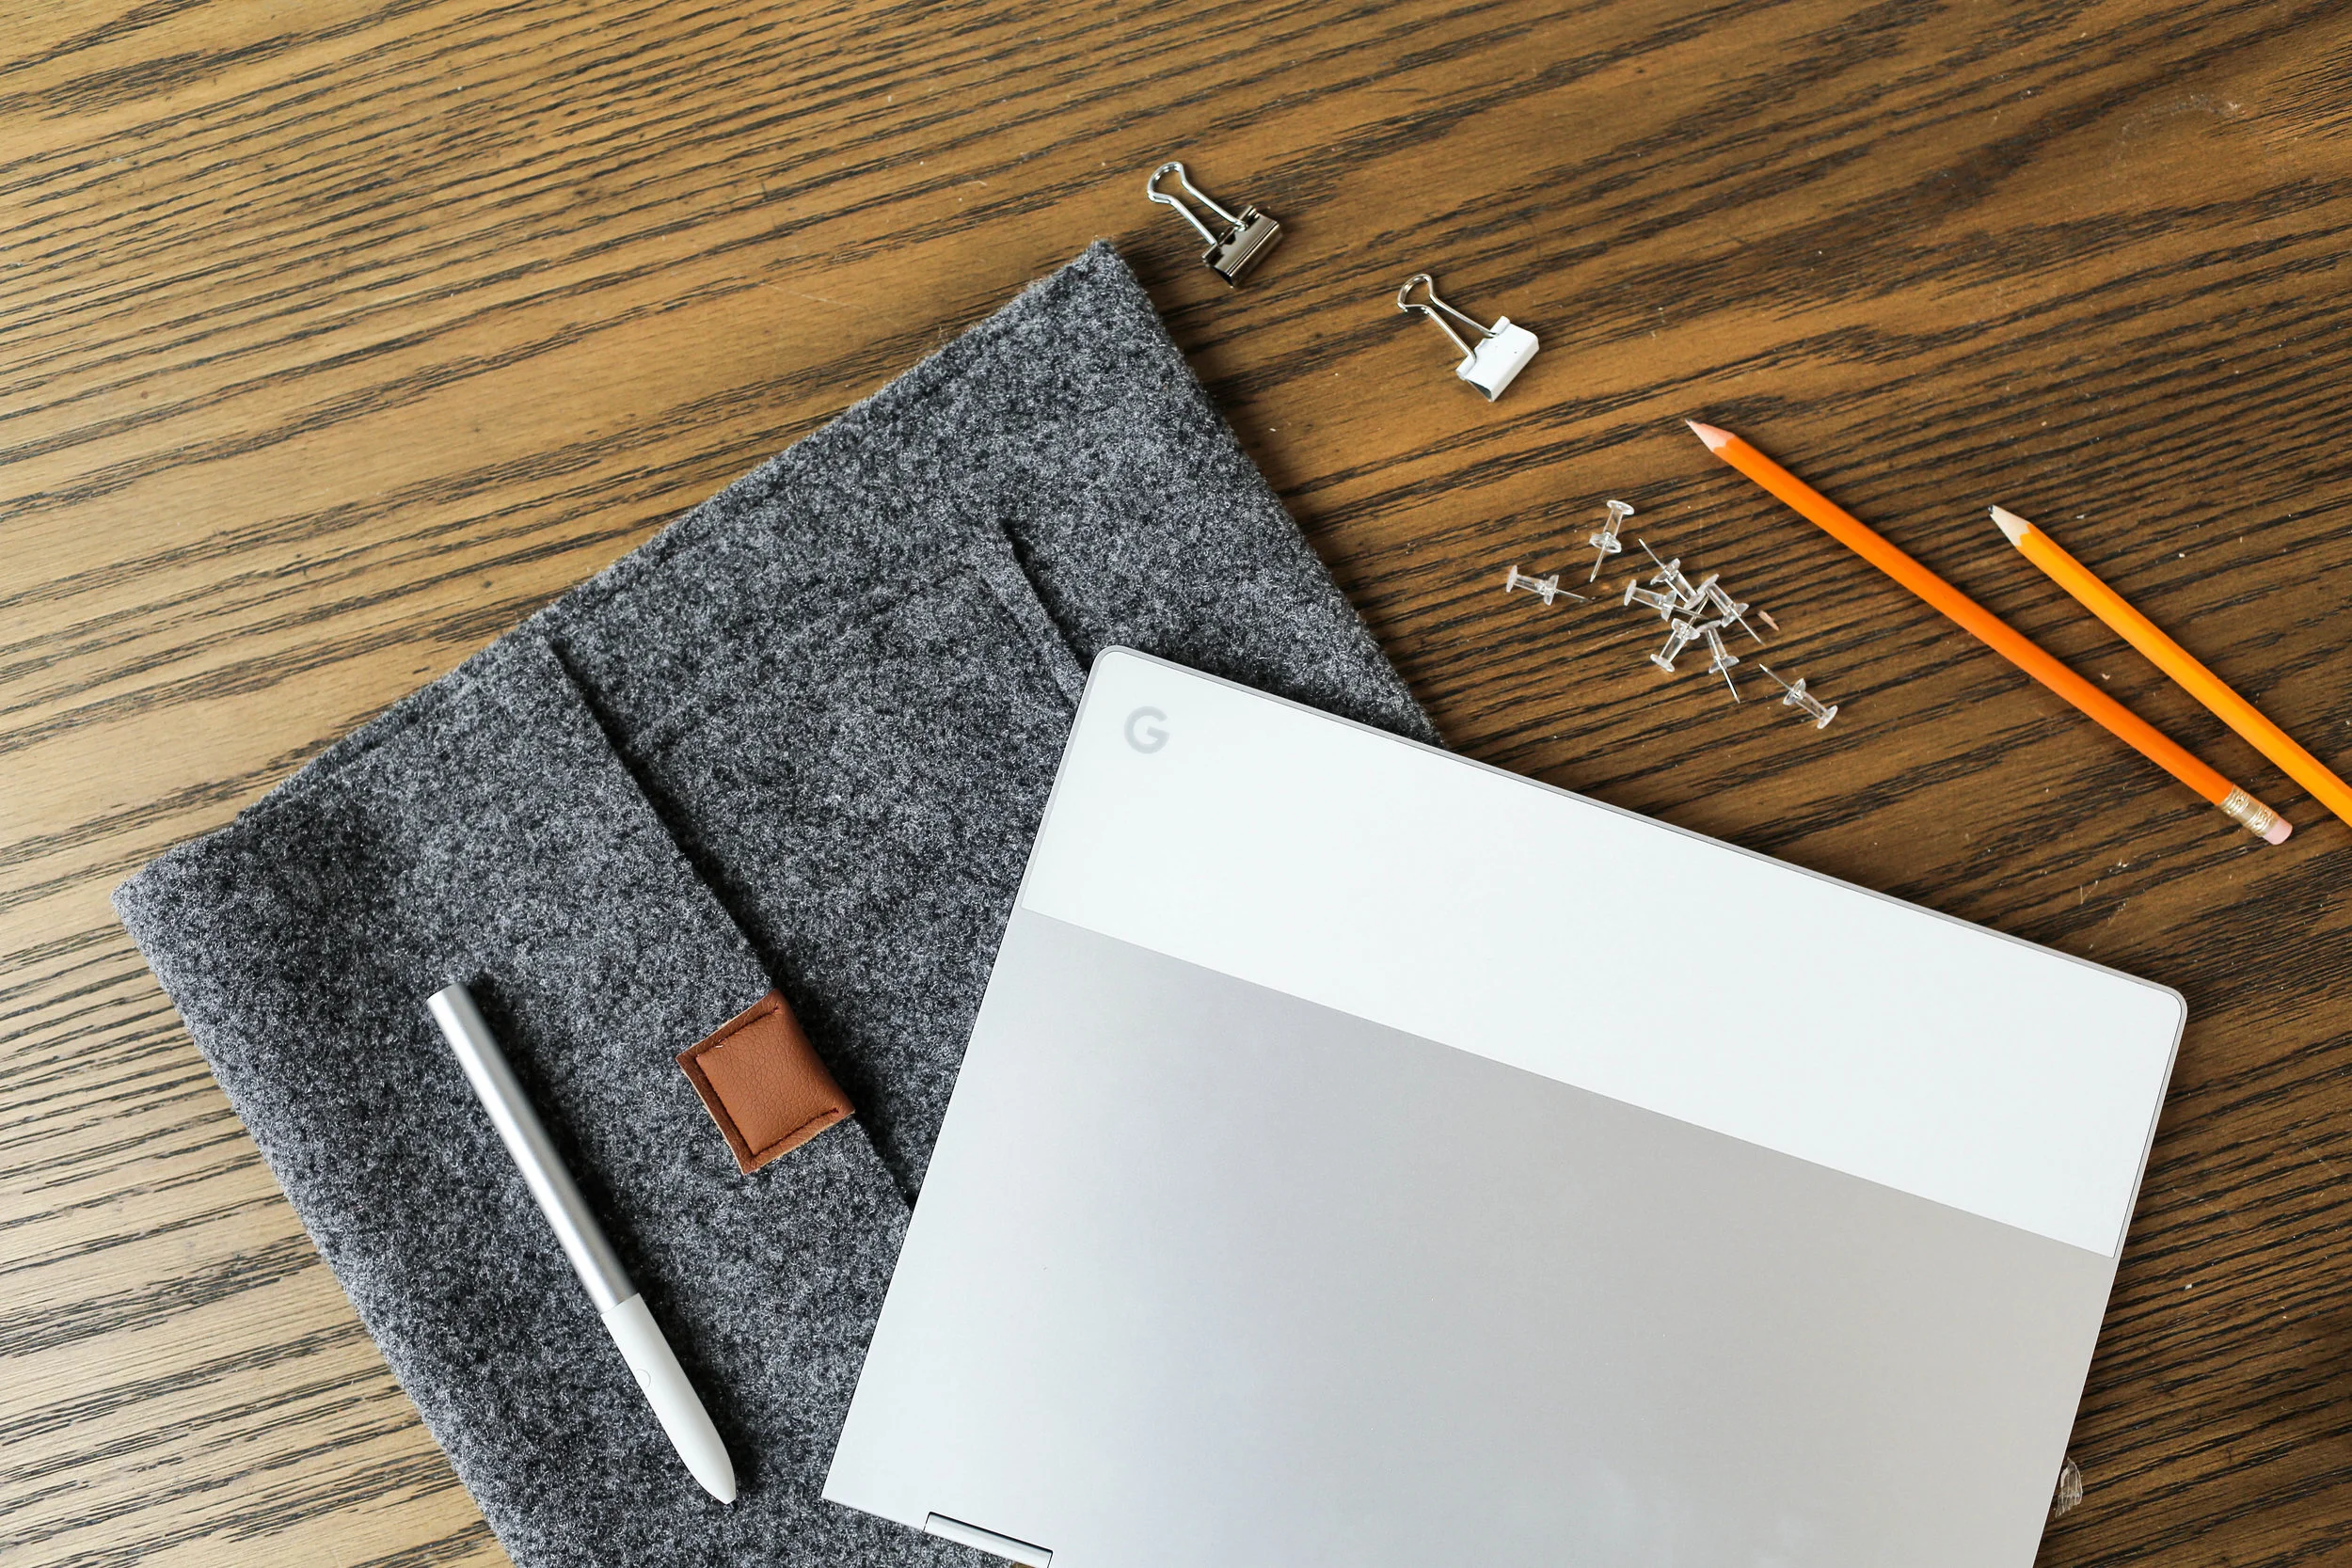
Today we are making this gorgeous DIY felt laptop or tablet sleeve. (Also you can WIN the Google Pixel book that's inside of the case... check it out here).
Let’s start with the fabric. We decided to make this sleeve out of felt because it’s super soft and thicker felts are pretty durable.
Next, place your device of choice onto the felt to figure out the width that your sleeve needs to be. If you’re giving this as a gift, feel free to do a little bit of research and find the dimensions of your loved one’s device. The thickness of the device is going to determine how much space you leave on either side of your fabric. We left about half an inch on either side. Next, cut out a long rectangle that is the width of your device (plus the little bit extra) and is long enough to fold completely around your device, with a little space extra to overlap the two ends of the rectangle. Next, cut out an extra small piece of felt to create a small pocket on the front of your sleeve.
Now it’s time to assemble the laptop sleeve! We started by attaching a snap to the flap on the sleeve. Attach the bottom half of the snap to the small pocket piece of felt you cut out earlier, and the top piece of the snap onto the inside of the flap on the longer rectangle piece. You can attach these with a simple hand stitch. Time to start using our sewing machine! Start by pinning and sewing the front pocket piece into place. Be sure to make sure that the two snaps line up. We also added an additional stitched line down the pocket as a divider for pens!

Next, place your device on the felt rectangle, and pin the sides to your desired device snug-ness. Sew into place. The final step is to add a small leather detail where our fastener will go! Start by cutting out a small rectangle of faux leather that fits around the top flap of the sleeve. Sew the second half of the fastener onto one end of the leather strip. Wrap your leather around the top flap, pin, and sew into place.
And that’s it! This DIY is awesome because it can literally fit any accessory that you have, plus we’re totally sure that everyone on your list has some sort of device!


Be sure to check out the video below if you’re a visual learner, and tag us using the hashtag #SorryGirlsSquad!