DIY WEDDING TABLE 4 WAYS!
Welcome back to wedding week!! The week where we share with you some ways to save money and make your wedding amazing! Today we are showing you four ways/ideas to set the tables at your wedding! The biggest expense for these centerpieces and table settings was definitely the flowers, but other than that a lot of these things can be found at the dollar or thrift store!
glam

FLOWERS USED:
- White Roses
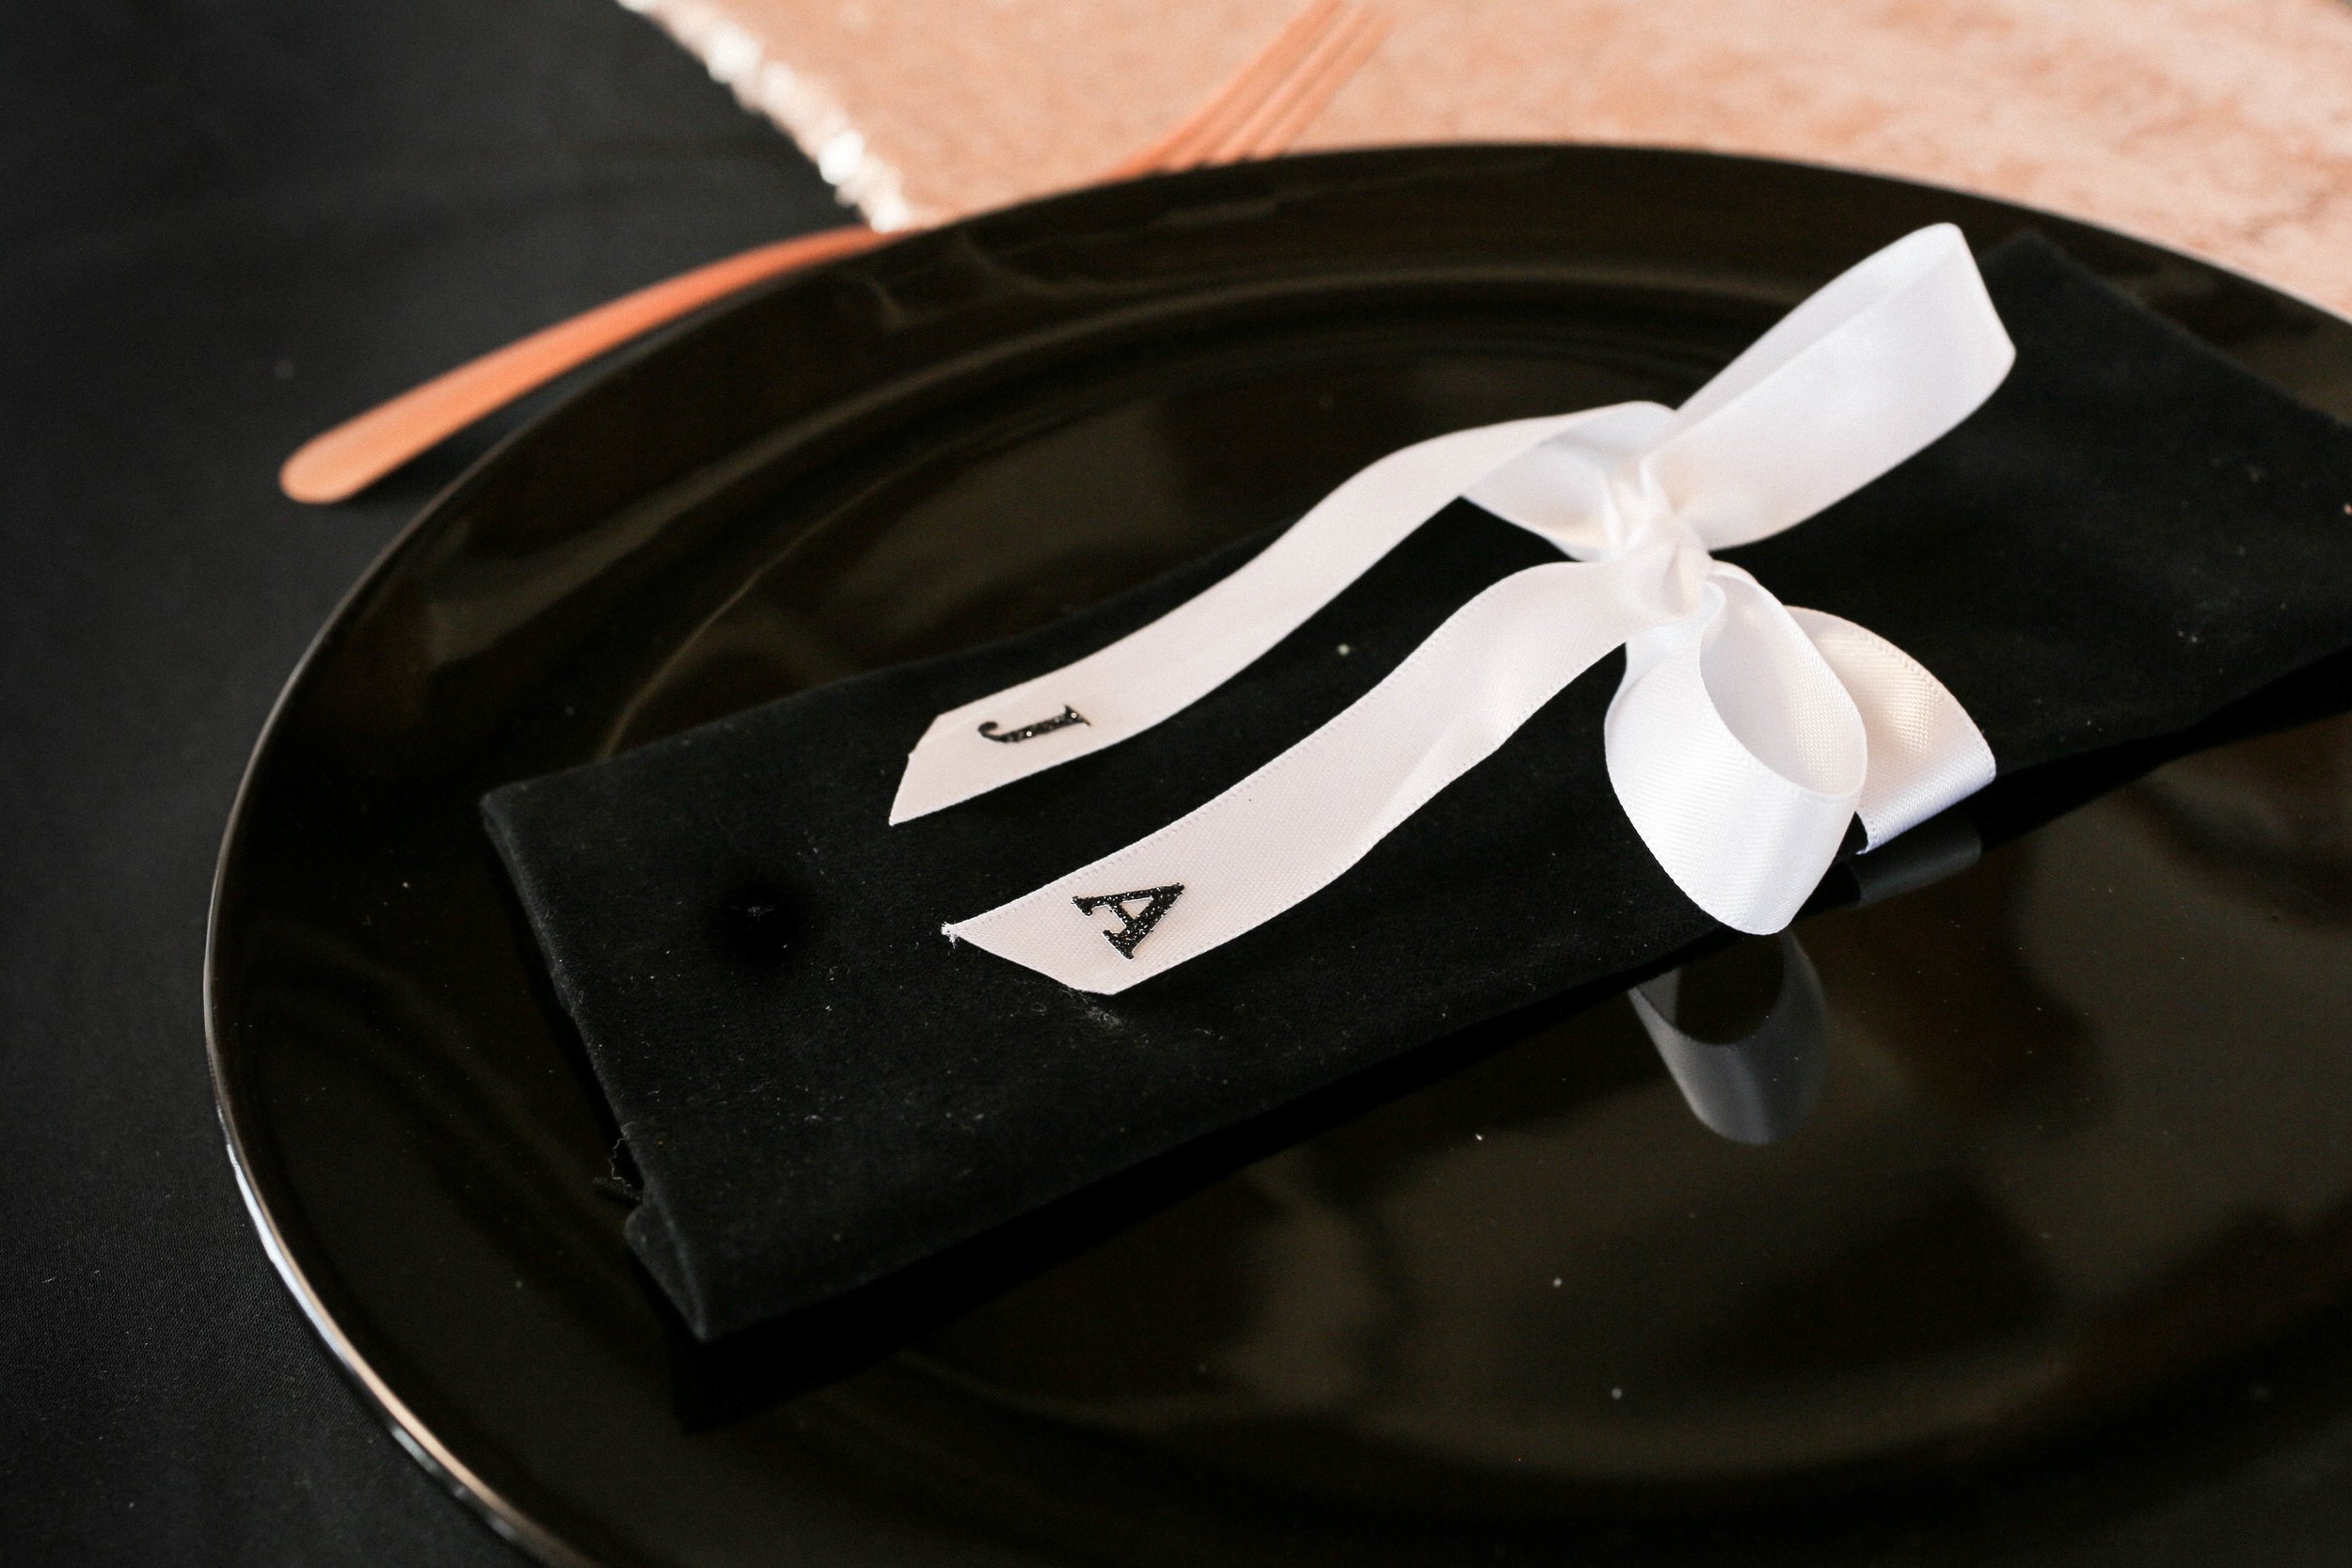
The first theme is glam! When we think of glam, we think of a lot of metallics and blacks. We don’t LOVE the typical glam wedding theme, but we did glam today in more of our style!
We started with a black table cloth and a rose gold sequin runner! Our tip for table cloths is to just grab some fabric from the fabric store! A lot of the times it can be cheaper! We added our rose gold cutlery, tied some white ribbon around a napkin, and added letter stickers to add the initials of your guest onto the ribbon!
For the centre piece, we added an oval mirror onto the centre of the table, spray painted the inside of a vase with rose gold spray paint, and placed that on the mirror! Next, we cut some floral foam into a rounded shape on top of the vase and added some white roses!

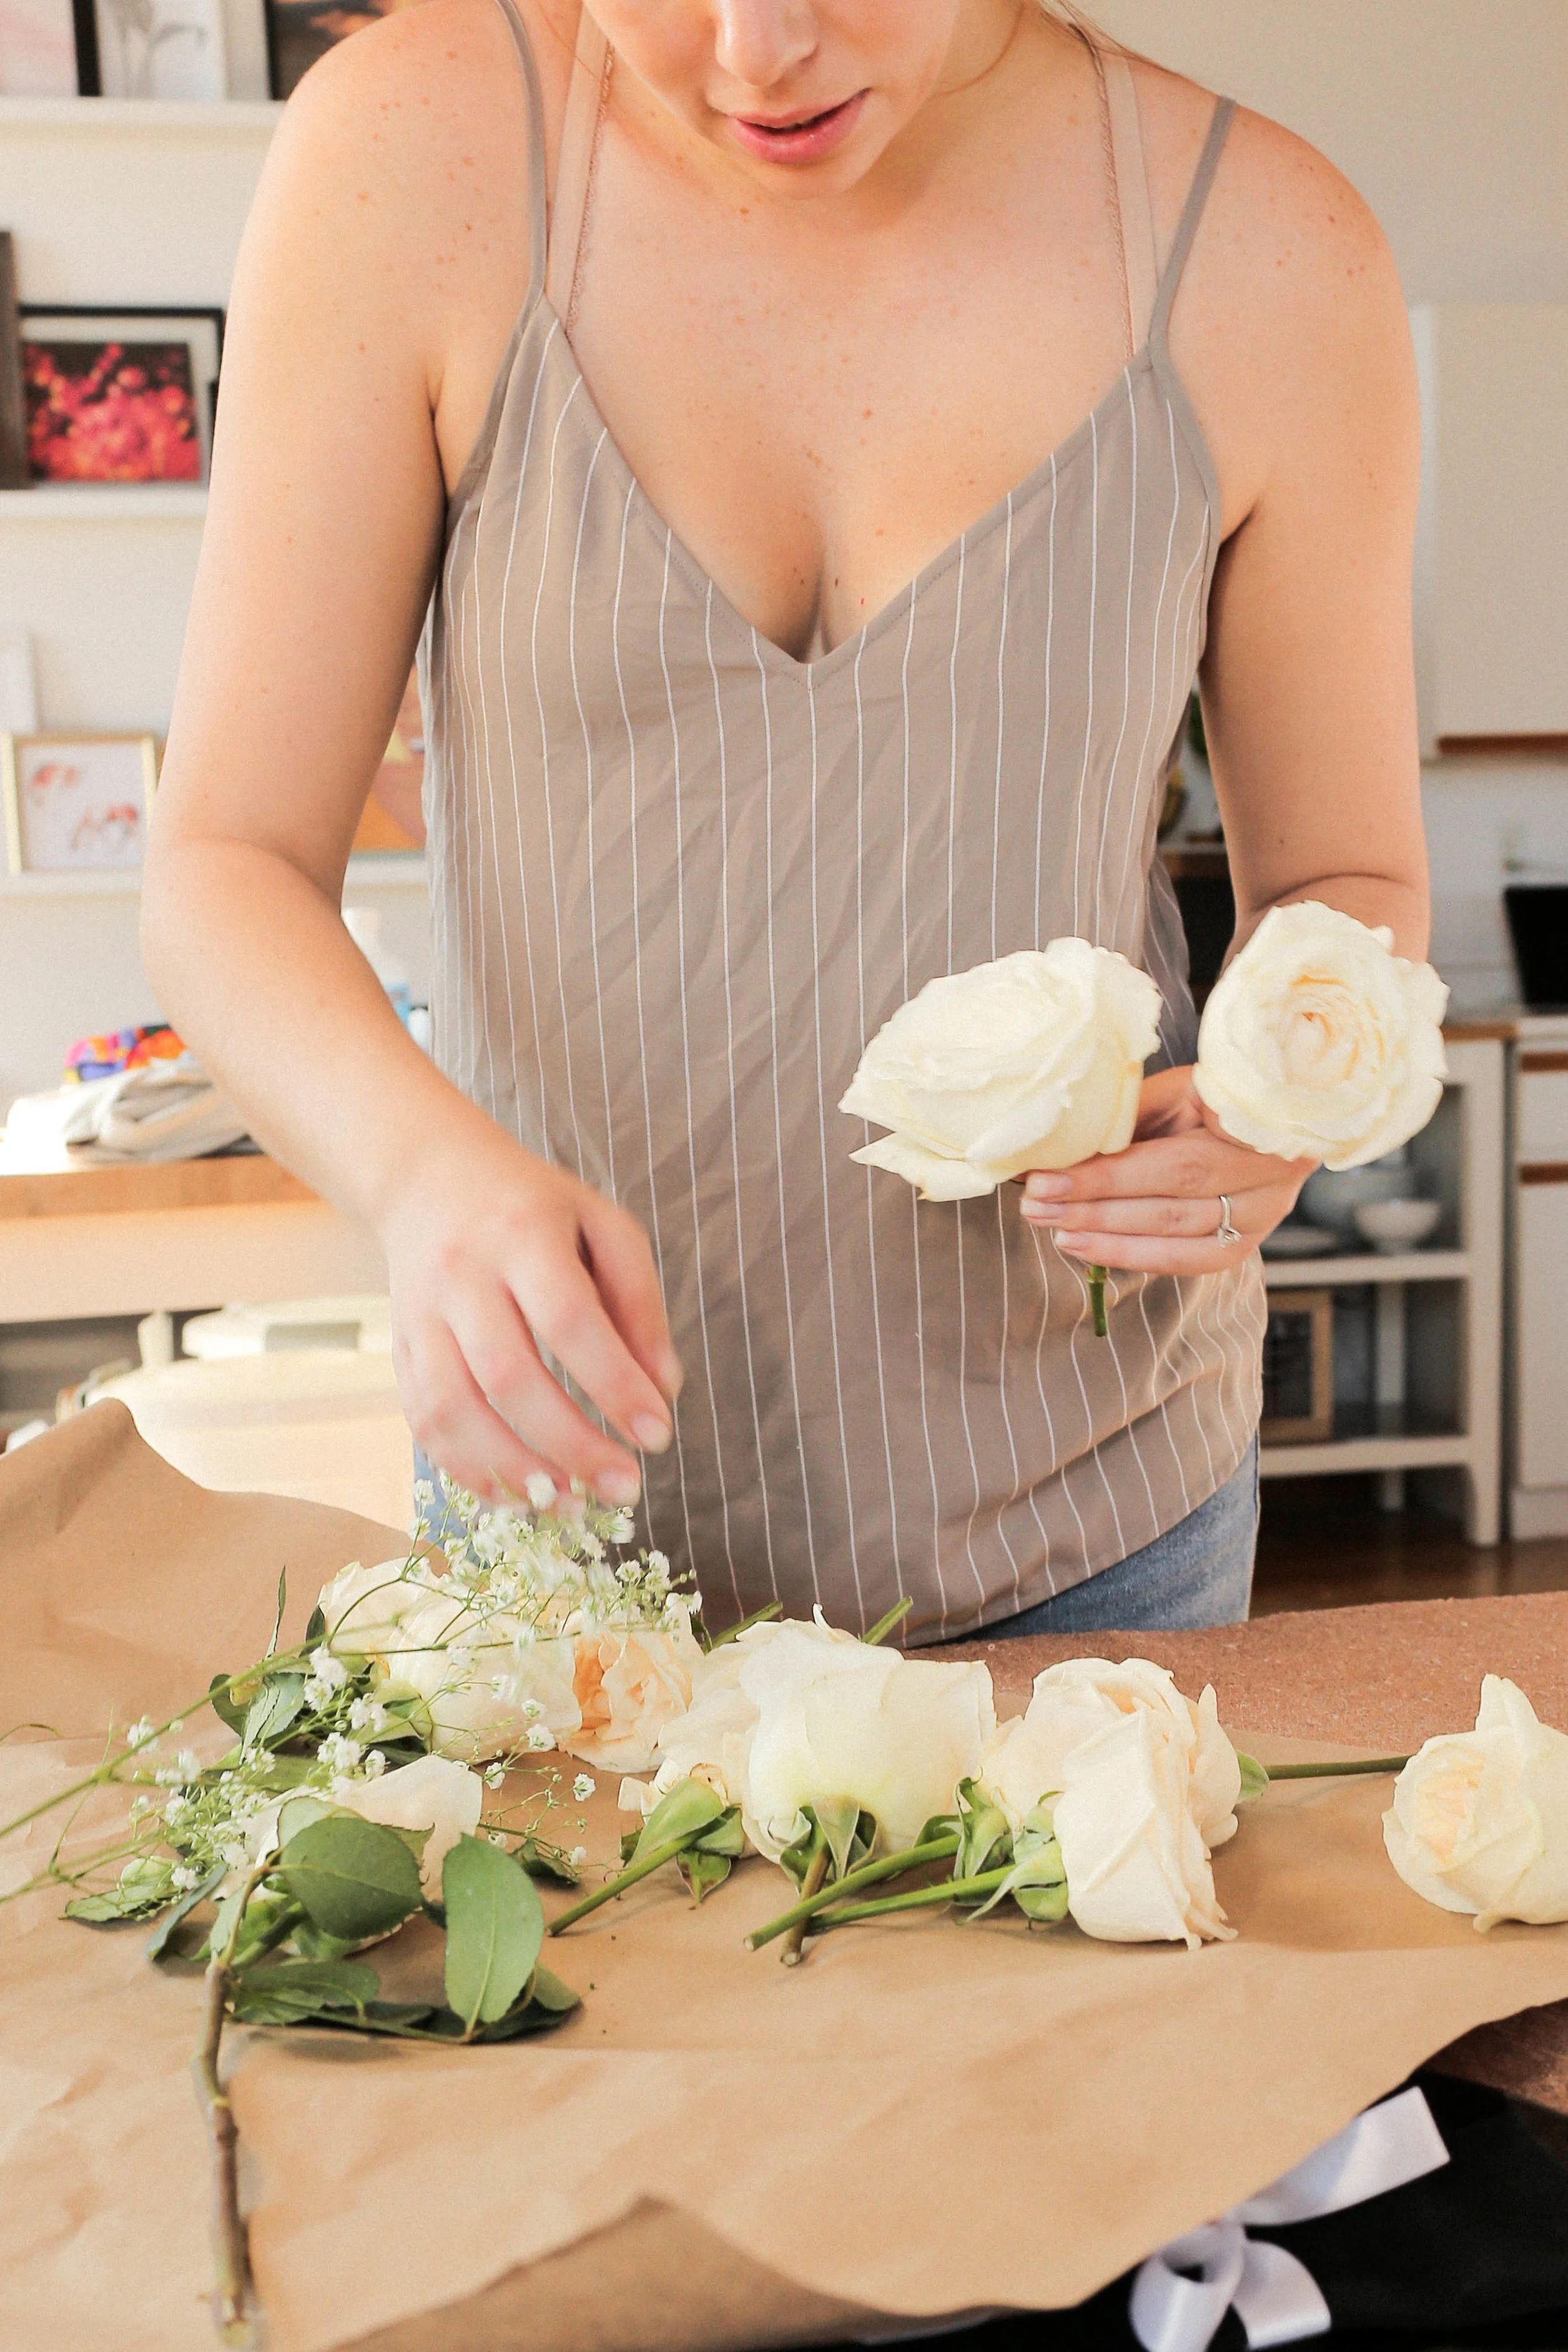

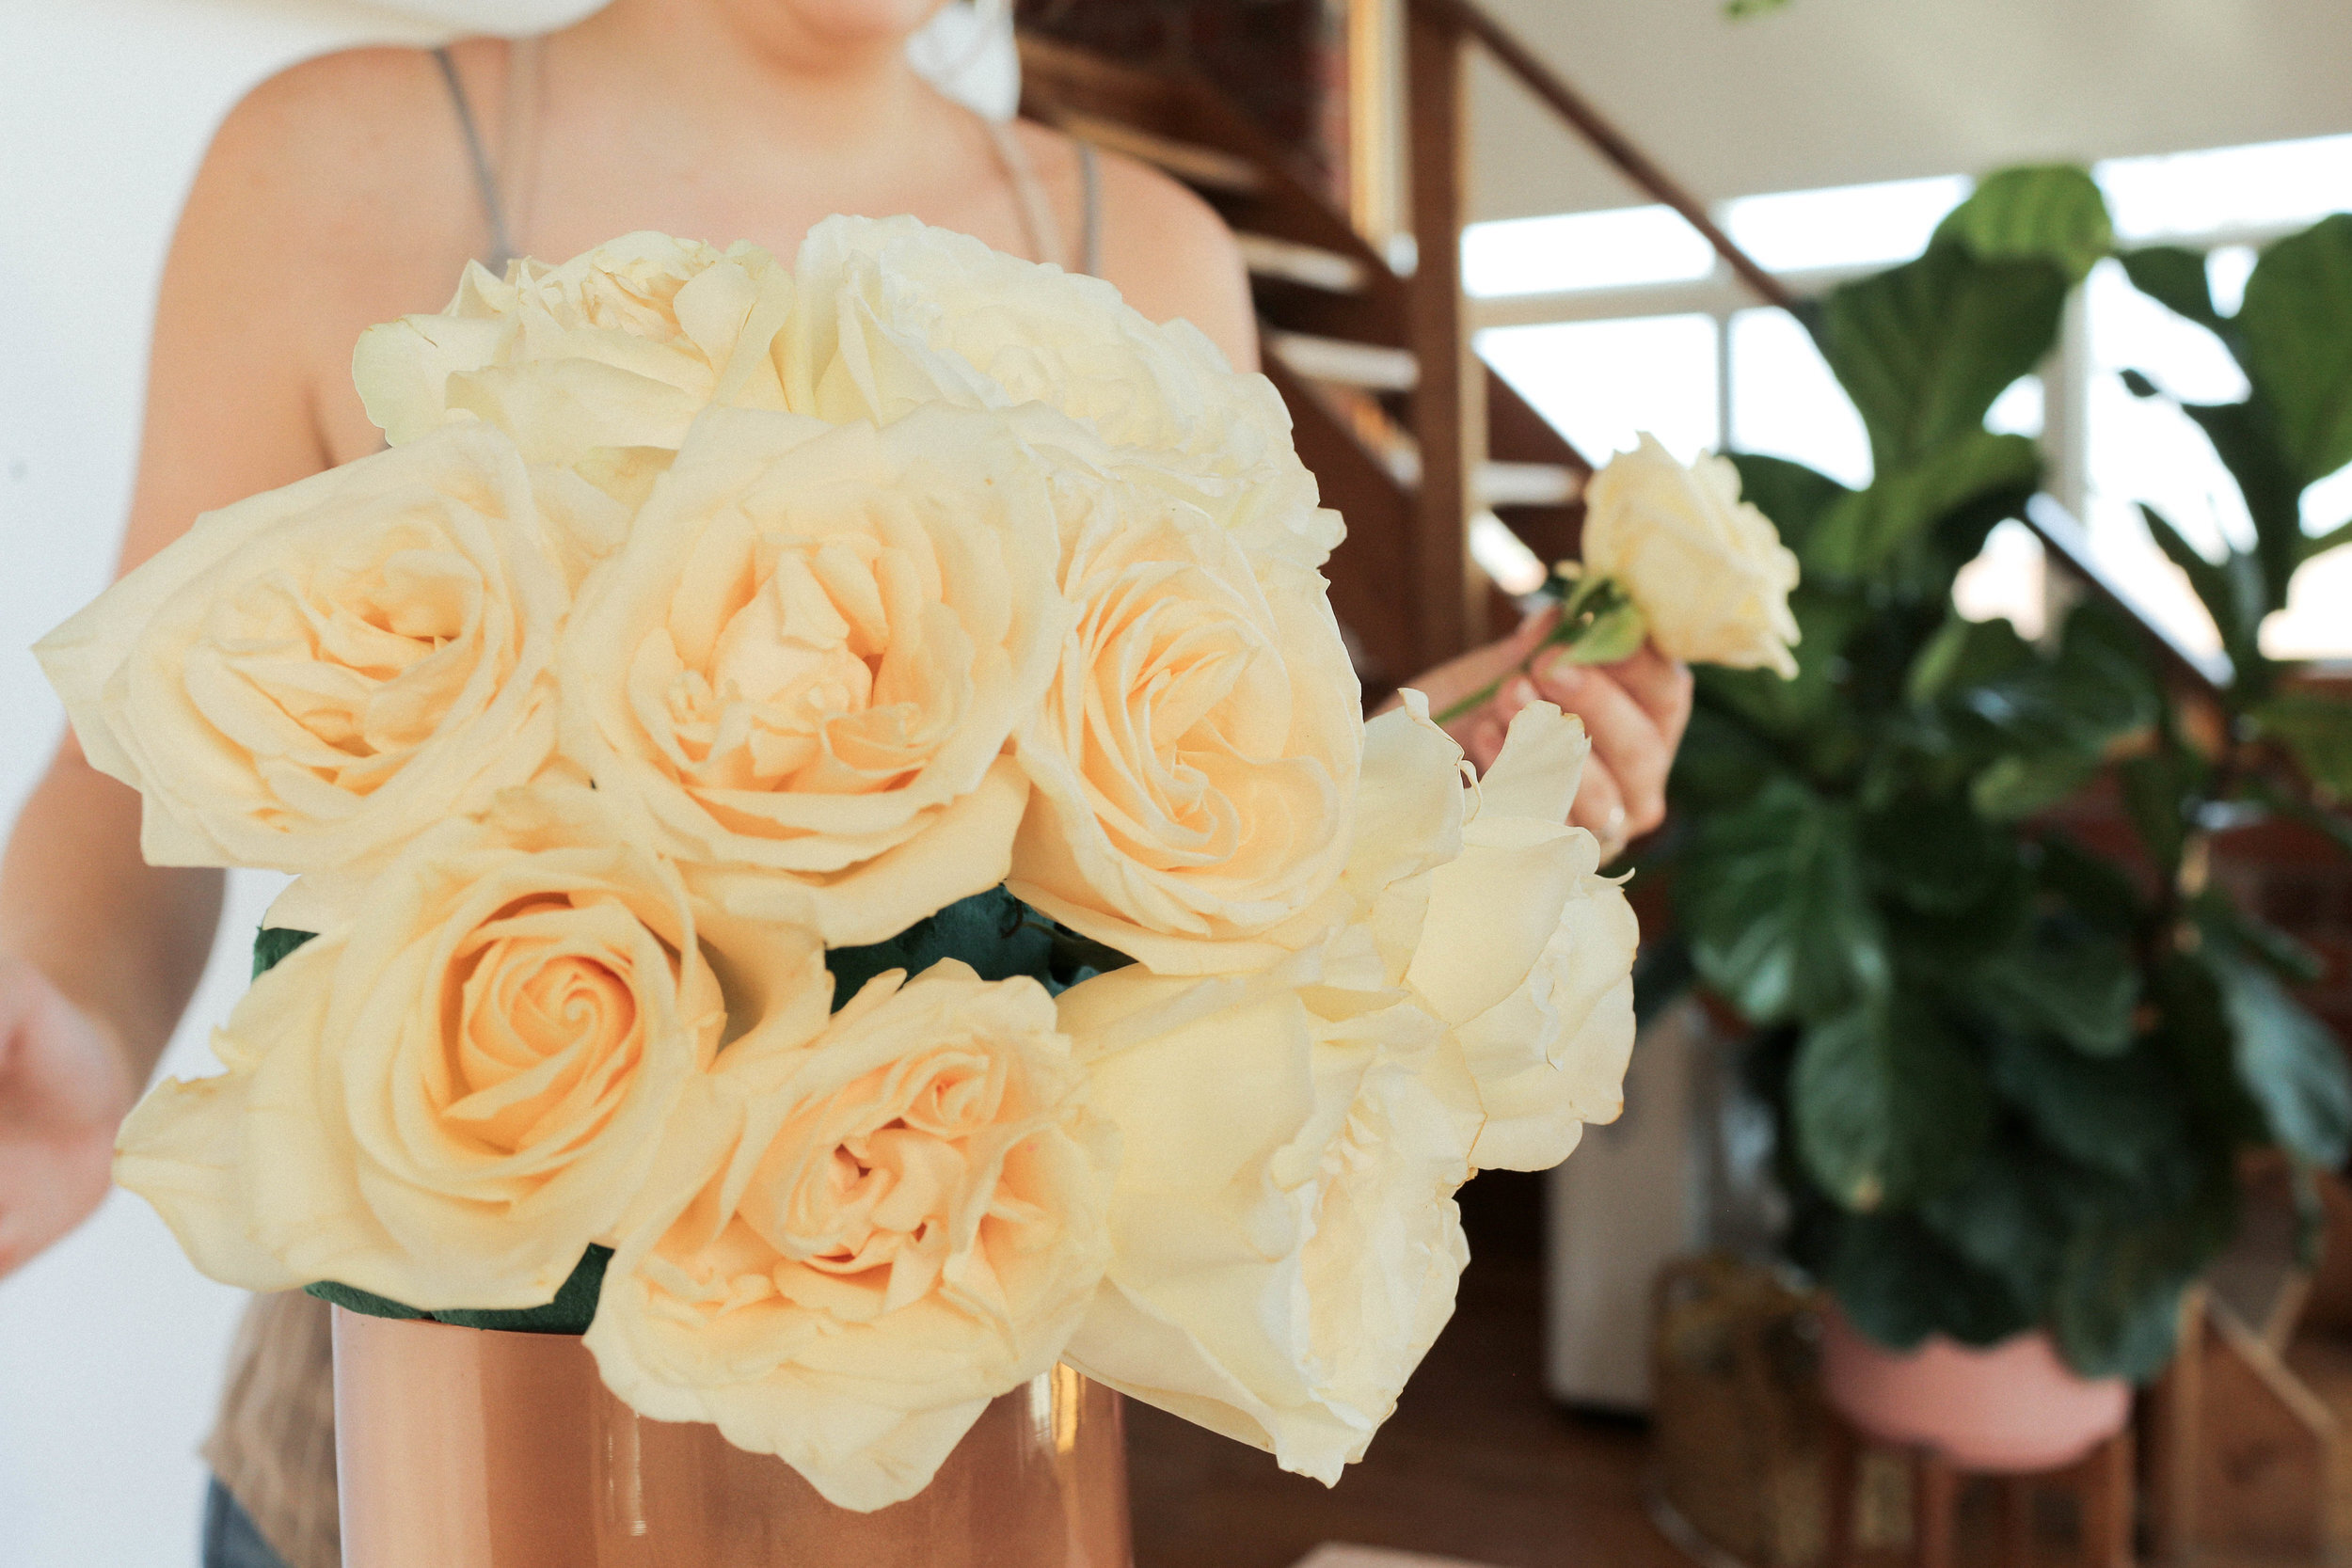
The goal was to make a rounded shape with the roses. The final step is to add a wood table number in front of your vase! We got ours from Amazon and spray painted it black!


RUSTIC

FLOWERS/GREENS USED (similar/same):
- Yellow garden mums (yellow flowers)
- Gypsophila (tiny white flowers)/baby’s breath
- Purple Limonium (tiny tall purple flowers)
- Wild teasel (purpley bulbus ones)
- Linaria vulgaris (tall white fluffy ones)
- Chrysanthemum
- Purple/pink Geranium
For this look, we started by adding a burlap table runner with a bit of lace in the middle. For the name card, we cut a small piece of craft paper, layered some lace behind it, and wrote the guest’s name onto the craft paper with a white paint pen. We then used a mini clothes peg to hold them in place.


For the centrepiece we used found and thrifted glass bottles and jars and accented them with lace, burlap and twine. For the table number, we cut out a tag shape from craft paper and tied it to the top of a glass jar with some twine. We placed all of these jars on a tree slab. You can either cut this yourself if you have the wood or look for independent sellers online - or we’ve also seen them in retail stores.


Our bouquets were inspired by wildflowers, as if they were picked from a field.


chic greens

FLOWERS/GREENS USED:
- Italian Ruscus
- Spiral Eucalyptus
The vibe for this table set up is natural organic textures, geometric gold, and lots of greenery. I like to think of it as a modern spin on a garden wedding. For the name card, we’re taking some thick watercolour paper, and using a ruler to rip it into a smaller shape instead of cutting it with scissors. This gives a more organic edge to the paper. With a gold gel pen, we wrote on the name in a calligraphy inspired font. We added a single clipping of Eucalyptus on top for some decor.


We cut out two square pieces out of ¾in MDF. you can make this whatever size works for your centrepiece. We also cut 4 dowels to size, you can make these as tall as you want your centrepiece. Measure and drill 4 holes in each corner of your square the size of your dowels. Using wood glue, assemble the centrepiece stand and let dry. Once dry, we painted it gold. For the greenery top, lay down a sheet of plastic first to prevent the wet foam from warping the stand. We’re again using the rounded floral foam.

For the greens, we’re starting with Italian Ruscus and filling the shape. We added some baby eucalyptus as a final touch for some extra dimension.


For the table number, we hand ripped a rectangle of watercolour paper. This gives an even softer edge but it can be a little harder to get it straight. We again used the gold gel pen for the number. We painted a wooden dowel gold and glued the sign onto the top and stuck the dowel into the green foam. We completed the table with a collection of white pillar candles.


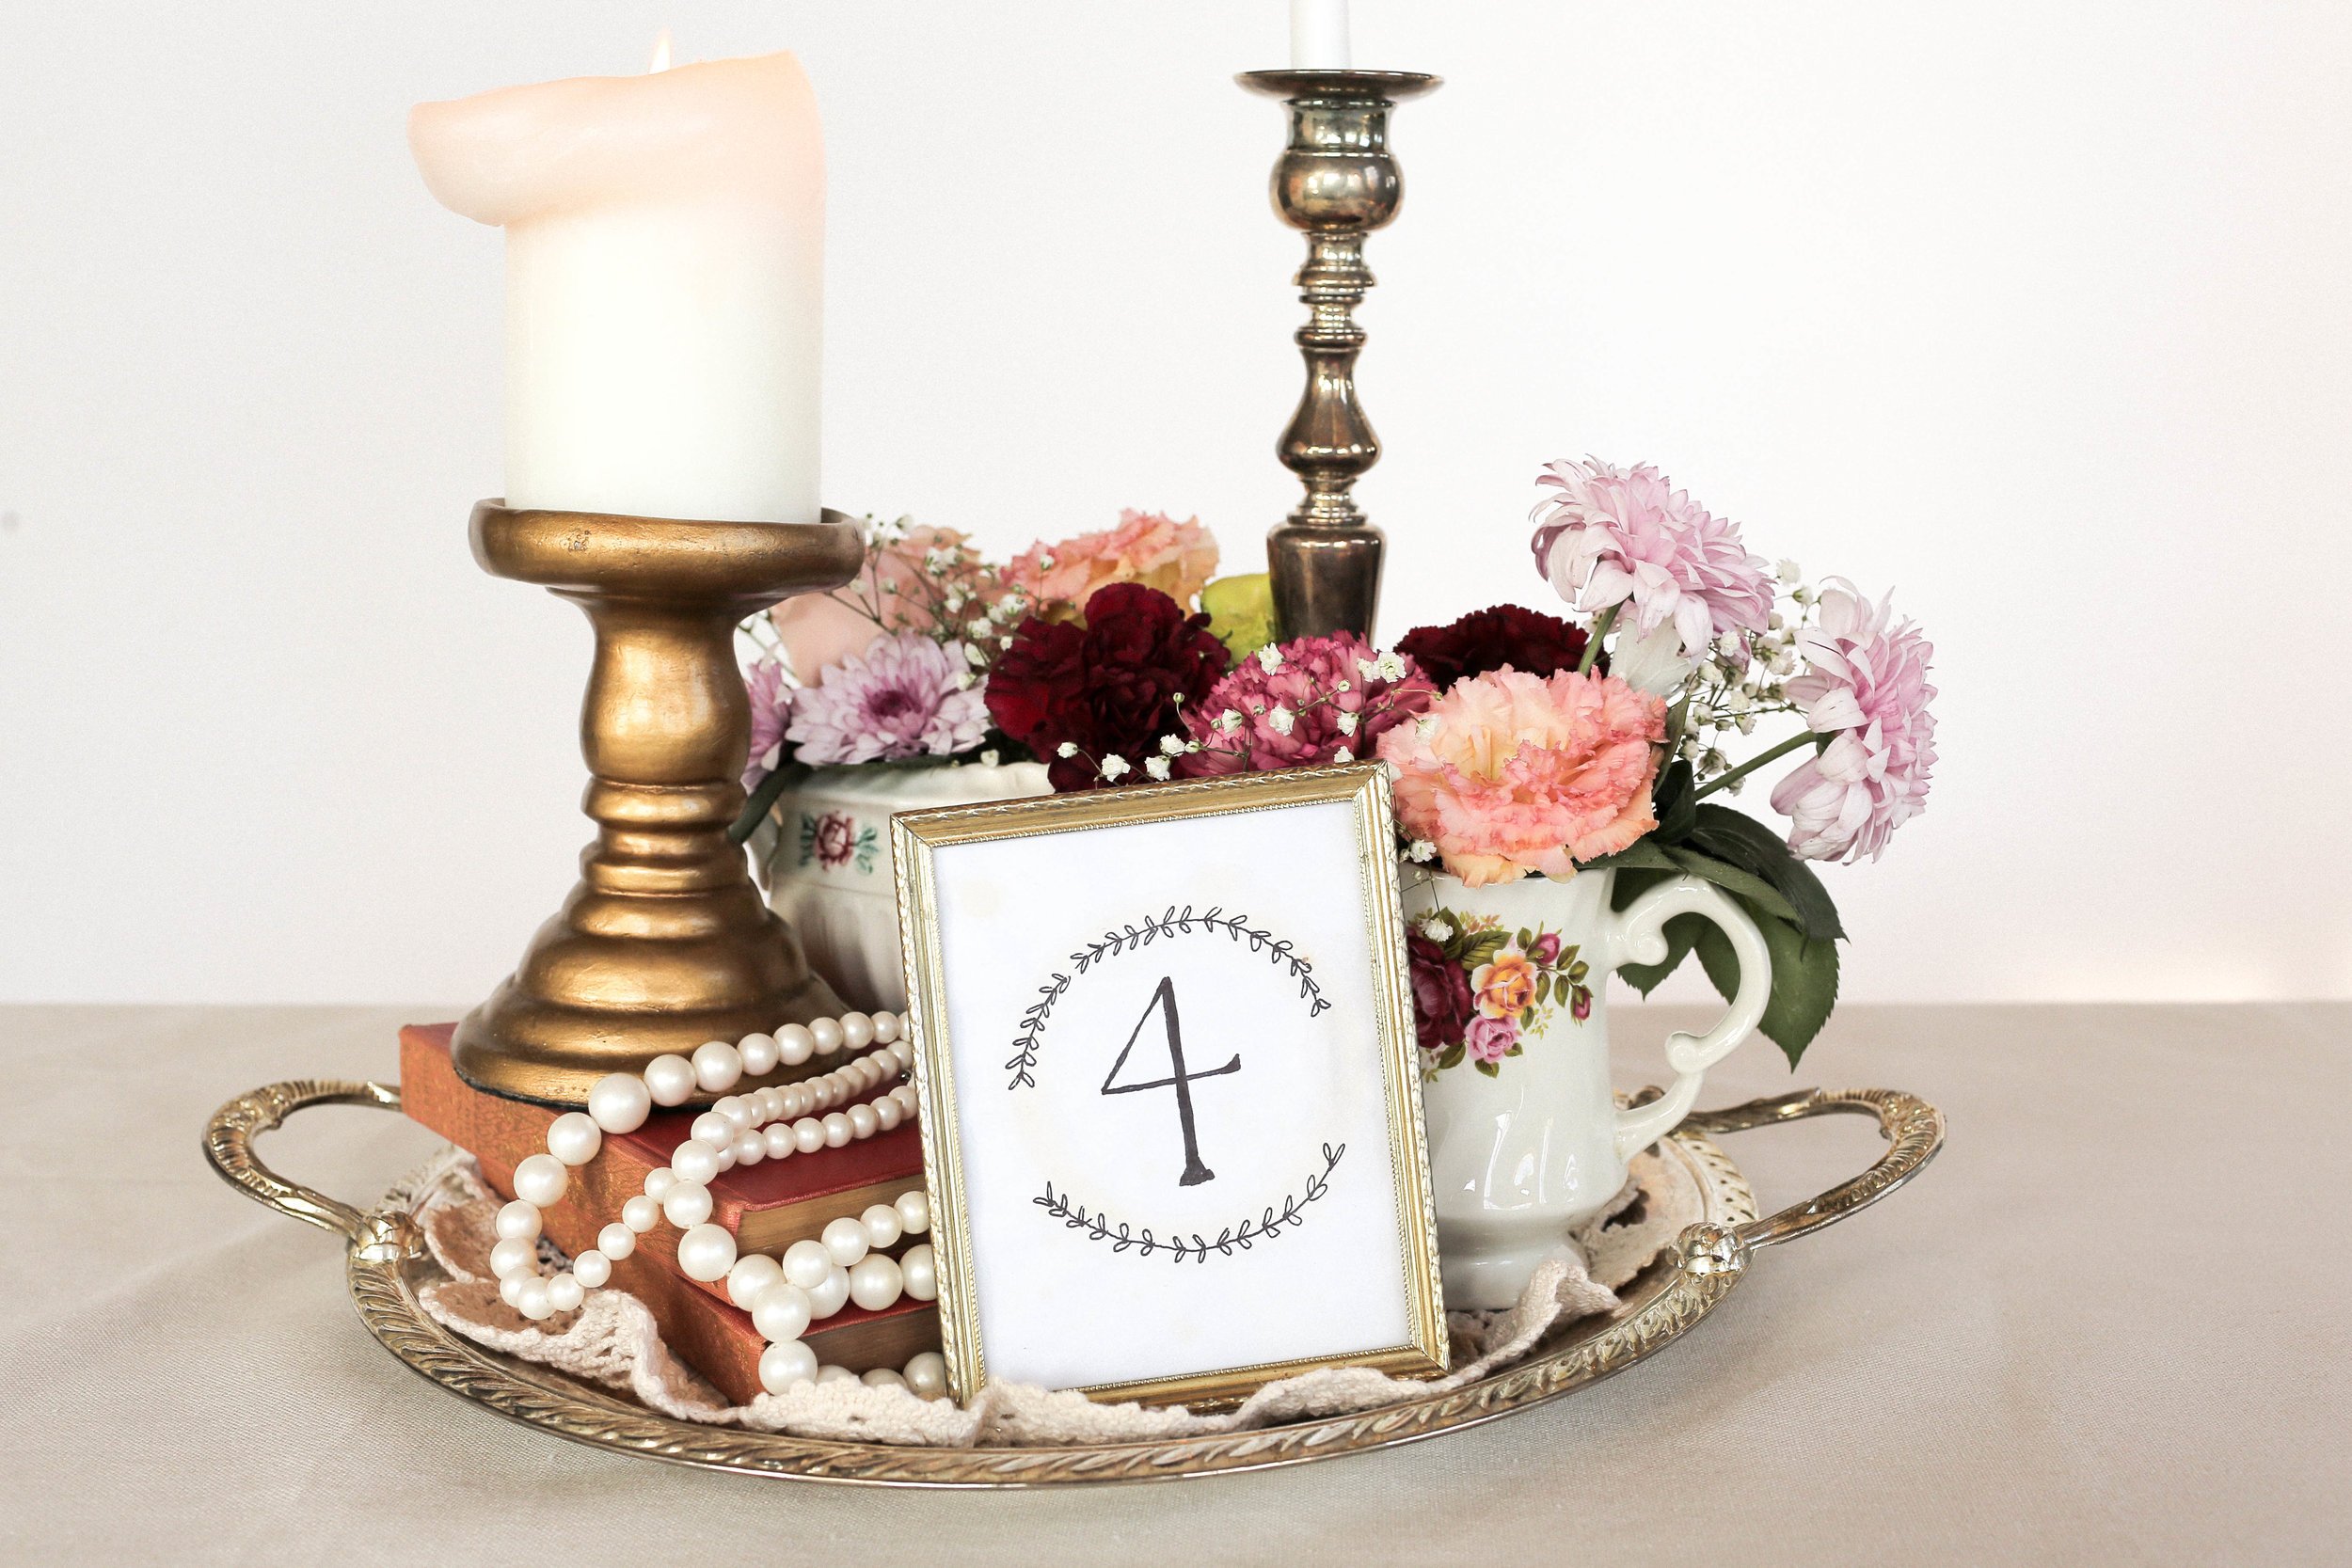
vintage
- Peonies in various soft rosey colours
- Carnations
- Baby’s breath
- Gypsophila

The vibe of this table is vintage lace, delicate china and silver. We made the place card out of some thick lined paper. We then brewed some black tea, and then spilled the tea, and stamped a tea ring onto the paper to make it feel even more vintage. We wrote the name with a thin black sharpie in cursive. For the centrepiece we went with a vintage collected vibe. We found a ton of cool silver serving trays and these vintage books. For the table number we found this darling detailed gold picture frame at the thrift store. We tea stained white paper for extra vintage effect and drew a floral doodle in a ring. We wrote the table number in the centre.

For the vases, we thrifted a collection of floral china cups and tea pots. We filled them with classic flowers like carnations and baby’s breath. We added some candlesticks for height and also found a string of pearls to layer on top.
The best part of this theme is that you can gather any collection of vintage items and place them on a tray and they’ll look amazing!