Upcycled Planter Hack DIY
IKEA has long been known for its affordable and stylish furniture options, and with a little creativity and ingenuity, you can transform their products into unique pieces that suit your personal style. In this blog post, we'll explore a simple and affordable DIY project using an IKEA bamboo sheet and a thrifted planter bucket. By following a few easy steps, you'll have a beautiful planter that looks expensive and seamless, without breaking the bank.
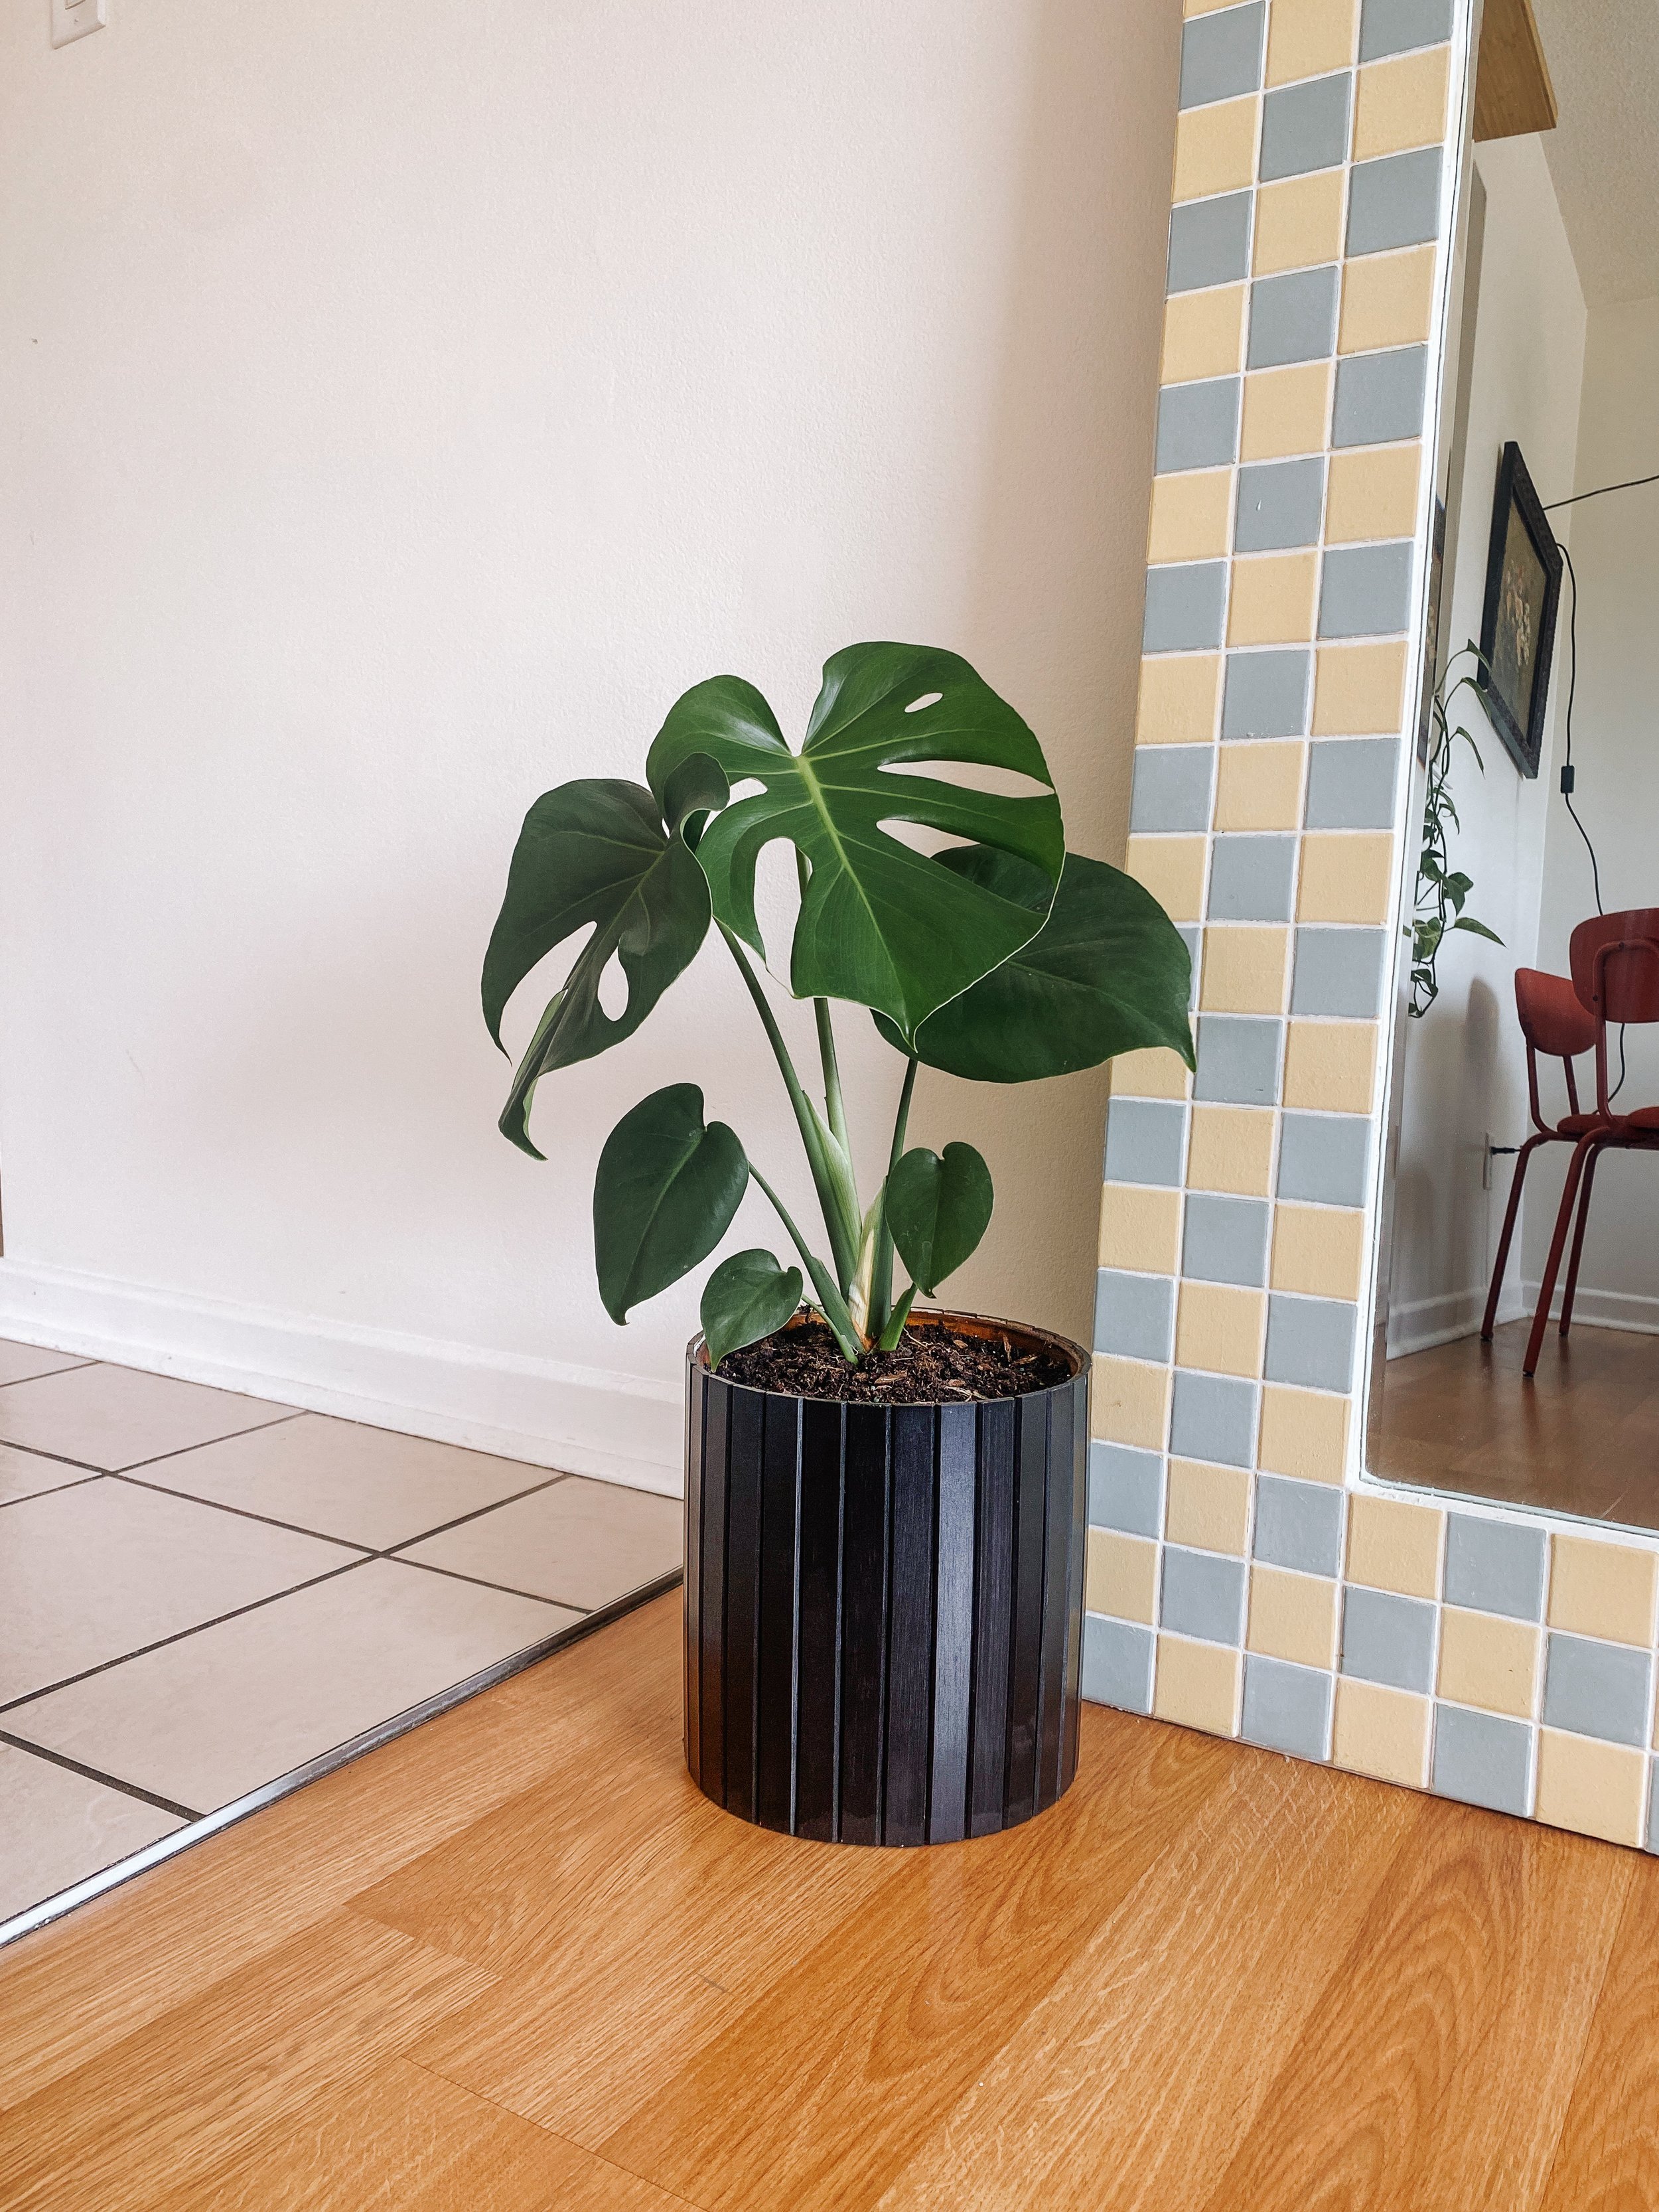

The project begins with a the IKEA RÖDEBY Armrest Tray. Initially, the idea was to paint a bamboo sheet in black, but it turns out that IKEA also sells it in black, saving both time and effort. The bamboo sheet is perfect for this DIY because it has a flexible backing, which make form against curves perfectly! Additionally, a thrifted planter bucket, that I got for just $3.99, will be used to house the bamboo sheet and create a stunning planter.


So the idea here is we're going to adhere this to the outside and make a beautiful planter, but it is a bit too tall for our bucket and we are a bit short in the back, but we are going to fix that.
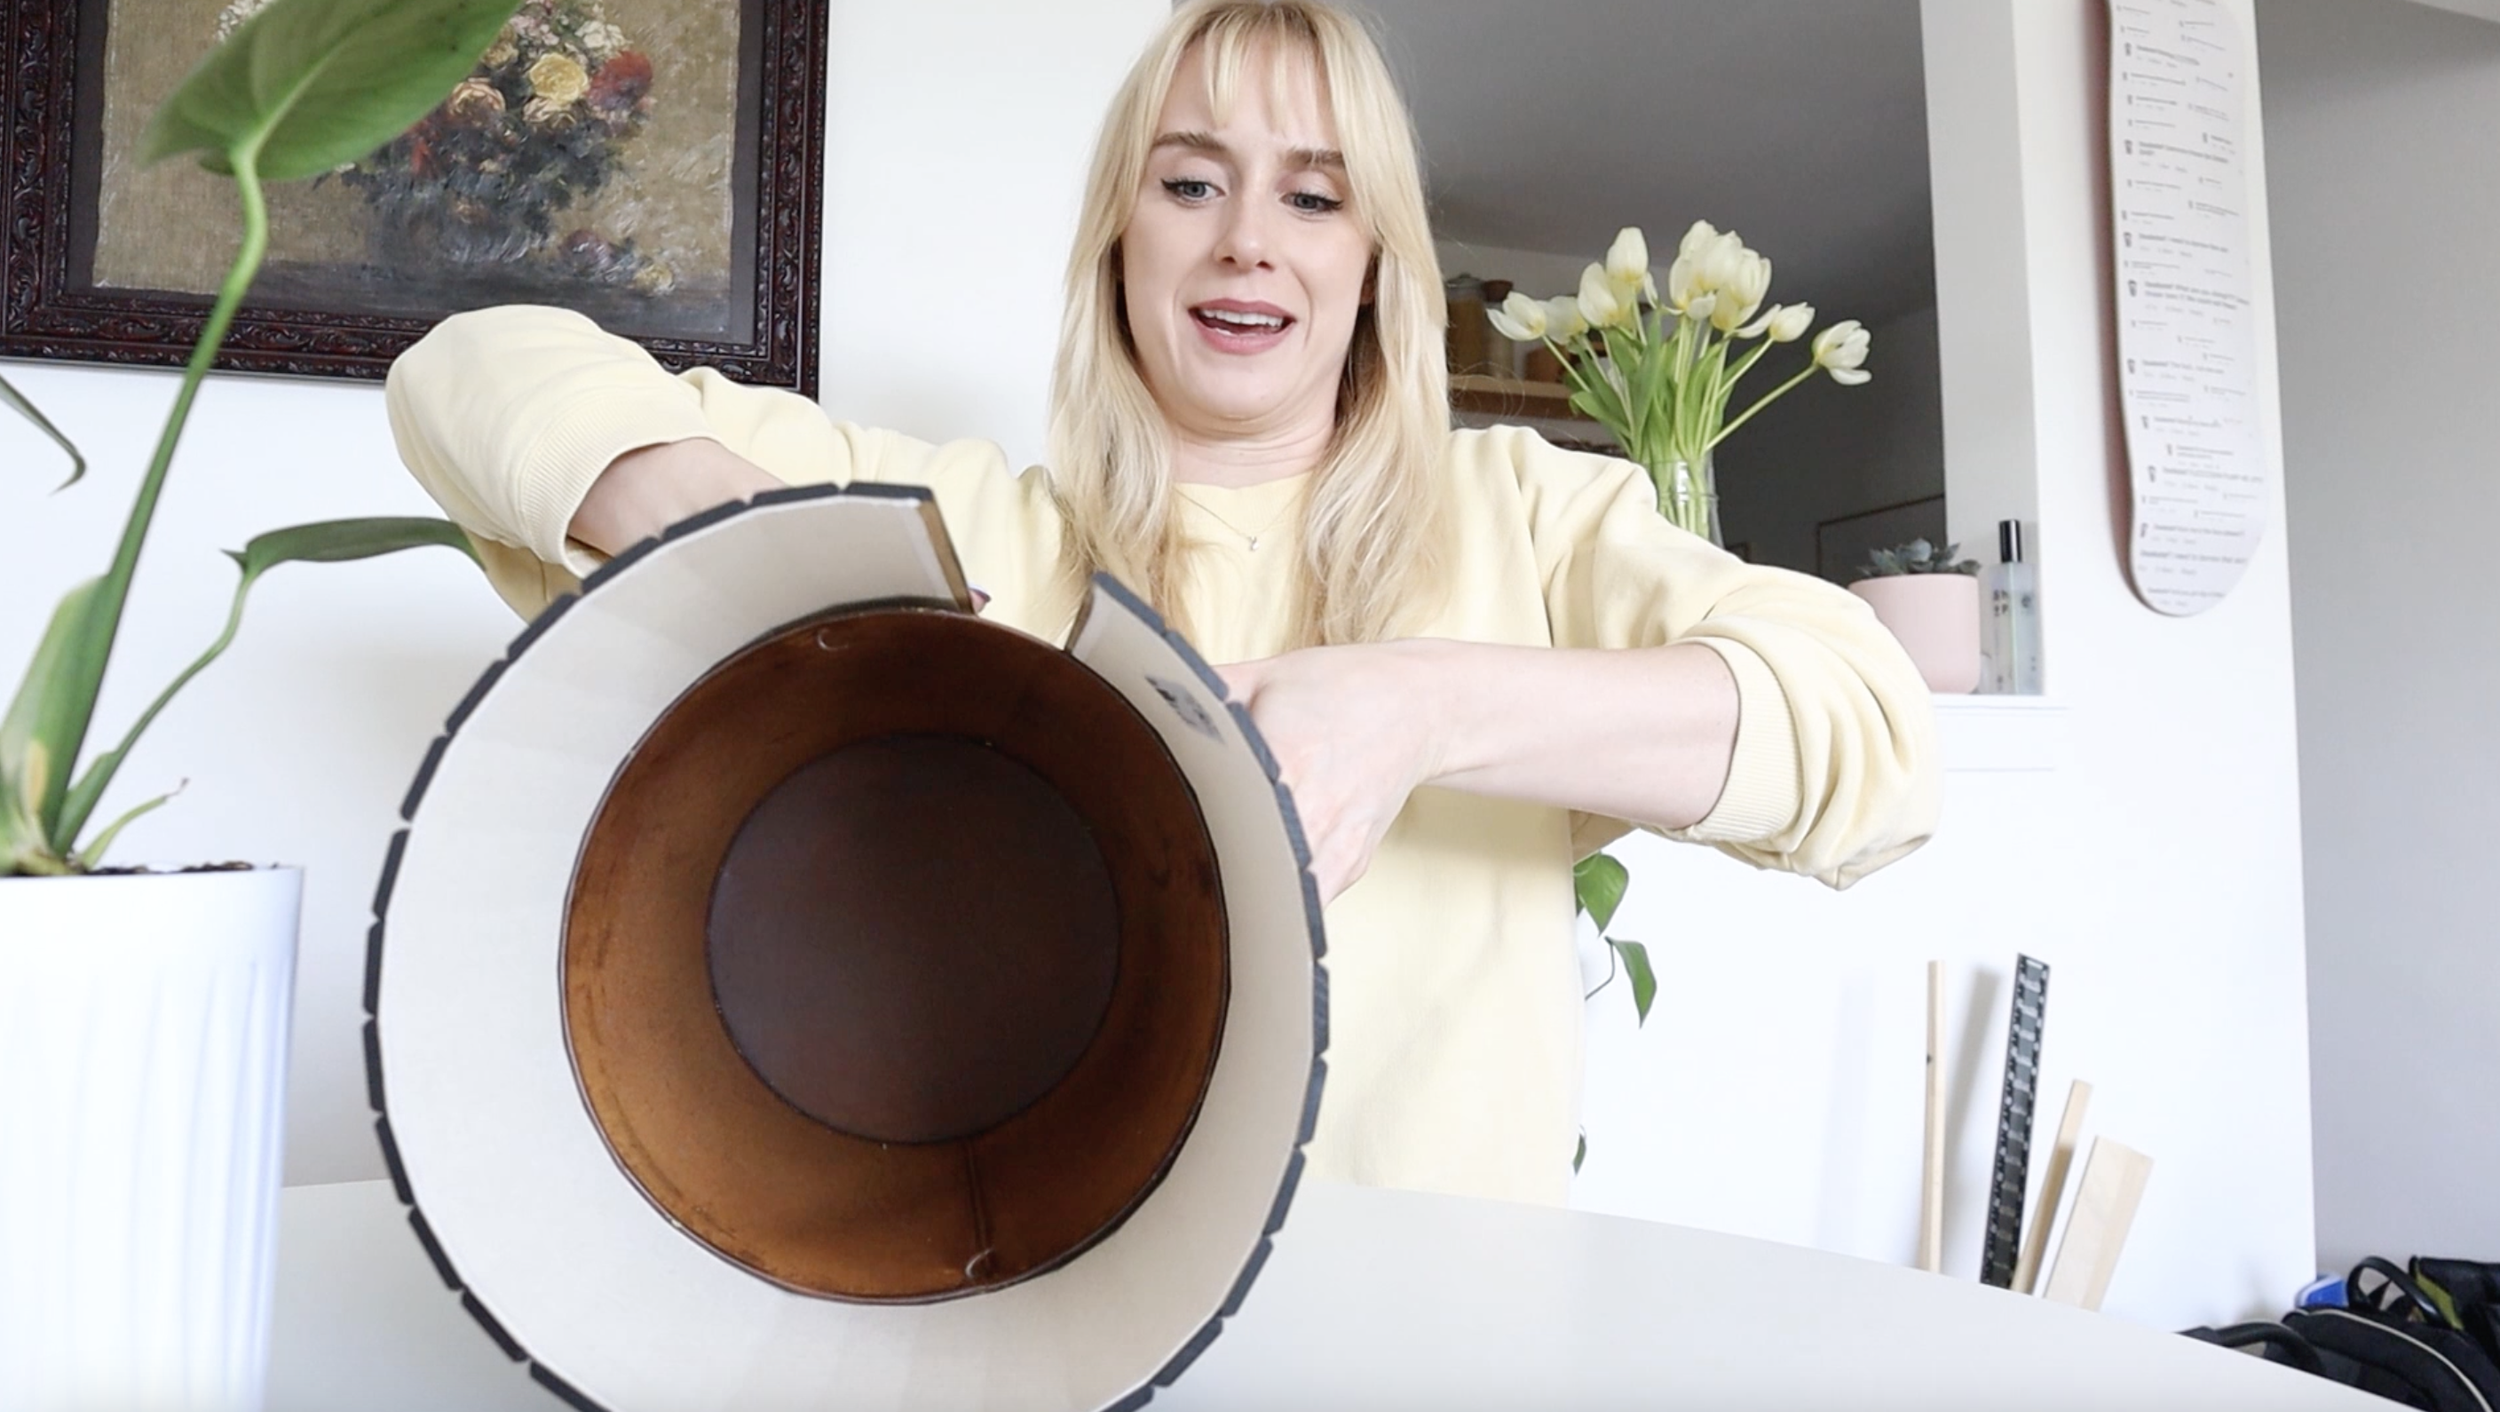
I marked the height of the bucket onto the fluted bamboo sheet. The sheet is then clamped to a table, and before actually cutting it, I used a straight edge ruler and a utility knife to score a straight line where I wanted it to be cut. Once I was done that, carefully using a handsaw, I cut across the scored line and the marked section was removed. I then took a sandpaper block used to smooth the cut edge, creating a neat and polished finish.


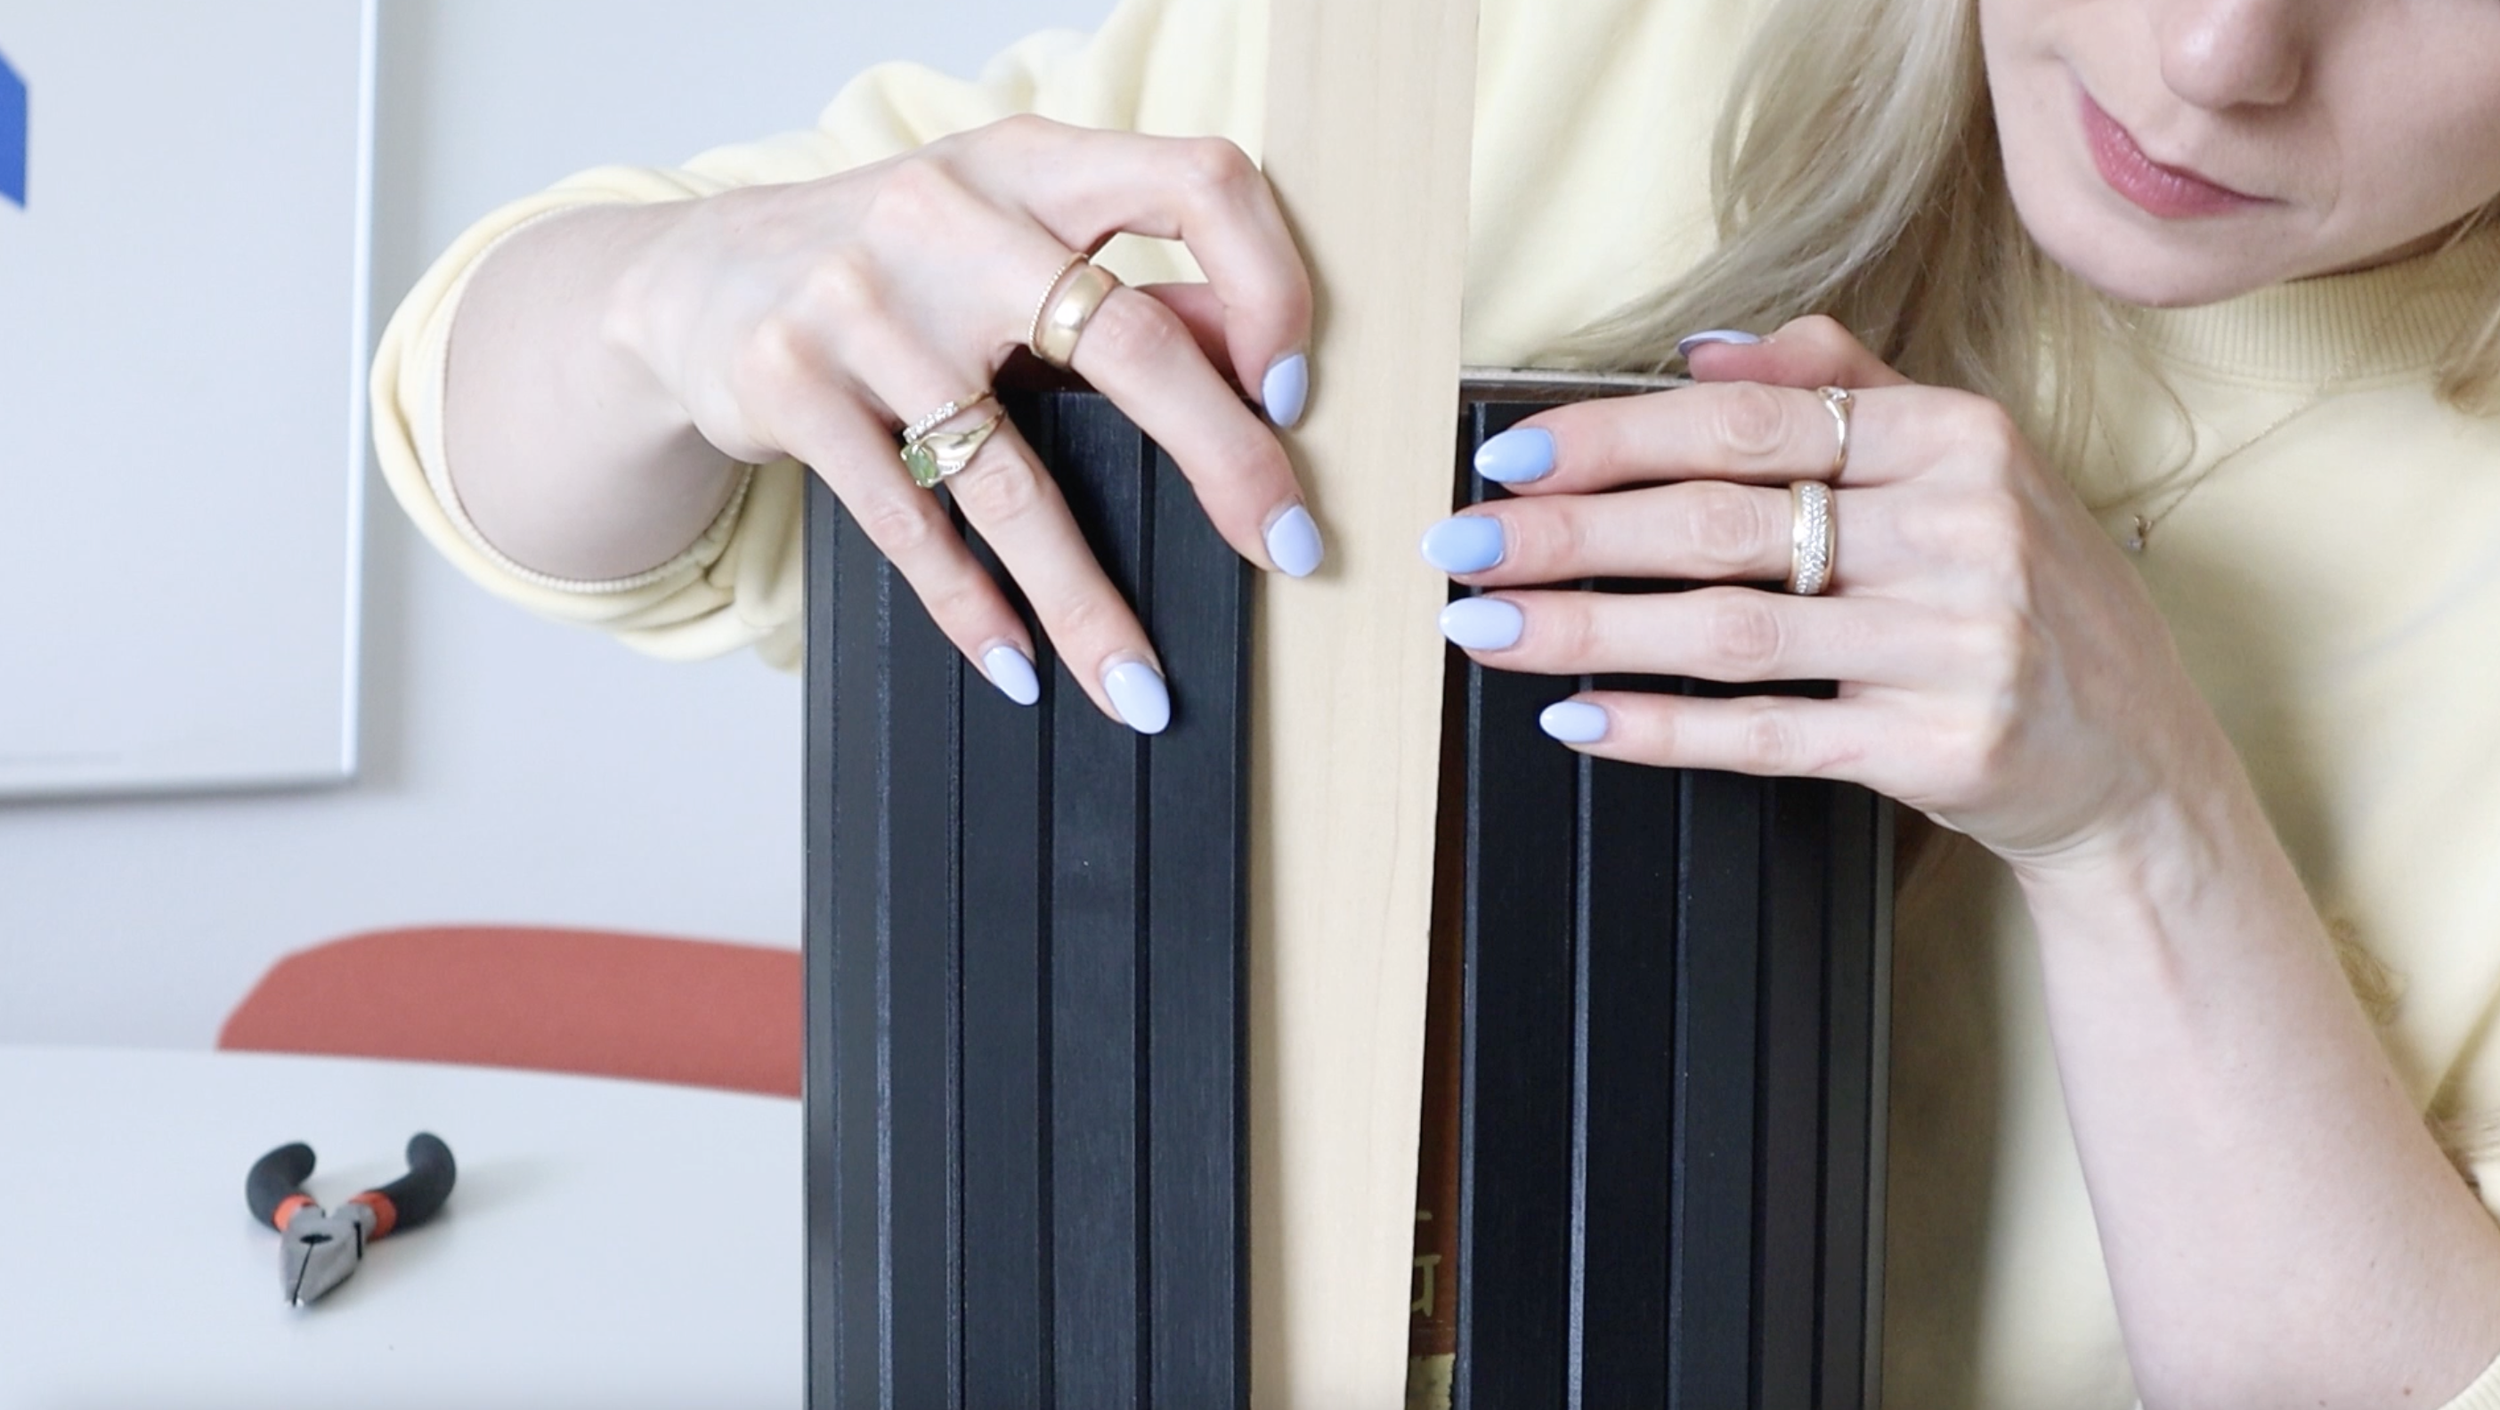
Now that the height is addressed, it’s time to fix the gap visible when it’s wrapped around. So to deal with the gap, instead of buying a whole second panel from IKEA, I have a scrap piece of hobby wood that’s a quarter inch thick and one and a half inches wide. A piece like this, is approx. $3 new. If you don't want to buy an extra piece like this, I would honestly just pop over to the paint section of your hardware store and ask them for some stir sticks and those are going to do just fine. I already had this piece, but that's honestly probably what I would have done. Now I'm just going to trim this down to size and if it's a little bit too wide, I'm just going to go in with some sandpaper and trim that down and cover it with some black satin spray paint to match the IKEA product.

Next, I went in with some E6000 (an industrial strength adhesive). I have some gloves on just in case it gets on my hand. Essentially the only place we actually need this glue is along this top rim so it goes down straight. To let it dry, I tied it together with some string to hold it in place. And I also went in with some black acrylic paint just to clean up any frayed edges, but you really can barely see these. I really love this DIY. It was so easy and affordable, but it looks expensive and seamless.


