Testing Viral TikTok DIYs: Draped Fabric Abstract Wall Art
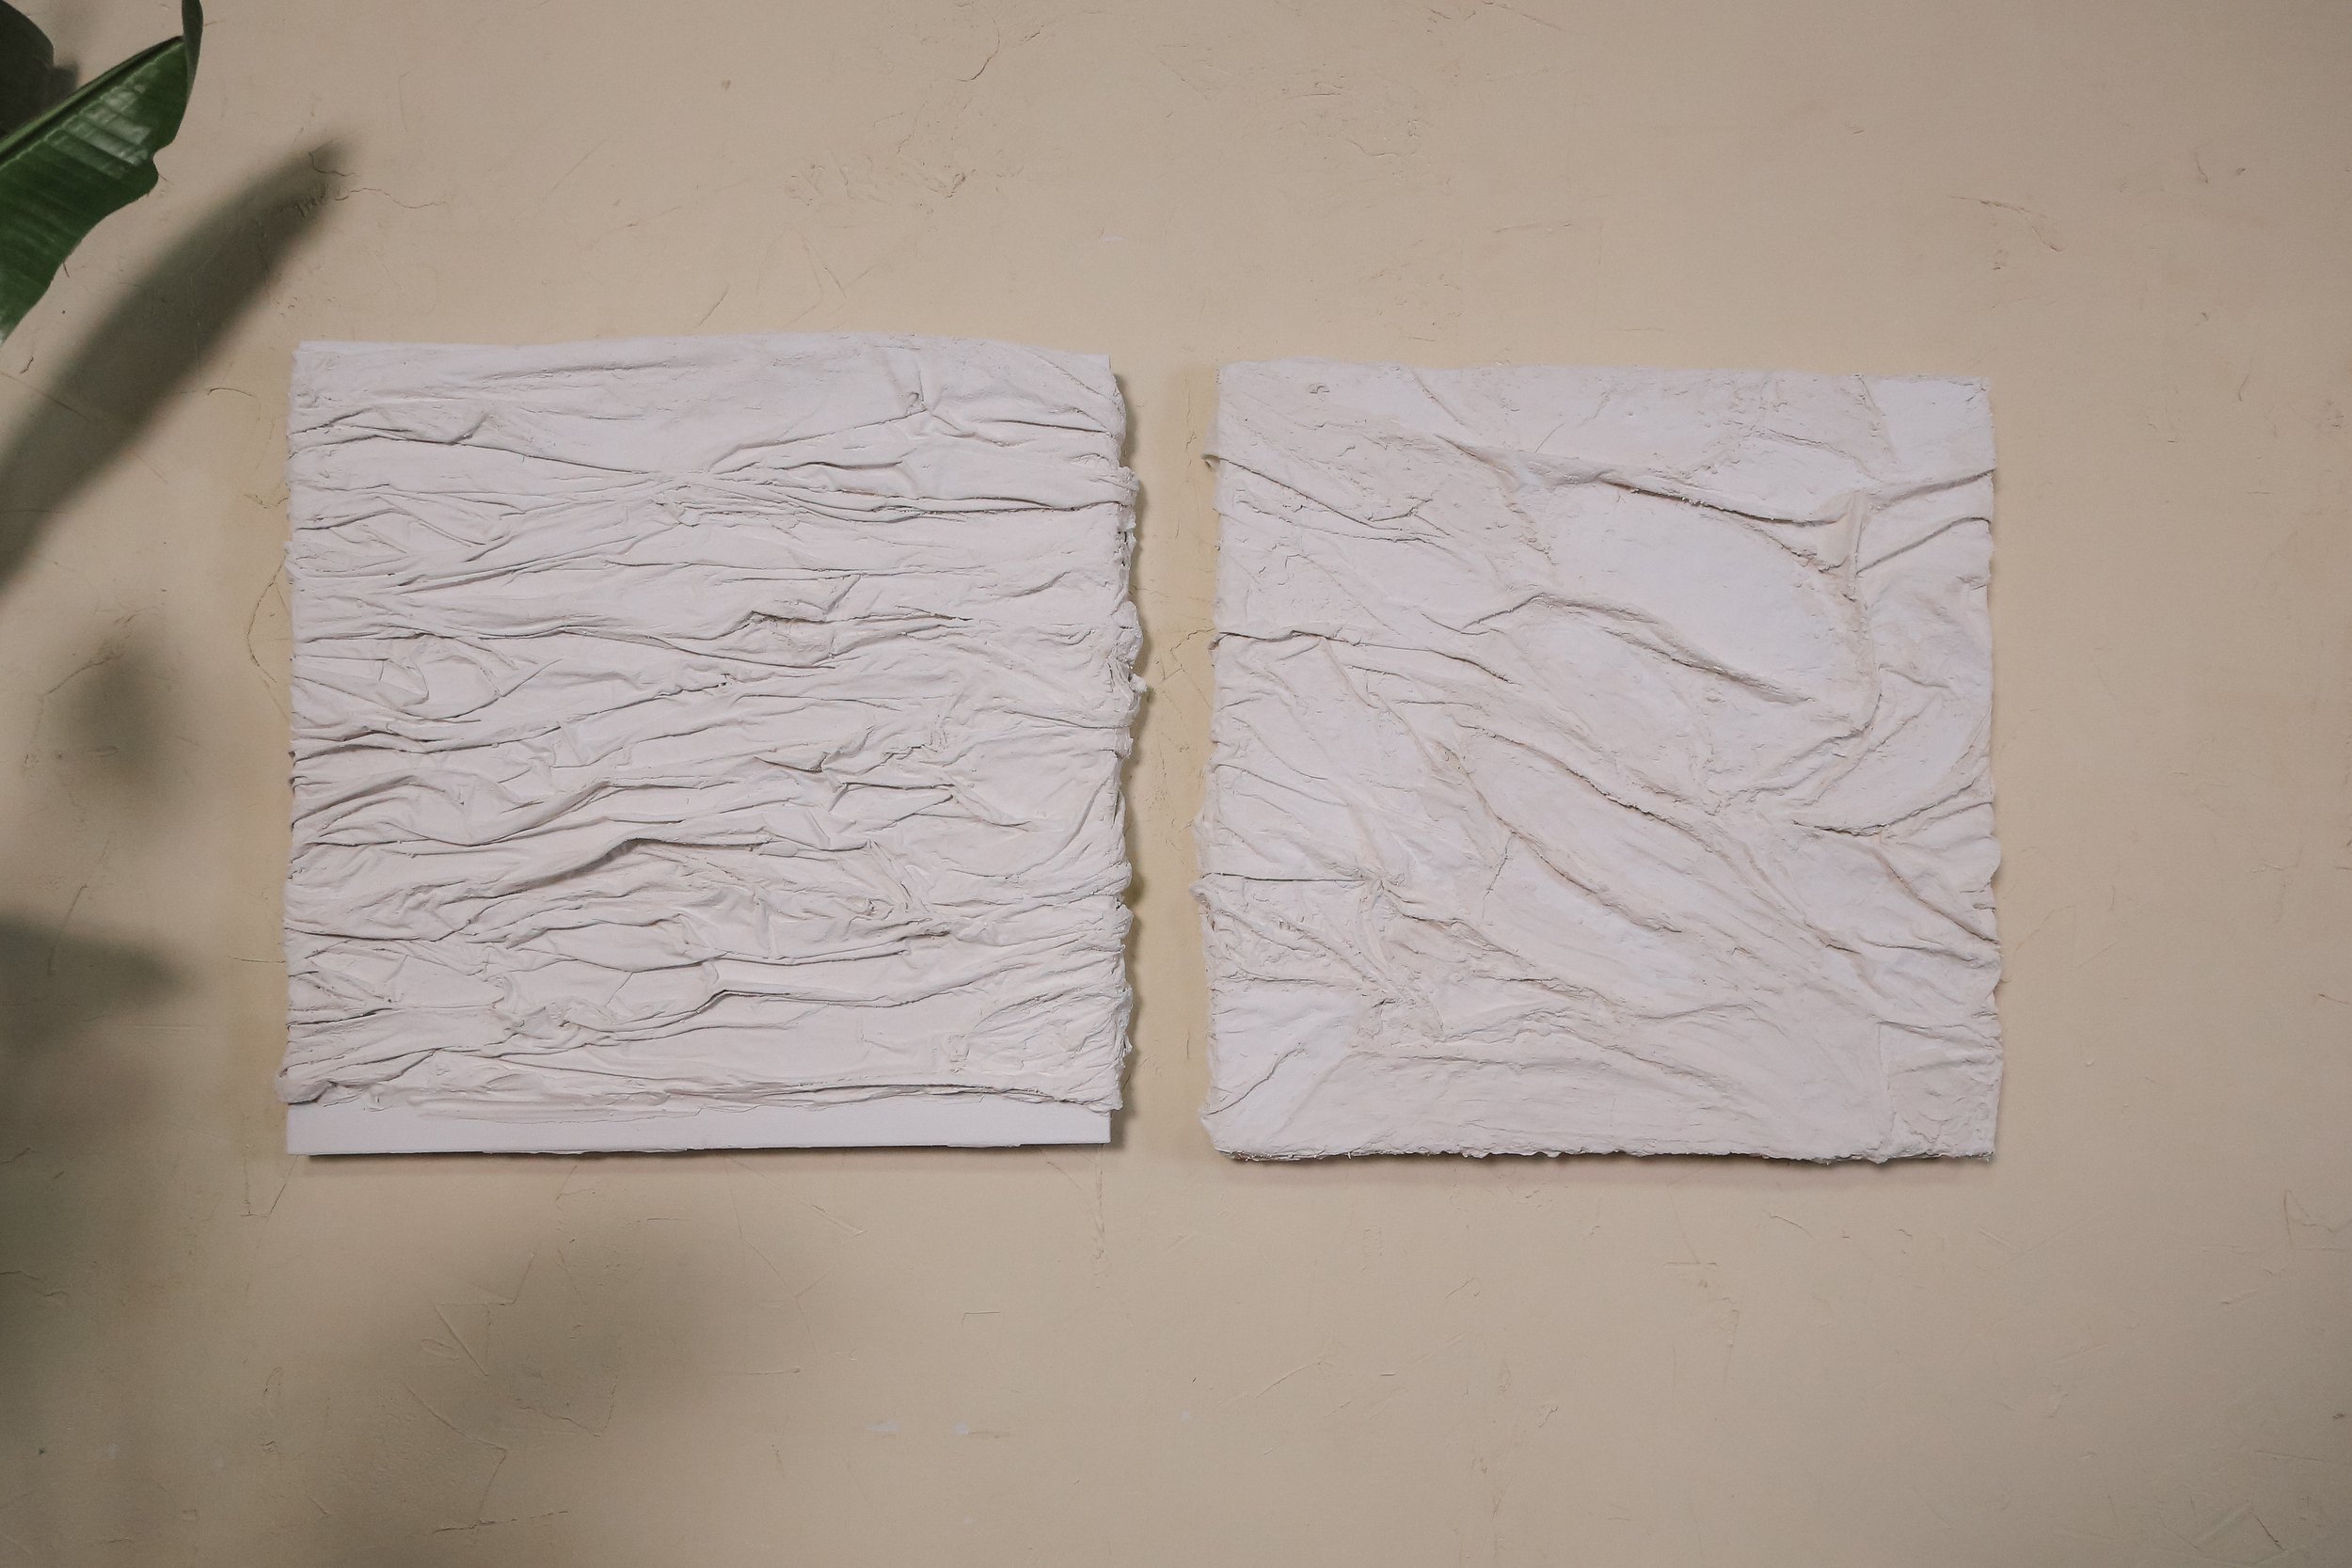
Recently, I stumbled upon a DIY trend on TikTok that showed a creative way to turn second-hand fabric into a beautiful piece of wall art. The DIY involved dipping the fabric in plaster and then draping it over a canvas to create an abstract design. The result was stunning, and the video quickly went viral. And as with any viral DIY, I feel it necessary to test out the project myself! In this blog post, I'll be sharing my experience testing out this TikTok DIY, including the materials I used, the steps I followed, and of course, the final product. Let's see if this viral TikTok DIY is worth the hype!
This full project was specifically inspired by the amazing TikTok creator, @kaelimaee. Go check out her video here.
Step 1: Gather Your Materials
To begin, you will need to gather all the materials required for this DIY project.
Second hand fabric
(for example: bedsheets, curtains, etc.)
Plaster of Paris (Dry Mix)
Large Canvas(es)
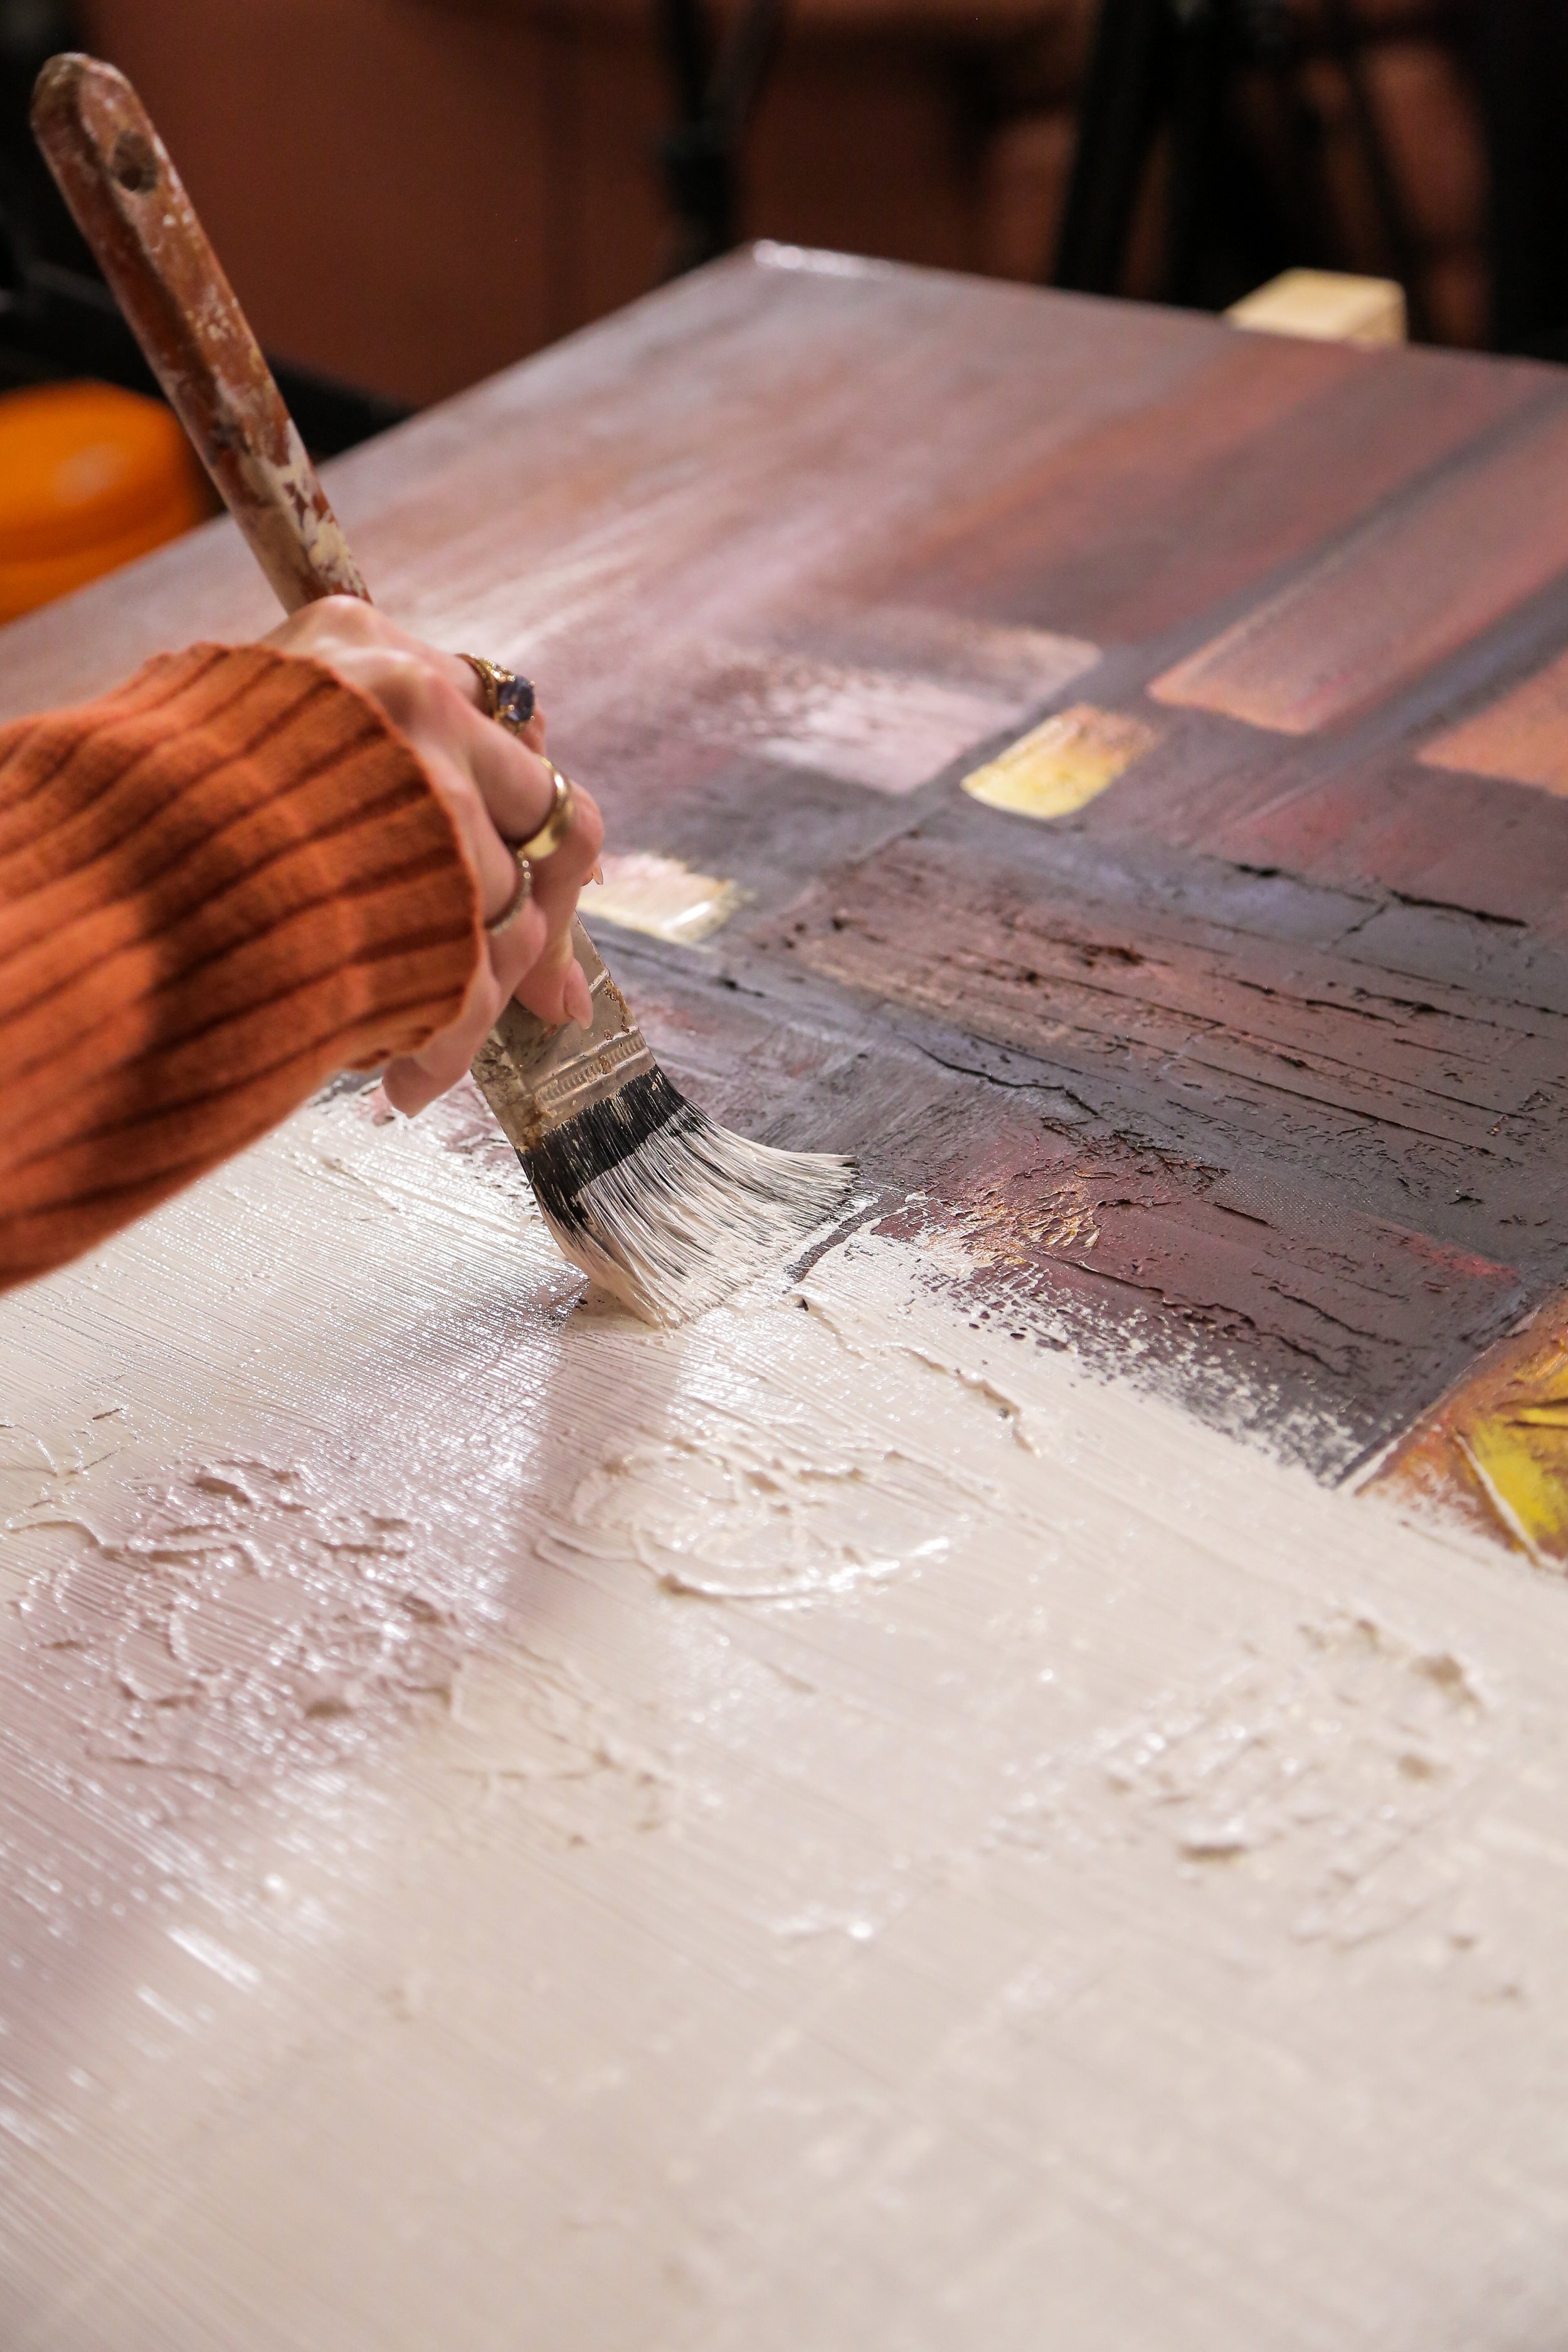
(TIP: I went to the thrift store and found two matching mass produced canvases with artwork already on them, but I just used some white gesso to cover the surface and hide the pre-existing artwork. This route is way cheaper then actually buying two new large canvases from the craftstore)
White gesso or regular white paint
Water for plaster
Bucket (to mix the plaster in)
Measuring cups & mixing spoon
Plastic sheeting or a tarp to protect your workspace
Step 2: PREPARATION
Once you have all the materials, it’s time to get started. Prepare the fabric that you will be using by cutting it to the desired size and shape of your wall art. You really only need double the height of the canvas and enough width to wrap around the edges on the backside. You can use any type of fabric you like, but thicker fabrics usually work best for this technique.
If you bought a second hand art print or are repurposing an old canvas that has already been used, take this time to cover up the work now with your gesso or white acrylic so that your canvas is ready to be used.
Lastly, lay down a tarp or plastic sheeting on your workspace to protect it from any plaster spills. Make sure you have enough room to move around and mix your plaster.
Step 3: Mix the Plaster
Next, mix the plaster of Paris according to the instructions on the packaging. In general, a good rule of thumb is 2 parts plaster to 1 part water. You will need to mix the plaster with water in a bucket until it has a thick, creamy consistency. Be sure to mix it thoroughly to ensure there are no lumps.
Step 4: Dipping and laying the Fabric
Now is the fun part! Take your fabric and dip it into the bucket filled with plaster. Make sure everything is coated as much as possible before taking it out of the bucket. That means, you probably will need to make more plaster than you would think so the whole fabric piece can submerge underneath.
NOTE: A mistake I made when doing this was not saturating the fabric enough initially, forcing me to pour extra plaster on top, which resulted in clumping in the final results. This is because the plaster has a working time of 6-10 minutes, so after it’s already been submerged once, going in with more will mix the drying plaster with the wet and the results ain’t cute (pictured here).
Once the fabric is fully saturated in plaster mix, you can create a draped effect by laying the fabric down on the canvas to give it that organic, abstract look. Be creative and experiment with different patterns when laying down the fabric. But keep in mind to work somewhat fast before the plaster dries (approx. 5 minutes)!
Step 6: Allow the Plaster to Dry
Once you are pleased with the way the fabric is laying on the canvas, allow it to dry completely. The drying time will vary, depending on the thickness of the plaster and the humidity of your workspace.
Step 7: Hang Your Wall Art
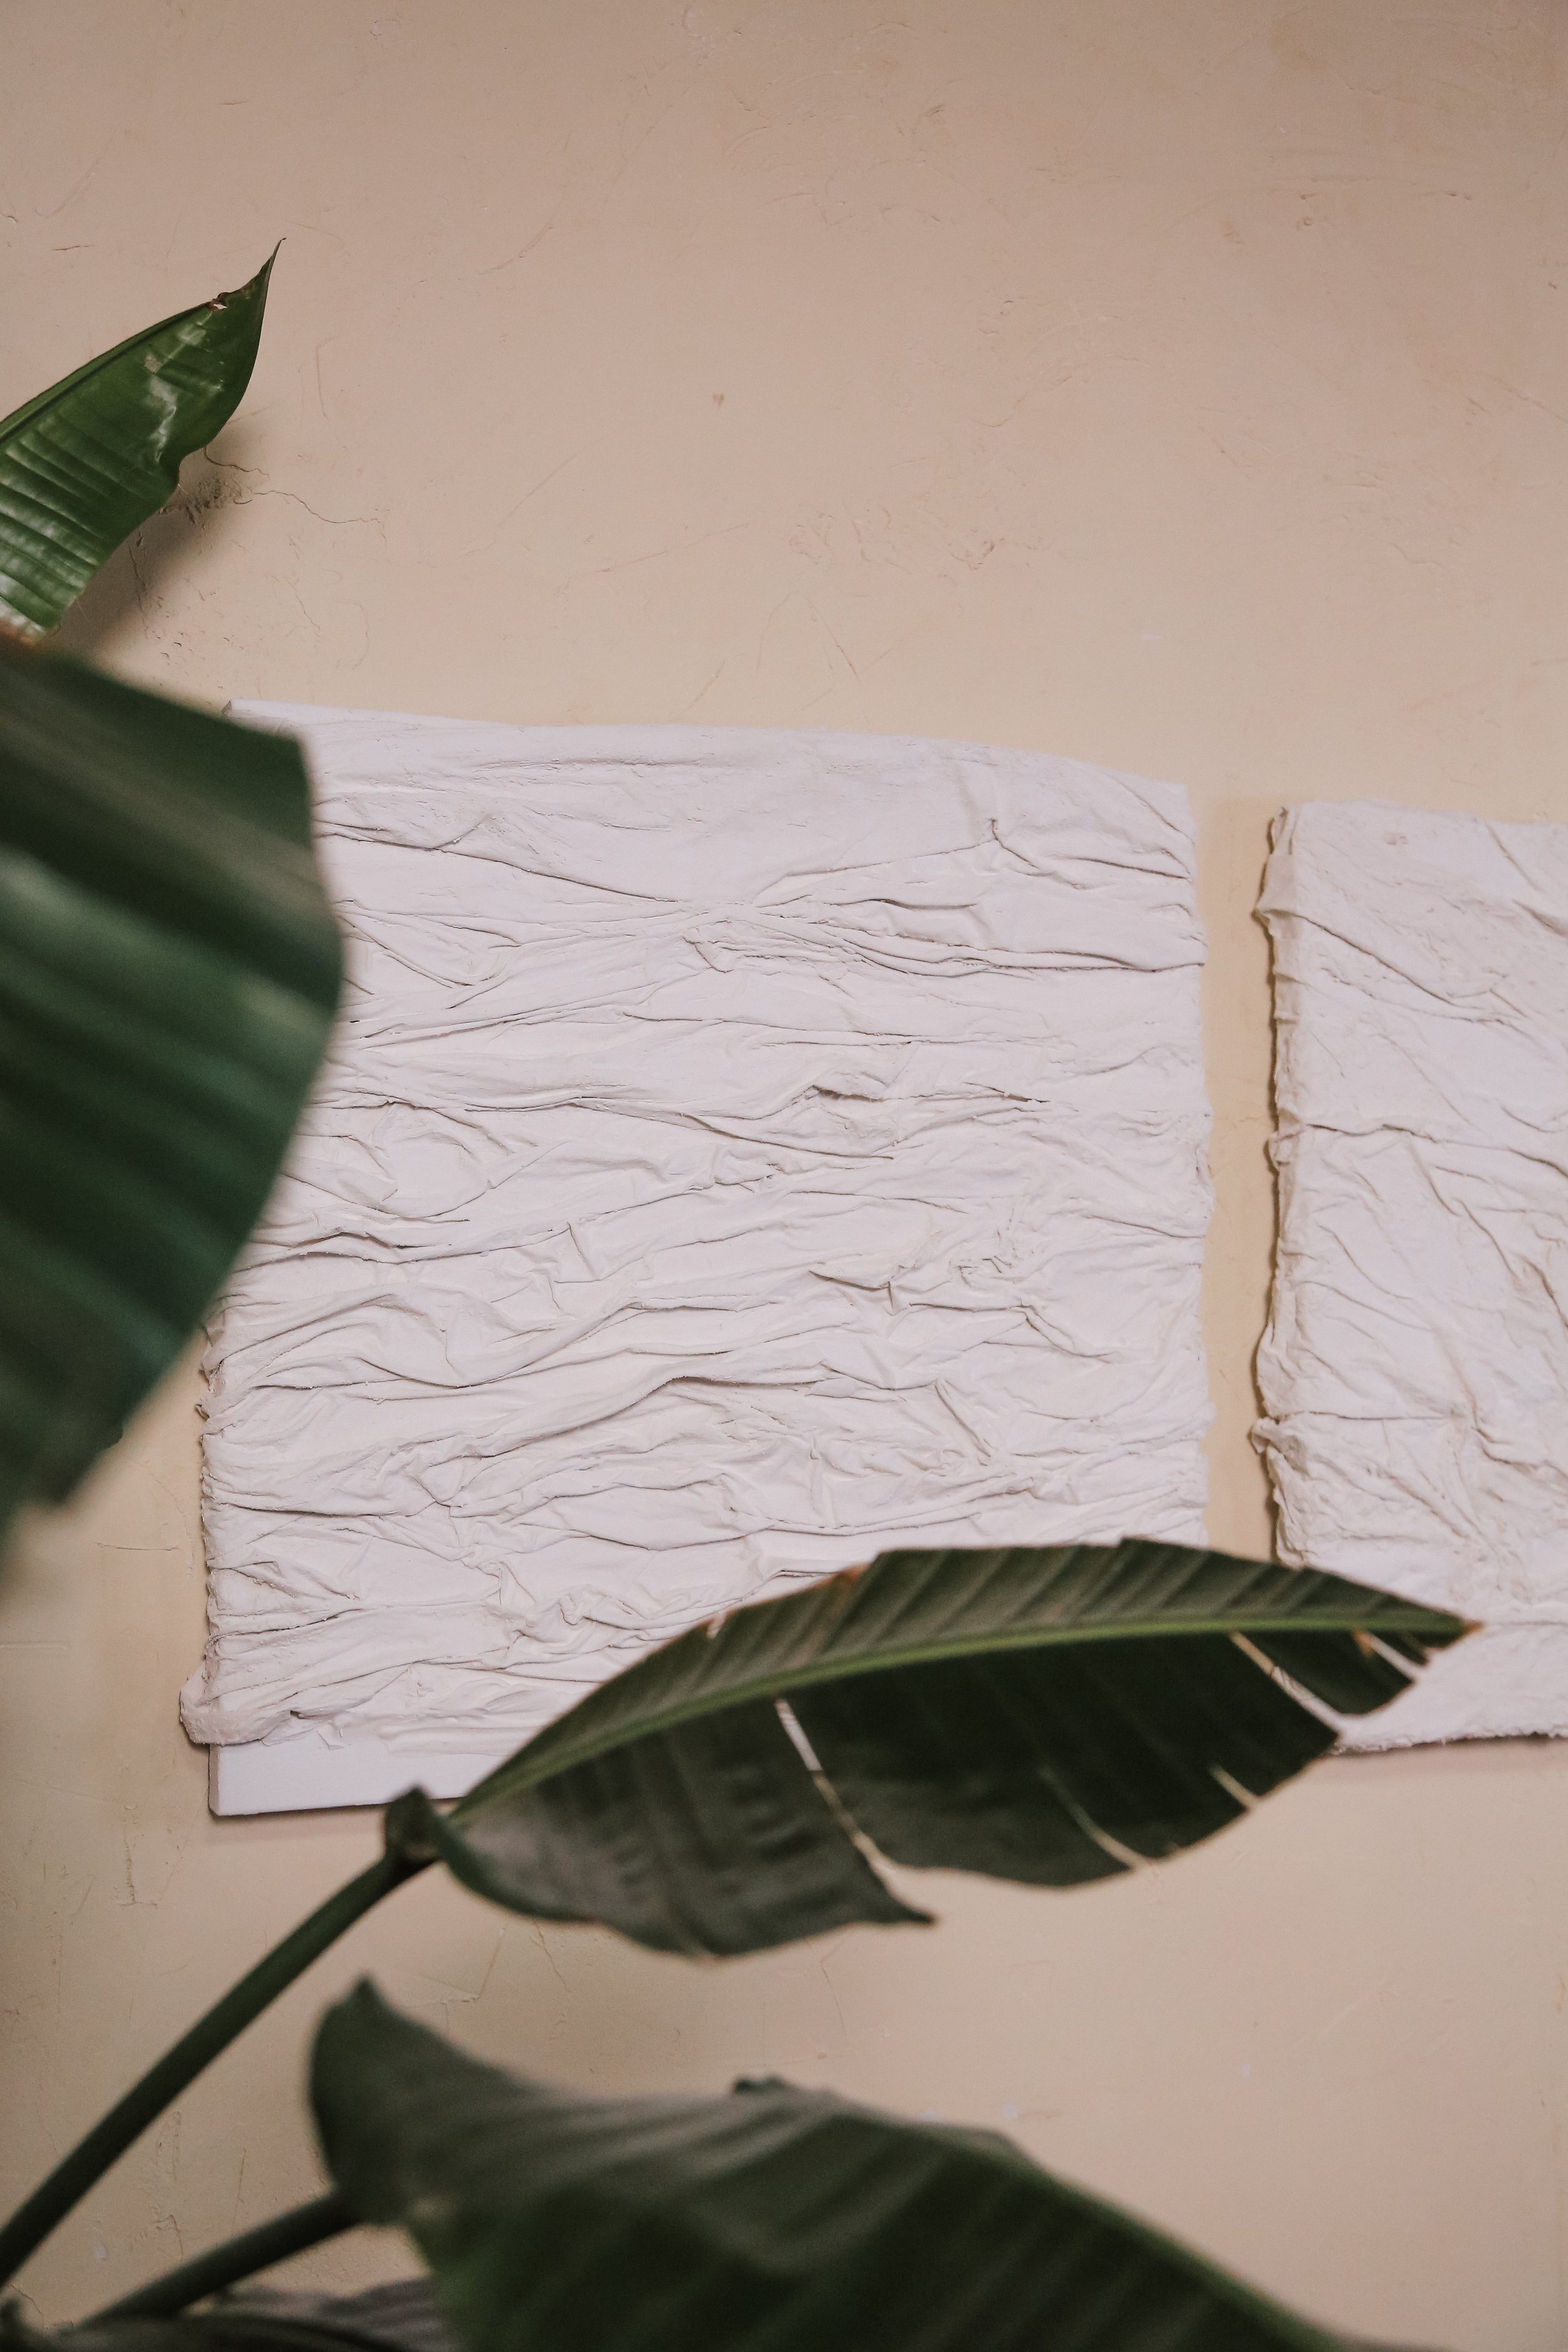
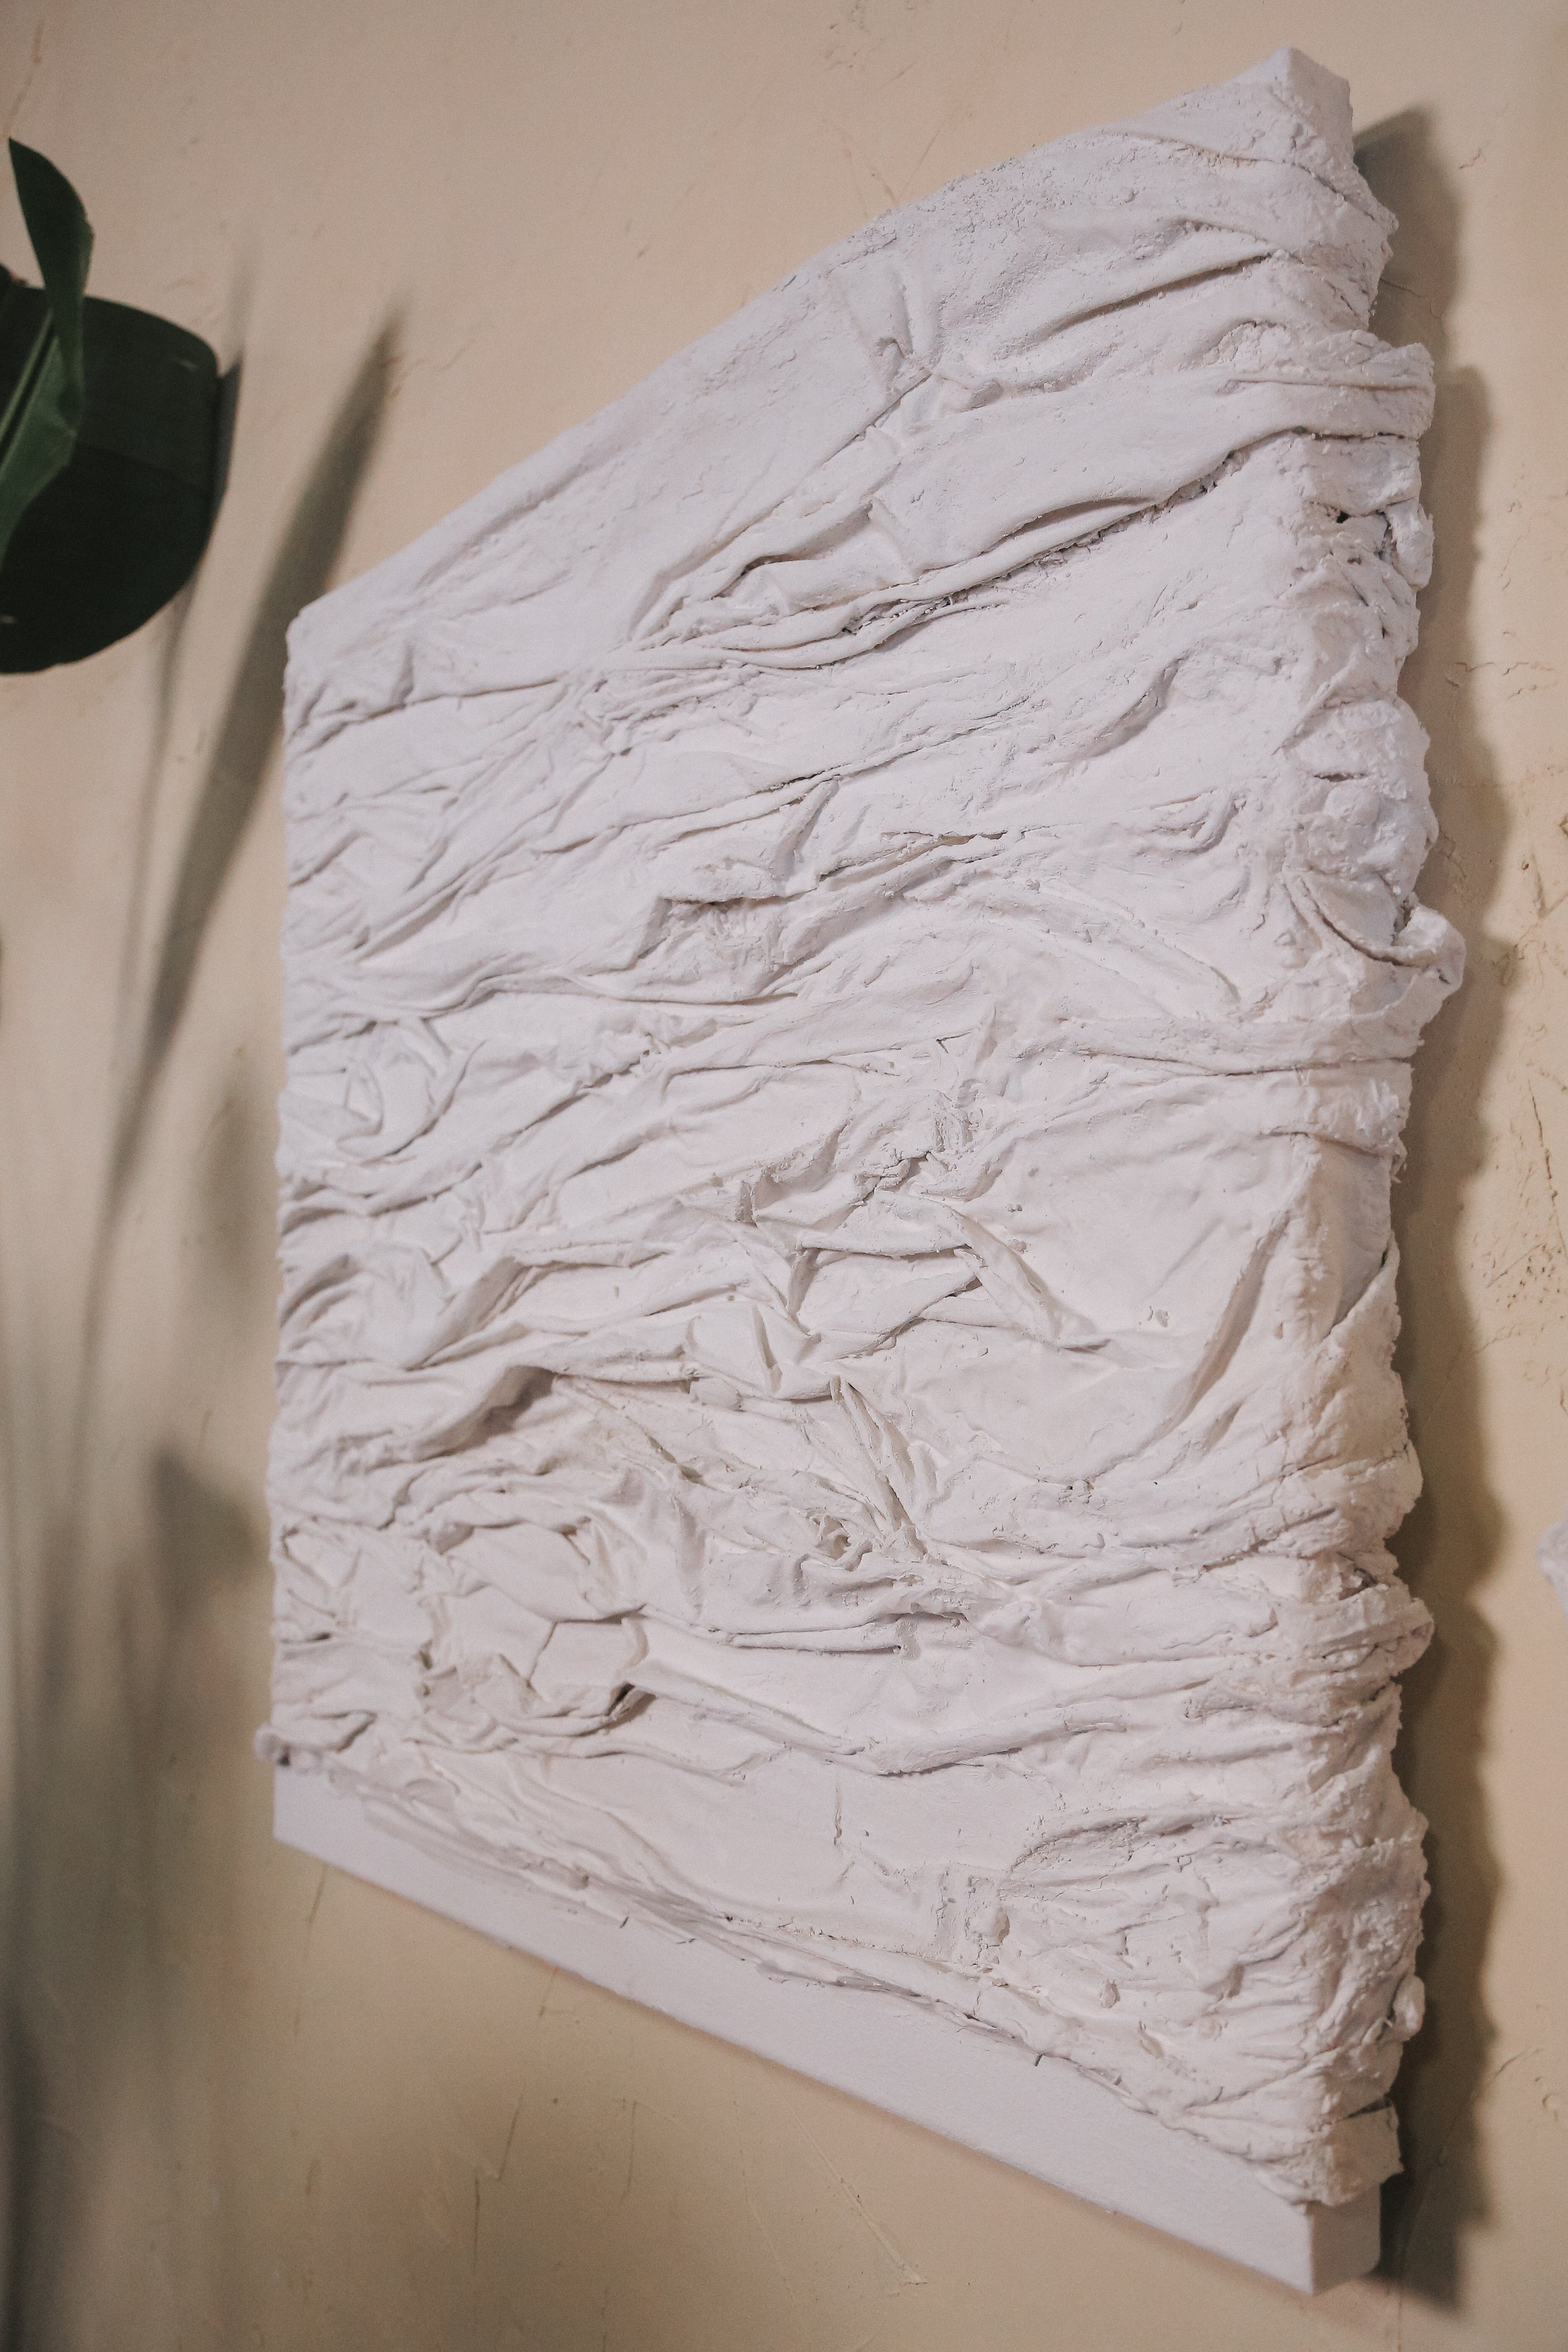
Finally, hang your new DIY wall art. This plaster on fabric technique can be used to create a variety of abstract and unique wall art pieces that will add a touch of creativity and texture to any room.
In conclusion, testing out this viral TikTok DIY wall art is a fun and creative way to explore your artistic side. It definitely had it’s challenges, especially with such a fast drying medium, but I think I was able to ultimately figure out the solution.
If you want to see the whole process and all the problems I ran into throughout the journey, watch the full video linked below!


