Making *THAT* Side Table from Scratch (Learning New Woodworking Skills)
Okay… I have seen this furniture style ALL over my pinterest feed and kept thinking to myself…how hard could that be to make.
So I decided I would give it ago, and try a couple new skills along the way!
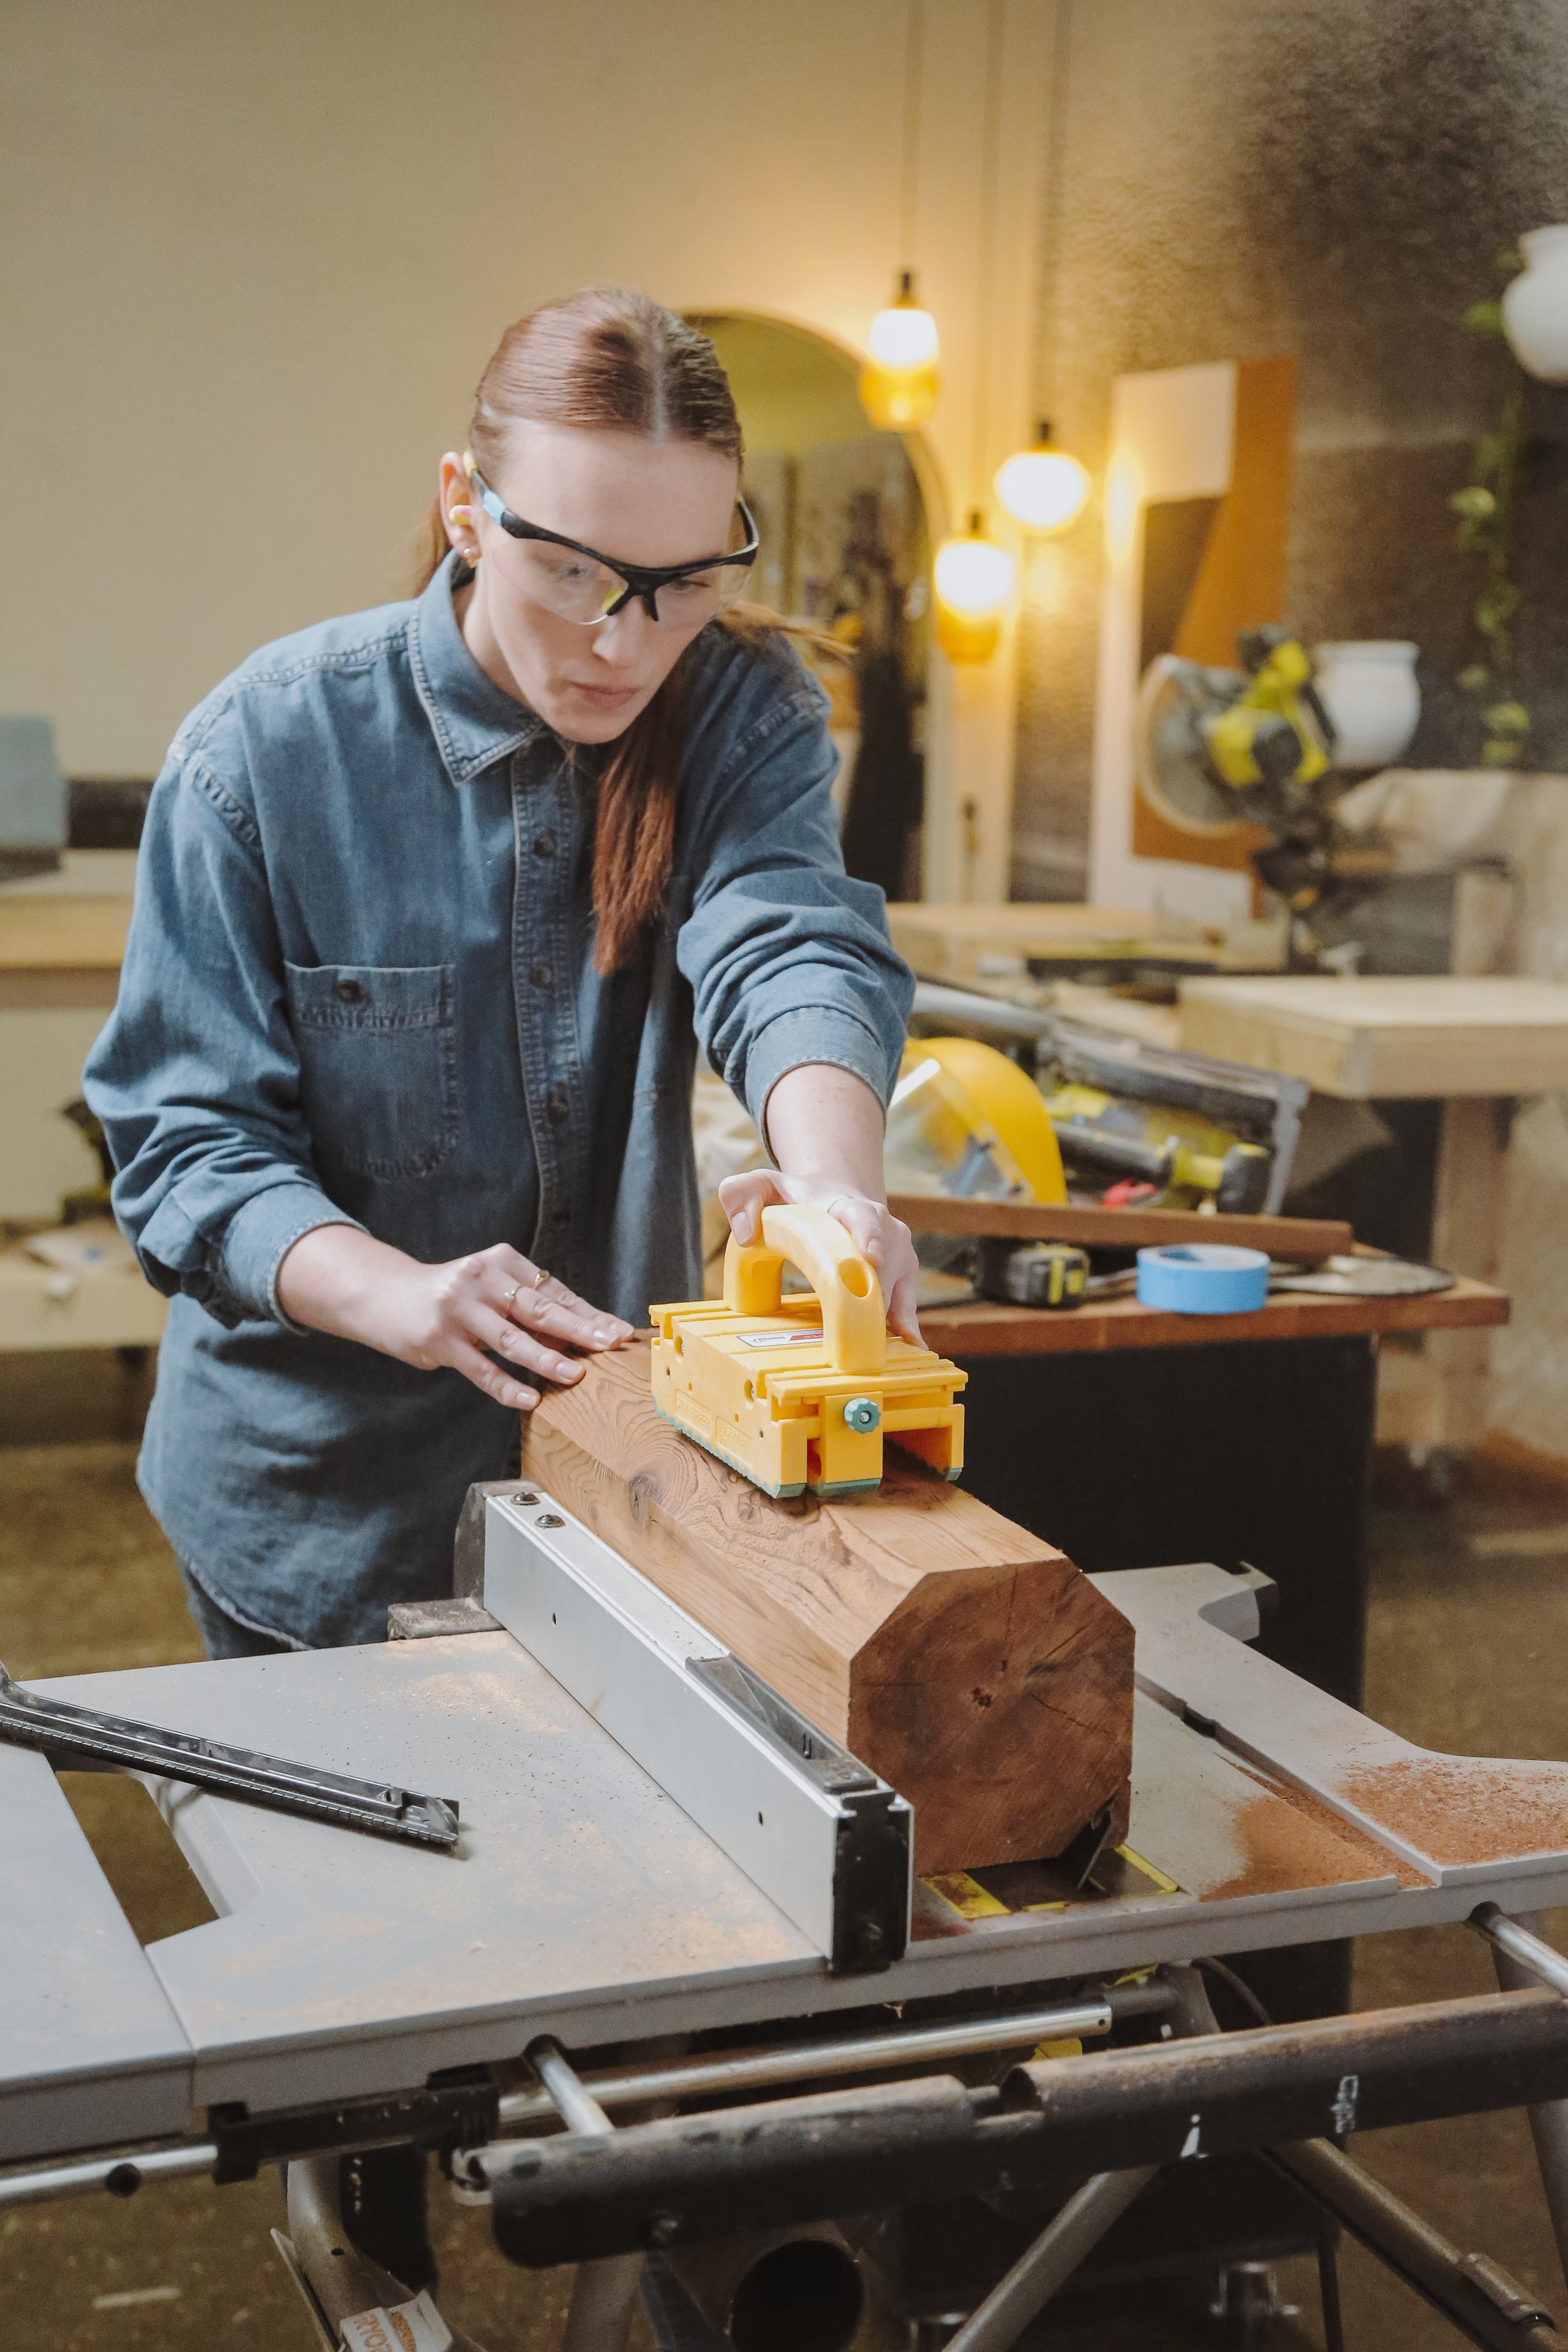
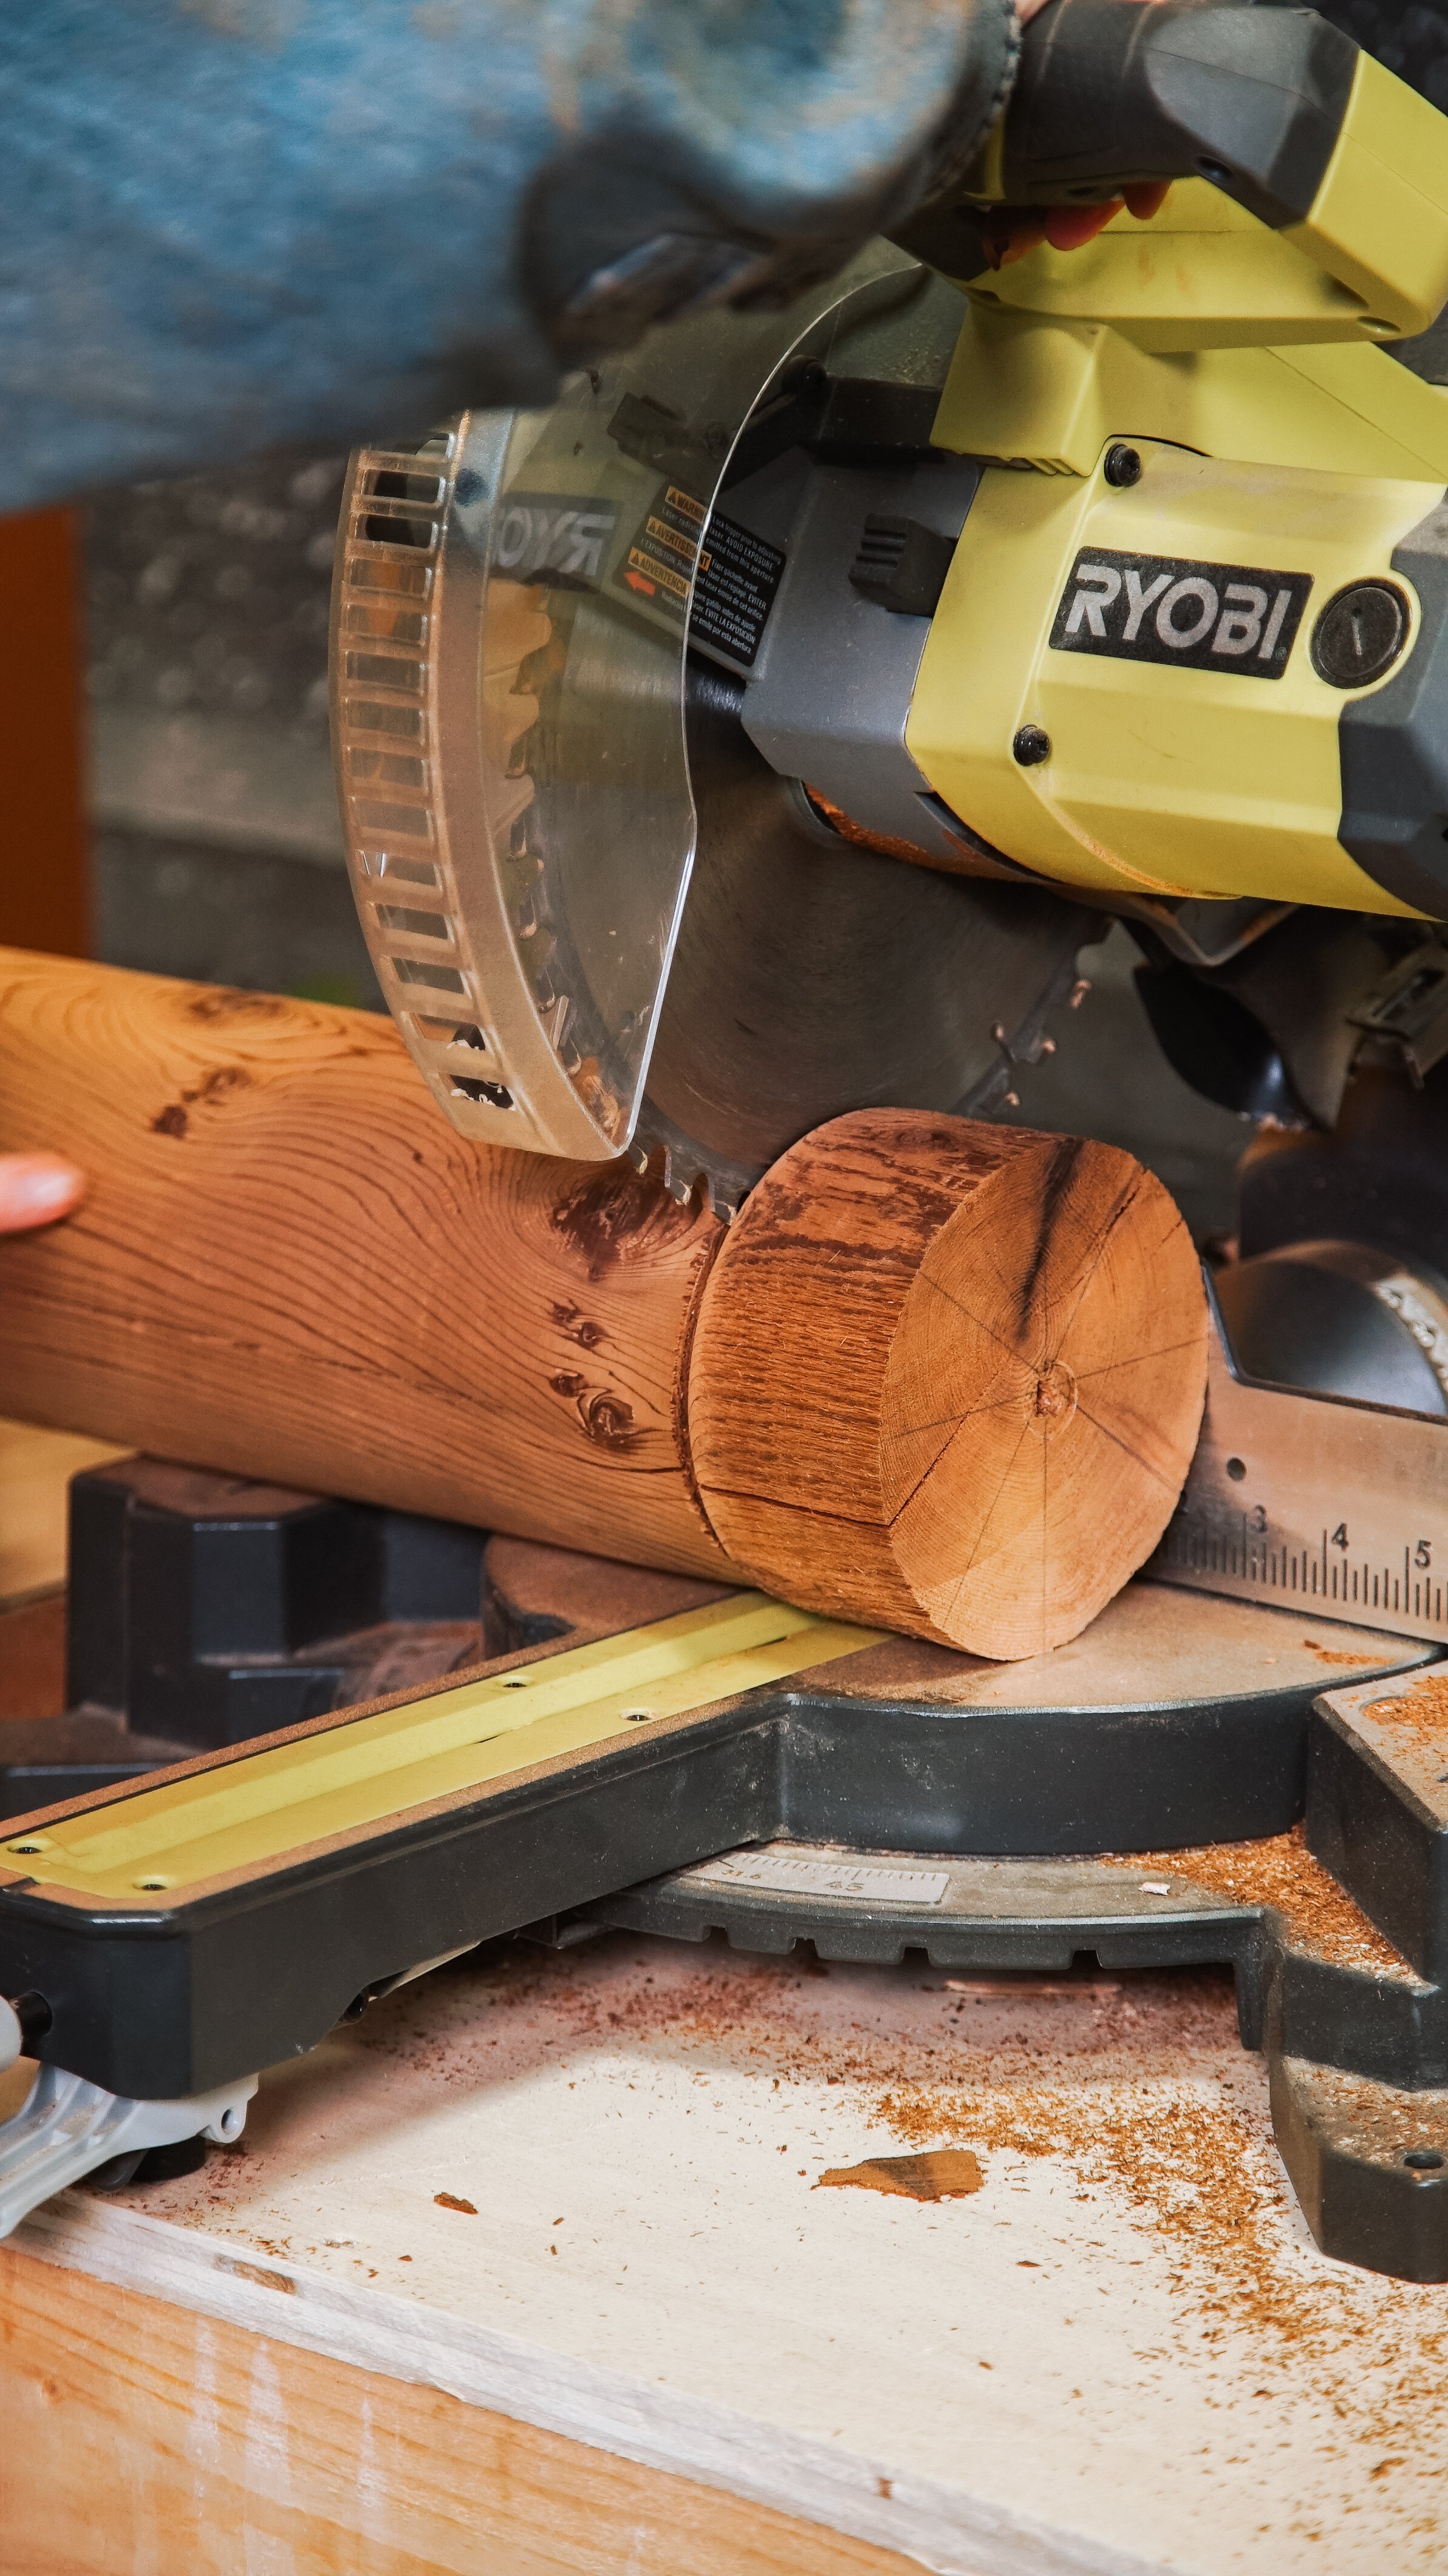
I started with a cedar plank I found on Facebook marketplace. These are normally used for decks and outdoor furniture. I then cut them into small stumps that were the height I wanted my side table to be (remembering to allow extra space to be trimmed off). I then repeated this 5 more times to get 6 legs total.
Before using the lathe, I cut off all the corners with a 45 degree blade to make it easier to carve out.
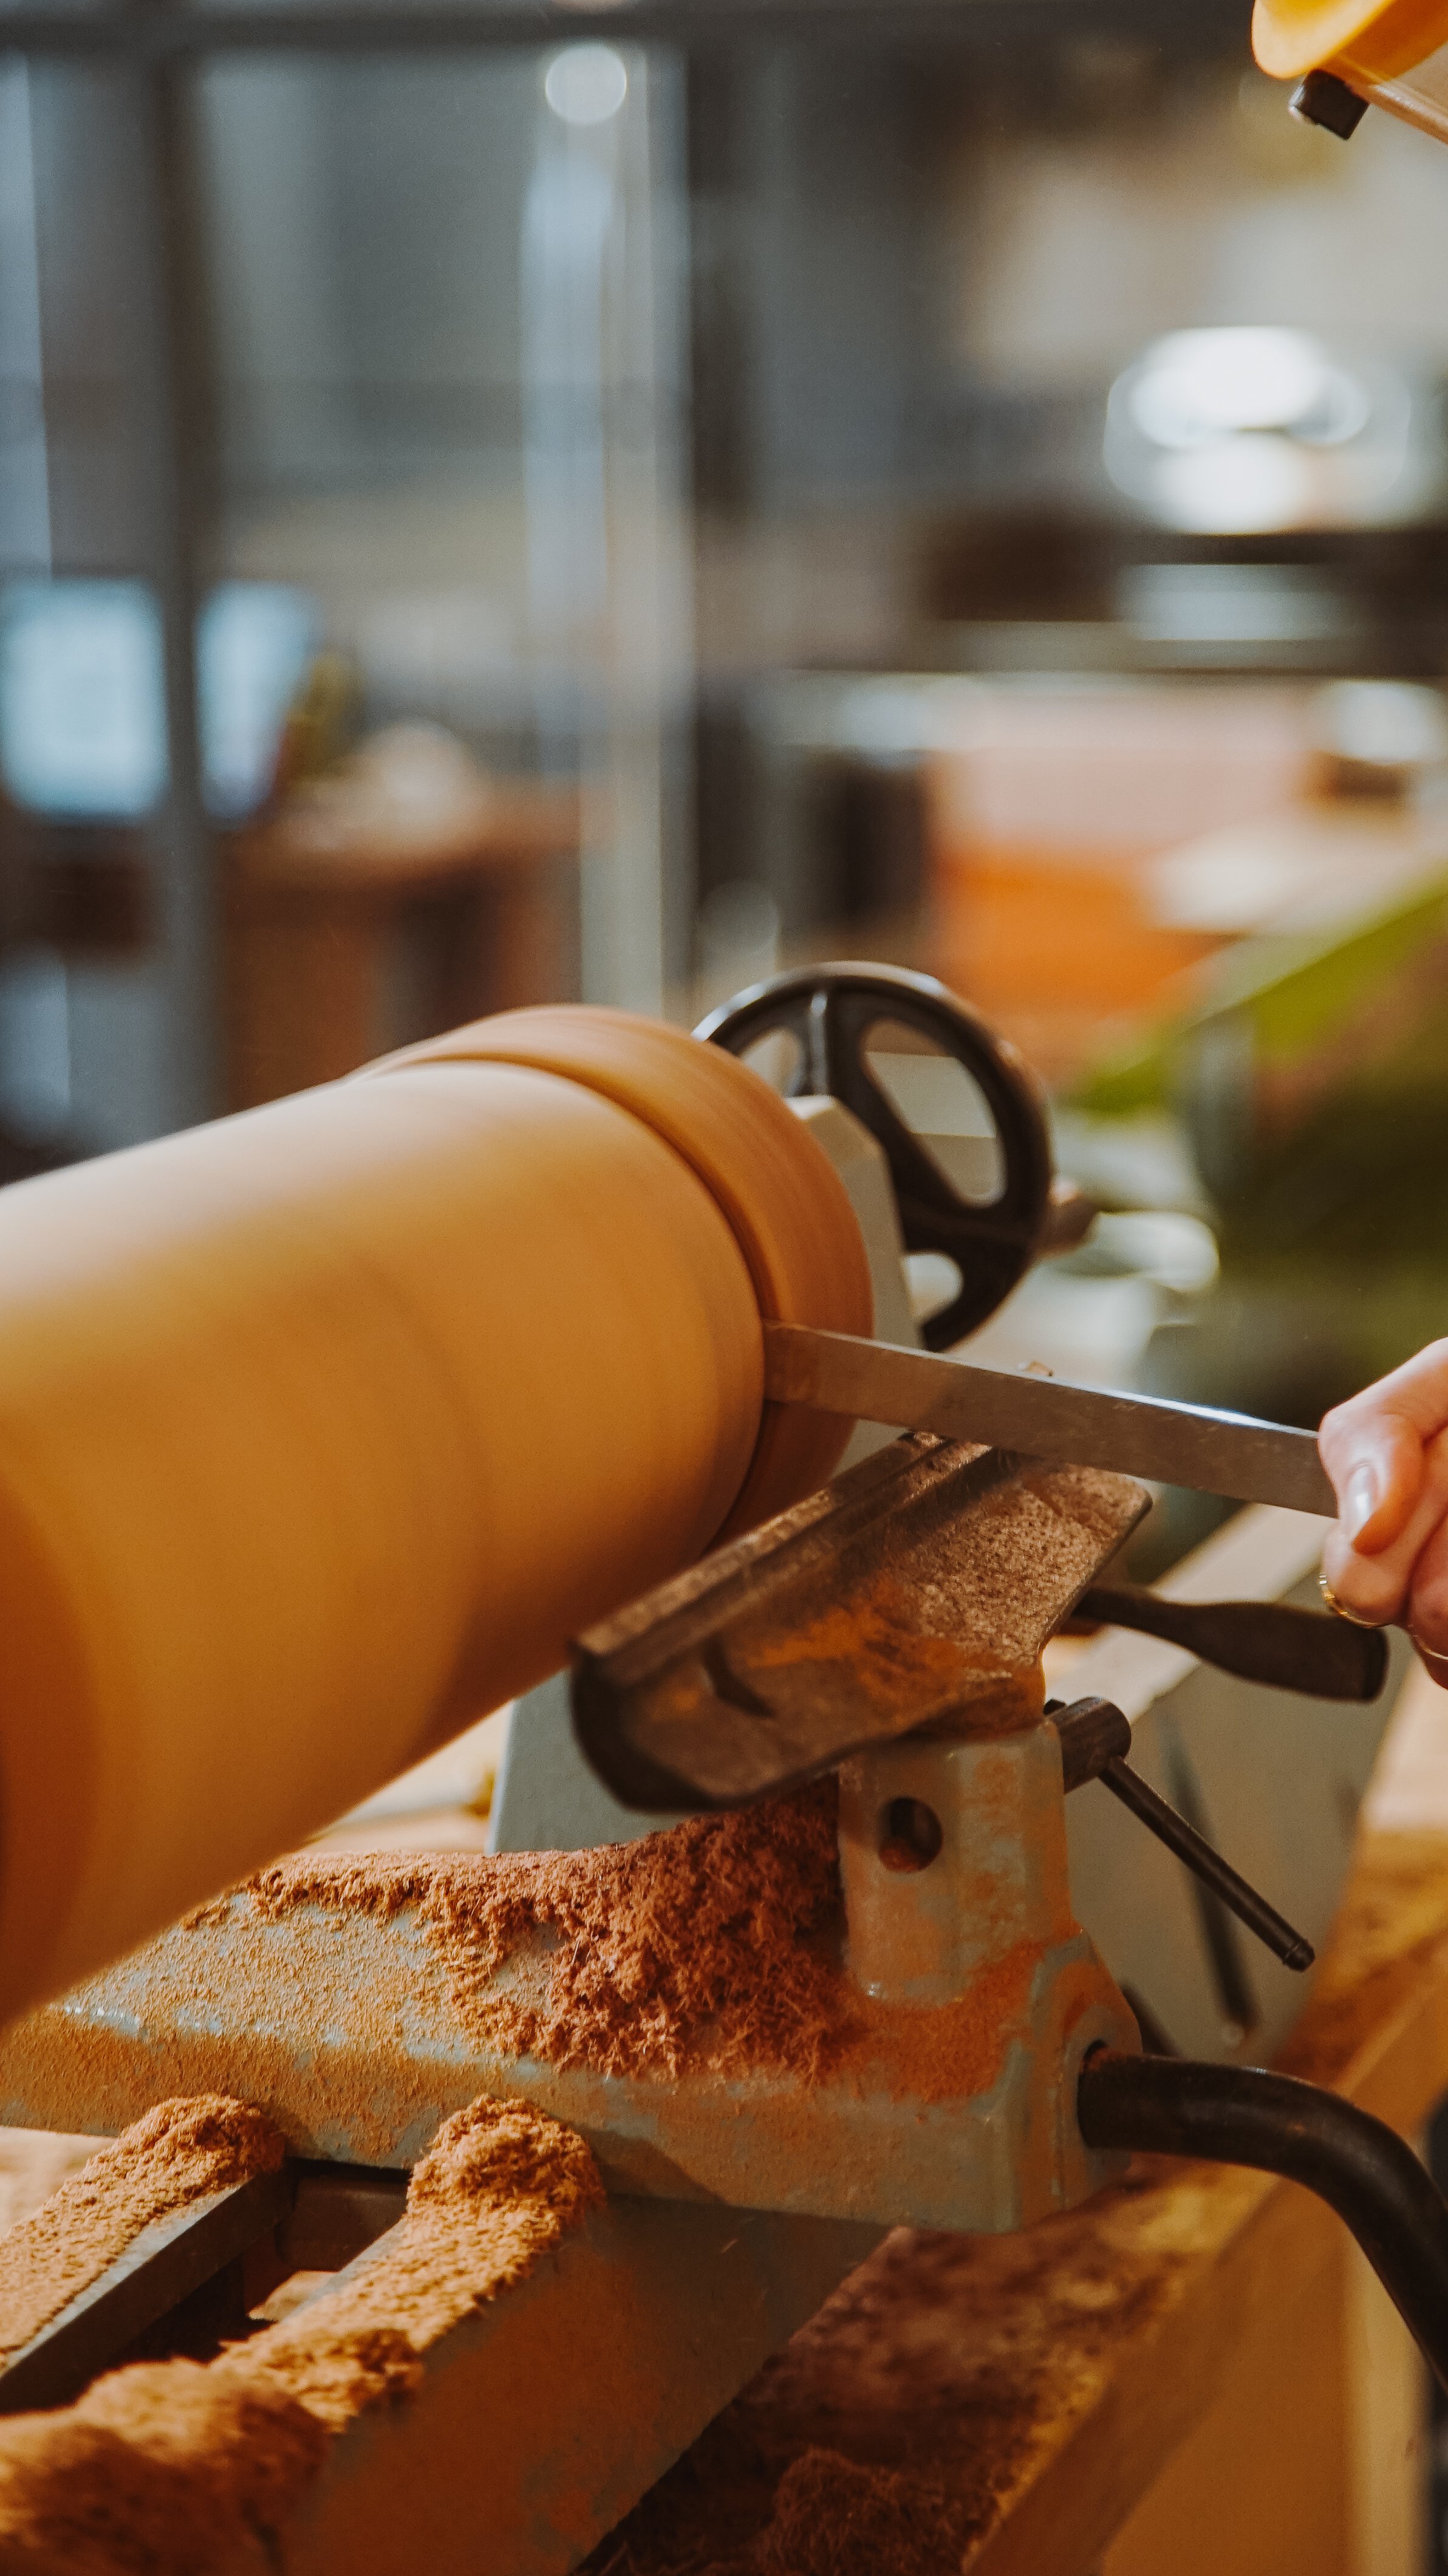
So what exactly is a lathe? It essentially allows us to “turn” the wood and carve it as we go. So first up, we have to attach the faceplates to the end of the block so that you can attach it to the head-stop. Once it’s steady in place, we can turn it on and start by shaping it down it with a rough chisel.
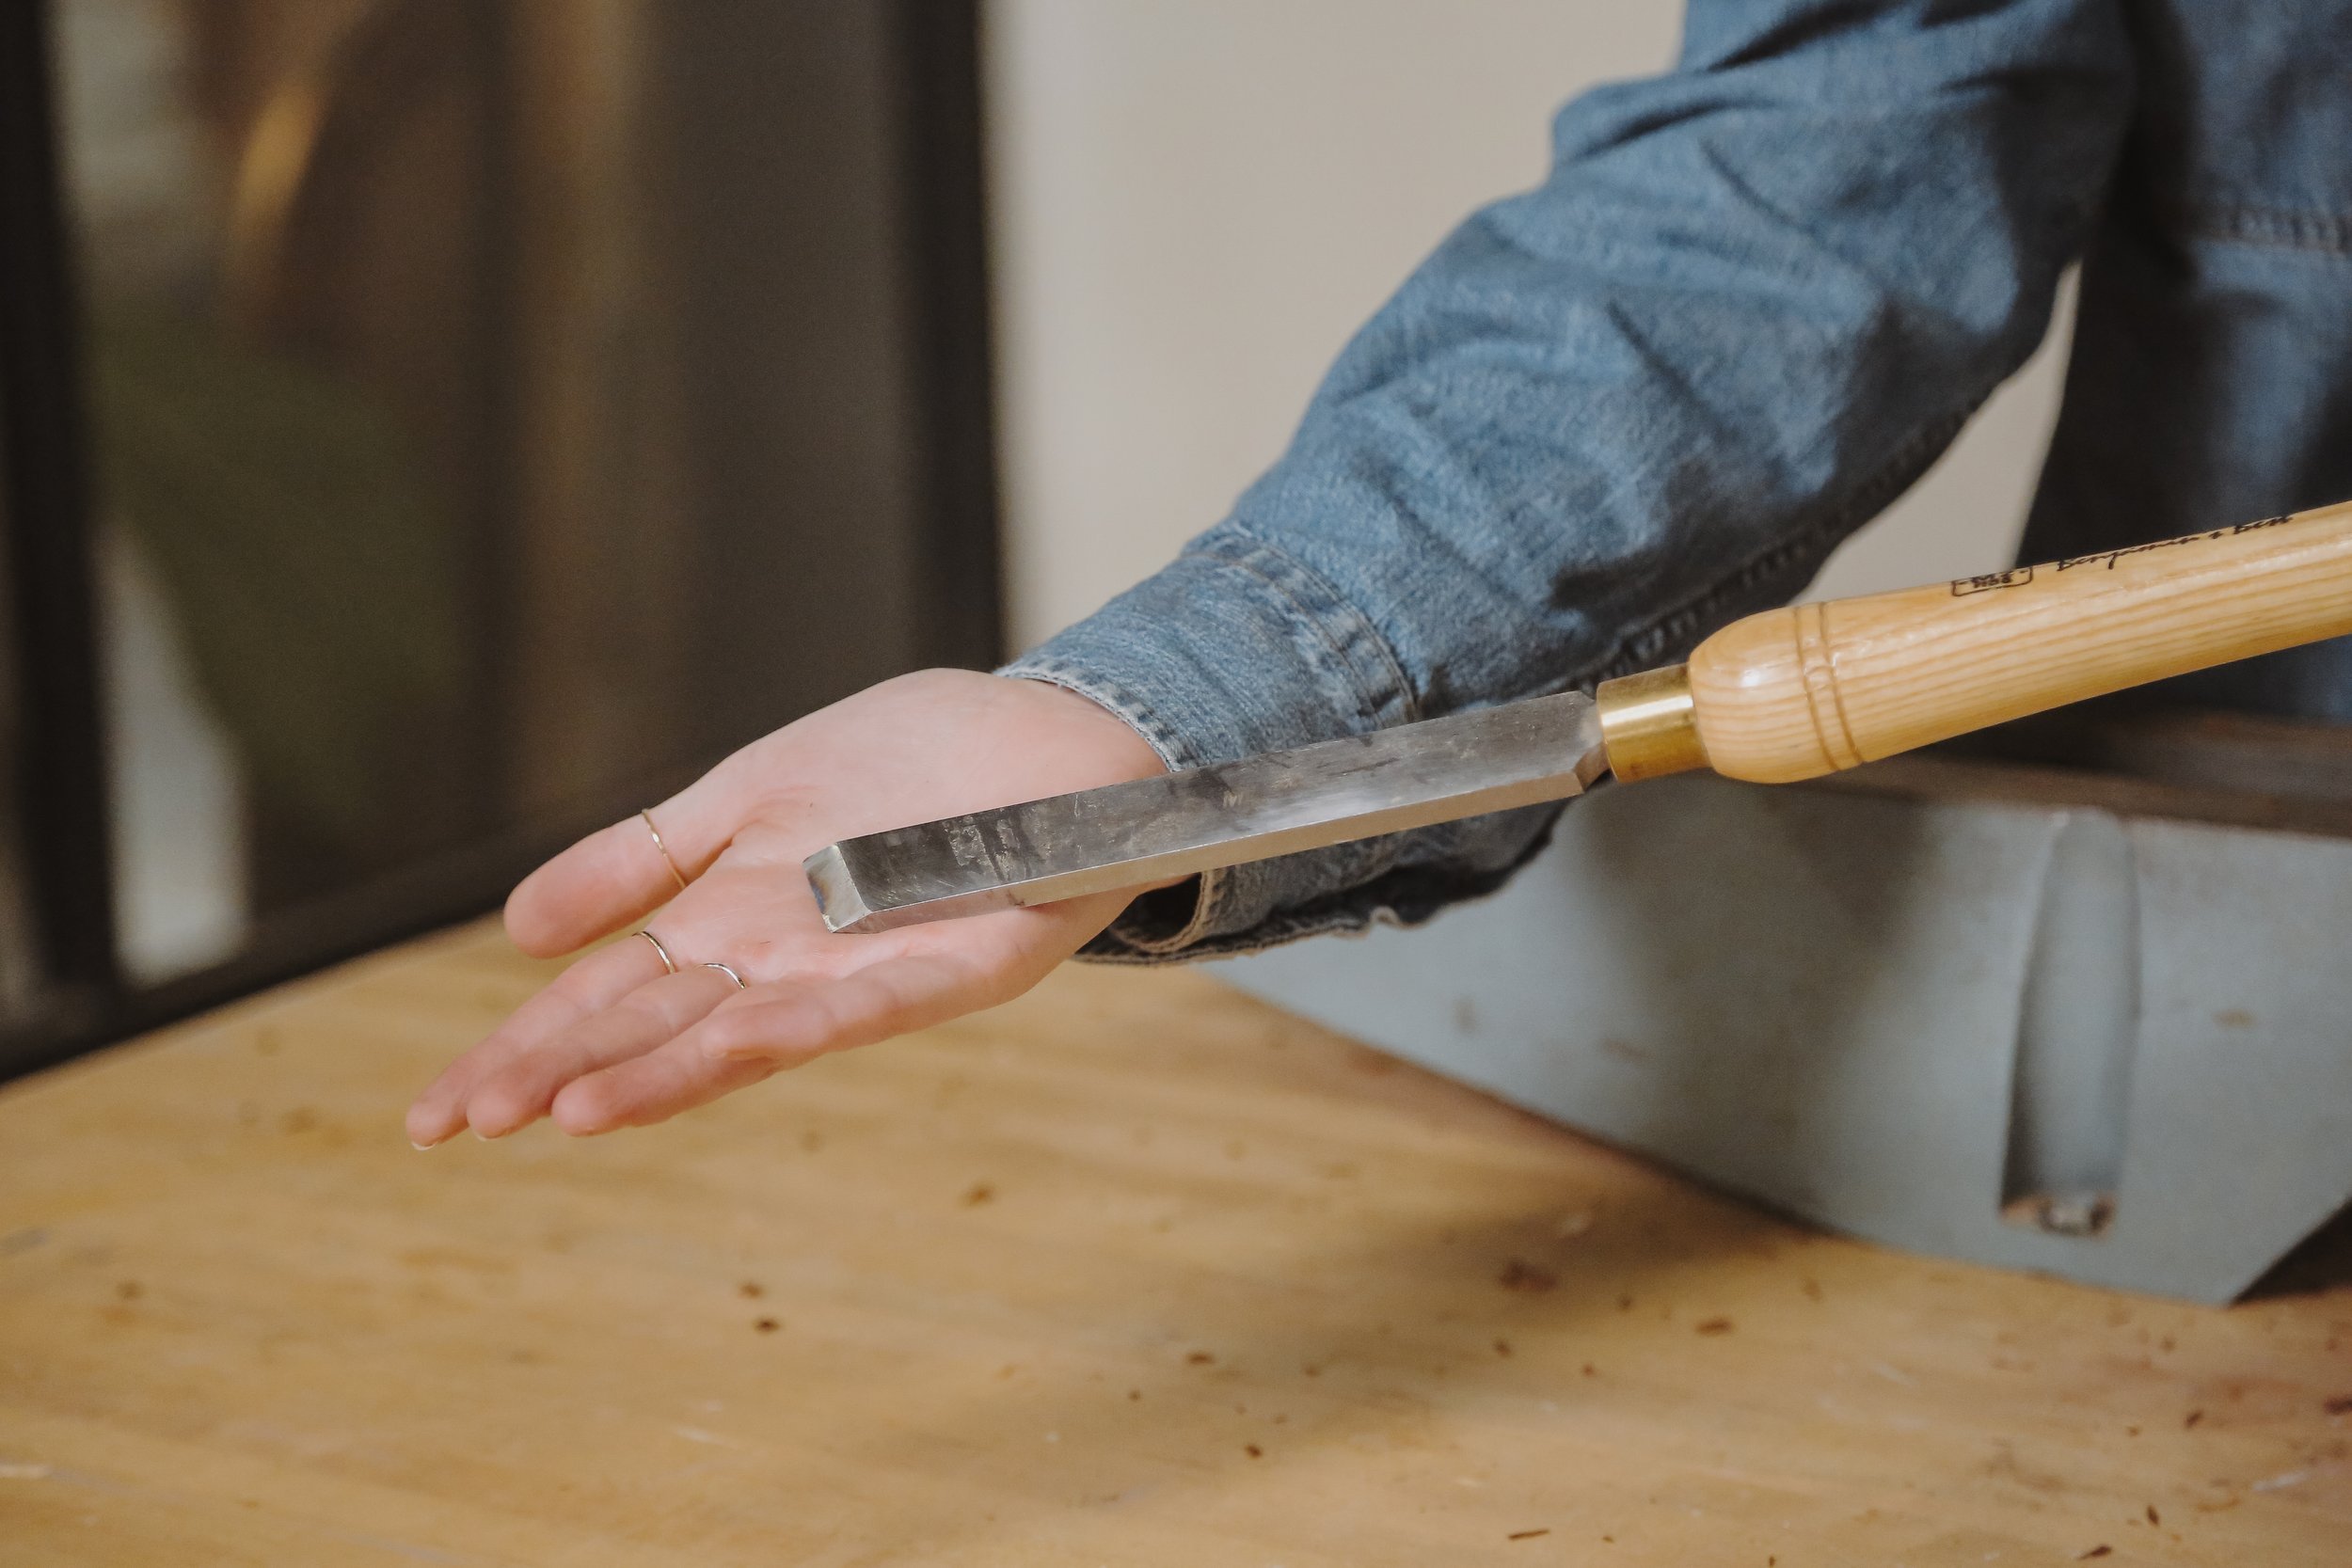
Next I am going to run the lathe a little faster and use a skew chisel to make it even smoother. And finally, I am going in with sandpaper to really smooth it down.
To cut them to the exact size I want, I grabbed a parting tool to stick into the desired spot and remove it from the block of wood. Once I got a substantial way through, I took it off of the lathe and chop off the ends with either a hand saw or circle saw.
Repeat until you have the desired amount of legs!
Now I’m sure you’ve seen us do THIS before. I found a wood table top on Facebook marketplace and measured out two circles. Once they were marked out to my desired size, I cut them out using a jigsaw.
Now it’s time to make sure everything is sanded and then you can get to staining and assembling!
Here are the final results of the tables! I am obsessed with how it turned out and I am excited to style it in an upcoming bedroom makeover!

