FRIGGIN' CUTE 80's INSPIRED DECOR & DIYs
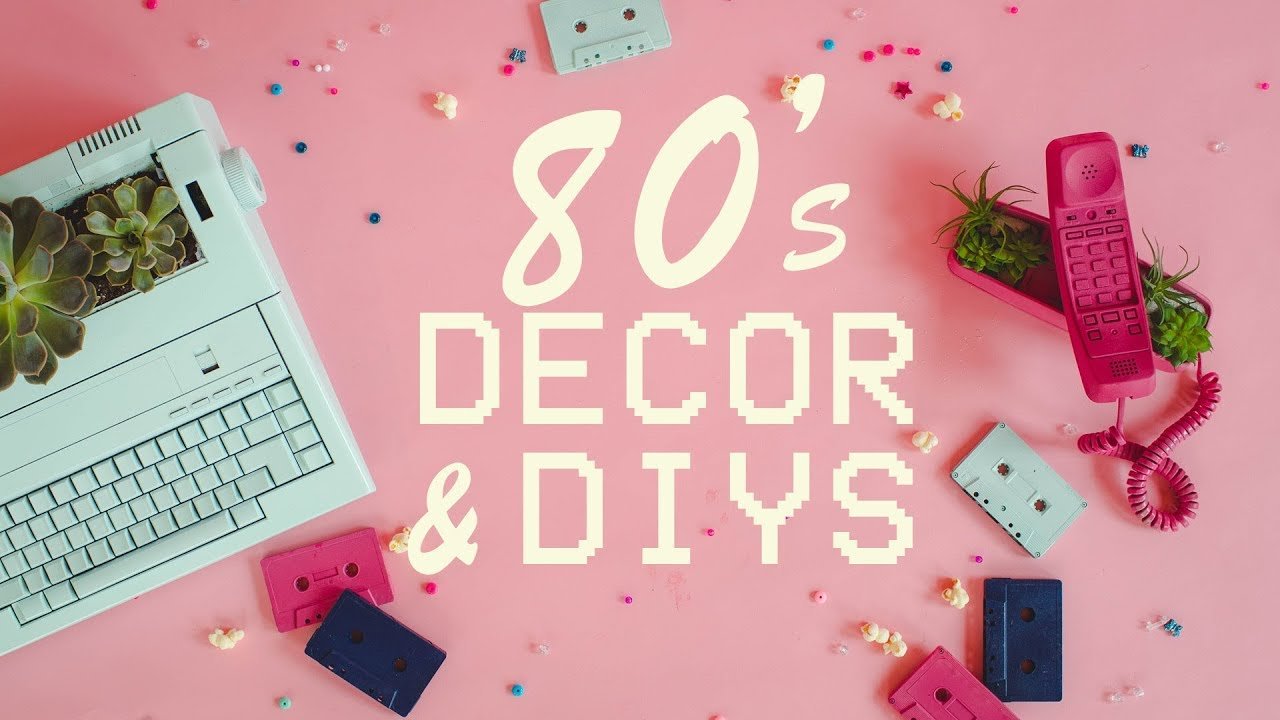
We actually partnered with Booby Ball to create these awesome DIYs today! If you don’t know what Booby Ball is, it is a party thrown by Rethink Breast Cancer all across Canada. It’s incredible to see an organization work so hard to bring awareness and raise money for breast cancer support and research. We went last year as guests, but this year we decided to volunteer and be part of the decor committee for the event (hence the totally radular 80s DIYs)! We’ll totally be there this year, so if you’d like to come and support the cause click here to get your tickets! We’ll see you at the party!
Let's jump right into these DIYs!
Vinyl Record Bowl

Start by gathering some vinyl records. We got these ones from the thrift store. You’ll also need a small oven safe bowl, an oven safe mug to raise up the bowl, and a baking tray. We didn’t have one so we’re using a muffin tin. Place the mug on the tray, add the bowl on top, and then center the record on top of the bowl. Preheat your oven to 200 degrees Fahrenheit and then place the tray inside. Let the record bake for 5 minutes. When the times up, you should see the record starting to droop. If the record isn’t drooping yet, leave it in for a little longer keeping a close eye on the oven. Flip the record bowl upside down and place it in a slightly larger bowl to set the shape. With some oven mitts on, you can gently bend the record to create the nice folds in the bowl. Once the record is cooled, remove it from the larger bowl, and your bowl is finished! Remember there is a small hole in the bottom (the middle of the record!) so don’t put anything too small or liquid inside of your bowl!


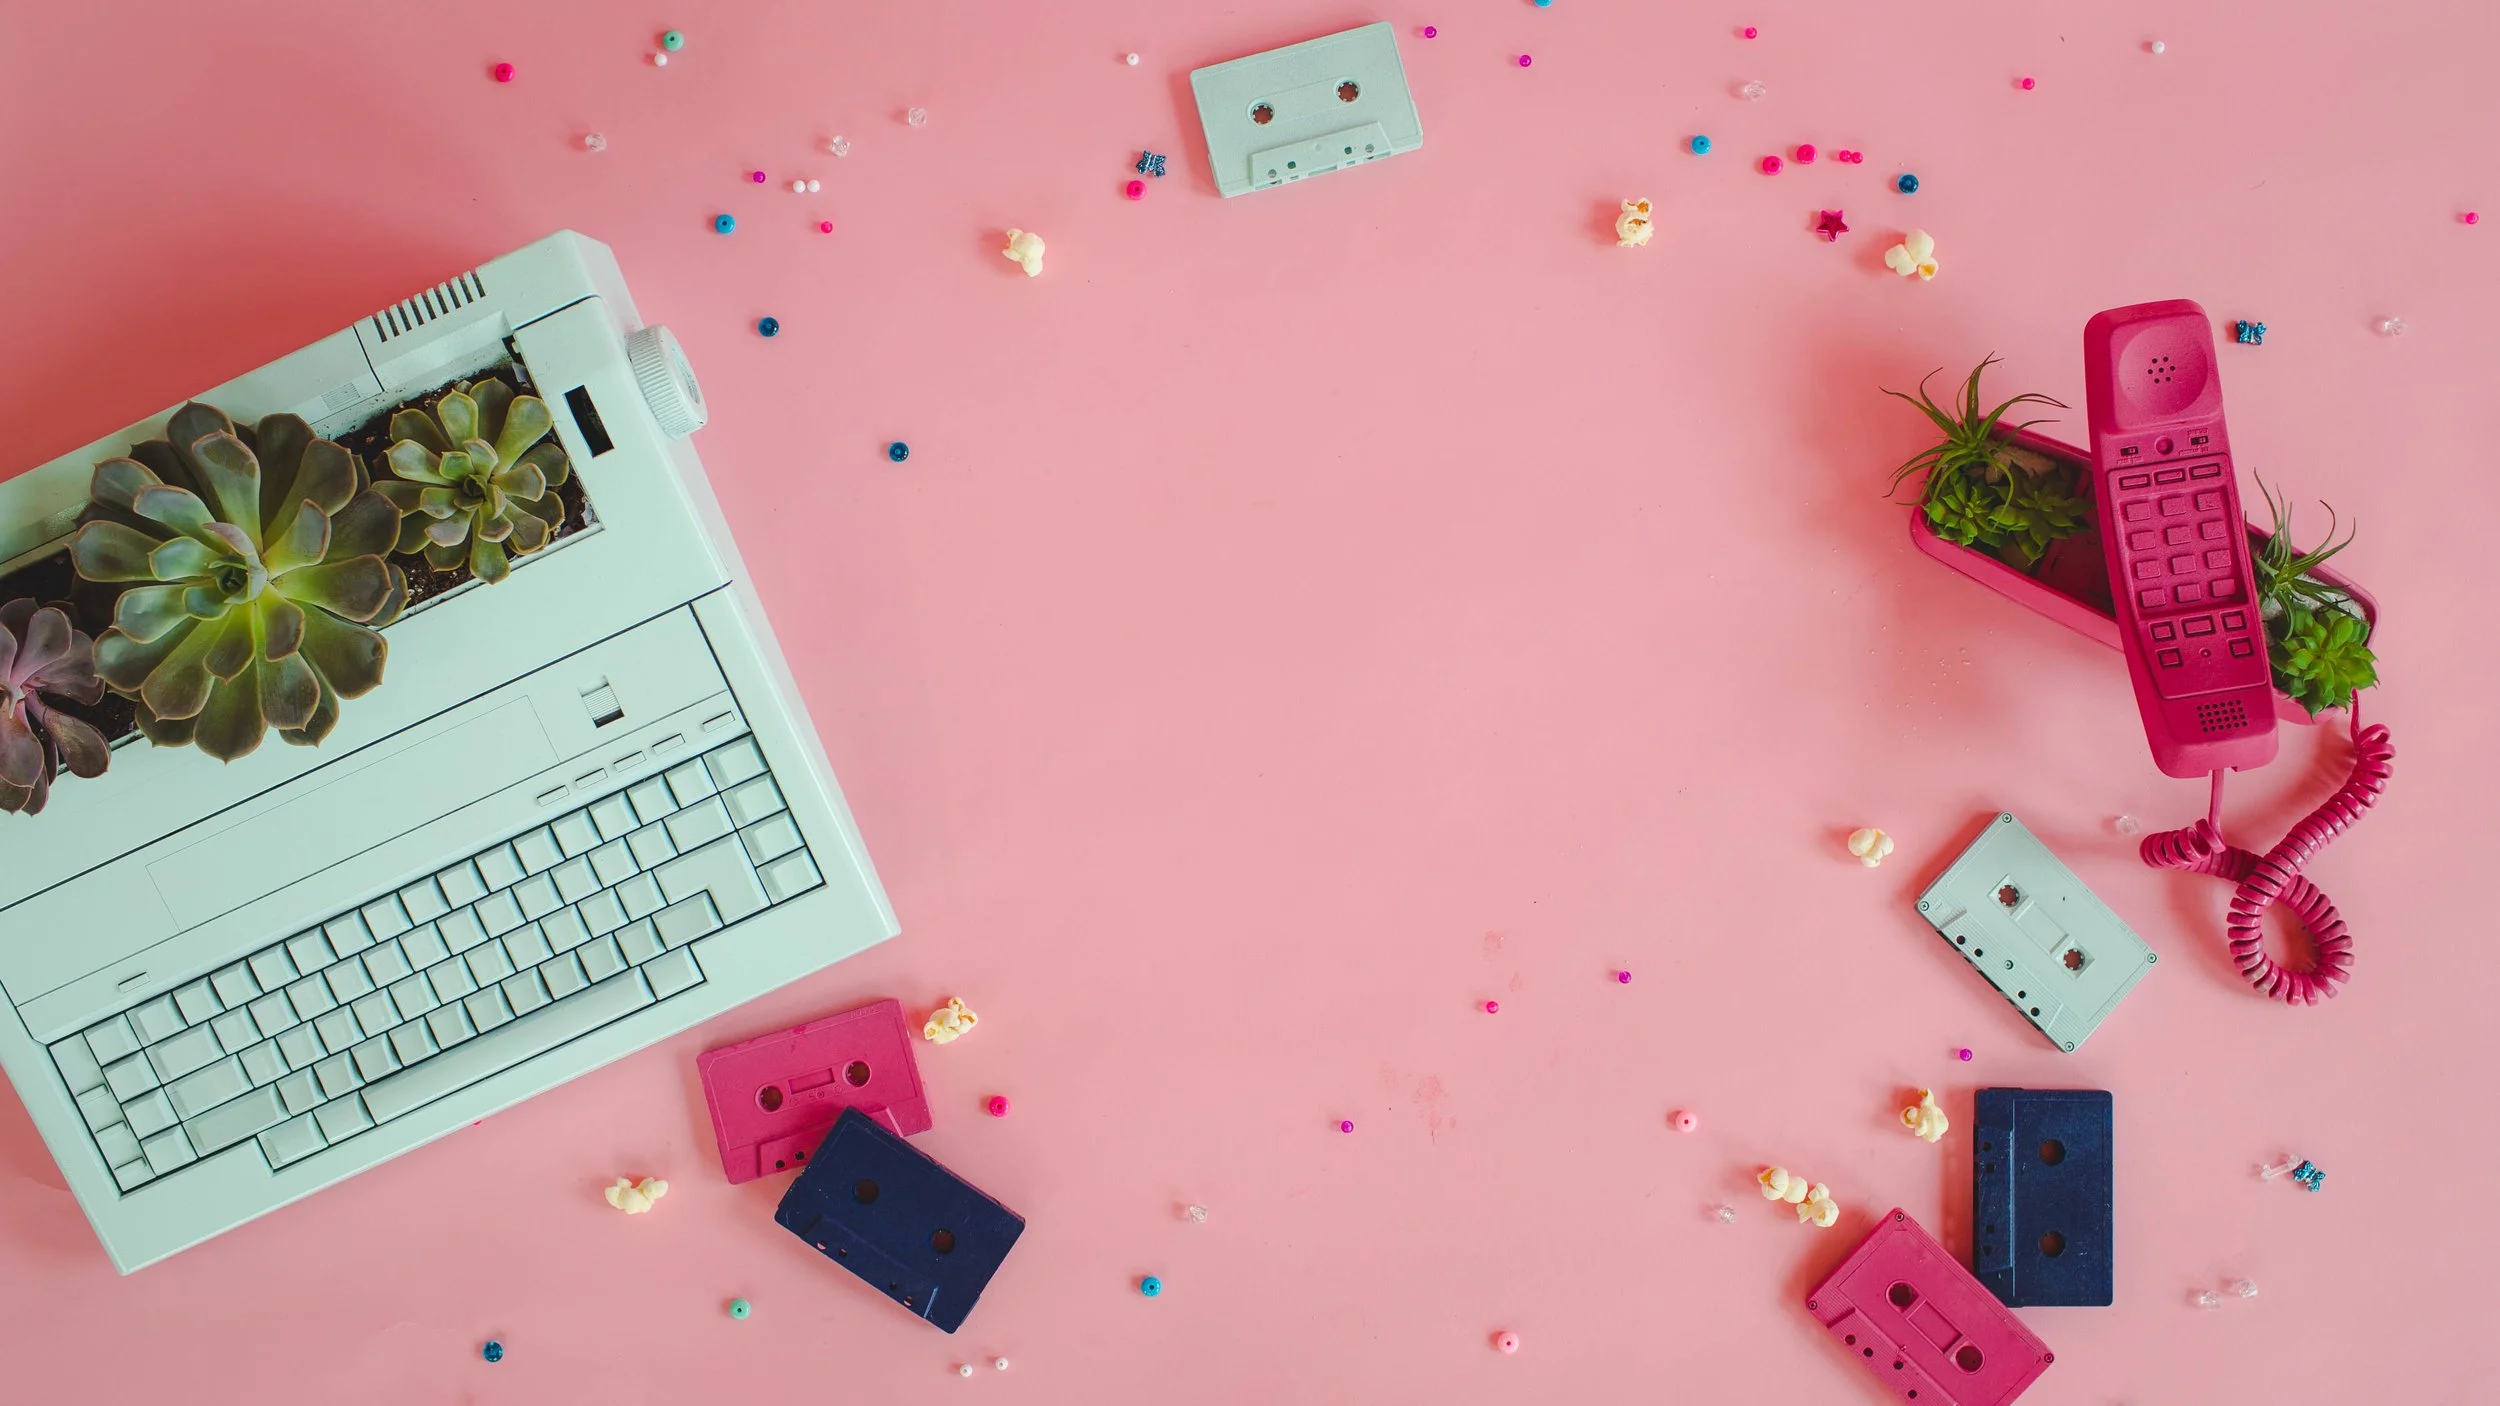
Succulent Tech
We may have much more high tech versions of these items today, but that doesn’t mean that we can’t still use the old stuff in super creative ways! Start by choosing a piece of 80’s tech. We found this typewriter and an old phone at our local thrift store for a really great price. Next is the hardest part of the DIY, taking out the guts of the tech. Cut a hole (or holes) in your tech in order to create a nice little place that you’ll be able to put your real (or faux) succulents. Get out your tools and have at it, but be careful, the components inside of these things can be sharp
Once you’ve gutted your tech (and have made a mess in the process) you’ll want to spraypaint your tech in a colour of your choice.

Once the paint was dry, we took a piece of plastic drop cloth and cut a small enough piece to fit inside of our typewriter. We then simply hot glued it along the inside edge.

In comes our succulents of choice, we simply (and carefully) repotted them into our typewriter. You can use a paintbrush to getsoil out of any small nooks and crannies in the typewriter. Depending on the size of your plants and the size of the hole in your tech, this might not be the best long-term place for your plant.


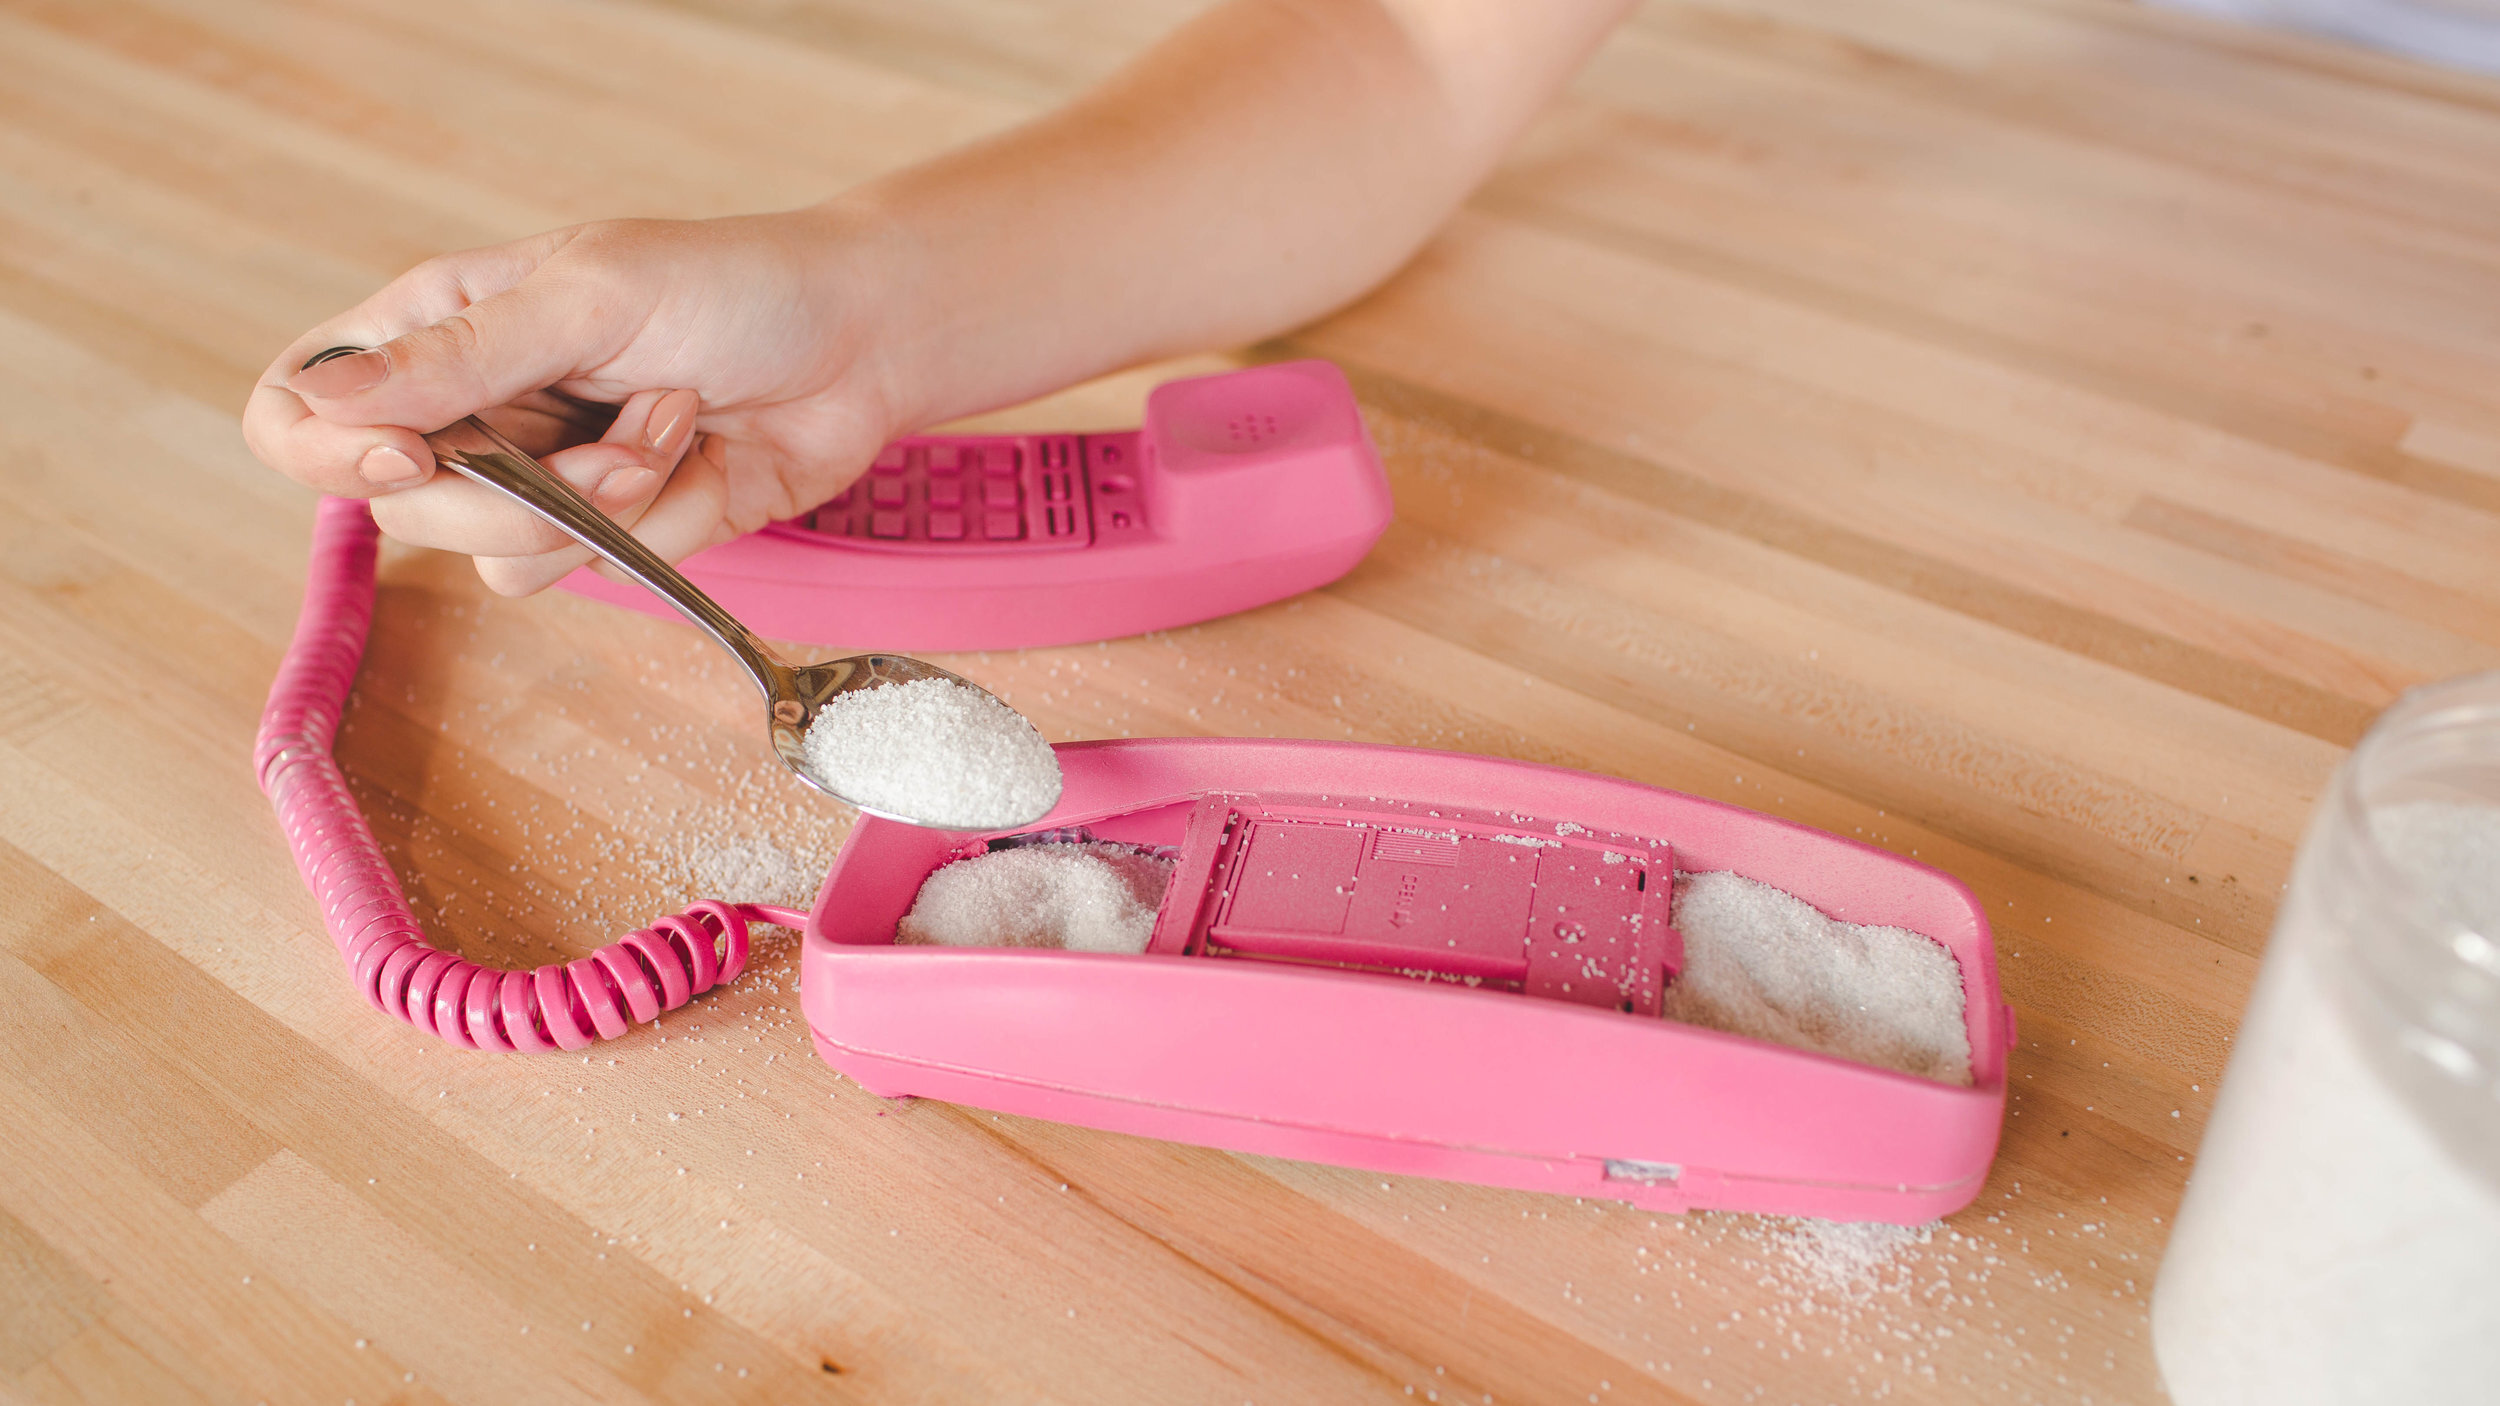
If you want something more permanent you can try going with a faux plant instead. For this version with the pink phone, we also put plastic in the bottom of the tech. We then filled the holes with sand and stuck in some faux succulents that you can get from any craft or dollar store. We had to trim the stems because they were too long, we used wire cutters to do this.


Tape Centerpiece
Tapes are an awesome piece of the 80s that you can find all over your local thrift store or in your parent’s basement. To make this cassette centerpiece, gather a pile of old cassette tapes. We spray painted them with a bunch of fun pastel colours to really emulate the time period.

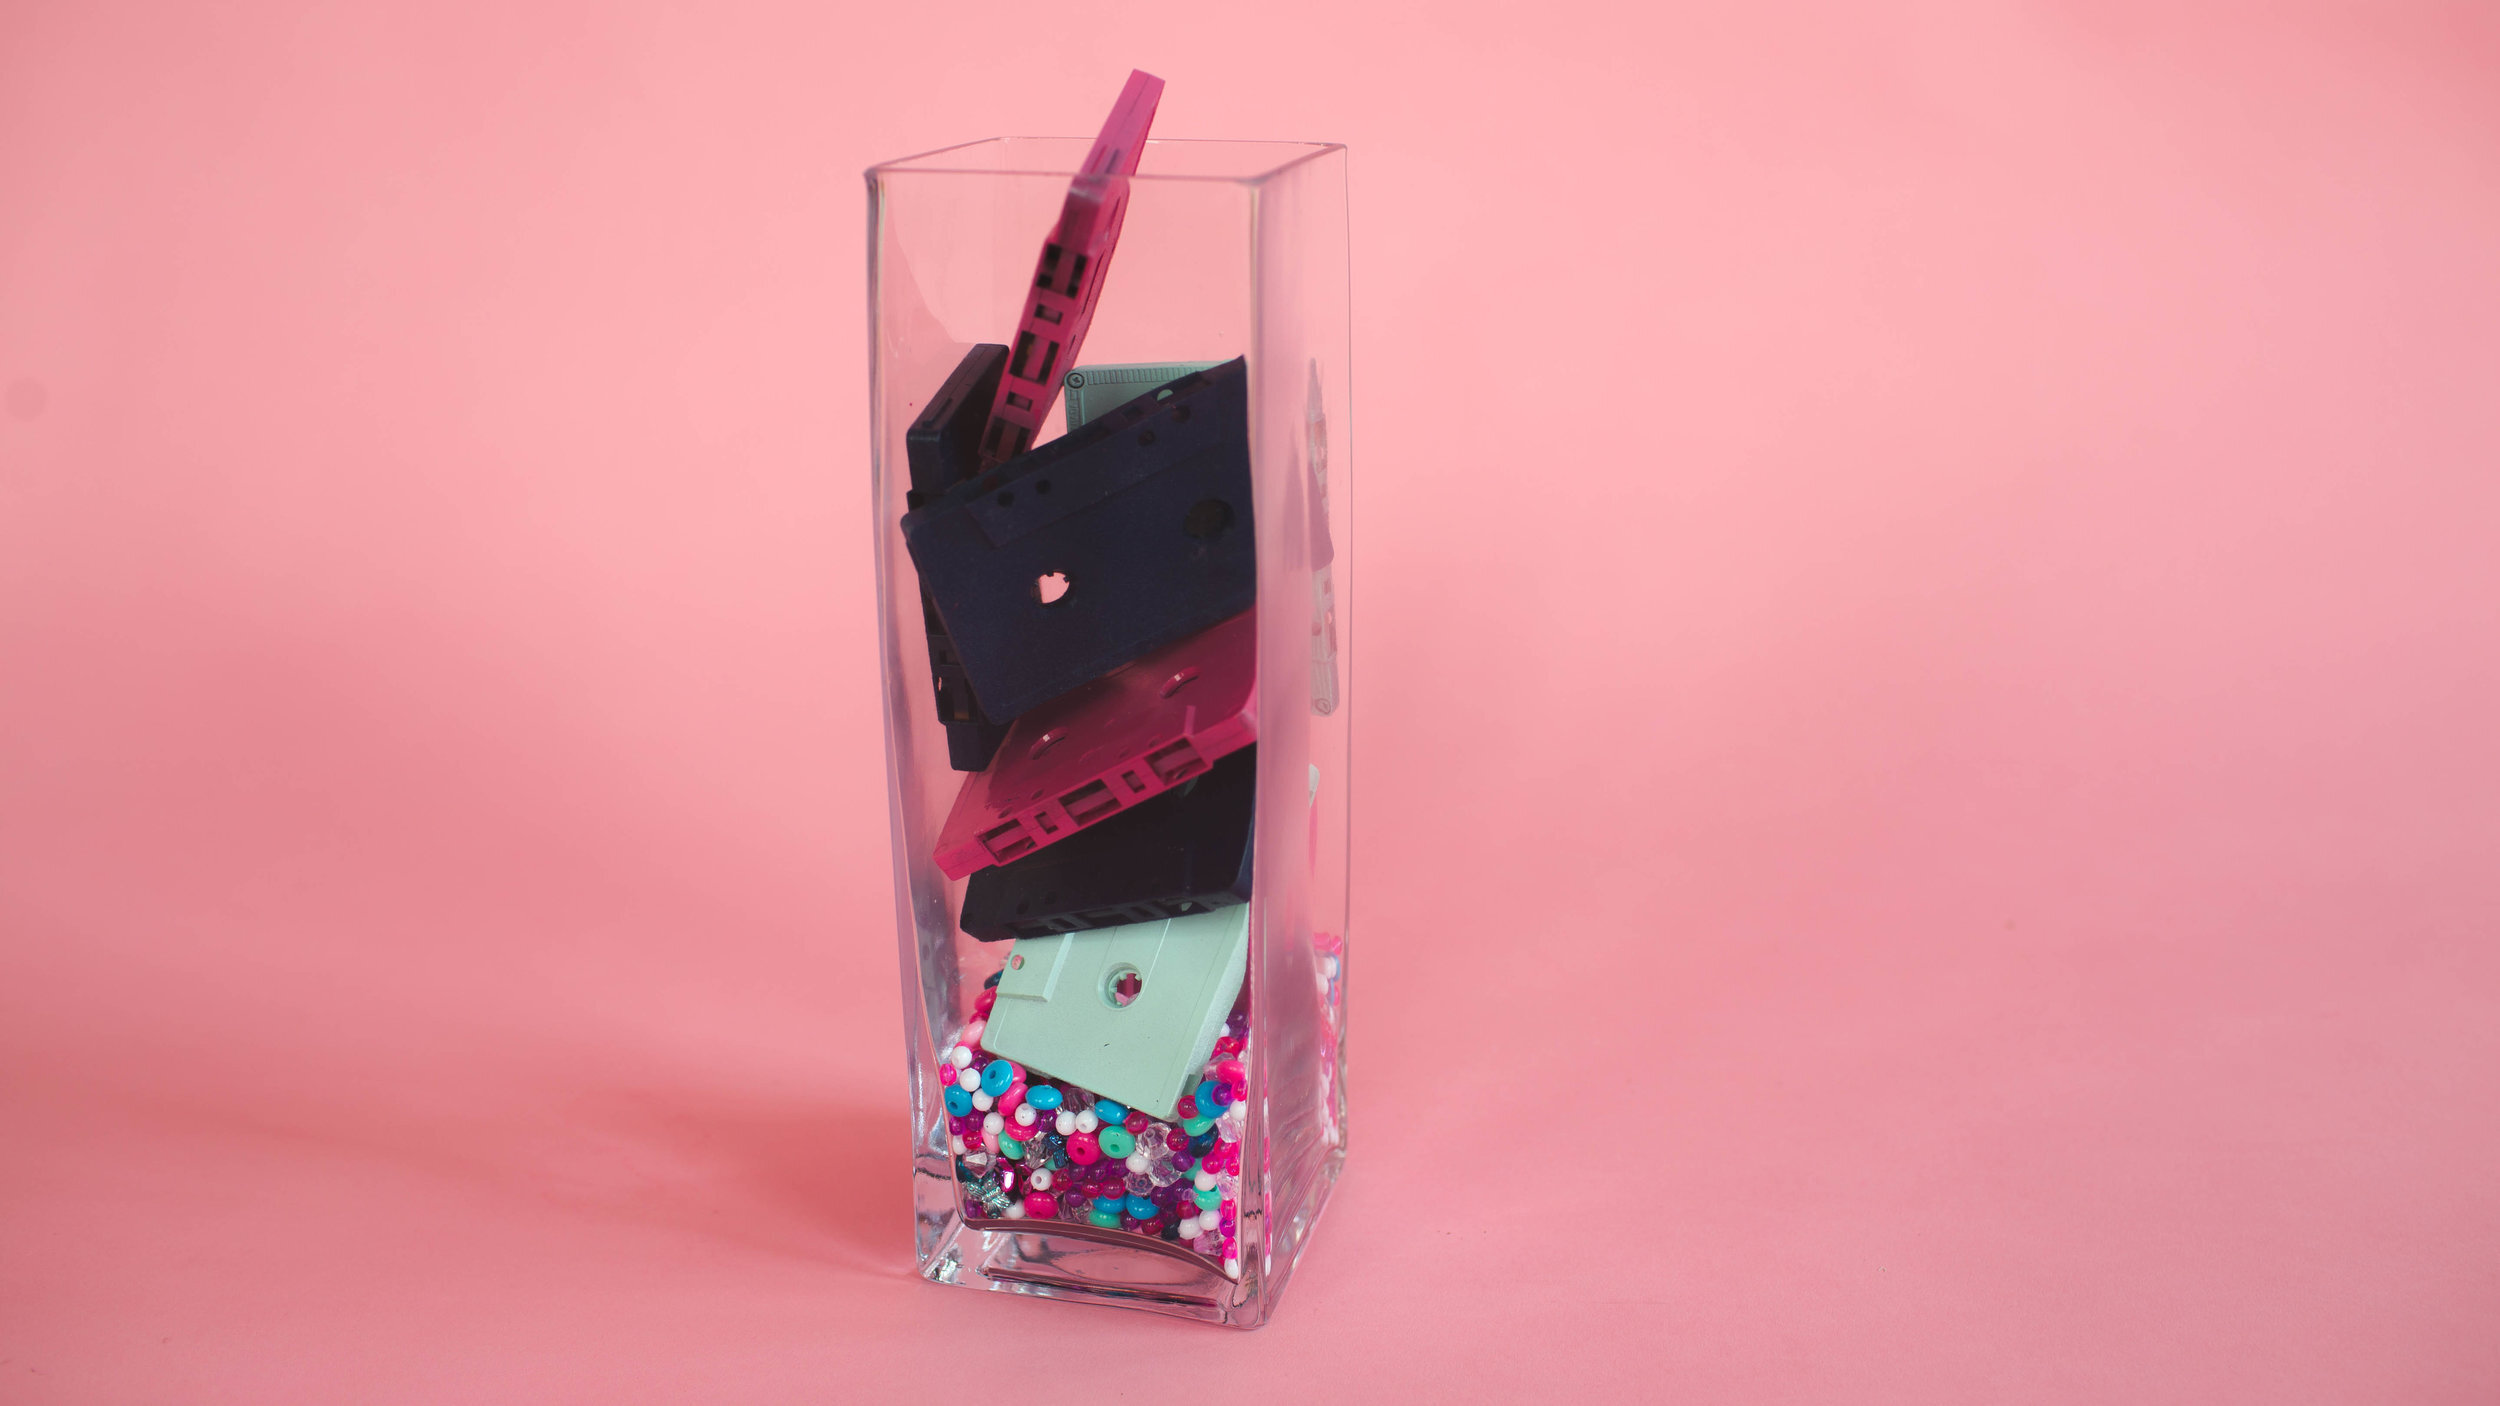
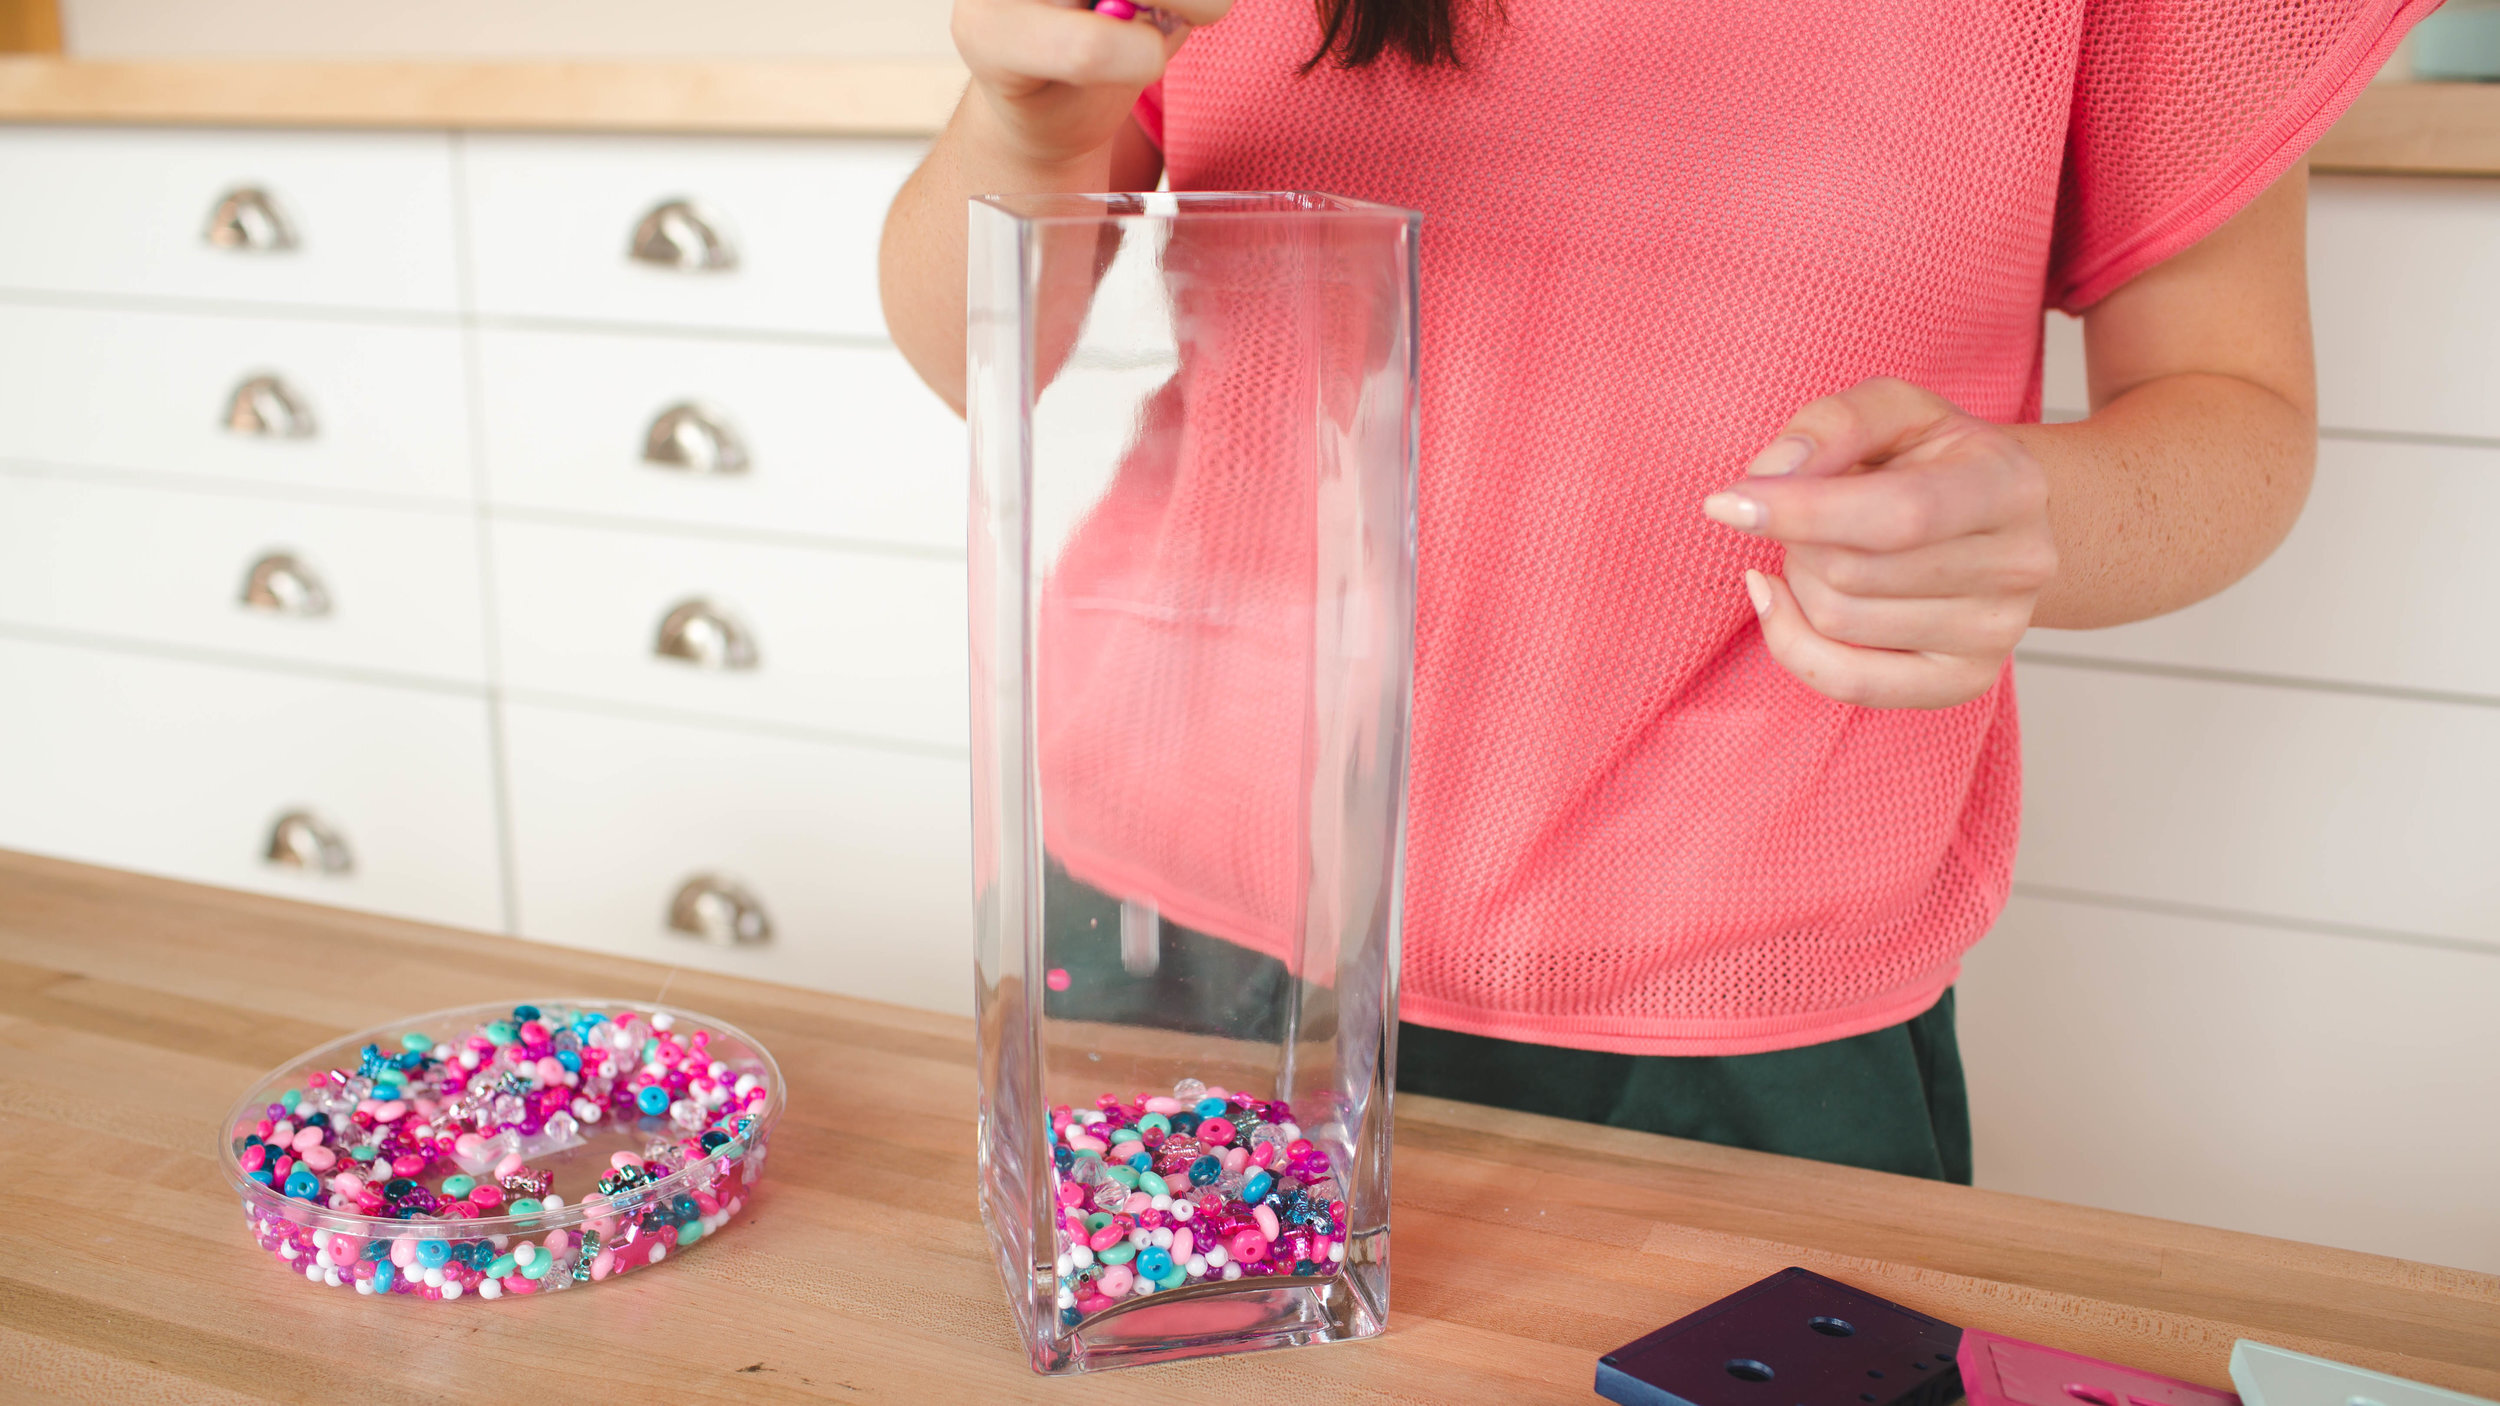
We also picked up this pack of totally radical 80s beads from the craft store. Using a large vase, pour some of the beads into the bottom.
Stack the cassettes on top of each other in whatever order you like to fill the vase. And that’s it! Your awesome 80’s décor is complete.

Check out the video below, and if you recreate any of these DIYs please show us using the hashtag #SorryGirlsSquad!