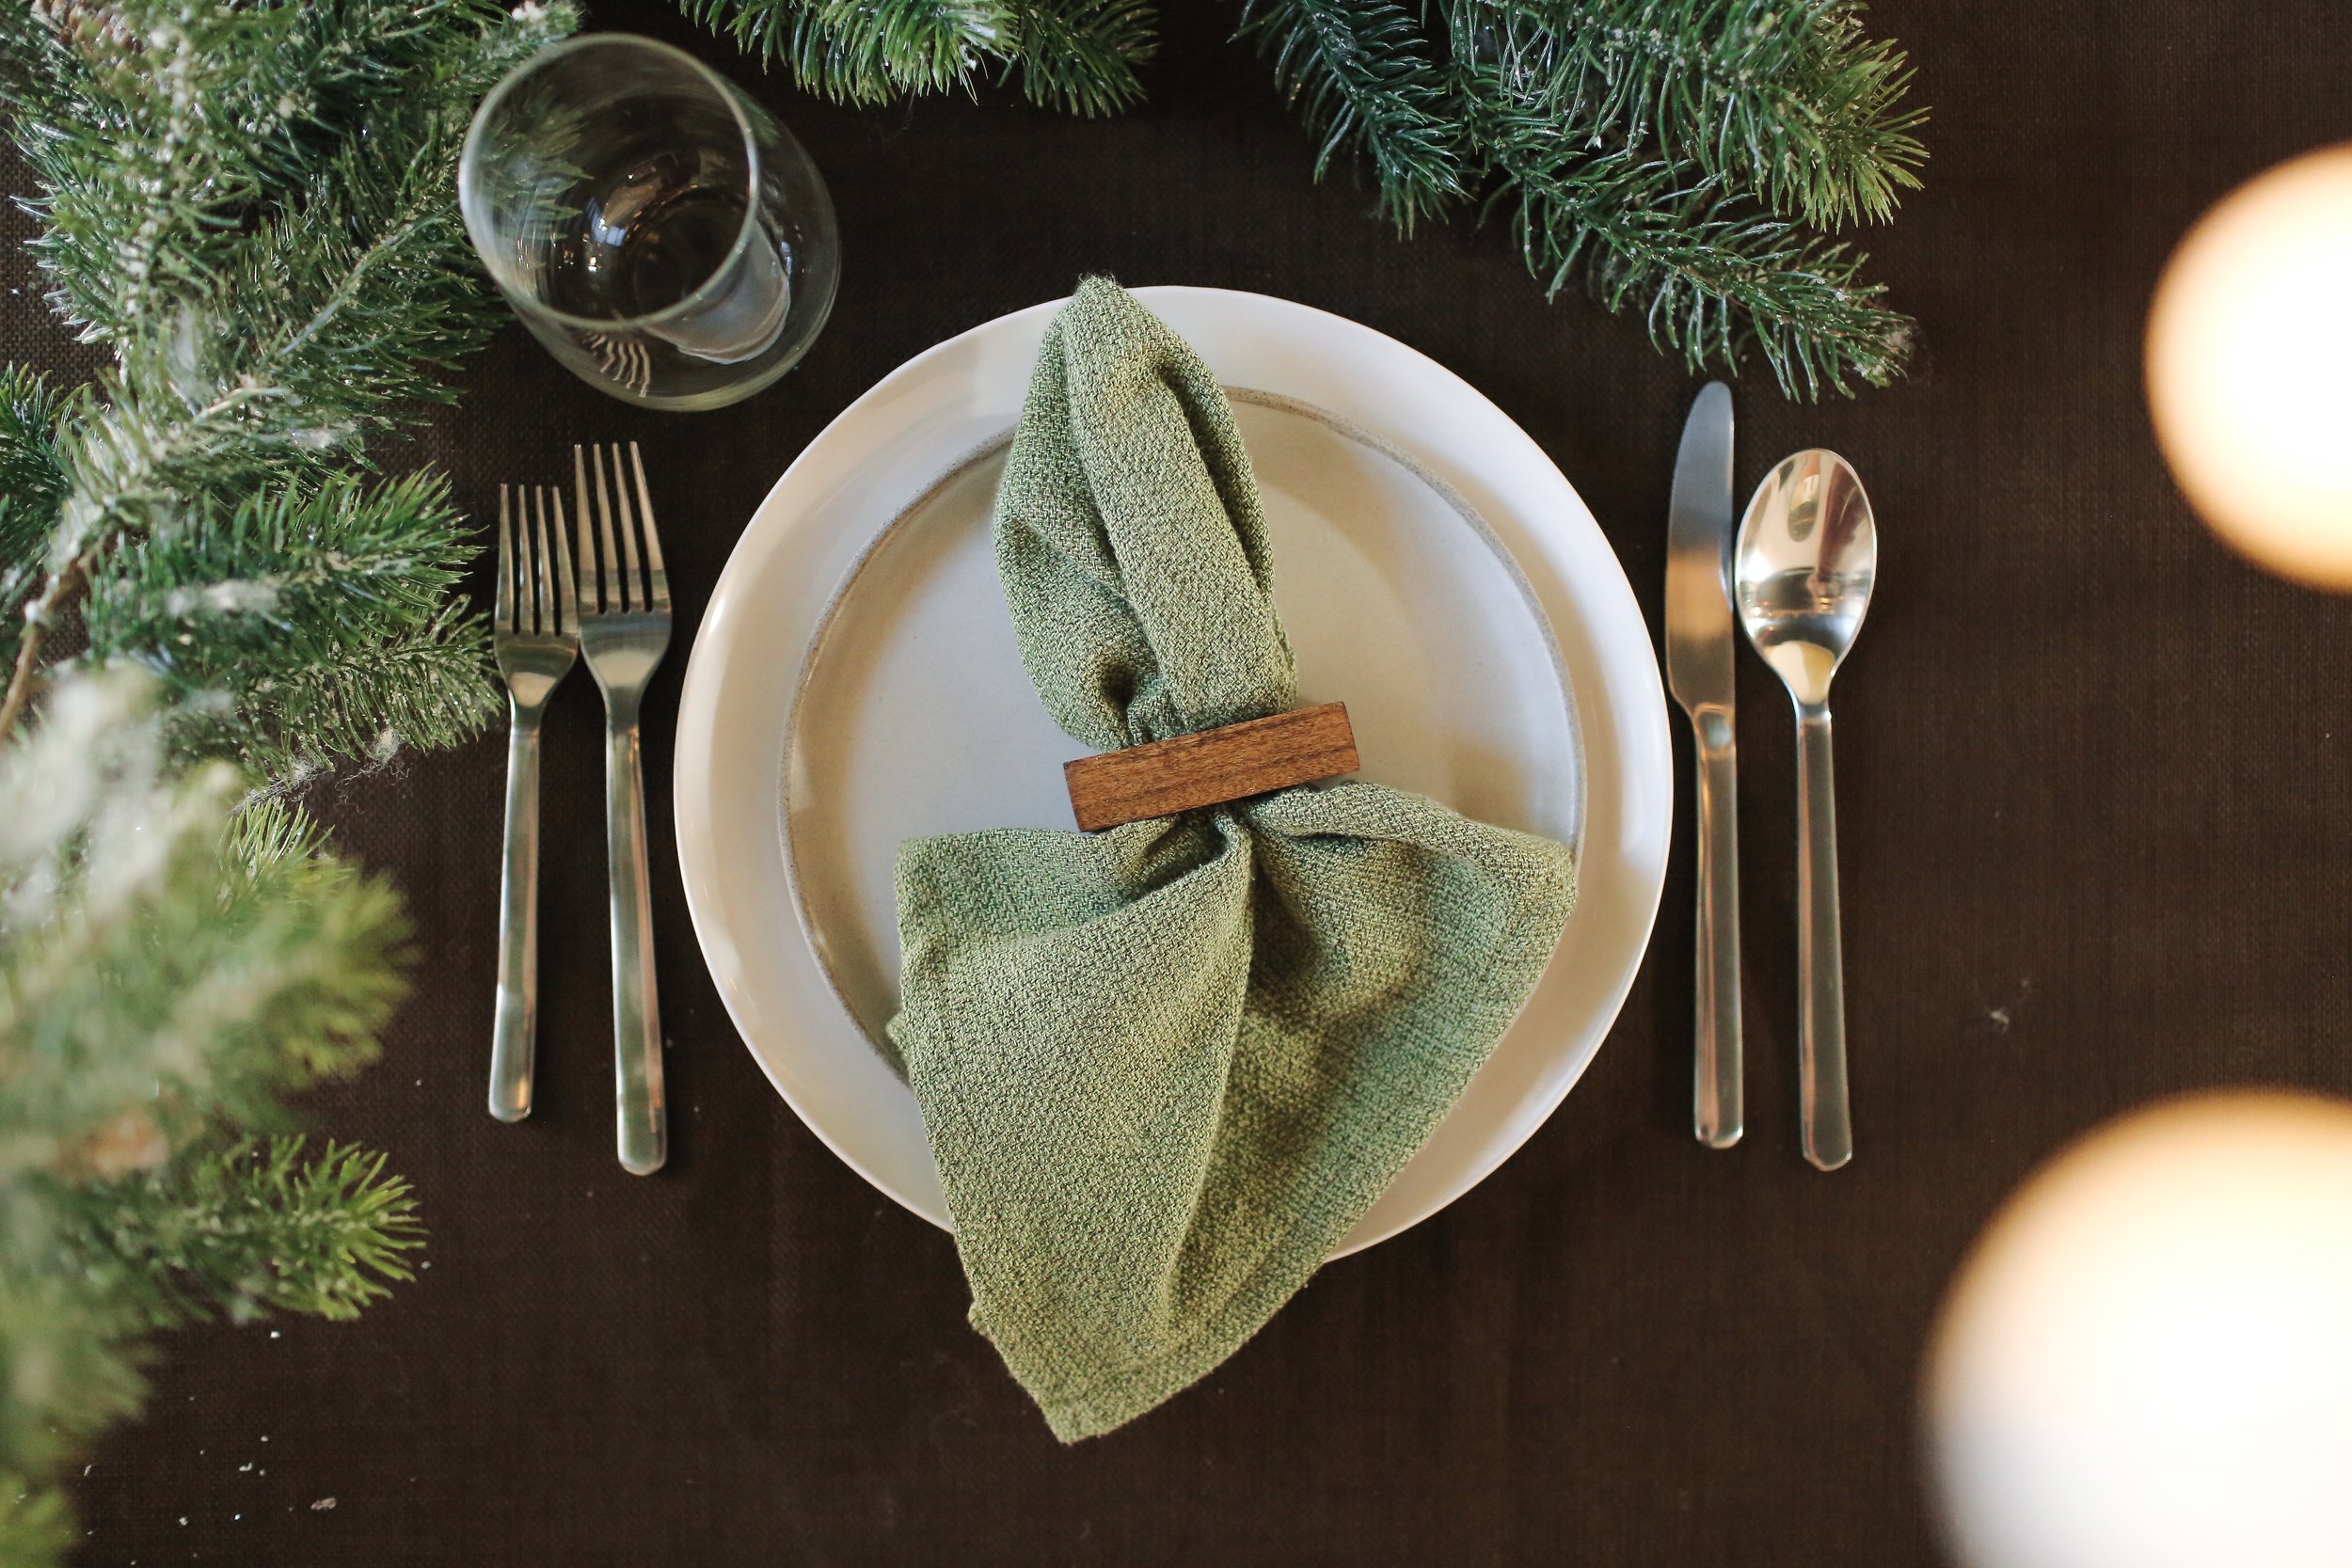
EASY LAST MINUTE DIY HOLIDAY GIFT: NAPKIN RINGS & NAPKINS For the Friend Who Loves Hosting
THAT time of year is coming again and you know what that means, easy DIY last minute holiday gift tutorials! This one is great for that friend that loves to host, loves cooking, or just likes their house looking nice and put together.
Follow this tutorial to make these beautiful and simple napkin ring holders along with an upcycled napkin set!
What you’ll need:
Napkin Rings:
1-inch x 2-inch x 2 Feet Poplar Hardwood Hobby Board S4S
Varathane Premium Oil-Based Interior Wood Stain in Provincial
Template (provided below)
Drill & ⅝” spade bit
Clamps
Jigsaw
Sandpaper
Spare rag for staining
Napkins
Linen material in your desired colour (can be easily found at any thrift store)
Sewing Pins
Matching thread
Sewing machine (can also be done with a hand stitch)

Step 1
Once I collected all my materials, I started making my napkins by cutting out squares from my thrifted linen fabric. My squares measured to 18”x18”. You can adjust this to your liking, but remember to add an inch for the trim!


Step 2
Next, I ironed out my fabric to prepare it for being hemmed. Make sure all the wrinkles are out before sewing as it may warp your lines if you don’t!

Step 3
Now I took my trusty sewing machine to clean up the sides with a simple double fold hem. Essentially all I did was fold over the sides once a half inch, sew it with a straight stitch. Then fold and sew it once more to hide the raw edge. (Feel free to also do this by hand if you don’t have access to a sewing machine, it is a super simple stitch and shouldn’t take too long!)

Step 4
Now comes the fun part! I grabbed my poplar wood and with a pencil, drew out the cuts using the template below. Repeat this for as many napkin rings you want!

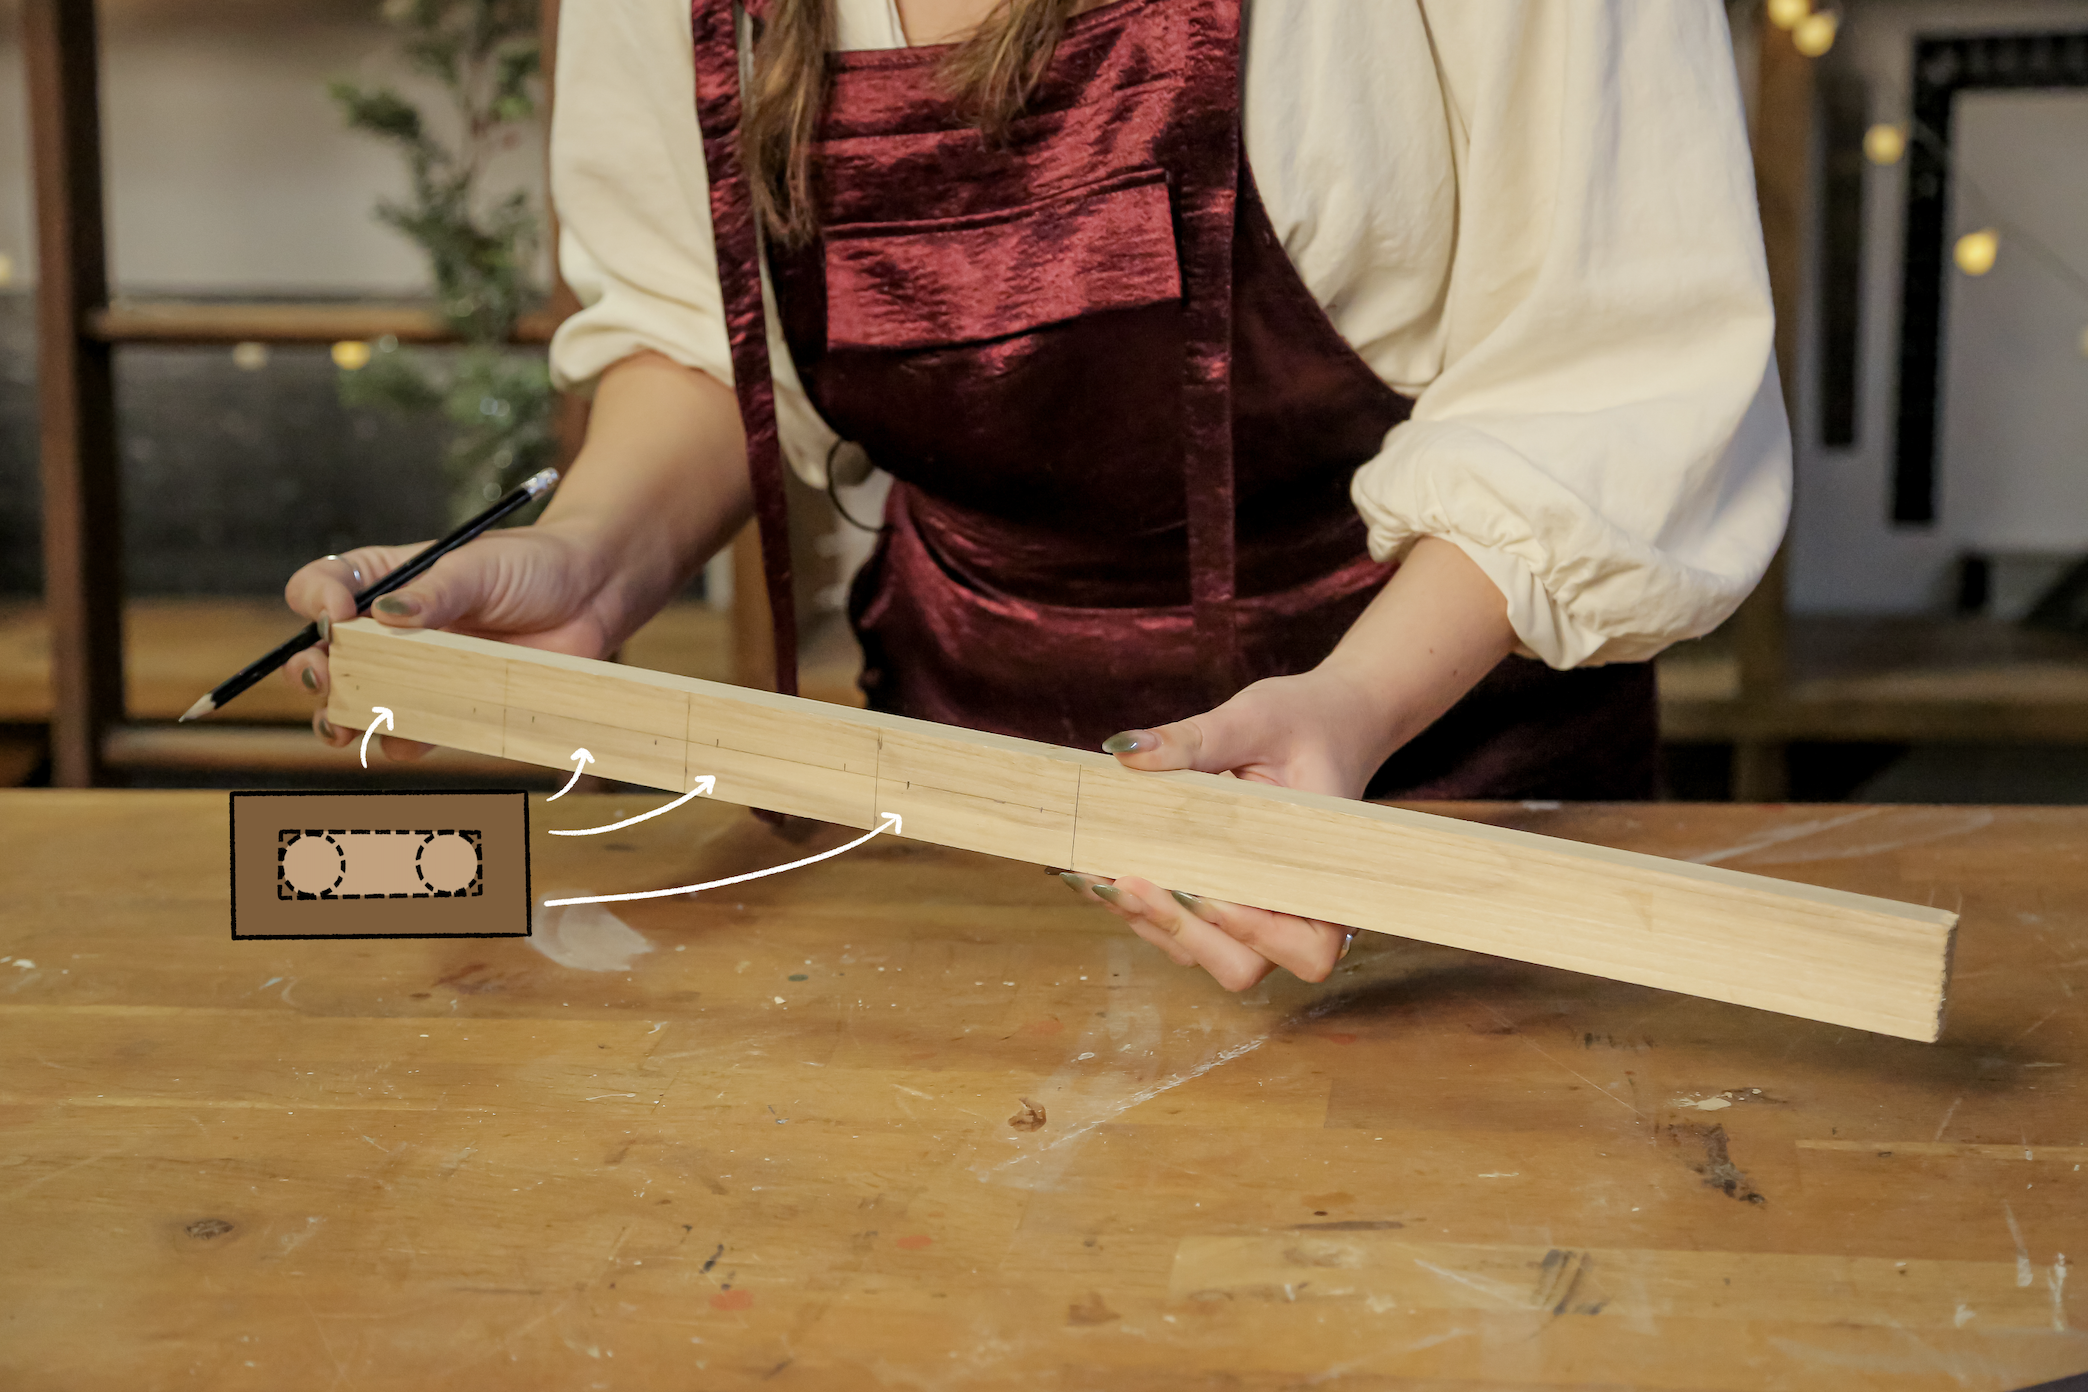
Step 5
Next I took my drill with a ⅝” spade bit on it and created two adjacent holes where the markings were.


Step 6
After cutting the holes, using my jigsaw, I connected the two holes to create an oval with two straight and simple cuts (following the lines drawn out with pencil).


Step 7
After, I cut apart each individual ring and sanded them down before the next step so that the napkins don’t get any pulls or breaks in them.


Step 8
Finally! It’s time to stain. The colour choice can be changed to your liking, but I am using the Varathane Premium Oil-Based Interior Wood Stain in Provincial. I use this colour on everything! The colour is perfect and penetrates the wood deeper than other brands, so it shows off the natural wood grain way better.
To get the best results when using it, ensure you stir the can thoroughly. Apply the stain across the grain until the wood is saturated on top and wipe off the excess after 5-10 minutes.


Step 9
To ensure the longevity of these napkin rings, I sprayed on this Rust-Oleum Specialty Lacquer in High Gloss. It adds an almost factory-like finish to it so it looks super professional.


Step 10
Now all I have to do is decide if I am going to gift these to someone or keep them for myself because I love them so much!


