DIY Wedding Photo Backdrop
Who doesn’t love a stunning photo backdrop? It creates the perfect setting for your wedding, and you’ll be able to look back at the photos in your album years from now and be transported right back to those moments you shared with the special people in your life. However, these wedding backdrops can often be expensive to rent or buy so making one yourself will help save you some big bucks! Let’s DIY this statement wedding feature.
Materials used
Instructions
Step 1- Build A Base
To make sure the backdrop was sturdy enough, I needed to build a good base for it. So using 2x2 inch pine lumber piece, I built an “H” shape to act as the base for the photo backdrop. For this, I needed one long piece and two shorter pieces.
Taking a pencil and measuring tape, I marked out where I wanted to cut the wood and proceeded to cut using a table saw. A hand saw can also be used for this step.
To assemble the base frame, I started with some wood glue and then used some long deck screws to screw the short pieces into the long piece from both ends so it’s really held together solid.

Step 2- Build the arch
To build the arch shape of the backdrop, I used two wooden dowels that were 48 inches in length and five-eighths in size. Taking a spade bit that was also five-eighths, I drilled a hole into the centre of the sides of the “H” then added some wood glue and and slotted the wooden dowels into the base.
To make the arch shape, I took some PEX pipe that was 10 feet long and three-quarter inches in diameter. Since I used the right size dowels to fit in the pipe, they fit so easily into the holes on either side to make the arch shape!
Tip: You can adjust the size of the arch based on how high the pipe sits on the dowels incase you wanted your arch higher or lower.
To cover the rest of the exposed wood on the dowels and to secure them to the PEX pipe, I took another ten-foot piece, cut it into two, and put these over the exposed wood.
The arch was pretty secure at this point but if you’d like, you could add more glue to it. However the benefit of NOT adding glue is that the arch can be more easily transported to a wedding venue.


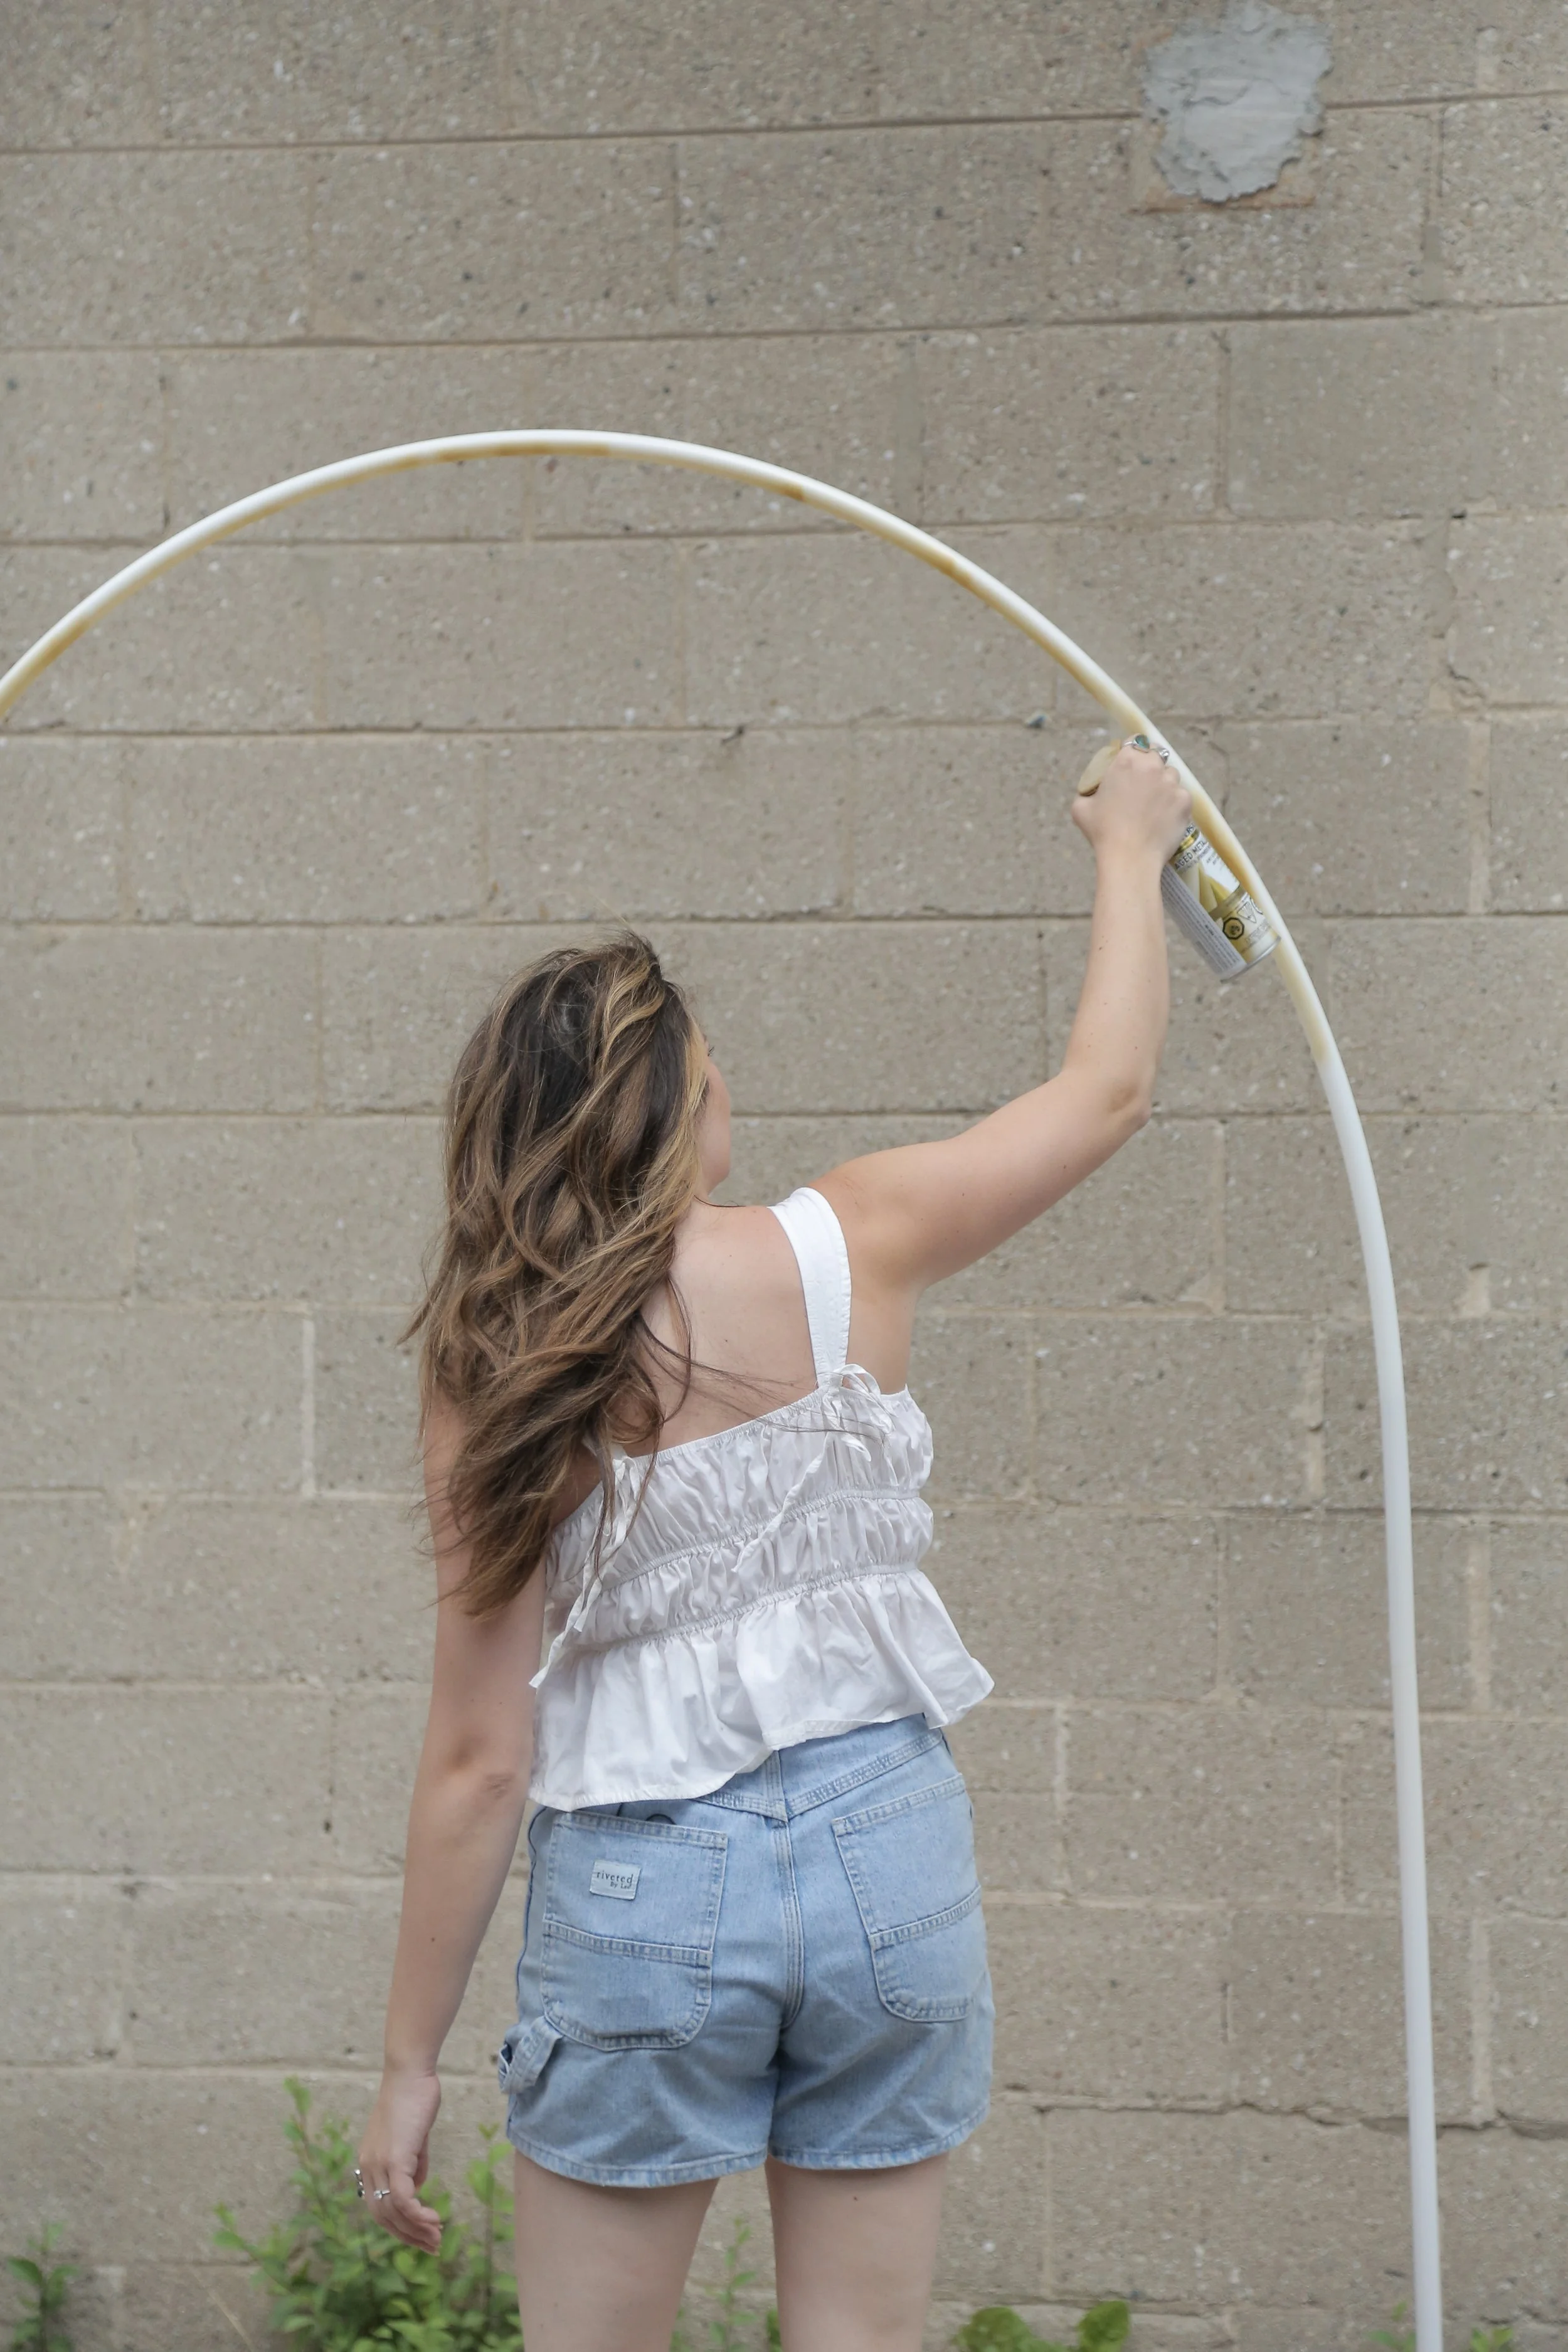
Step 3- Paint the arch
To paint the arch I’m using a combination of two spray paints, one in gold and the other in bronze. For the base, I opted for some green to blend with the grass. If you’re putting it on sand, I would suggest leaving the base in it’s natural wooden colour to blend better.
Step 4- Style the arch
For finishing touches, I styled the arch with some florals! Taking some floral foam, I put two pieces at the base on each side and secured them with some floral wire.
After that it was literally as simple as stuffing florals into the foam blocks to my satisfaction. If you have taller or heavier florals, you can support those with some floral wire as well but the smaller pieces should have no problem just sitting in the foam on their own.
And there you go! Now you have a stunning wedding backdrop to take photos that will last a lifetime.


