DIY Concrete Furniture
Making stone furniture is actually not as intimidating as it sounds. Using a combination of moulds and some concrete, I’m going to teach you how you can make some statuesque pieces that might just look like they were sculpted by Michelangelo himself!
materials used
builder's tube (12 inch diameter)
builder's tube (8 inch diameter)
White Concrete vs. Cement
The first thing you should know is that the difference between white concrete and regular old grey cement is simply just the price point. If you were to buy a pre-mixed bag of white concrete, it would probably cost a lot more than if you were to buy all the materials separately at your local construction materials supplier. So as the cost-saving queens we are, that’s EXACTLY what we’re going to do!
Also, concrete is such a great resource because it’s long lasting, it’s extremely durable, it can be repaired and it’s completely recyclable! Need I say more? Recycled concrete is used in many of the same ways that new materials are such as in paving, gravel, and aggregates. That’s a great added benefit that it can be completely broken down and made into something new! So now that we’ve learned a bit more about concrete, let’s get to DIYing!
CONCRETE CHAIR
When I initially started my research for this, my plan was to make the chair mould from scratch but the price of materials was quickly adding up! So when I stumbled upon a video on the HomeMadeModern YouTube channel using an Ikea Vago chair as a mould, it just seemed like fate. Lucky for me, I was able to find the chair secondhand on Facebook Marketplace so I got right to work! There are a few differences between my method and the video I watched, mostly because they used a child-size chair and I’ll be using an adult-sized chair, but we’ll get into all those details later! Let’s get started on this DIY.
Instructions
Step 1- Prep your chair for concrete
I started by taping up the back space of the chair to where it ends at the bottom of the front of the seat. I also taped on the opposite side until the adhesive side was no longer showing. Next I grabbed a piece of rebar, and using a cutoff tool I cut it into four pieces (two of them were 2 feet long, and the other two were 1 foot long).
Before mixing the cement, I flipped the chair upside down and levelled the seat of the chair with some scrap wood.
The Ikea chair has a hole in the middle of the seat for drainage purposes and I wanted to keep that feature in my concrete chair. So taking a piece of leftover PVC pipe, I wrapped gorilla tape around it until it was the same diameter as the chair’s drainage hole. Putting the pipe through the hole would keep it in tact so the finished chair would be able to drain itself whenever it rains.
Finally, using a foam brush, I coated the inside of the chair with some release oil. I used a clear mineral oil so it wouldn’t leave any stains, and this would help ease the chair out of the mould once the cement cures.
Step 2- Mix The CEMENT
For my cement mixture, I used white portland cement and two different aggregates (the term aggregate is used to define coarse to medium grain materials which help to strengthen the concrete). I used white marble rocks as a chunky aggregate and white sand that acts as a fine aggregate.
For my mixture, I used 3 parts white marble chunks to 2 parts white sand to 1 part white portland cement and 1 part water. If you are mixing by hand, I would recommend doing small batches so you know it’s well mixed. You should aim for a cooked oatmeal consistency.
TIP: you can also mix your cement with a drill and a mixer bit if you want to mix larger batches!
If you are mixing your cement outdoors, be sure to keep your mix in the shade so the water doesn’t evaporate too quickly. The slower the water evaporates, the stronger your concrete will cure!
Step 3- Fill The Mould
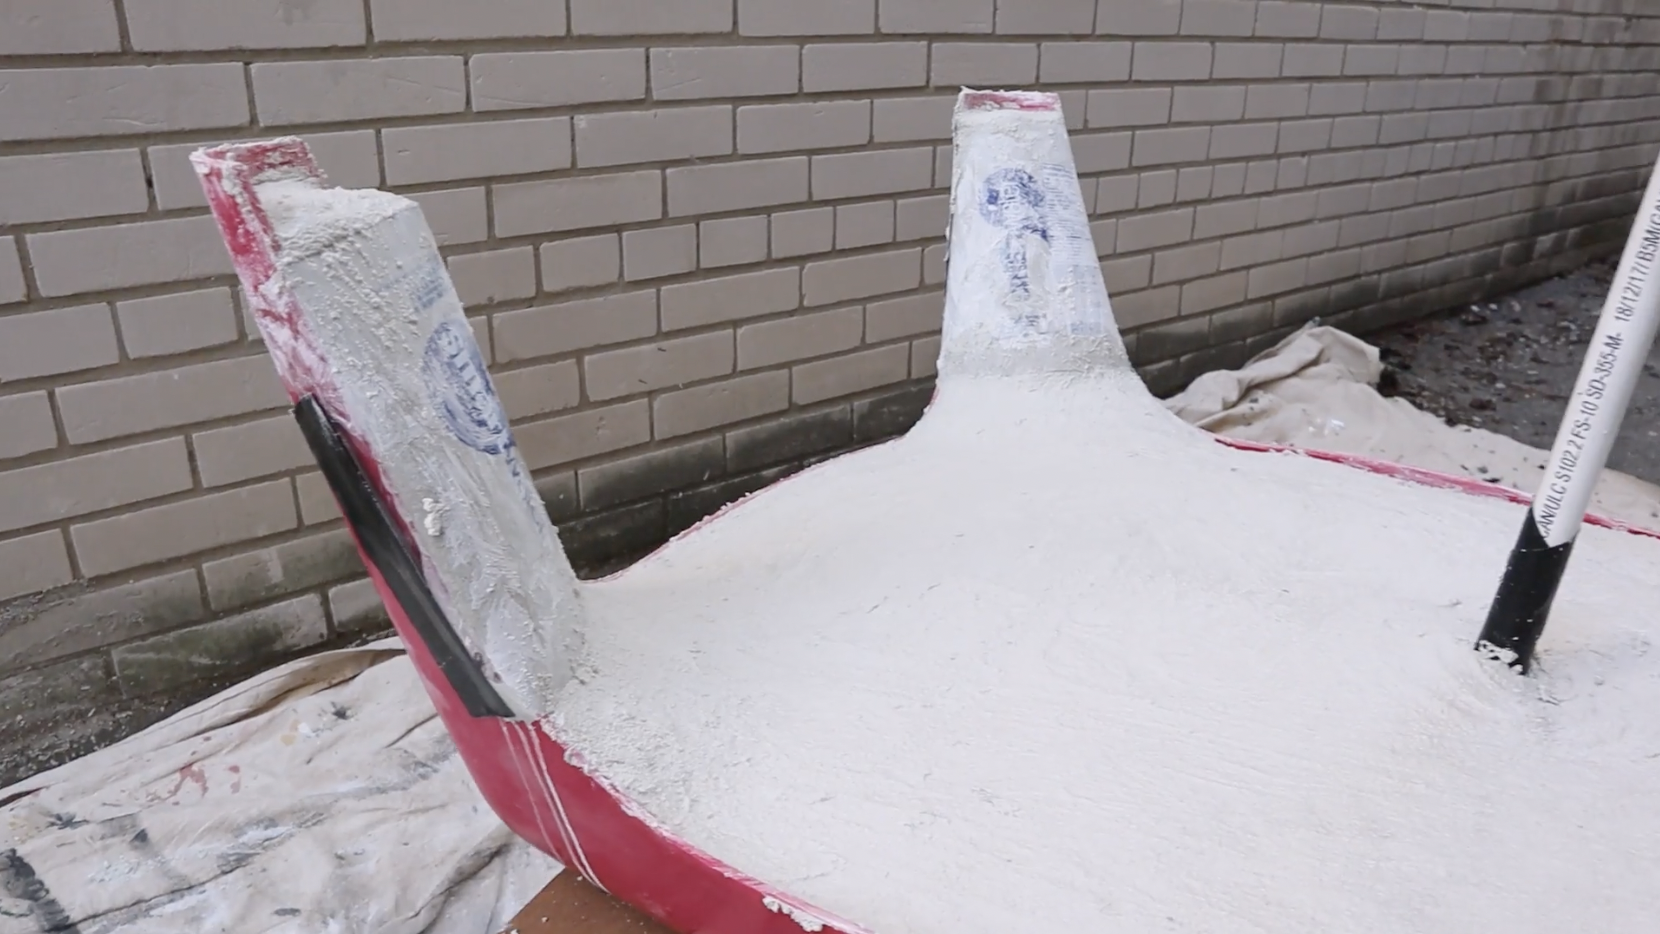
When filling the mould, I started by filling up a few inches of the back of the chair. Then I took the two pieces of 2 feet rebar I previously cut and suspended them from the legs going down each side of the backrest. I held them in place temporarily with some gorilla tape.
Before moving on, I cut some galvanized metal mesh to the width of the chair, leaving it long enough to creep up the back rest. I also made sure to cut a hole for where the drainage pipe sits.
I continued filling up the base of the chair with cement. Once the base was filled up about halfway, I laid down my piece of mesh. Then I did the filling process for the back legs and used the two shorter pieces of rebar this time.
To finish off the legs of the chair, I grabbed four large plastic water bottles, cut off the top and bottom, and cut down the back to give me these warped plastic sheets. I wrapped each leg with one sheet, securing the sides with gorilla tape. Then I filled up the rest of the chair!
While the cement cured, I covered the chair with a tarp to keep in some of the moisture. I let my chair cure for about a week but you definitely want to let it sit for at least a few days.
After the days had passed, I flipped the chair right side up, and wiggled the completed chair out of the mould, which was made easier by the release oil (definitely a life saver) and that was it!
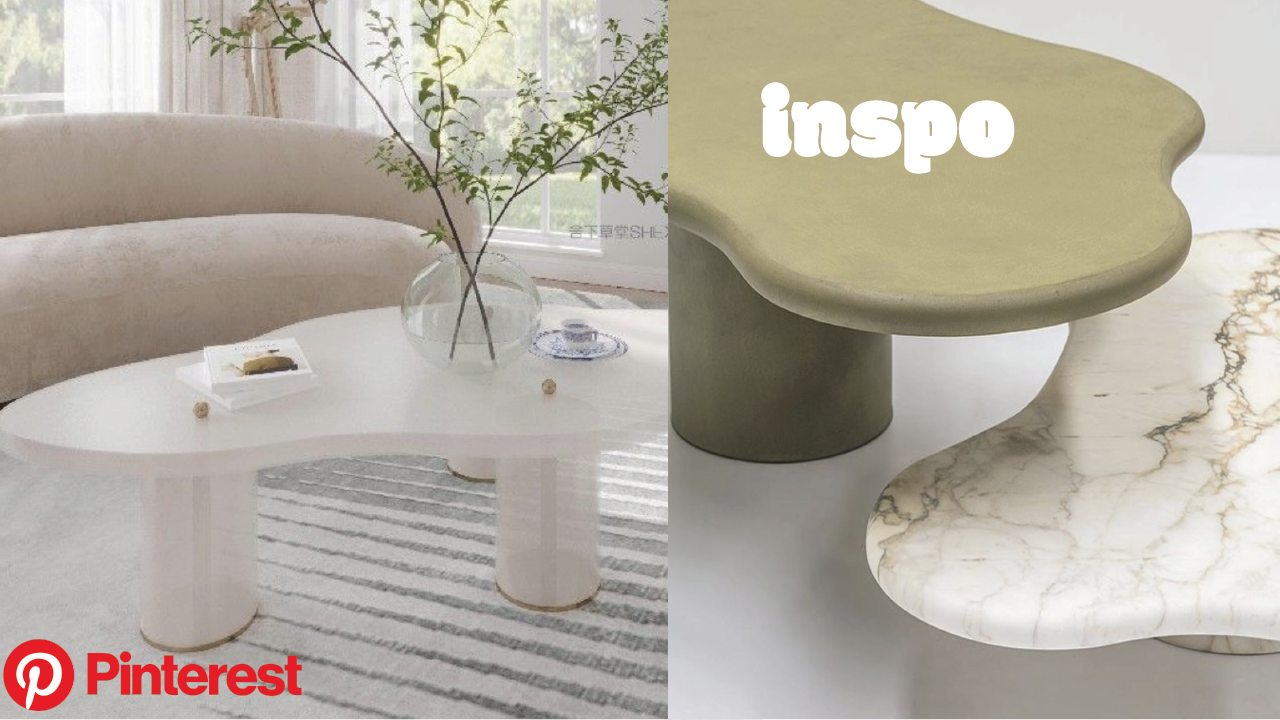
CONCRETE COFFEE TABLE
Step 1- Make a tabletop mould
For this DIY, I decided to make my own tabletop mould. I started off by grabbing a large sheet of melamine board and traced out the shape I wanted; I was going for an oblong shape. Then using a jigsaw, I slowly cut out the tabletop shape while turning and securing the melamine board as I went.
Then I sanded the edges and built up the sides of the mould using a vinyl wall base that is also linked in the list of materials above. Taking some construction adhesive and a staple gun, I attached the vinyl base to the edges of the melamine board. The staples helped hold it on to the vinyl as the construction adhesive dried.
To finish the tabletop mould, I filled in the seam where the vinyl meets the melamine using some finishing paste wax, rubbing it close to the corners but not fully into the corners on each side.
Taking some silicone caulk, I placed a thick bead of it into the corners of the mould. Then I took a wooden ball, covered it in the finishing paste wax, and pushed the ball hard enough into the corners that the excess silicone pooled on either side.
I let this fully dry and pulled away the excess silicone so that only the inner corner of the mould was sealed. Then I used some rubbing alcohol to clean up any excess silicone.
Step 2- Fill The Mould
Before filling up the mould, I added a final layer of the finishing paste wax all over the mould to try something different from the mineral oil I used for the concrete chair, but either one would work!
I made my concrete mix and batch by batch, I filled the mould. This time around I tapped the sides of the mould as I went to remove most of the air bubbles. Once my mould was filled up about half way, I cut three pieces of rebar to various sizes depending on where they would sit to act as support for the tabletop. Then I filled up the rest of the mould until I reached my desired tabletop height.
TIP: If it’s really hot outside, add ice water to your concrete mix. This will help it evaporate slower!
Step 3- Make a leg mould
To do this I used two different sizes of builder’s tube. The first was 12 inches in diameter and the other was 8 inches in diameter. The idea here is that the smaller tube will sit in the larger one to make coffee table legs that are hollow as opposed to one giant slab of concrete.
Using a circular saw, I cut down my builder’s tubes to 16 inches in height, leaving a little extra room as I only planned to fill them with about 12 inches of concrete. You can also use a regular hand saw here because this step doesn’t have to be perfect.
Next I took another piece of melamine and placed the larger tubes on the surface. Taking some gorilla tape, I secured each tube to the melamine board using small pieces at a time.
Before inserting the smaller tubes, I coated their outsides with the same finishing wax as before. Then I placed each tube into a larger one, this time securing them with tape on the inside of the tube. Now it’s time to fill them up with concrete!
Step 4- Fill the mould
To fill up the leg moulds, I used my hand and a trowel as a guide to get between the builder’s tubes. I also used a scrap piece of wood to push down the concrete and fill up any gaps, remembering to tap the sides of the mould to get rid of any air pockets.
Lastly, I smoothed out the top of the cement with another scrap piece of wood and used a measuring tape to make sure that both legs were filled to a consistent height. I then covered both the tabletop and legs with a tarp and let the cement cure for a few days.
Step 5- Remove the moulds
To remove the tabletop mould, I flipped it over out of the mould onto a soft surface, and that was all it took.
To remove the leg moulds, I took apart the builder’s tubes and cut into the inner tubes where necessary to make taking them off easier. To separate the legs from the melamine board, I turned them on their sides and gave the board a good tap with a hammer to release the legs.
As a final step for the coffee table and legs, I went in with some sand paper just to clean up the edges. I also went over the tabletop with a concrete sealer to finish it off.
And we’re done!


