BUILDING A PLATFORM BED

Today’s mission is to build Becky a bed! Her mattress has been sitting on the floor since she moved into her new house, and it’s time for us to build a frame for it. The goal is to make a platform bed, which we’ve seen for sale online between $700 and $2000, which is INSANE. Sooo, the goal is to make one for much cheaper. (You can see the bed we are trying to recreate here!)
The first step was to head to the hardware store and pick up some wood for the inside of the frame, as well as some legs for the bedframe. Basic wood from the hardware store is fine for the inner structure of the frame, and will save us a lot of money, but for the outside of the frame we wanted to get a bit of a higher quality of wood. For this, we headed to out local lumber store!
While at the lumber store, I decided to go with poplar wood! It is a bit of a higher quality hardwood, but is a bit easier to work with and is a bit less expensive than other hardwoods! All of the wood cost us around $150. Let’s get started with building!
The first step is to build a box the size of your bed frame out of the poplar wood. My mattress is a queen, and so our box is going to be 61” x 81” (we added an inch to our box to make sure the mattress fit!). Before we screwed everything in place, we grabbed some cheaper 2x4s and added rails to the two inside sides of the bed, and one down the middle. These rails will hold our slats in place! We grabbed these slats from IKEA, but you can make your own slats out of the cheaper wood (we just got the IKEA ones for comfort!). Next step is to put your box together! We did this by attaching a corner bracket in each corner!
After everything was secure, we moved on to attaching the legs! We flipped our box, and screwed in some leg top plates! Next, just screw your legs into the top plates.
Next we moved on to adding the center rail to hold the slats in place. We screwed this piece of wood into the center of the bed, and added some mending plates across these seams for added support.
For even MORE support, we are going to add some legs across this middle beam. Since these legs are never going to be seen, we opted to use a square dowel instead of the more expensive legs we used earlier. We simply cut the square dowels to the height of our legs and screwed them into place. After doing this, we just filled any exposed nails with some wood filler for a cleaner look.
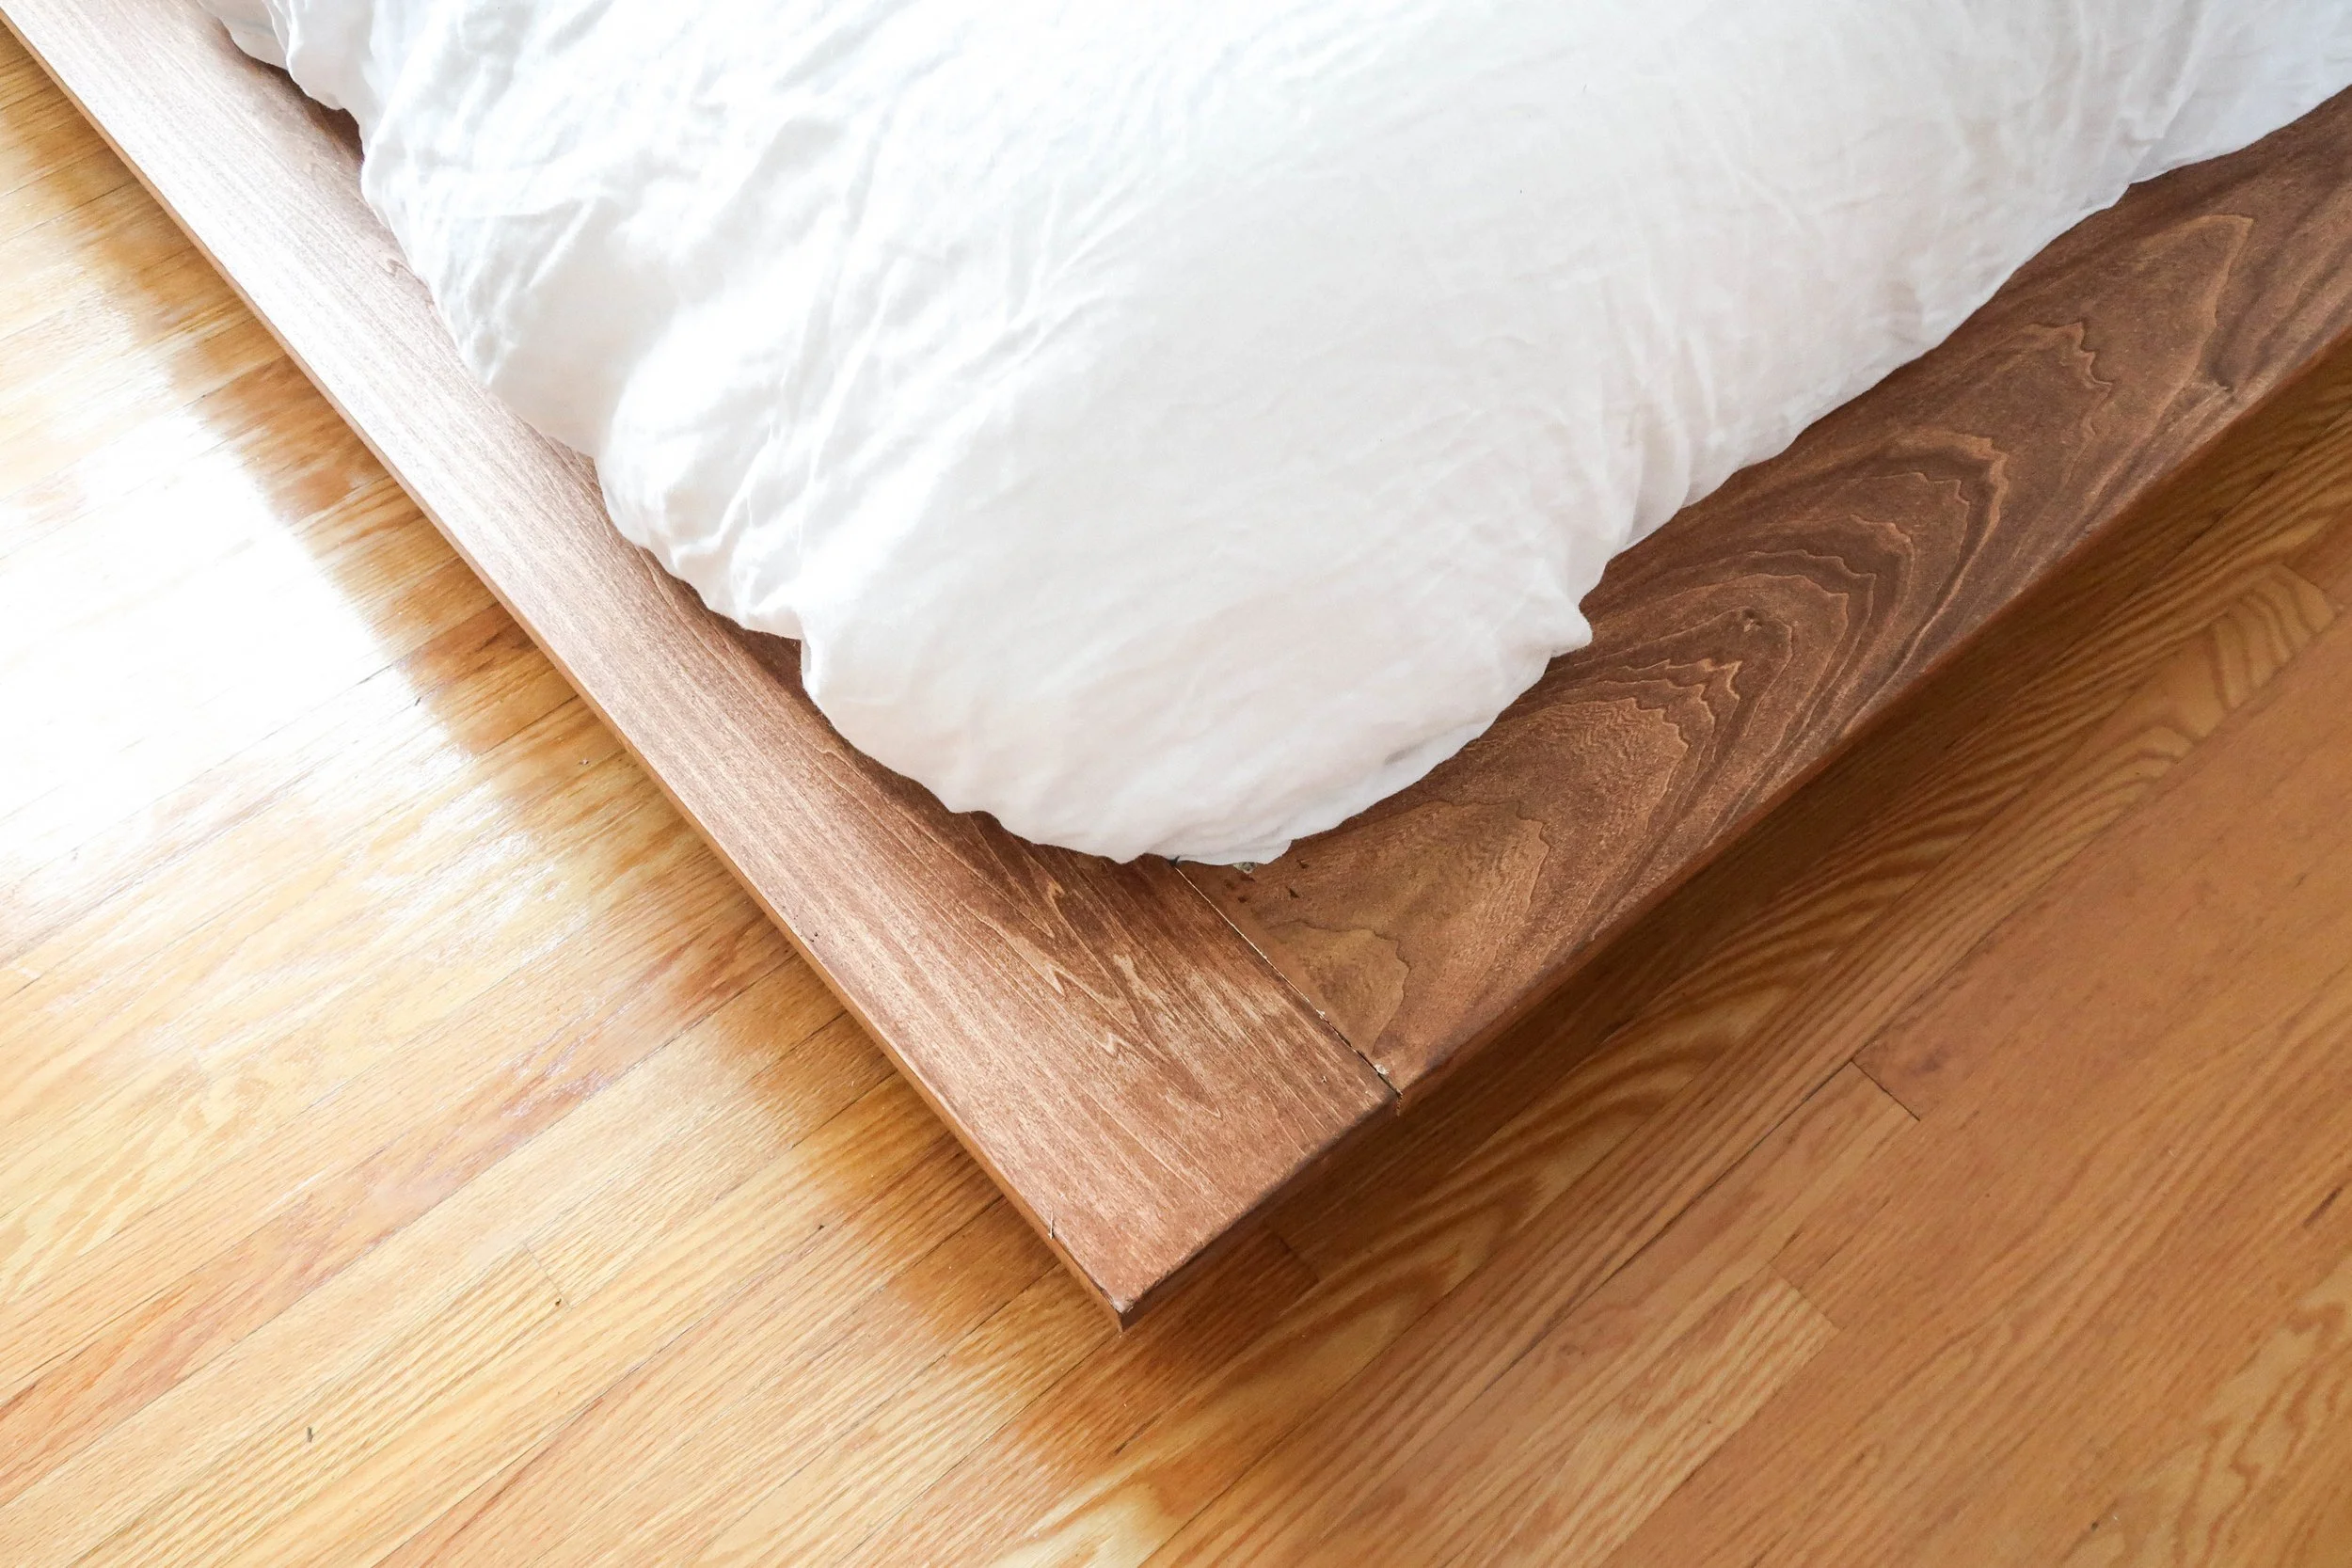
Time to create the platform look! We took three pieces of our nice wood, and cut them to fit around the top edge of our bed. To secure these pieces, we used ‘no more nails’ and then followed that with a few screws. We then filled these screw holes with some wood filler as well. Once everything was dry, we gave the frame a nice sand!
Time to stain! We laid down a drop cloth and got to staining. We were advised that using a gel stain with poplar wood would work better than a traditional stain, as regular stain sometimes soaks into poplar a little patchy!
We went ahead and applied this stain using some sponge brushes and an old rag. We let this stain dry overnight!
The last step is to add a mattress and your sheets, and this awesome platform bed is DONE!


The project ended up costing us around $300-$320 dollars to make! Not the cheapest DIY, but definitely cheaper than if you were to buy a platform bed retail (check out the bed that inspired this one!) If you liked this blog post, watch us (sometimes struggle) in the video below! If you make a platform bed, tag us on instagram using the hashtag #SorryGirlsSquad!