Make Your Own Face Mask & Matching Scrunchie Accessories!
Matching face masks and scrunchies are ALL the rage right now, so why not make some for yourself? Learn how to make them below! This blog is also part of a larger “DIY Gifts You Can Send In The Mail” blog post that you can check out right here.
THINGS YOU’LL NEED
Outer fabric
Cotton lining fabric
Scrunchie Fabric
Pipe cleaner
Thin elastic
Scissors
Thread
Pins
Sewing machine
HOW TO MAKE THE FACE MASK
First, print and cut out out our template by downloading it here. Cut out 2 main fabric and 2 lining fabric pieces using our template, making sure to fold the fabric so that the pieces mirror each other. Also cut out the wire cover of the main fabric.
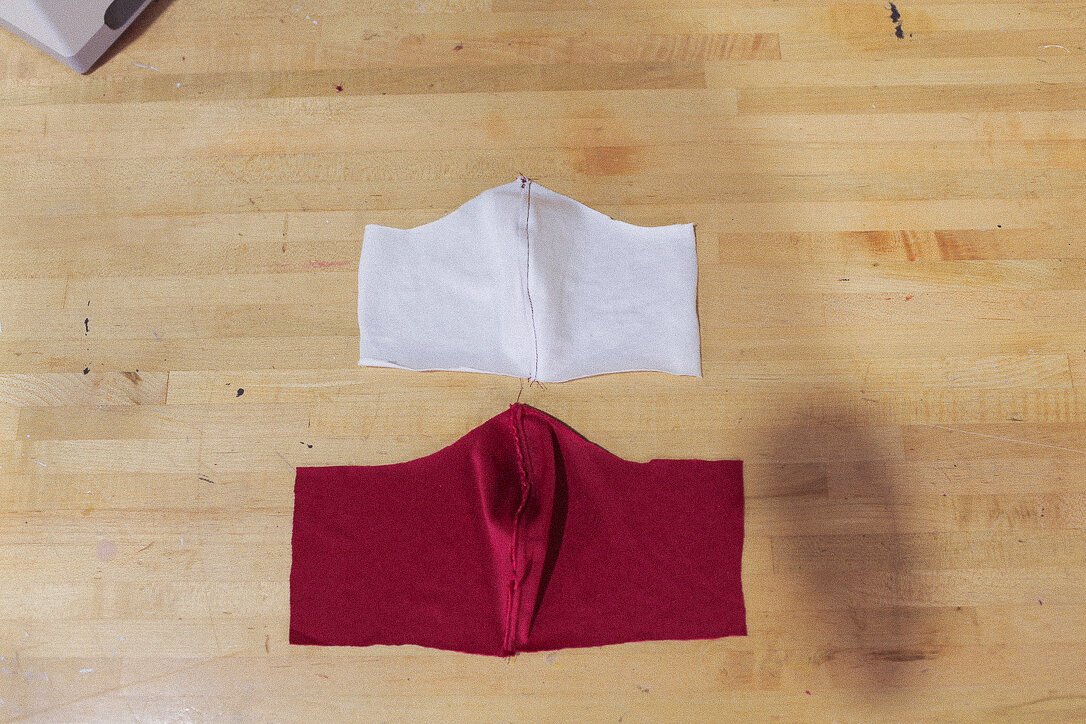
Pin the 2 main pieces right sides together, and sew along the curve. Repeat with the lining pieces.

To keep this mask looking professional, fold the raw edge of the curve to one side and then stitch that down from the front to hold it in place. Do this for both the main and the lining piece.

On the lining, make a rolling hem about a quarter of an inch wide for the 2 sides, and stitch it down.

Now let’s move on to the wire cover piece. Fold in the two short sides and then fold the whole thing in half and stitch up both short sides.

Take the open side of the tube and line it up to the top of the right side of the lining piece. Pin it in place and stitch a straight line across the bottom.

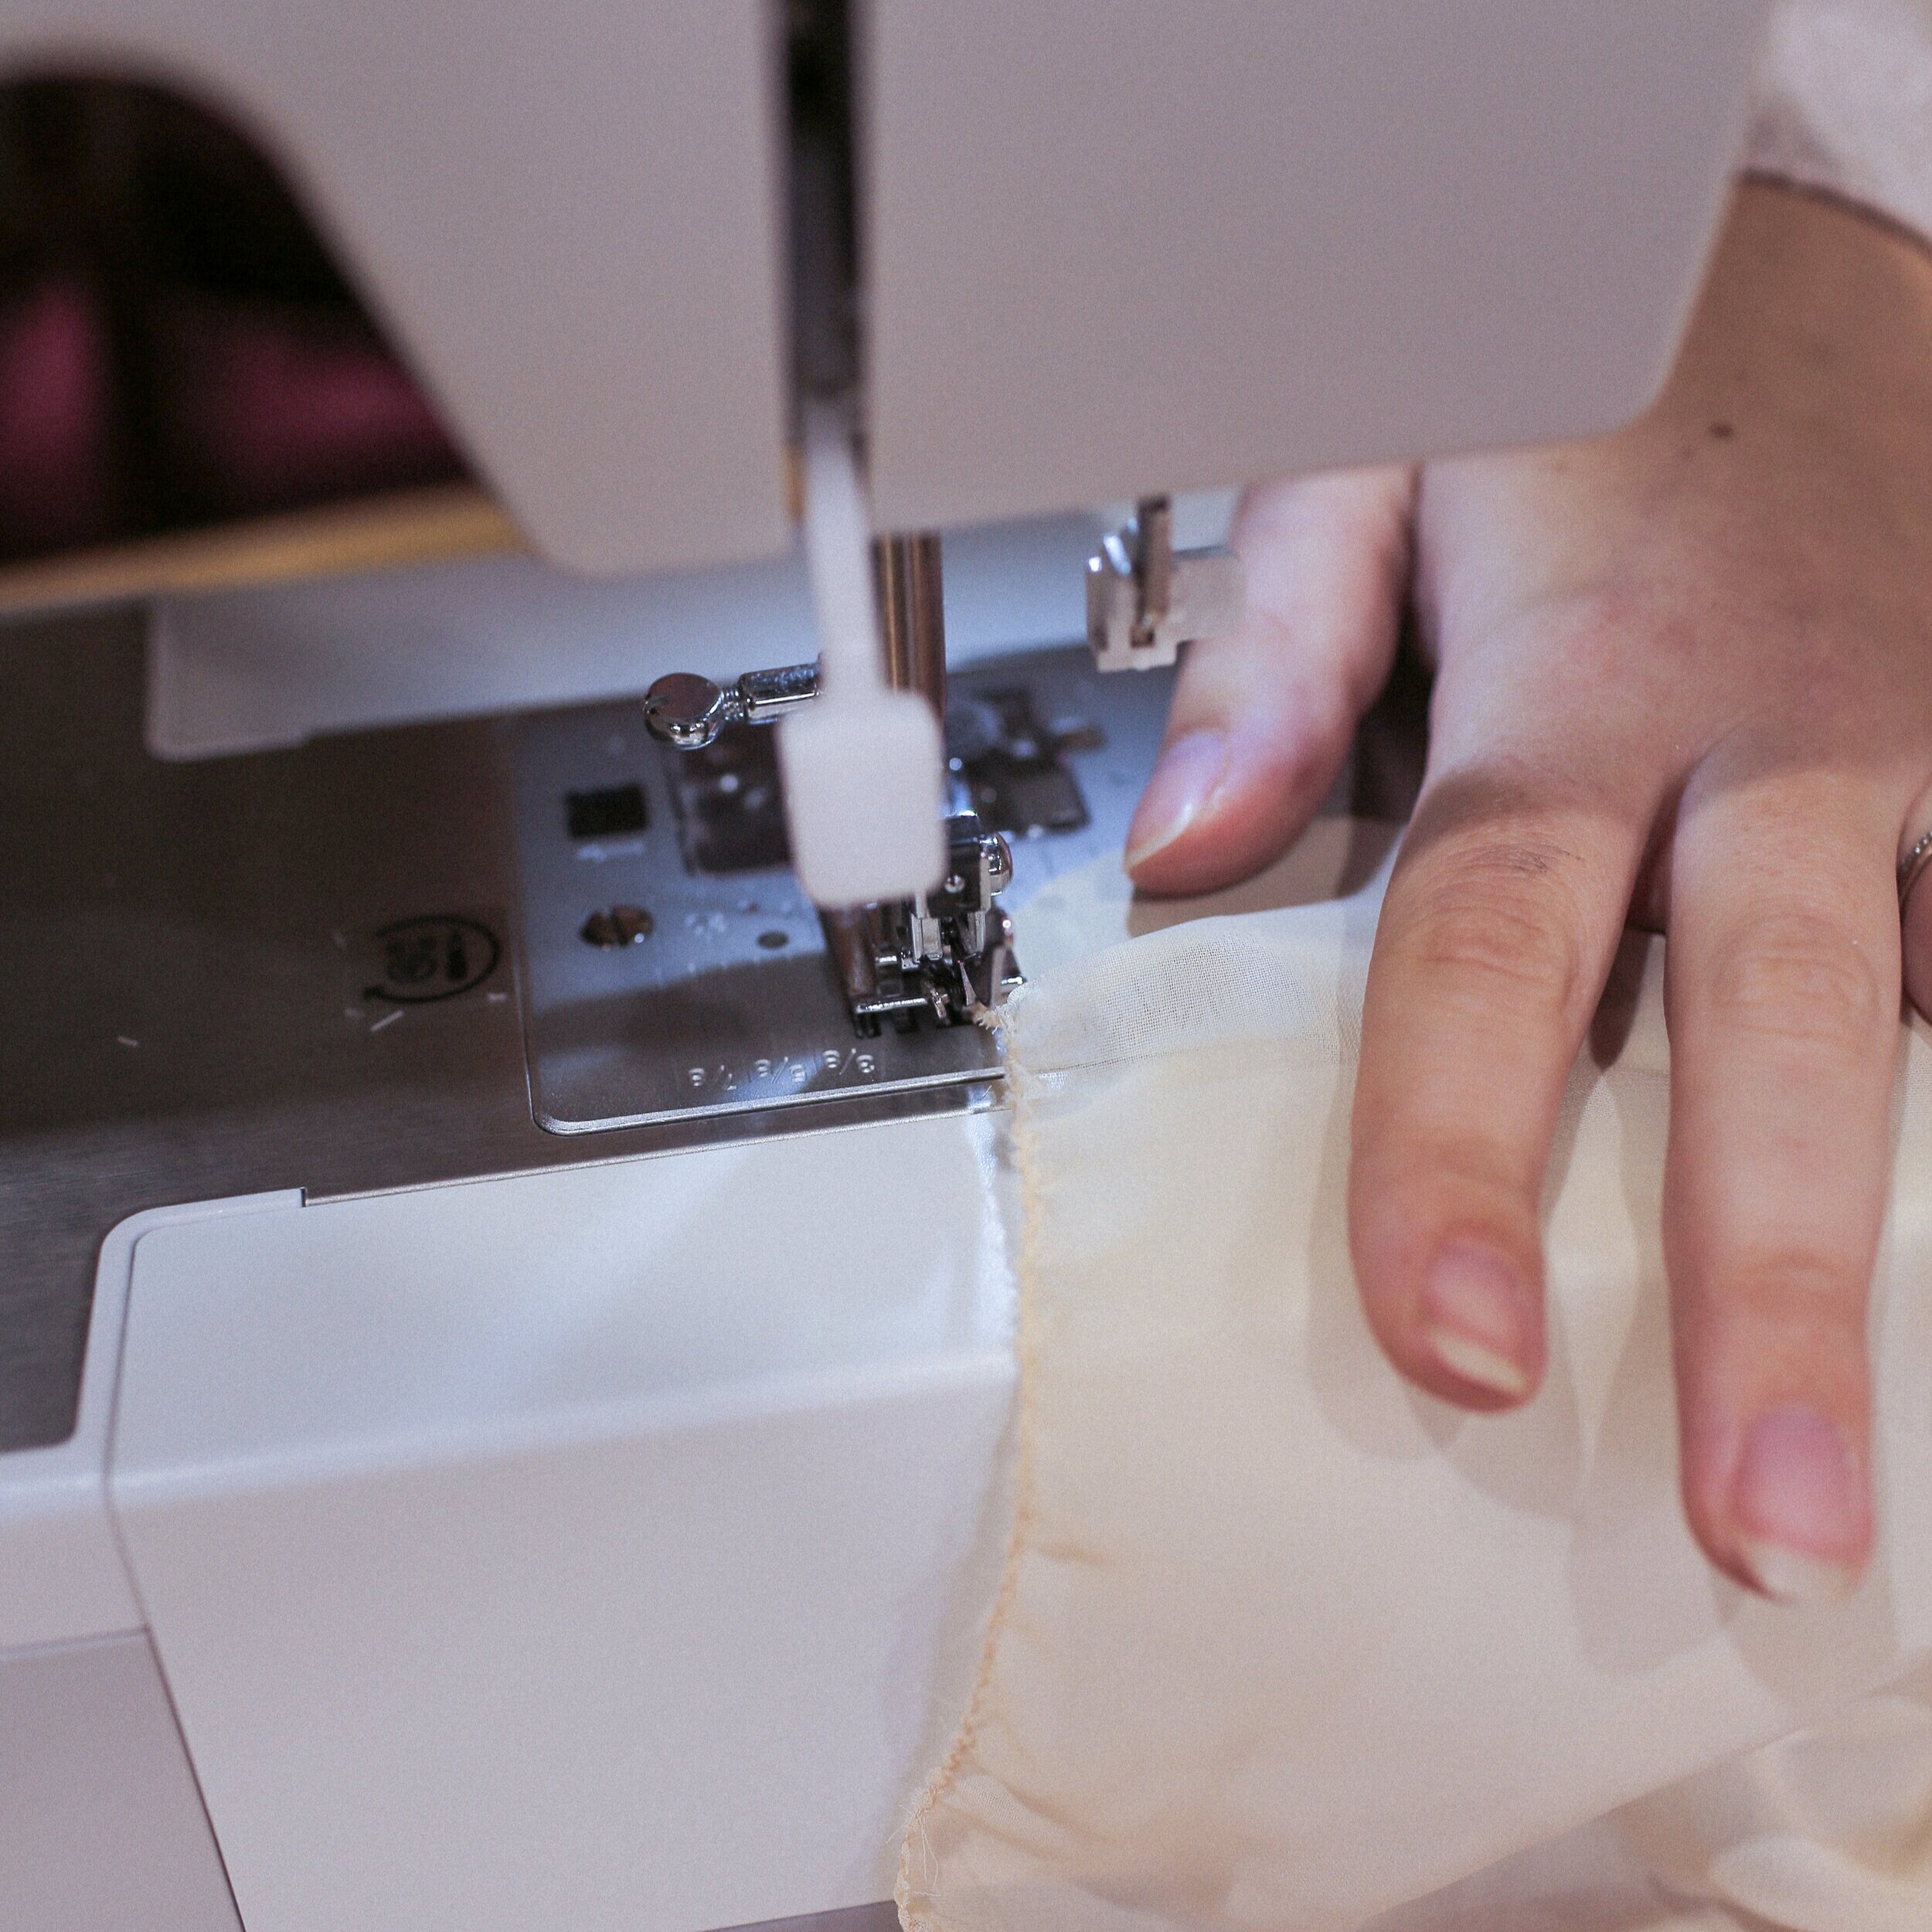
Take both your main piece and lining piece and put them right sides together, then sew a stitch across the top and bottom. Flip the mask right side out, and this step isn’t 100% necessary, but you can sew one final stitch around the whole outside to press the edges together nicely. With the 2 sides that are still open, fold the main fabric in twice to create a tube on both sides that the elastic can later go through. Sew this down.


To make the elastics that will go around your ears, cut two 7 inch pieces of a thin stretchy elastic. The length can be adjusted depending on the size of your face. Then take your scrunchie material and cut out 2 rectangles that measure 14 inches long and 1 inch wide. Fold each rectangle in half lengthwise and sew down the open lengthwise ends to make 2 tubes. Turn the tubes right side out - to make this easier use a safety pin attached to one end to feed it through! Then feed your cut elastic pieces through each tube, using the safety pin trick again.


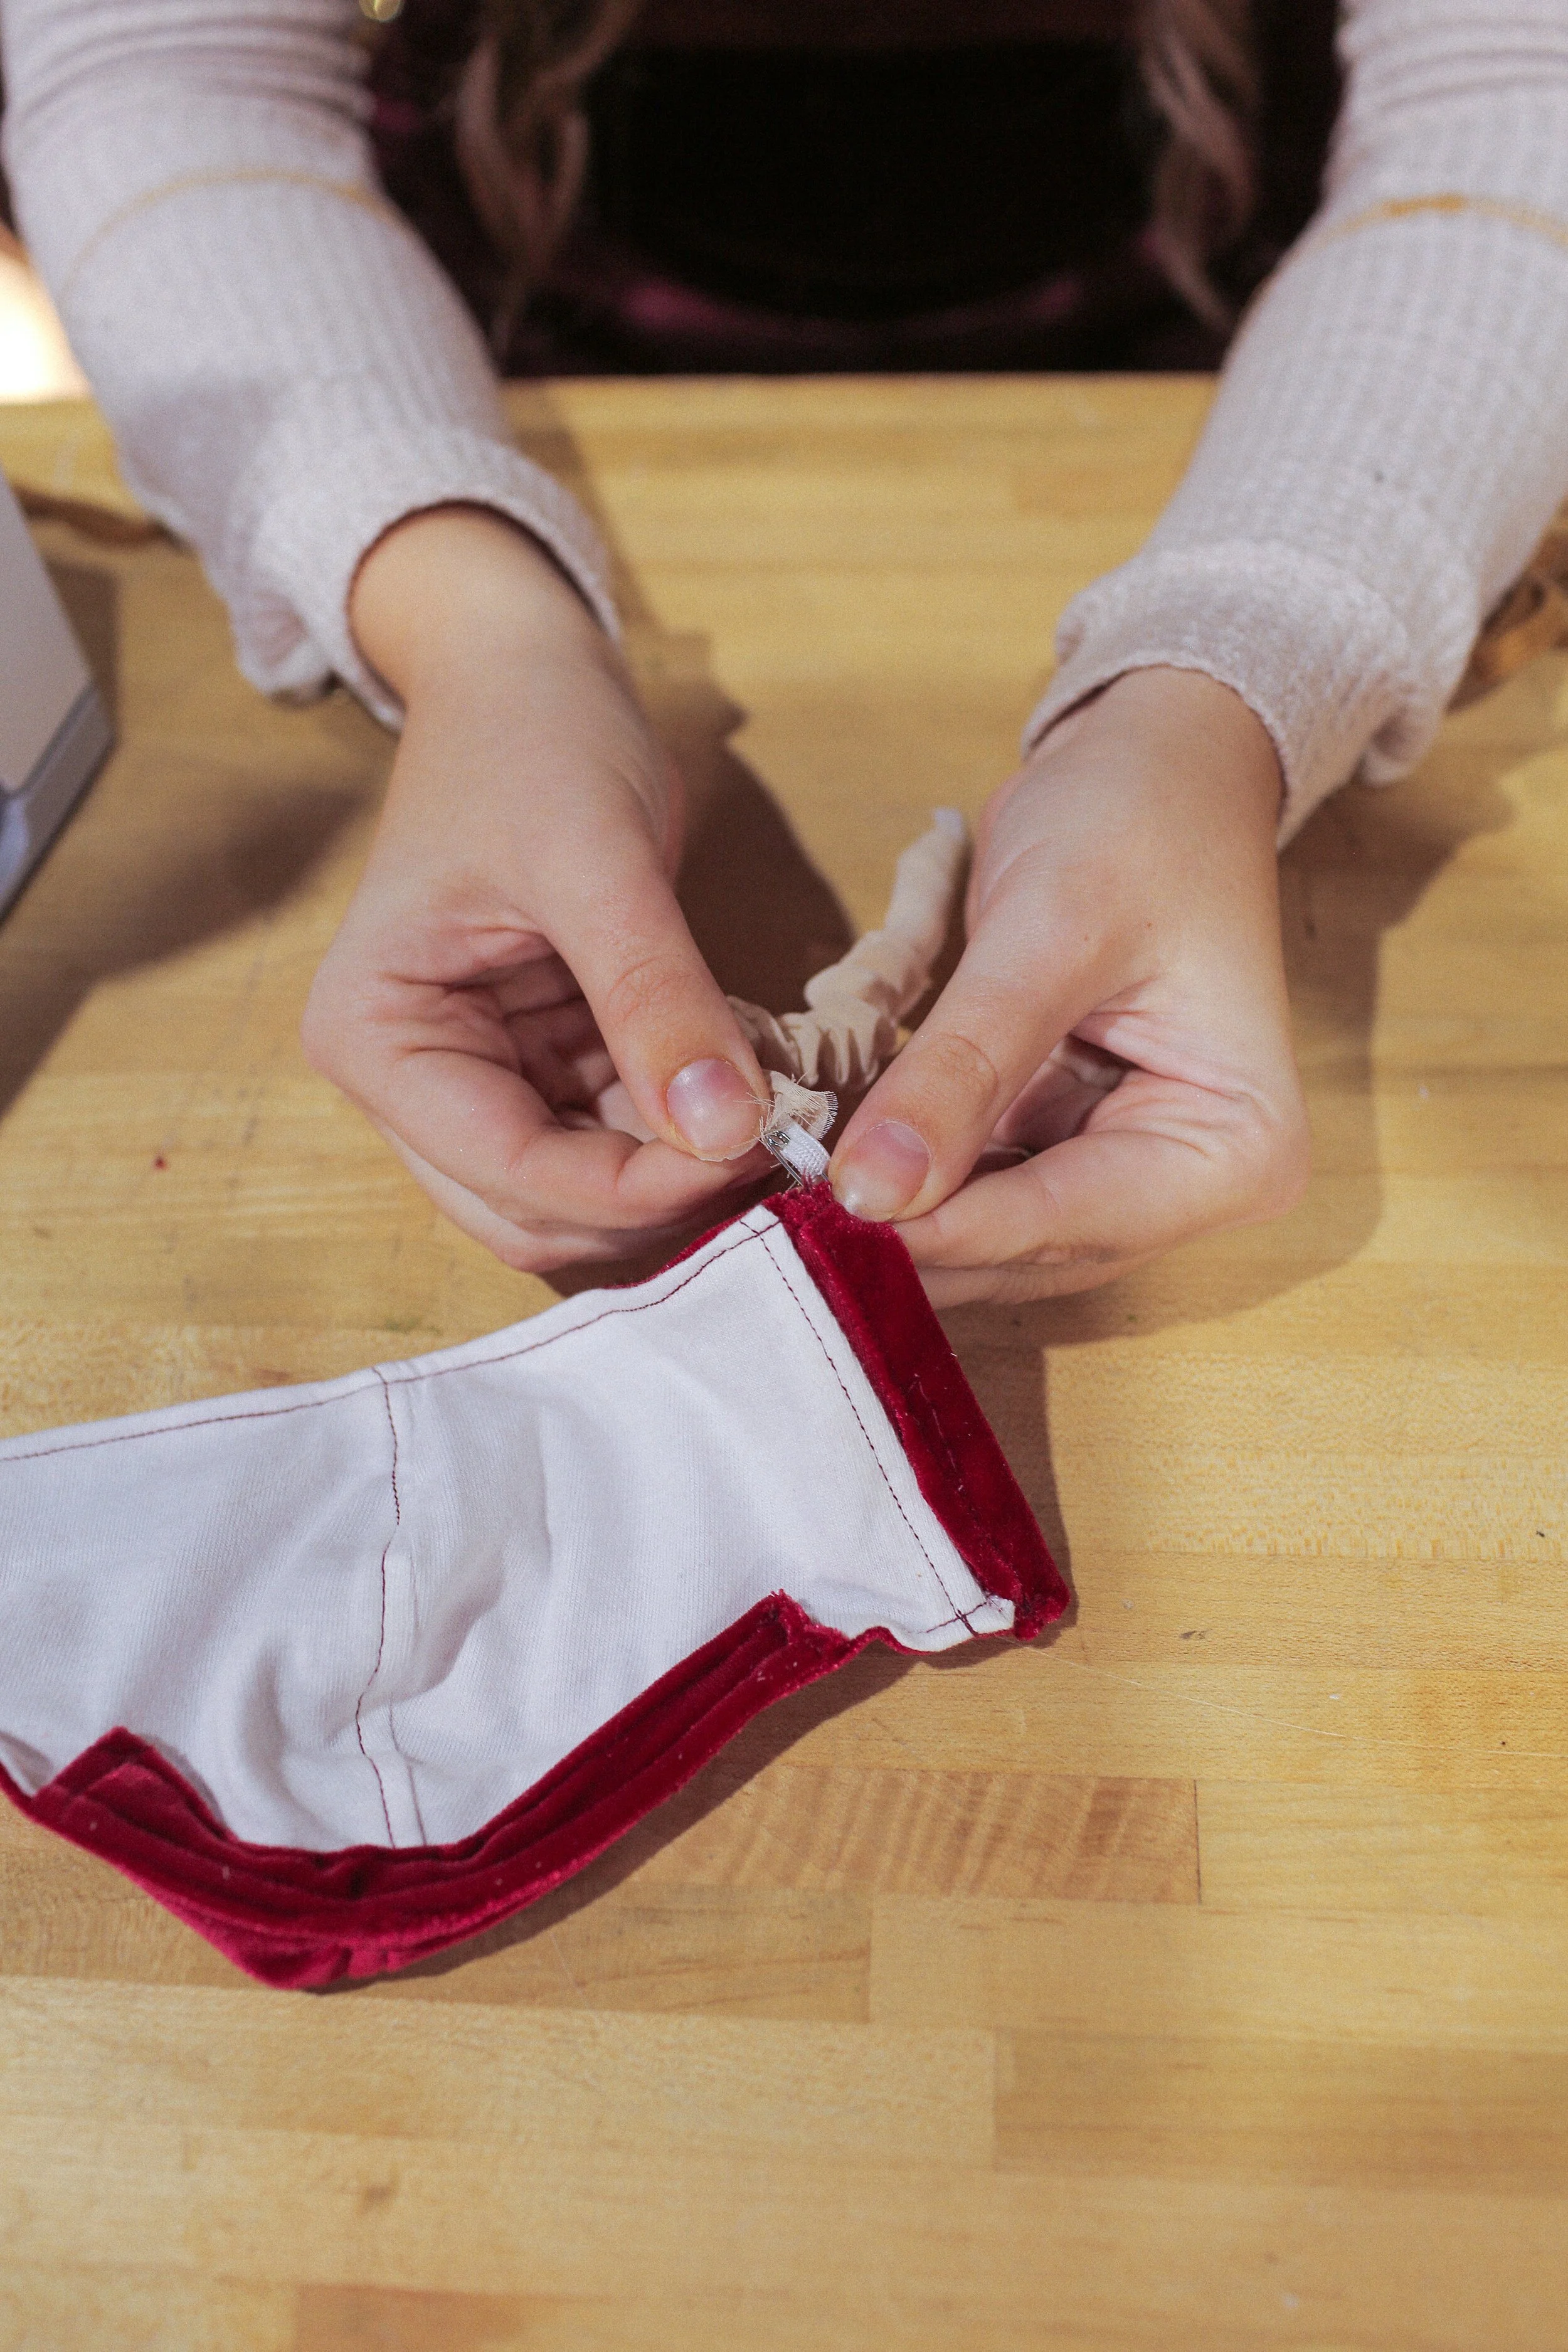
Pull one end of the elastic/ fabric combo through the tube you made on the mask earlier, and sew both ends of the elastic together to make a loop. Repeat for the second elastic.

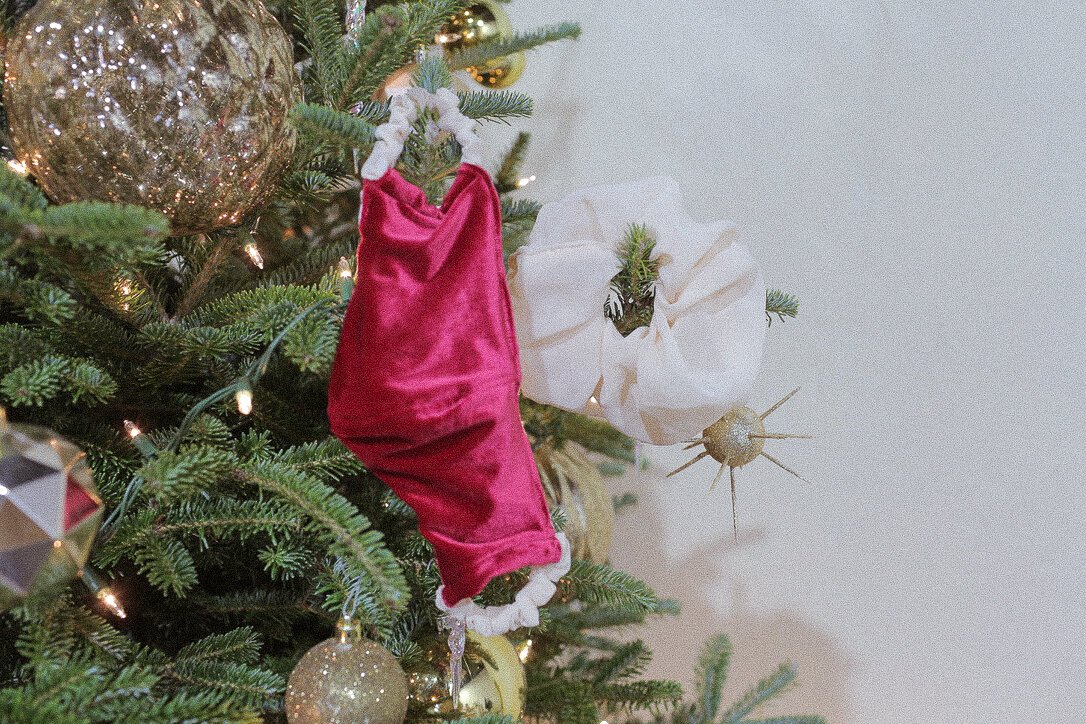
Cut a piece of short pipe cleaner and feed it through the nose wire tube you made earlier. Your mask is now complete! Scroll down to see the finished product.
HOW TO MAKE THE GIANT SCRUNCHIE
Cut out a 10” wide x 24” long rectangle of your scrunchie fabric.

Sew a zigzag stitch around the border of your rectangle to stop the raw edges from fraying.
Fold the fabric in half lengthwise and sew down the open end with a straight stitch to make a tube. Turn the tube right side out.

Measure a piece of elastic about the size of your wrist, and feed it through the fabric tube. Sew the 2 ends of the elastic together to create a loop.


Sew the 2 open ends of the fabric tube together, folding the raw edges inward like you would a rolling hem, and you’re all done!


Check out this DIY, and so many more, in our DIY Gifts You Can Send In The Mail gift guide blog post here, and to watch us make these with you, click the video below!