KITCHEN CABINETS MAKEOVER

We are slowly but surely working on DIY after DIY for our new office! This time it was tackling the non-kitchen in our office. We knew that we wanted a “kitchenette” but we didn’t even have as much as some cabinets to start with. We hit Craigslist and found some used cabinets and before we knew it we had some AMAZING colour blocked cabinets. Special thanks to BEHR Marquee Interior for sponsoring and collaborating with us on this project. We definitely wouldn’t have been so inspired to do something bold and different with our cabinets if it wasn’t for BEHR!
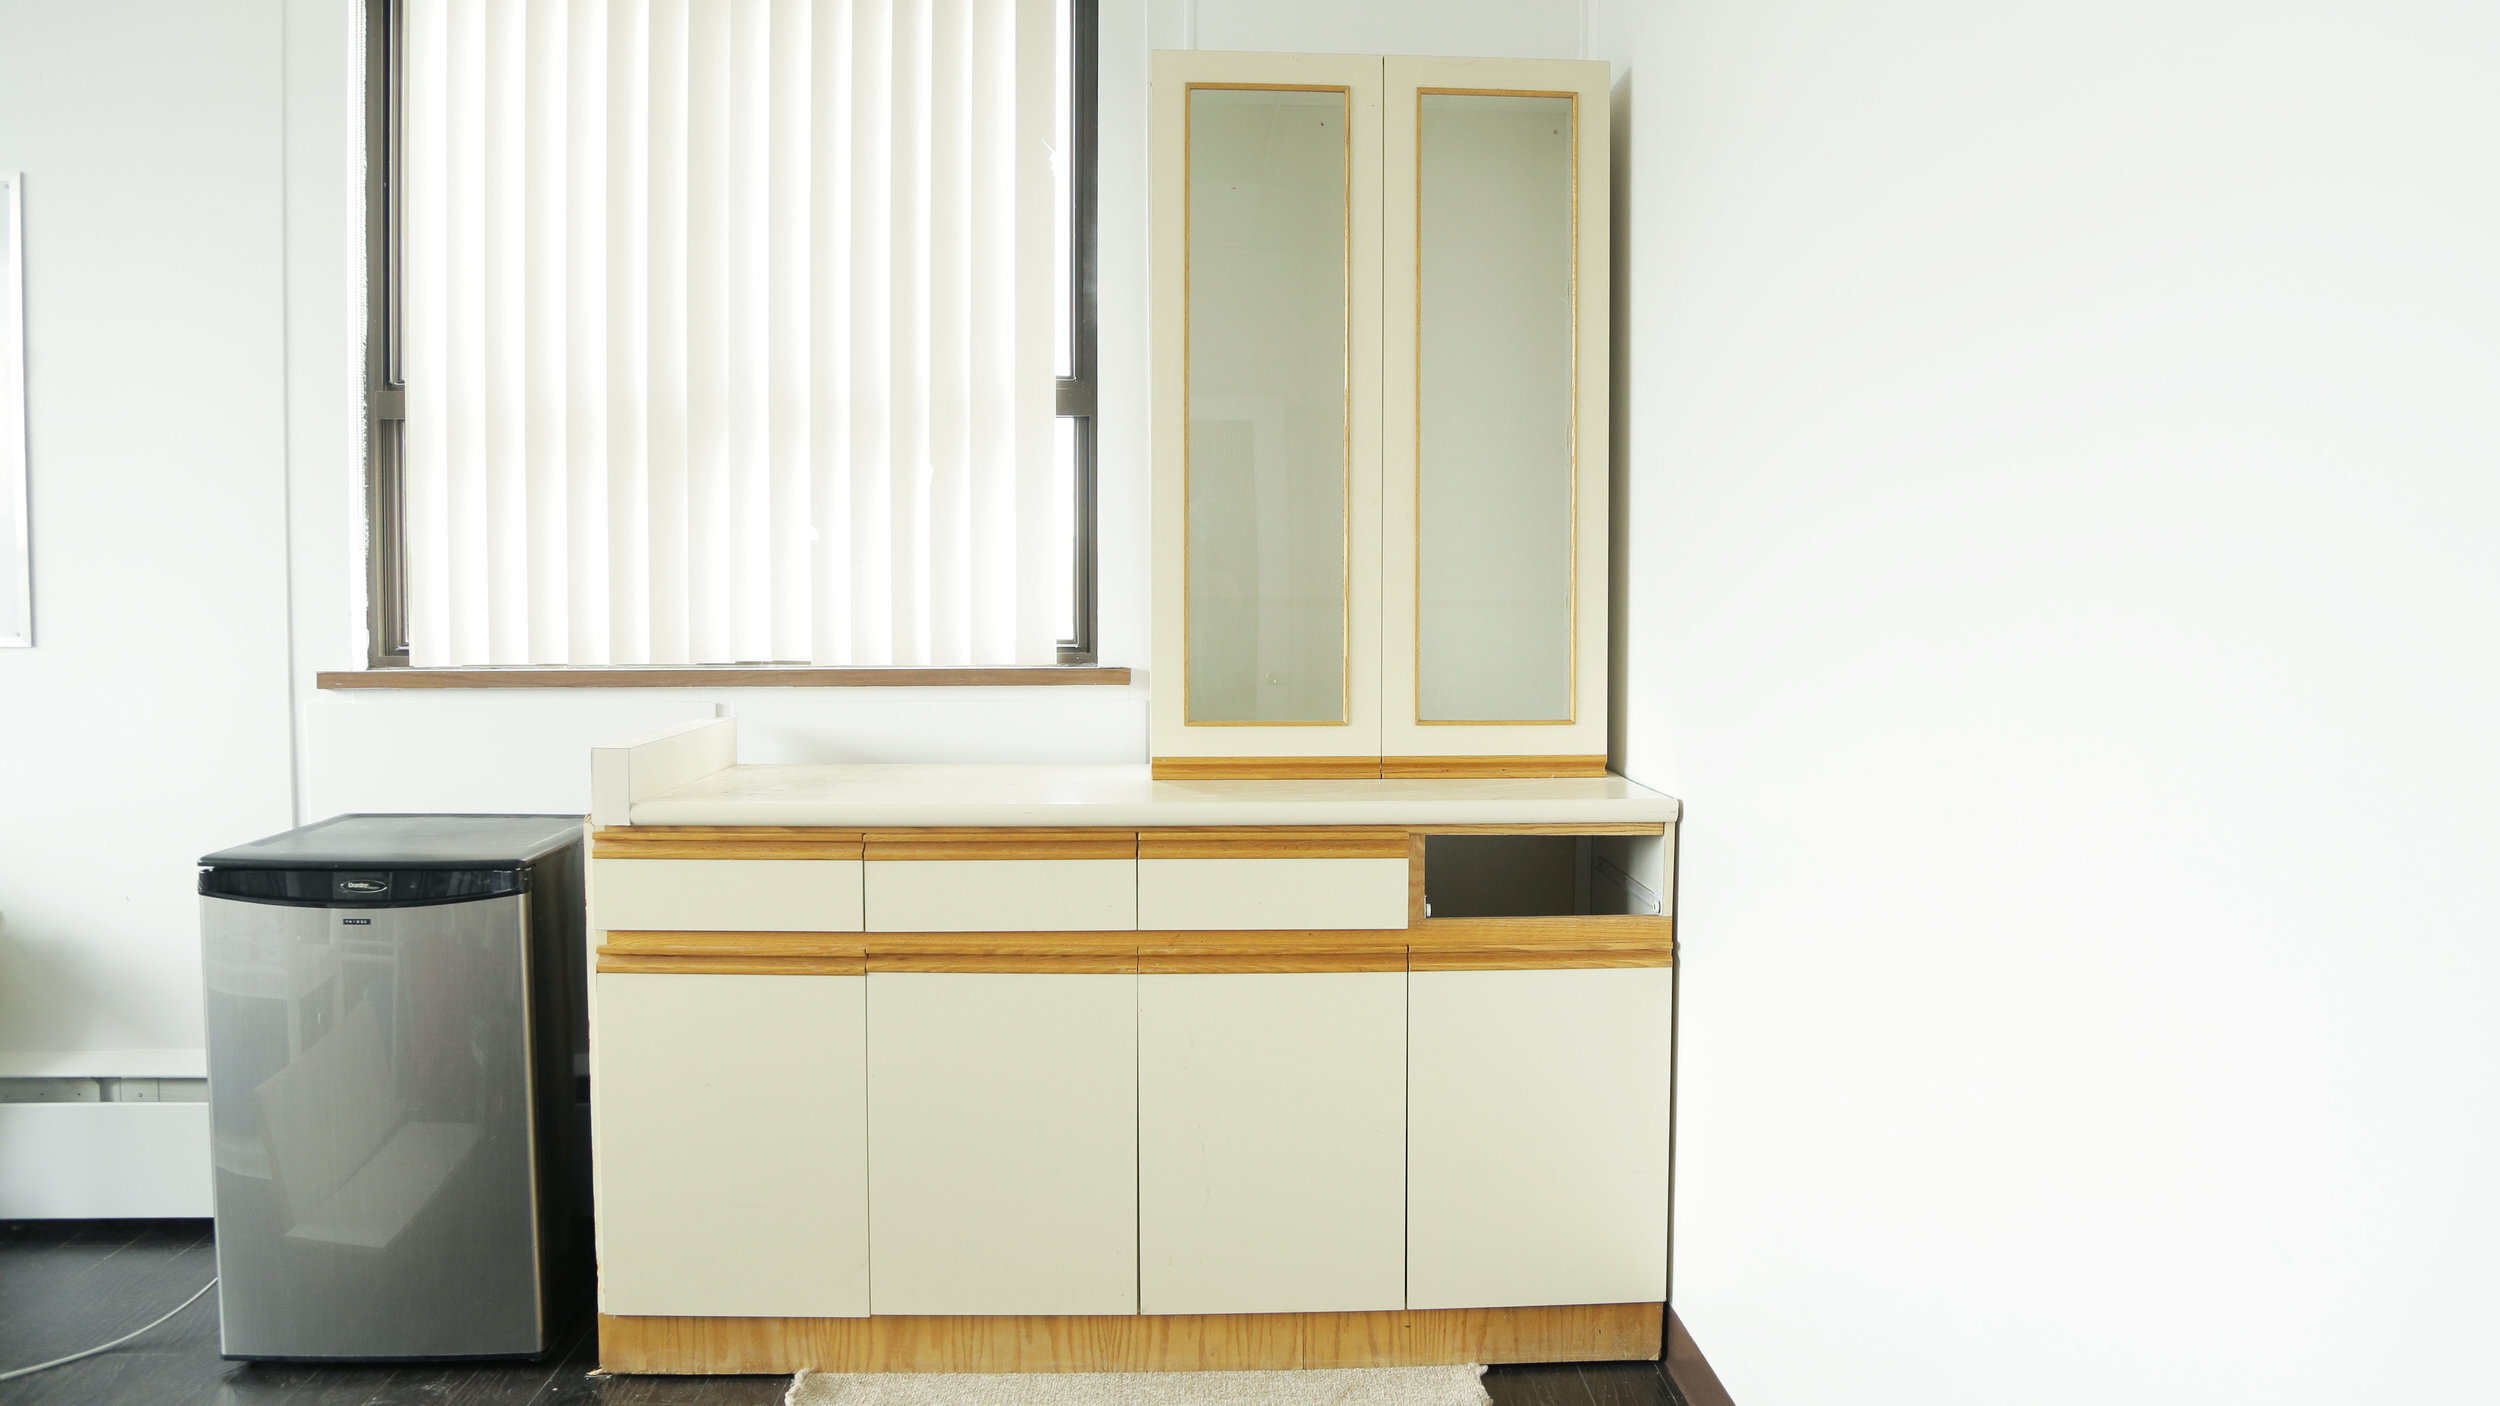
BEFORE
Cost: This varies SO MUCH. The only thing we really had were the sanding supplies. We needed to buy paint, painting supplies (rollers, tape), oh – and the cabinets and countertop!
Used cabinets: $160
Paint and supplies: $90
Counter-top & legs: $120
Difficulty: ✂ ✂ ✂
Tools:
– roller
– brush
– painter’s tape
– sand paper
– optional but helpful: electric sander
– tack cloth/ damp towel
Materials:
– BEHR Marquee Interior paint (we used eggshell and the following colours…)
Distant Star (MQ5-31)
Almond Butter (MQ2-23)
Ultra Pure White (no colour)
ASSESS IT
Our first task in redoing our kitchenette cabinets was to actually acquire some cabinets since our office didn’t have any to begin with. We got our cabinets online off of someone that was redoing their kitchen. We put them in place to assess what our plan was.
PREP IT
Next we have to prep our area and cabinets. We laid down a drop cloth and pulled out the drawers and removed the doors from the cabinets
SAND IT
You guessed it, now we give everything a light sanding. We used both an electric sander and a sand paper sheet to get in the nooks and crannies.
WIPE IT
Use a damp towel or a tack cloth to remove all dust from your surface.
PAINT IT
Finally, we can get to painting. We are starting with BEHR Marquee Interior in Ultra Pure White because we know that we want the main colour of our cabinets to be white, and we’ll figure out how to spice them up from there. We used a roller for most of our painting and we LOVED it. We don’t often get to roll but it’s so much easier than brushing. The one thing you have to be sure of is having enough paint on your brush to get a solid even coat, but not too much that it’s not spreading out evenly. We did however use a brush for hard to reach places like the drawer and cupboard handles. Make sure you tape off any important areas that you want to avoid painting.
LET IT DRY!
ASSEMBLE IT
Since we knew we wanted to do a colour blocking technique, we reassembled our cabinets in order to continue.
DESIGN IT
Now that we have our white canvas, we are ready to add some “colour”. We had over 1000 colours to choose from but we narrowed it down to something in this pallet. In the end we picked two colours, Distant Star (eggshell) and Almond Butter (tan). Next we pretended we were fancy designers on a home reno show and experimented with some colour blocking options in photoshop.

TAPE IT
Simply using our tape as the straight line, we stretched the tape from point A to point B and pressed it down. Any tape that was on the glass, or in an area that wouldn’t be painted we removed and used to line the handles of the drawer and the cabinets since we decided to leave these white.
PAINT IT (again)
Starting with Distant Star, we got to rolling. Remember when painting to try and paint in the same direction (especially the last coat). Once we finished all of the grey, we removed the tape. We like to remove the tape right away to minimize any under-tape leakage, which always seems to happen no matter how hard you try.
We left the grey for 2 hours so it could dry completely. Next we outlined the next colour with some tape, and remember to line up a piece of tape exactly with the edge of the colour it sits up against. After taping the handles we started rolling on the almond butter, the colour not the food, but hey we should definitely stock some almond butter in our kitchen after this project is complete!

Another tip for painting is to go around corners or hard to reach areas with a brush, and then smooth it out with the roller. Make sure you do this quickly so that brush strokes don’t dry, defeating the whole purpose of smoothing them out with the roller.
After removing the tape (which is way too satisfying) and our cabinets are dry, it’s time to install this countertop that we picked up from that Swedish furniture store *wink*. We’ve never installed a countertop before but it can’t be that hard right?
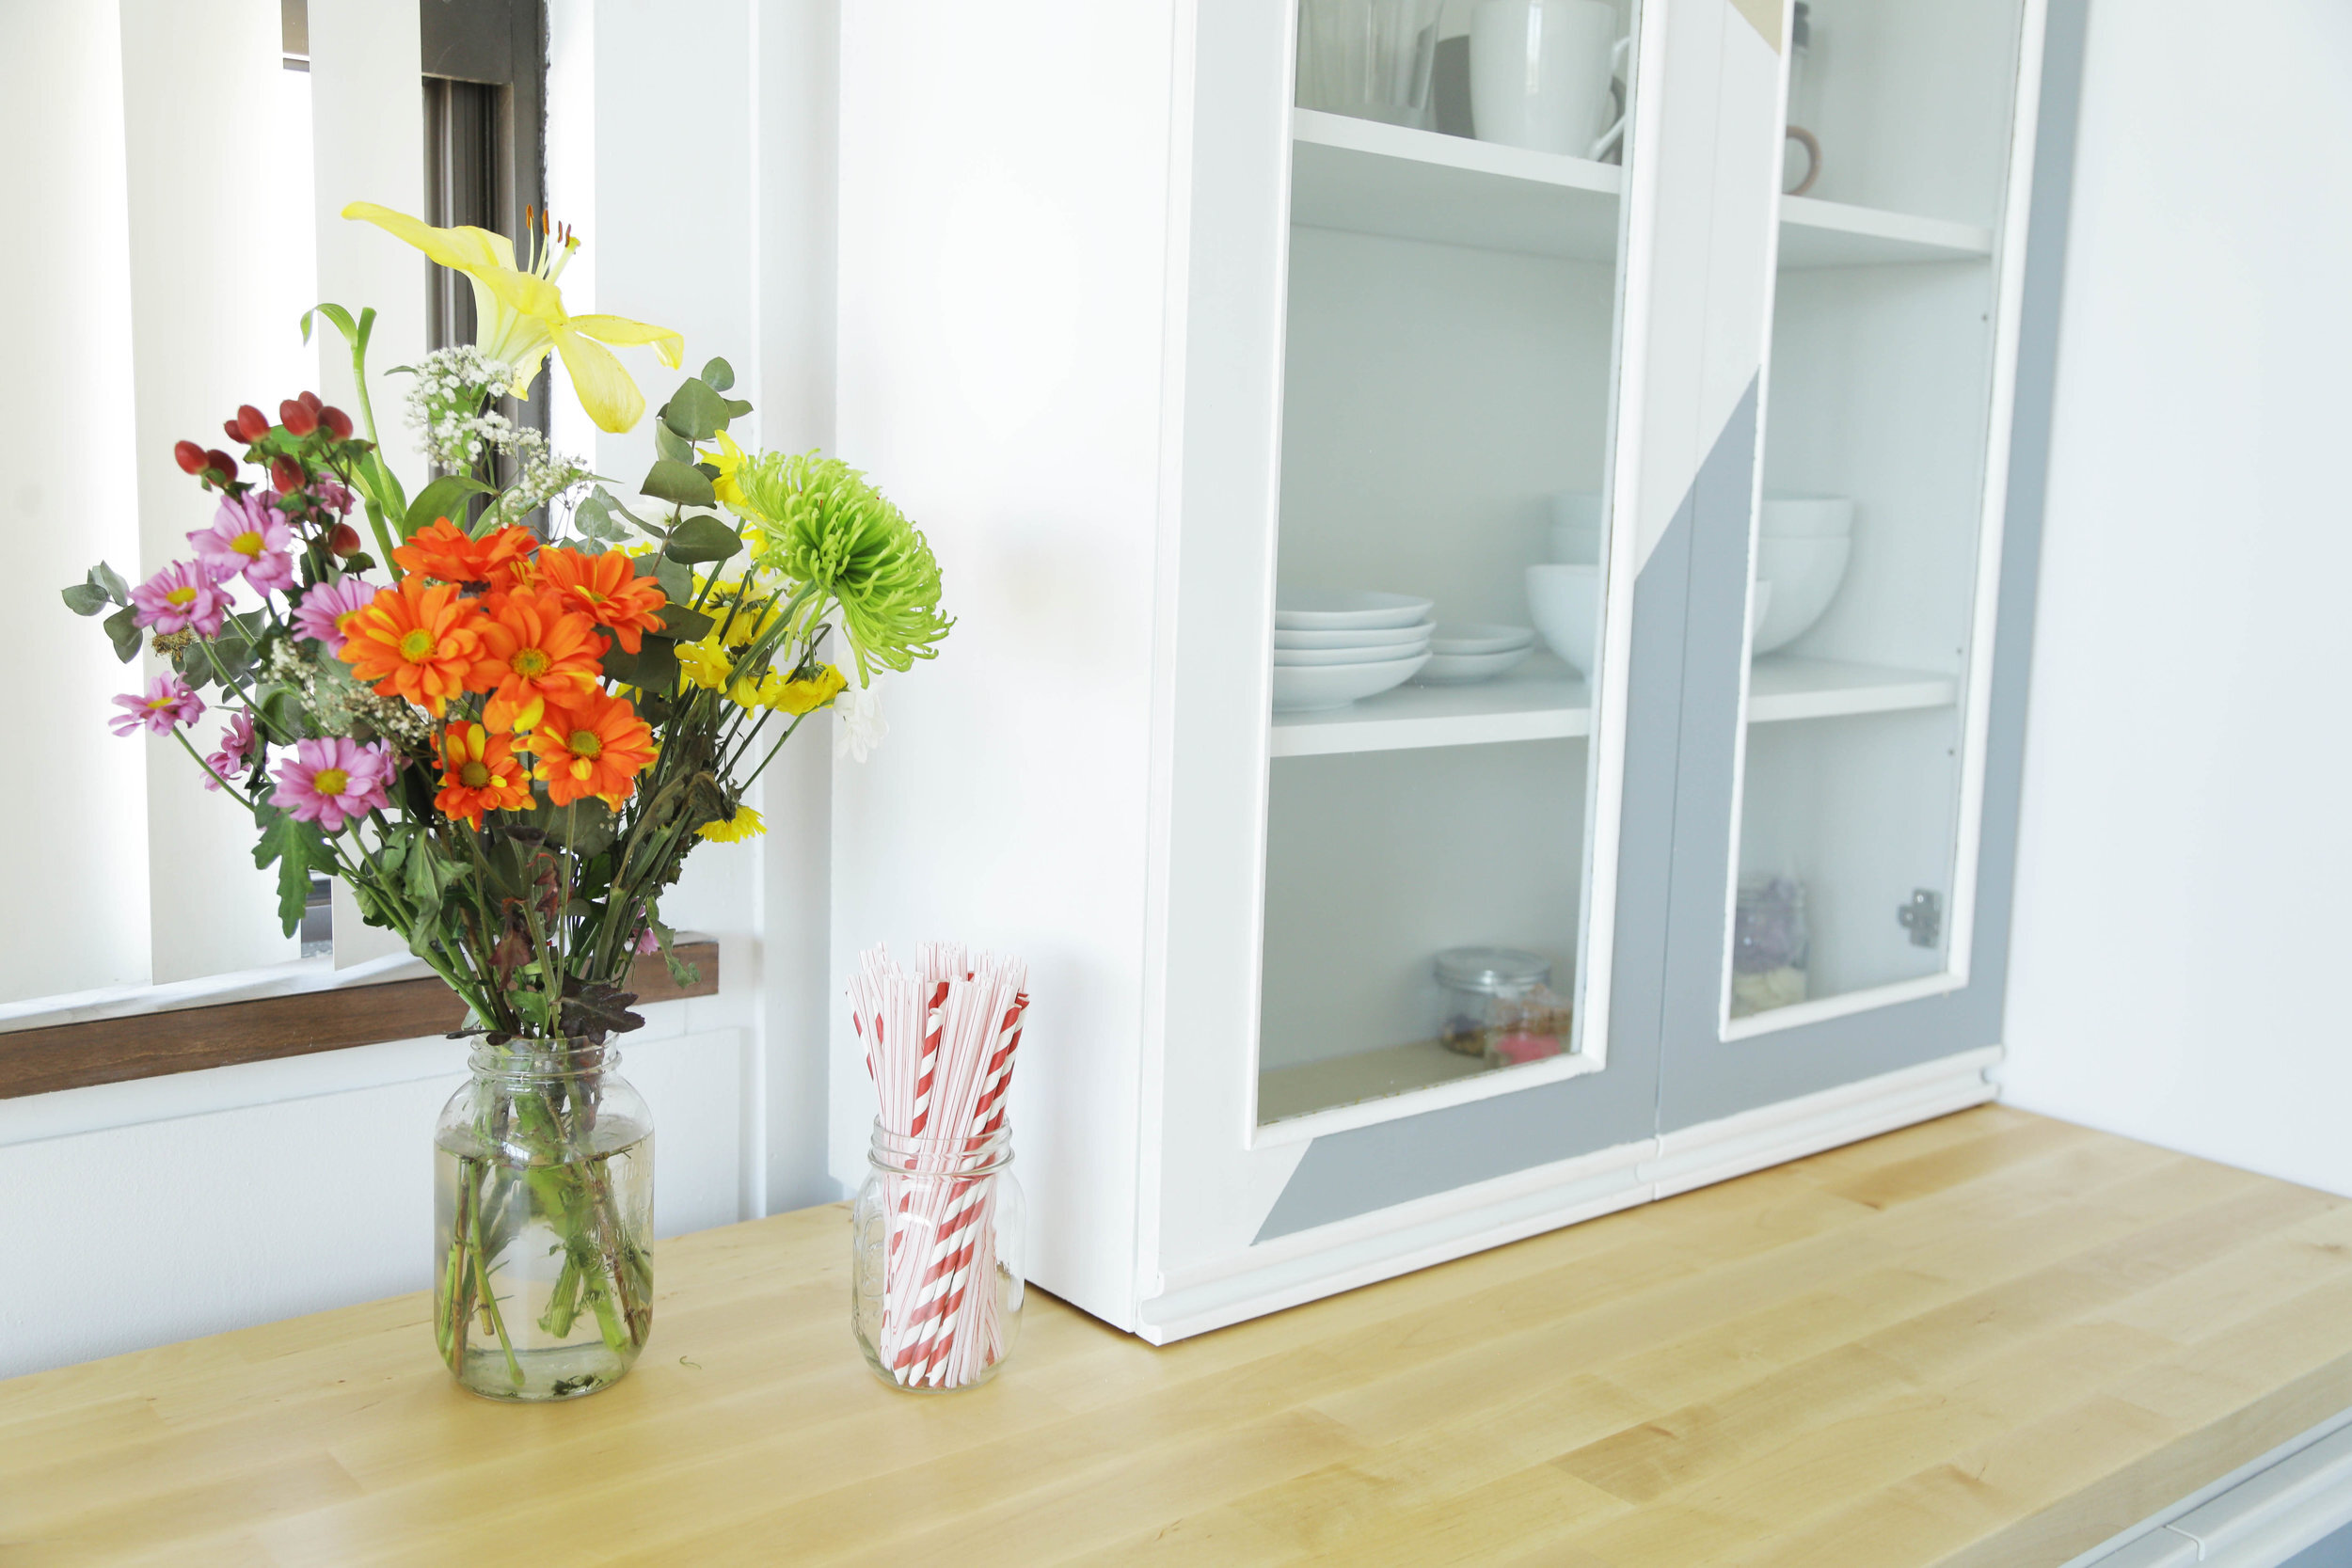
AFTER
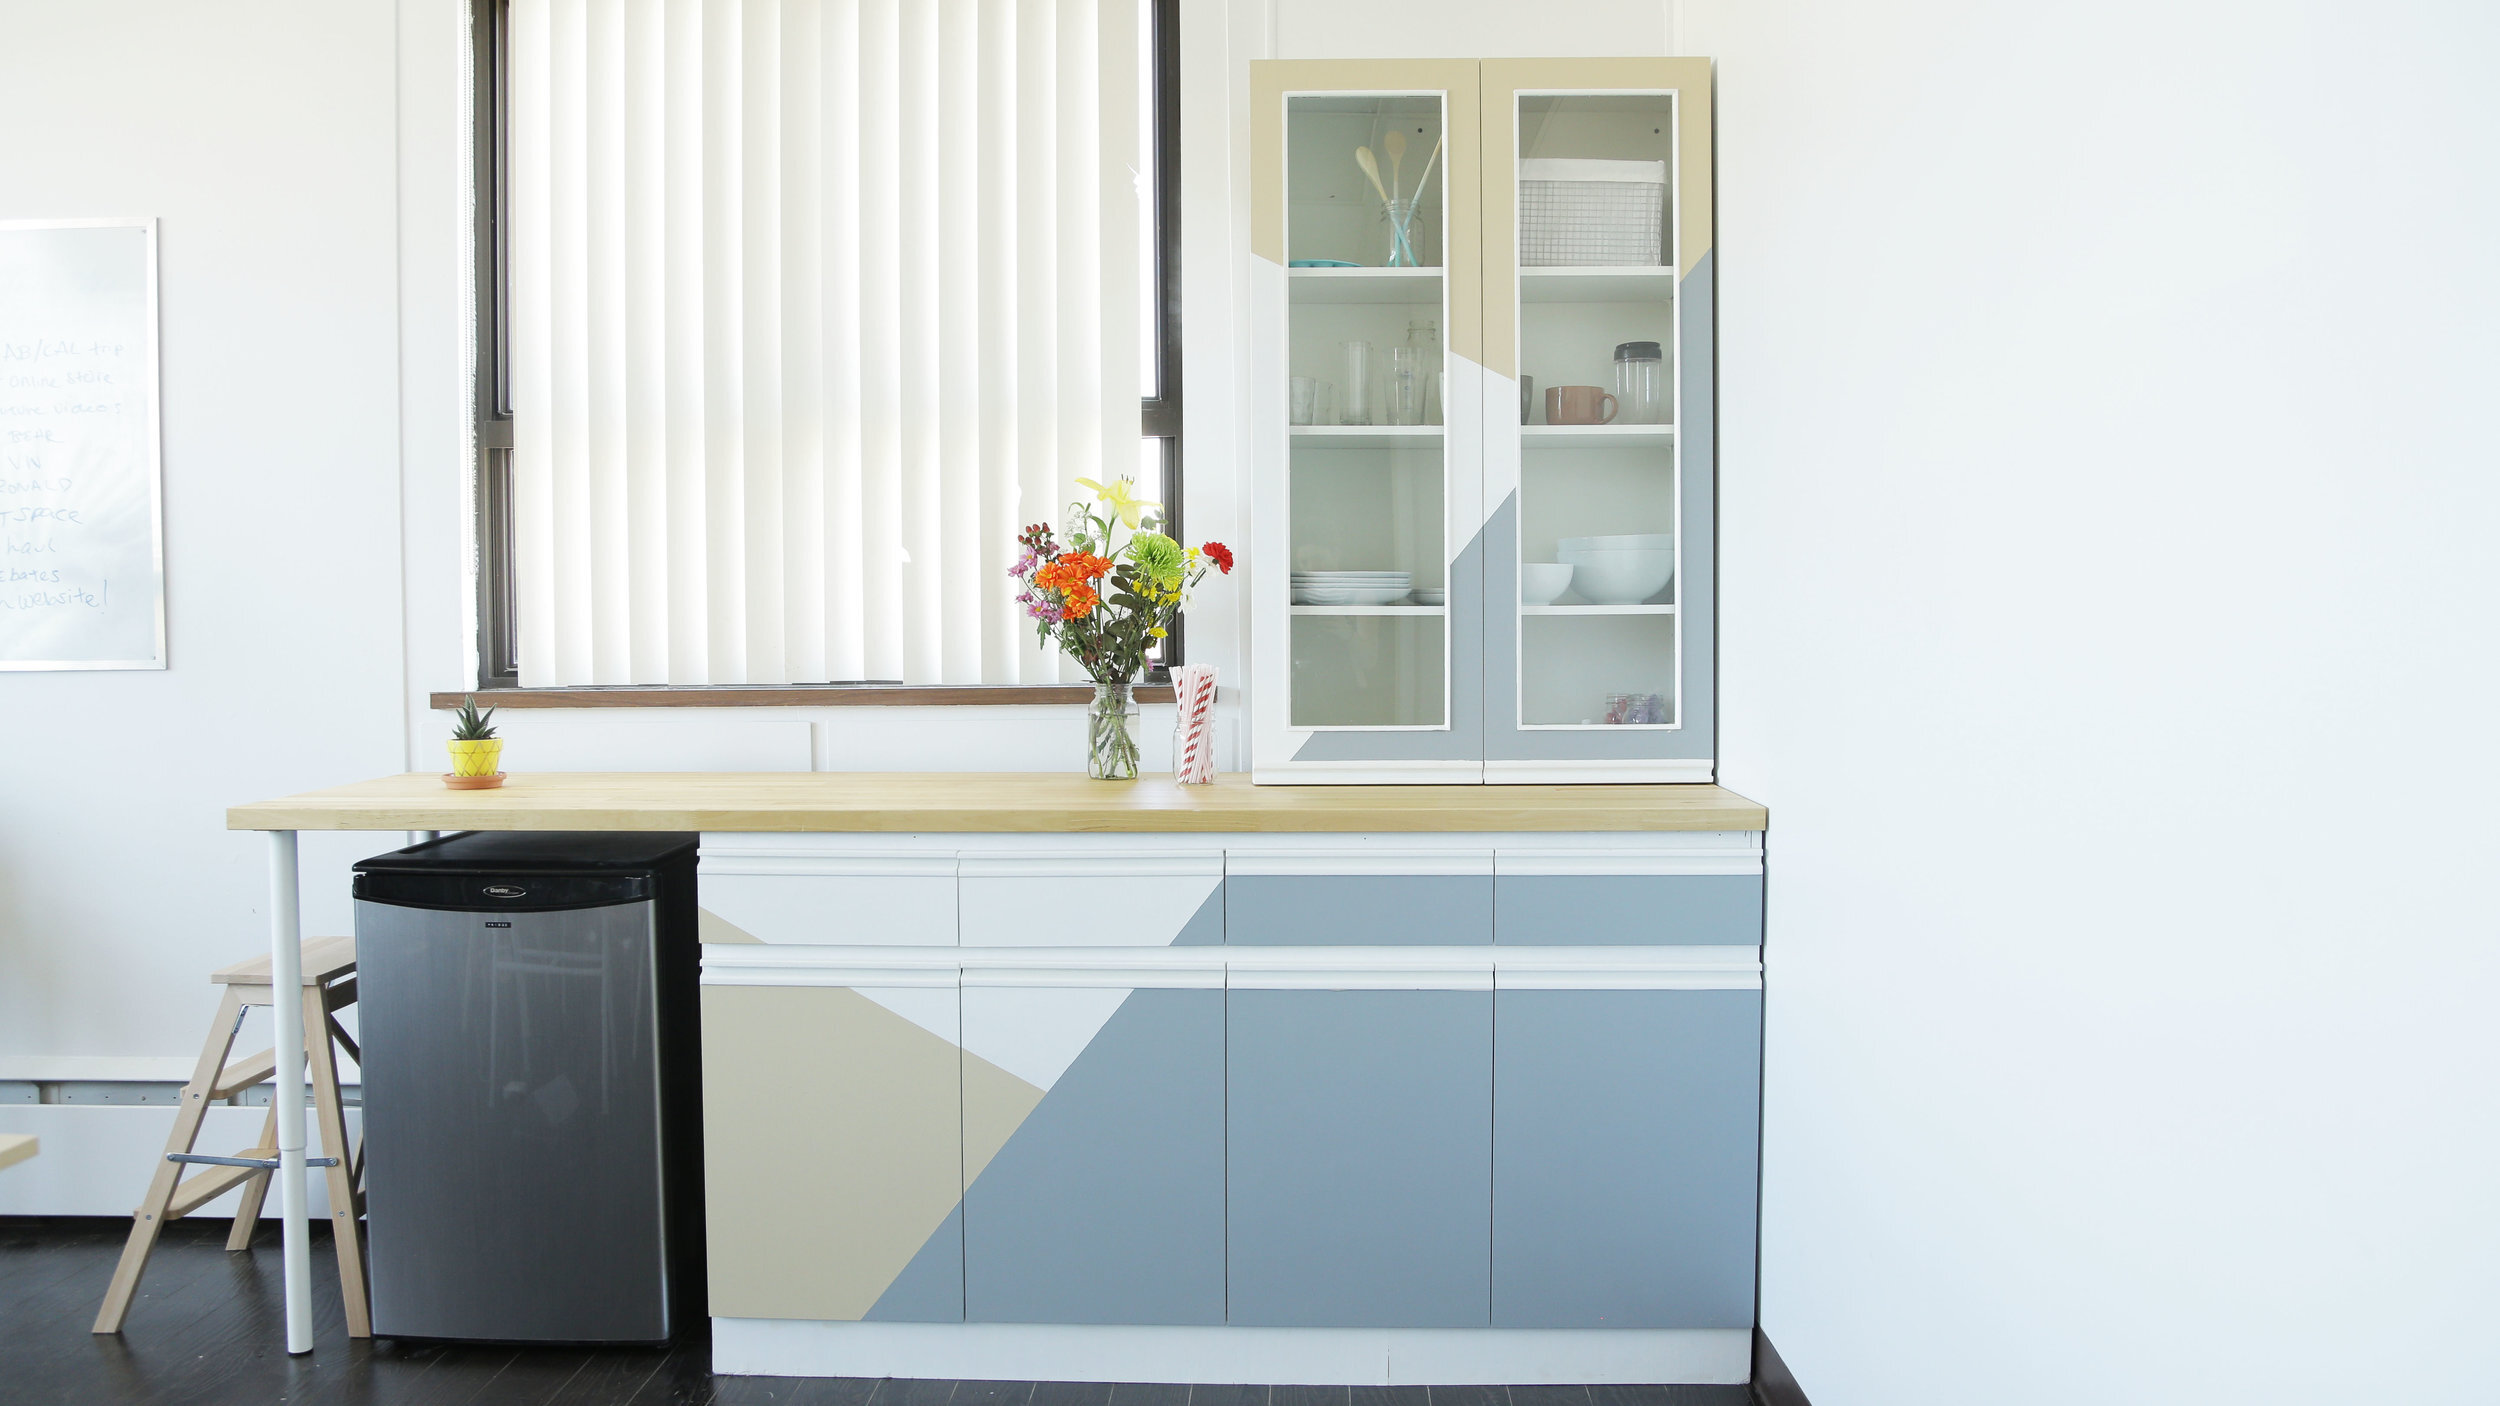
This is what our final product looks like. We LOVE how the colour blocking makes a statement but it’s still super easy to style. It’s a great feeling creating something from nothing.