Dorm Decor from IKEA Items!
Today we are BACK with another IKEA upcycle challenge! We headed to IKEA and ended up finding three of these wooden trellis’ for $10 (for all three!!). These trellis’ inspired us to do some small space/dorm room DIYs that are going to be PERFECT for the back-to-school season!
BECKY’S WALL ORGANIZER/PEGBOARD

MATERIALS:
One trellis - $3.30
7/8th inch (22.2 mm) dowel - $3
Long wood screws
TOOLS:
Pencil
Circular saw OR hand saw
Sandpaper
Screw driver
So, the plan for this first upcycle is to transform one of the trellis’ into a pegboard/floor to ceiling organization system! We’re going to start by painting the trellis a lovely dark grey colour!

While the trellis dries, we’re going to cut our pegs! We grabbed some 7/8th inch dowel and cut it into 3 inch (7.6 cm) pieces with a circular saw. Go ahead and sand these pieces. We then went ahead and painted these pieces a robin’s egg blue for a fun pop of colour! Once everything is dry, it’s time to attach the pegs to the trellis!


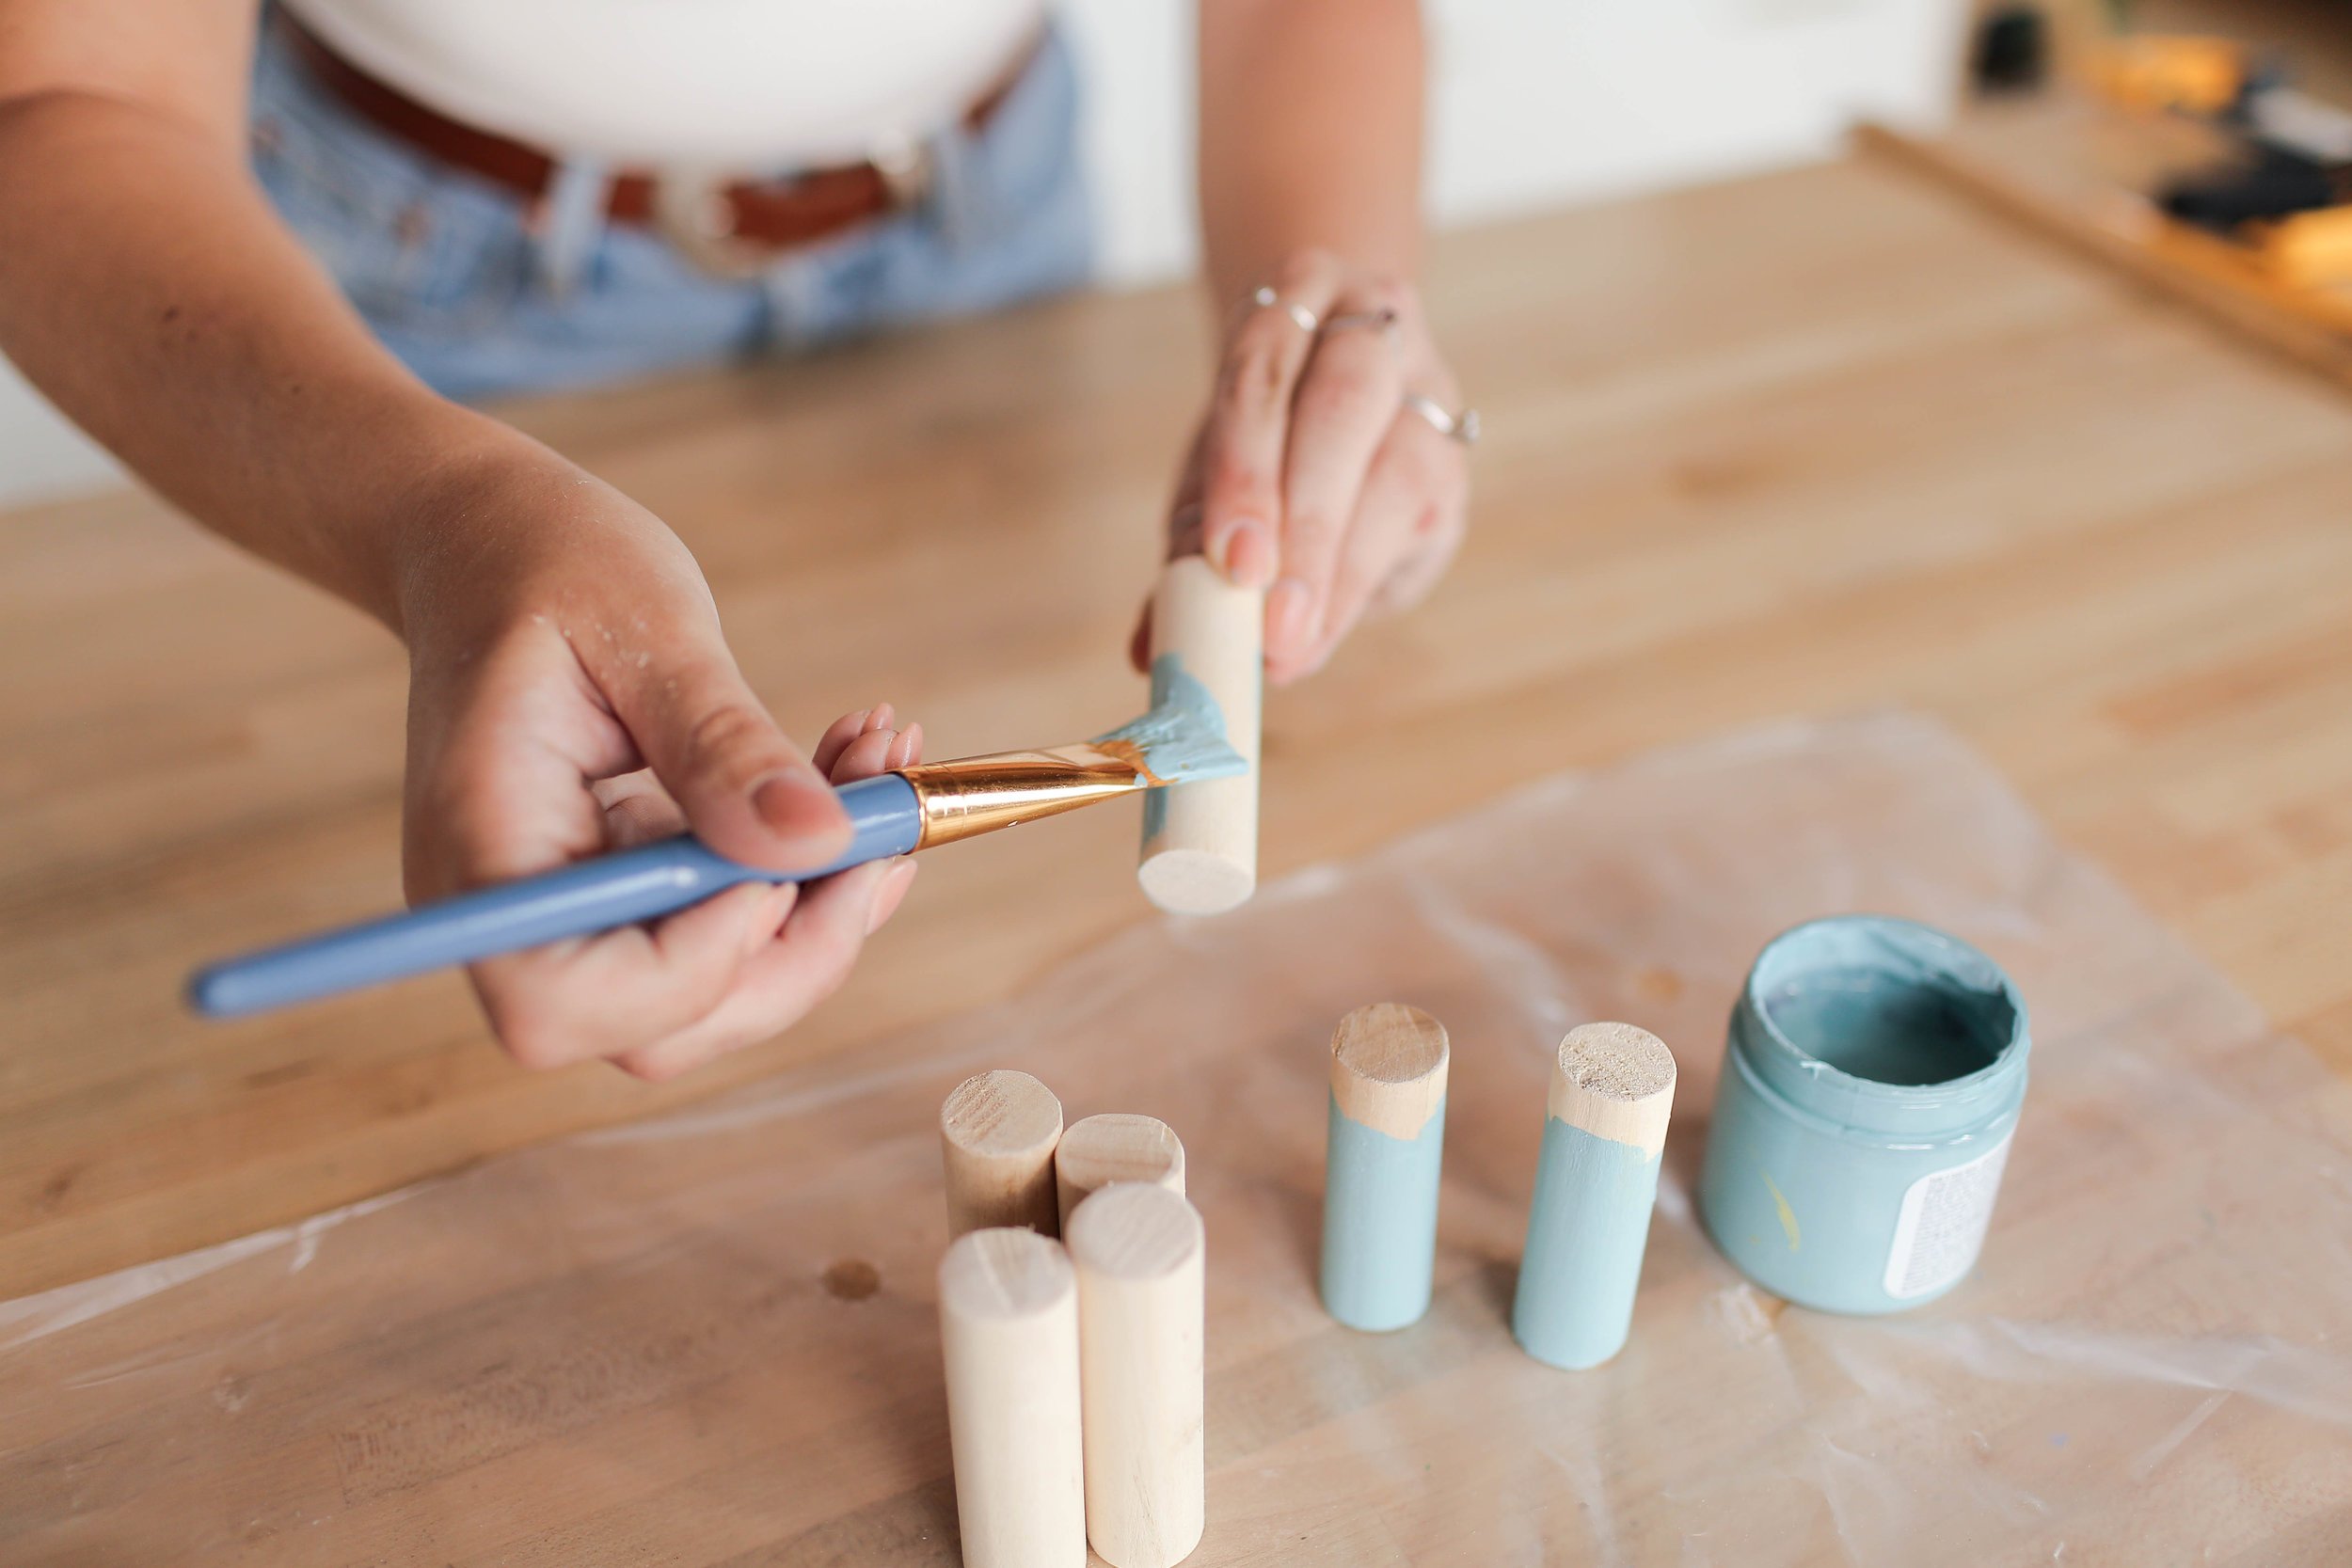

Use a wood screw that is long enough to go through both the trellis and into the peg enough to hold it in place. As a final step, we decided to add another item we found in the as is section!

We installed this awesome HEKTAR lamp on the top of the trellis! And that’s it! SO impressed with how this one turned out.


KELSEY’S ROOM DIVIDER

MATERIALS:
Two trellis’ - $6.60
White fabric - $10
1x2 (2.5x5 cm) pieces of wood - $3.50
Two hinges - $5.30
Wood stain - $10
Nails
TOOLS:
Mitre saw OR mitre box + hack saw
Hammer
Next, we’re going to make a room divider out of two of these IKEA trellis’!
Start by figuring out how tall you’d like your final room divider to be, and cut out our 1x2 (2.5x5 cm) pieces of wood to create a frame around our trellis’! We are going to be using our mitre saw to cut the ends of the wood at an angle so that they all fit together nicely, but you can use a mitre box and a regular saw to do this as well.
We ended up cutting four pieces that are 27.5 inches (69.8 cm) and four 72.75 inches (184.7 cm) in length.


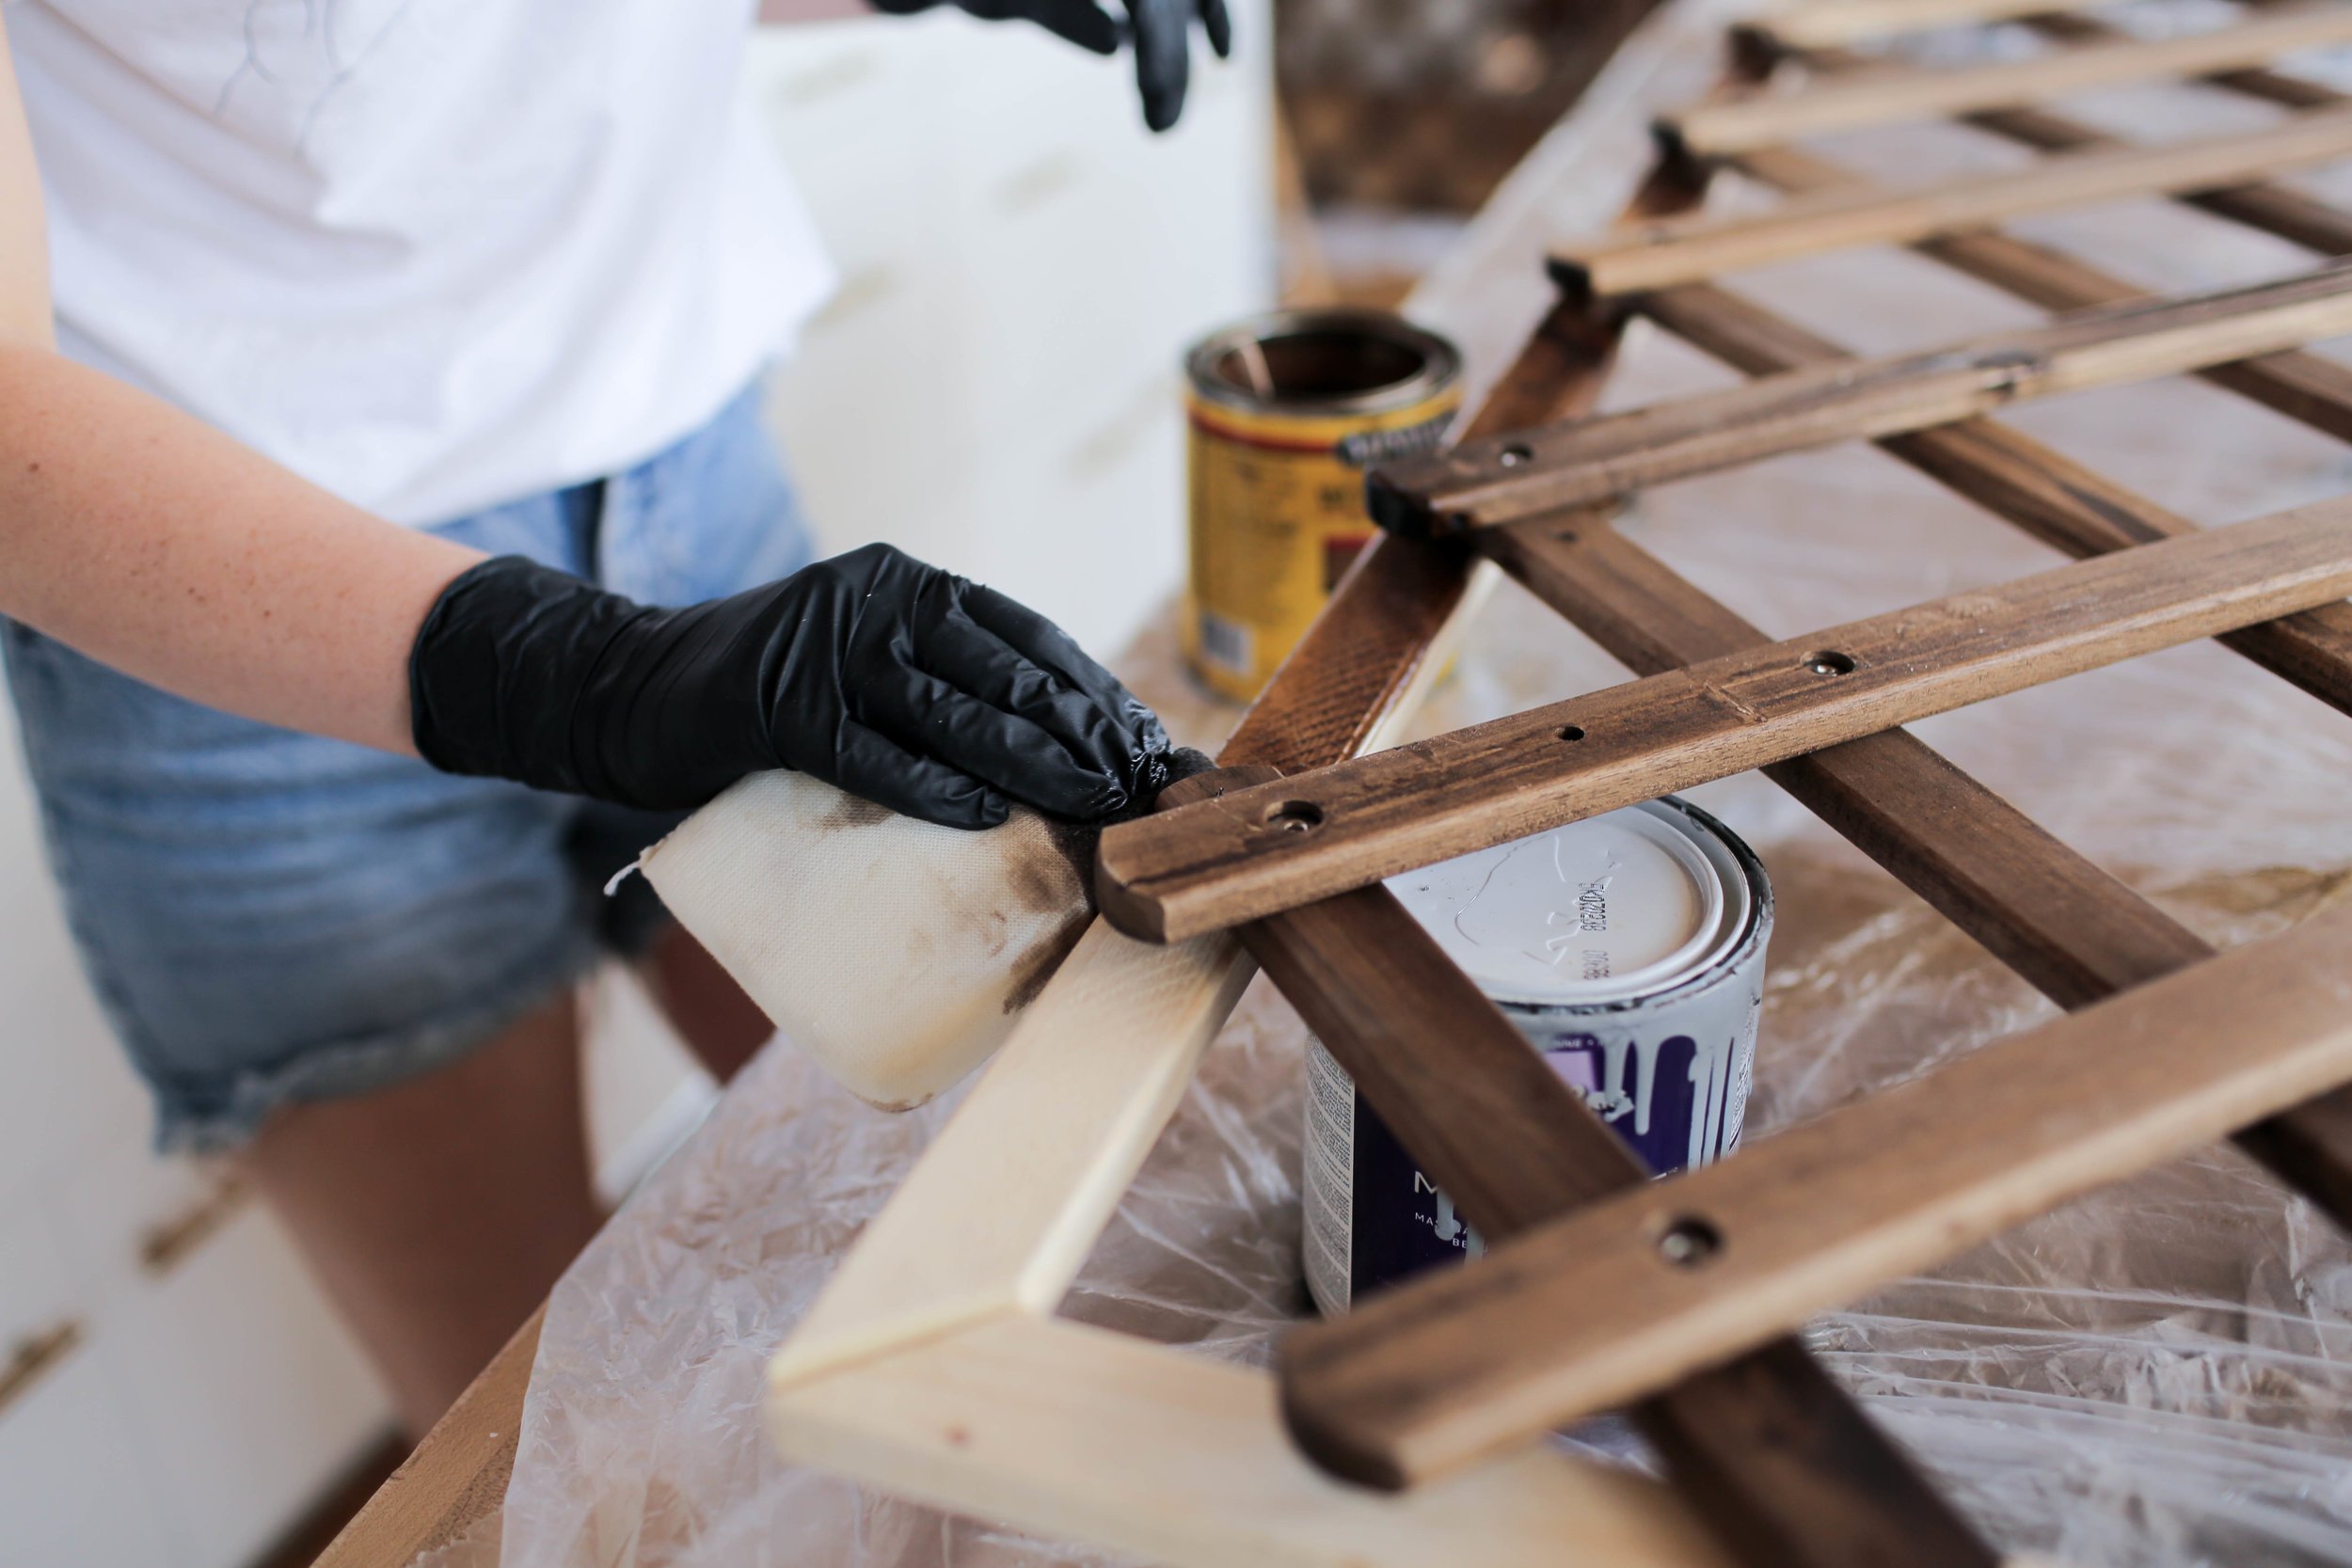
We are going to go ahead and sand all of these pieces, and nail them into place onto our trellis’! Once nailed into place, we went ahead and stained the frame to match the colour of the trellis.

Time to attach the two trellis’ together! We used two hinges to do this. Simply screw the hinges on the top and bottom of the two trellis’.

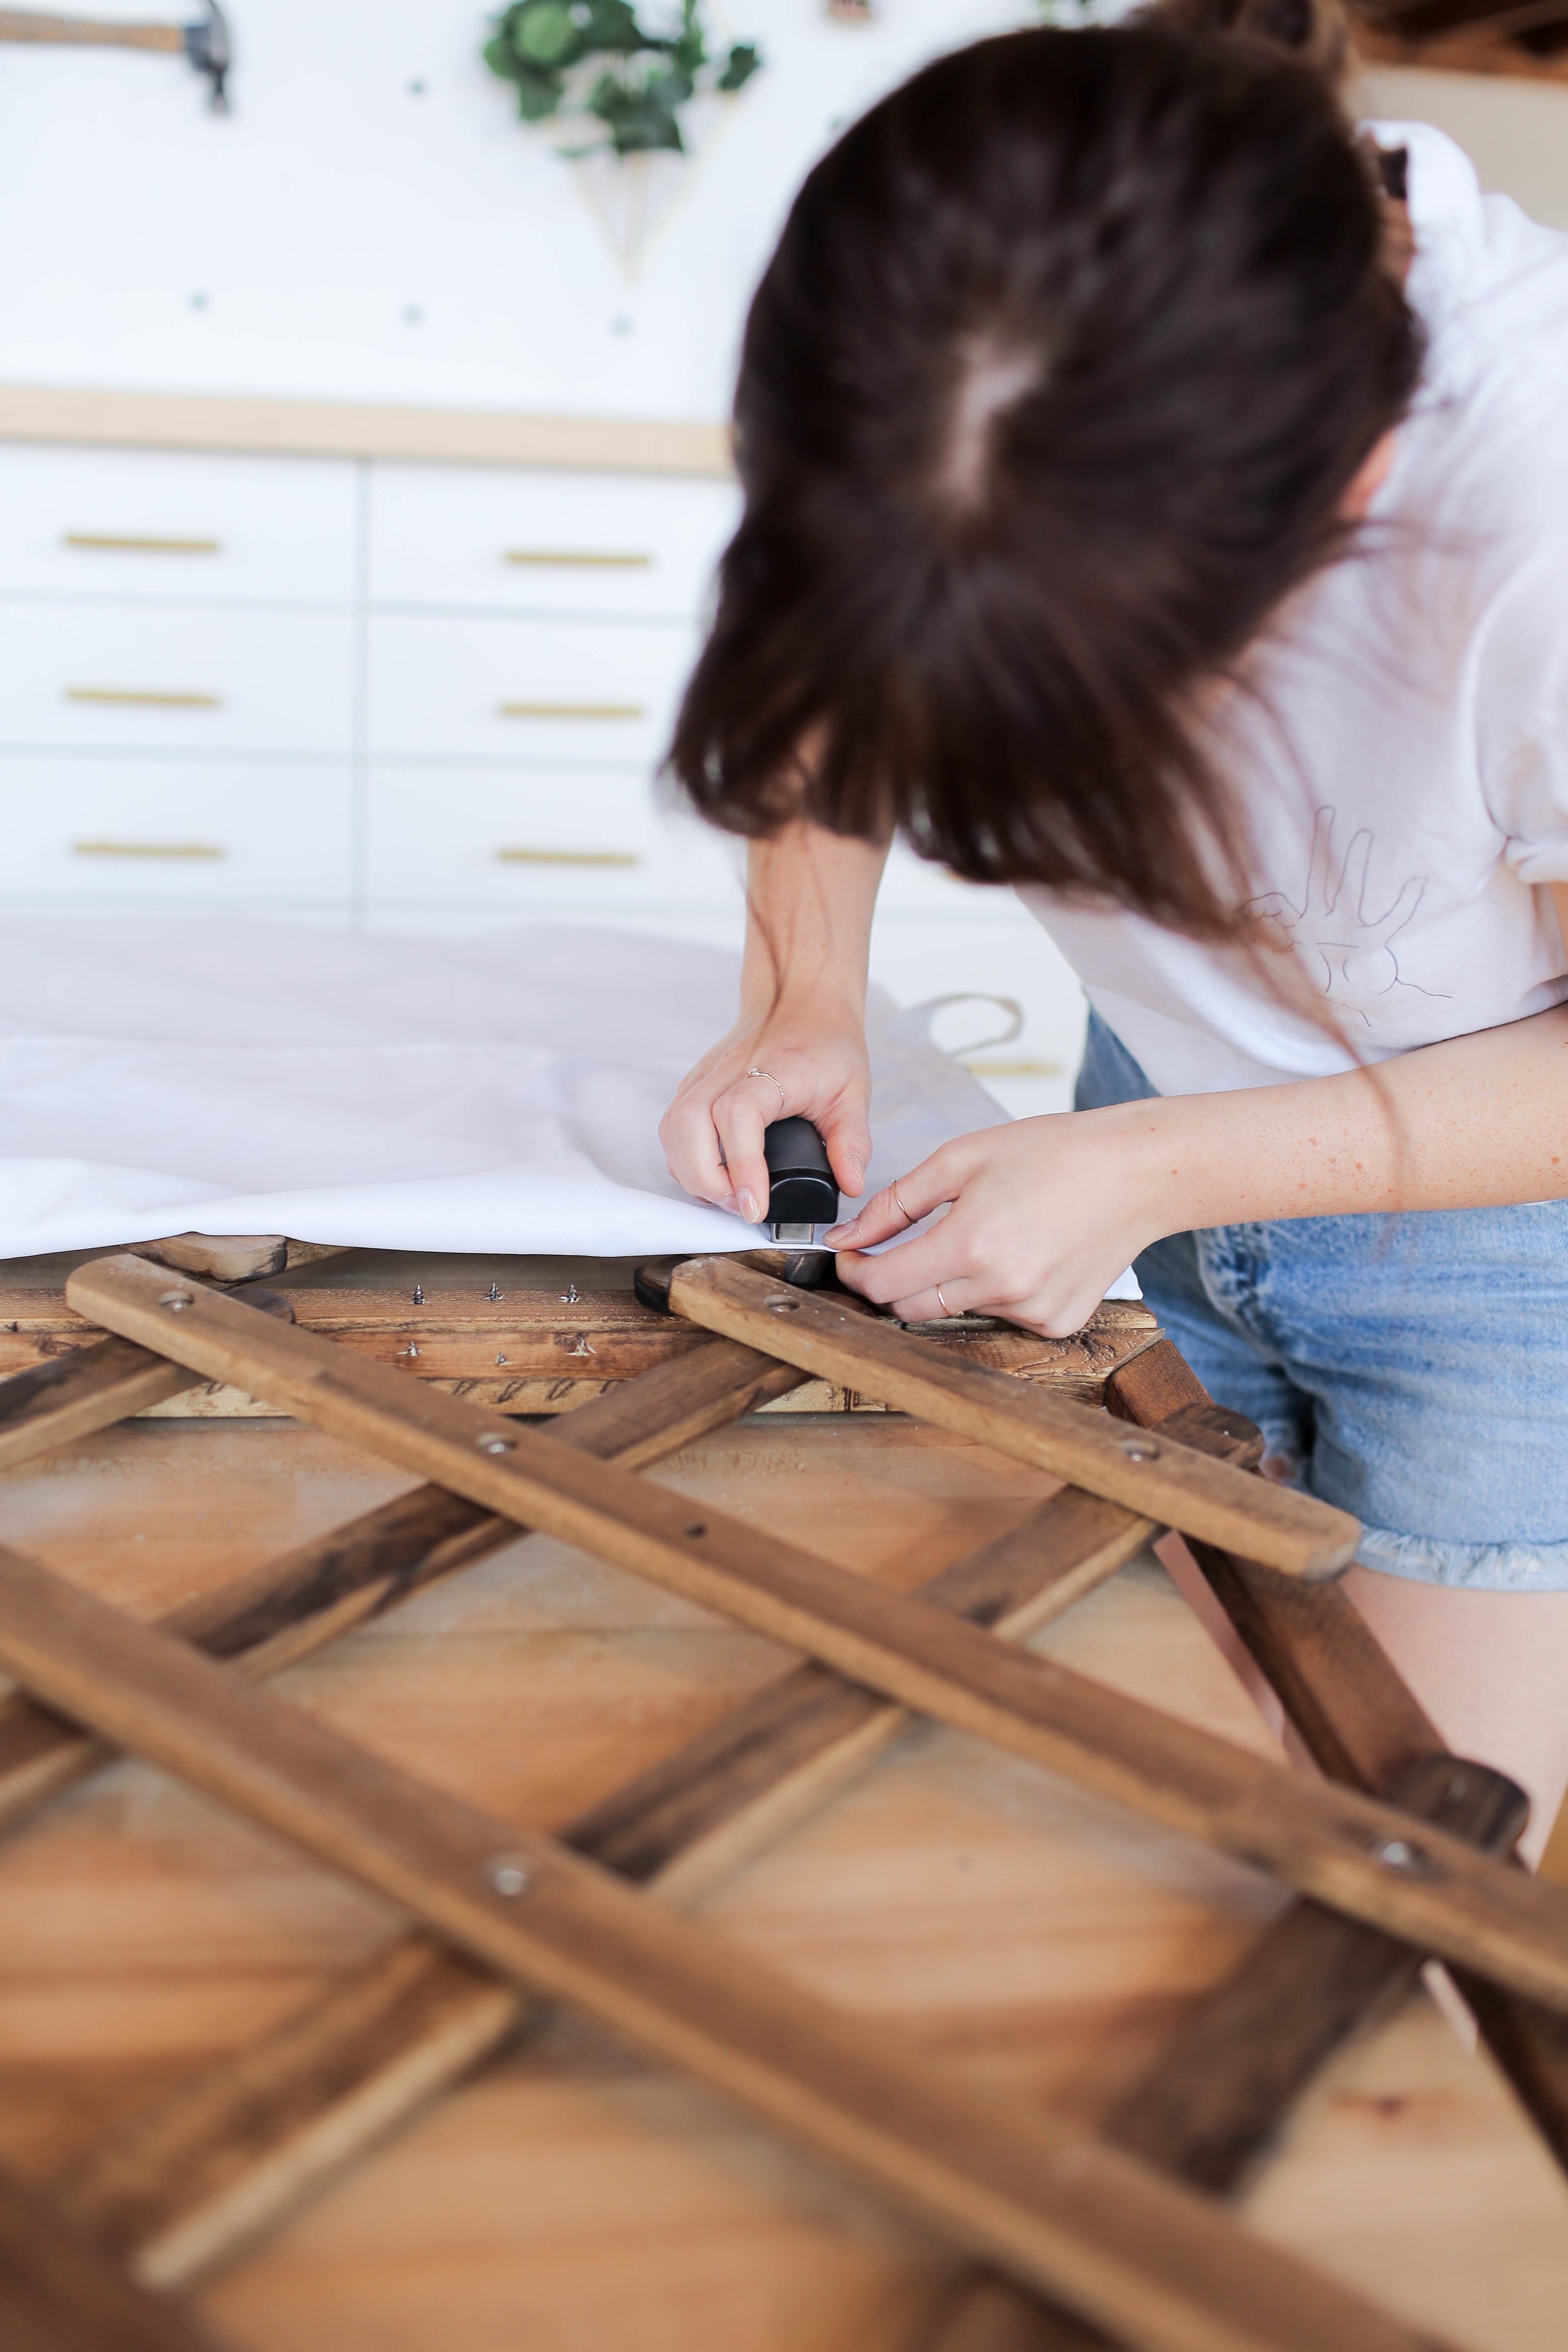
The final step is to add some white fabric as a privacy screen! We picked up this white fabric from the IKEA as is section, and went ahead and cut and attached it to the back of the room divider. We used staples to do this.
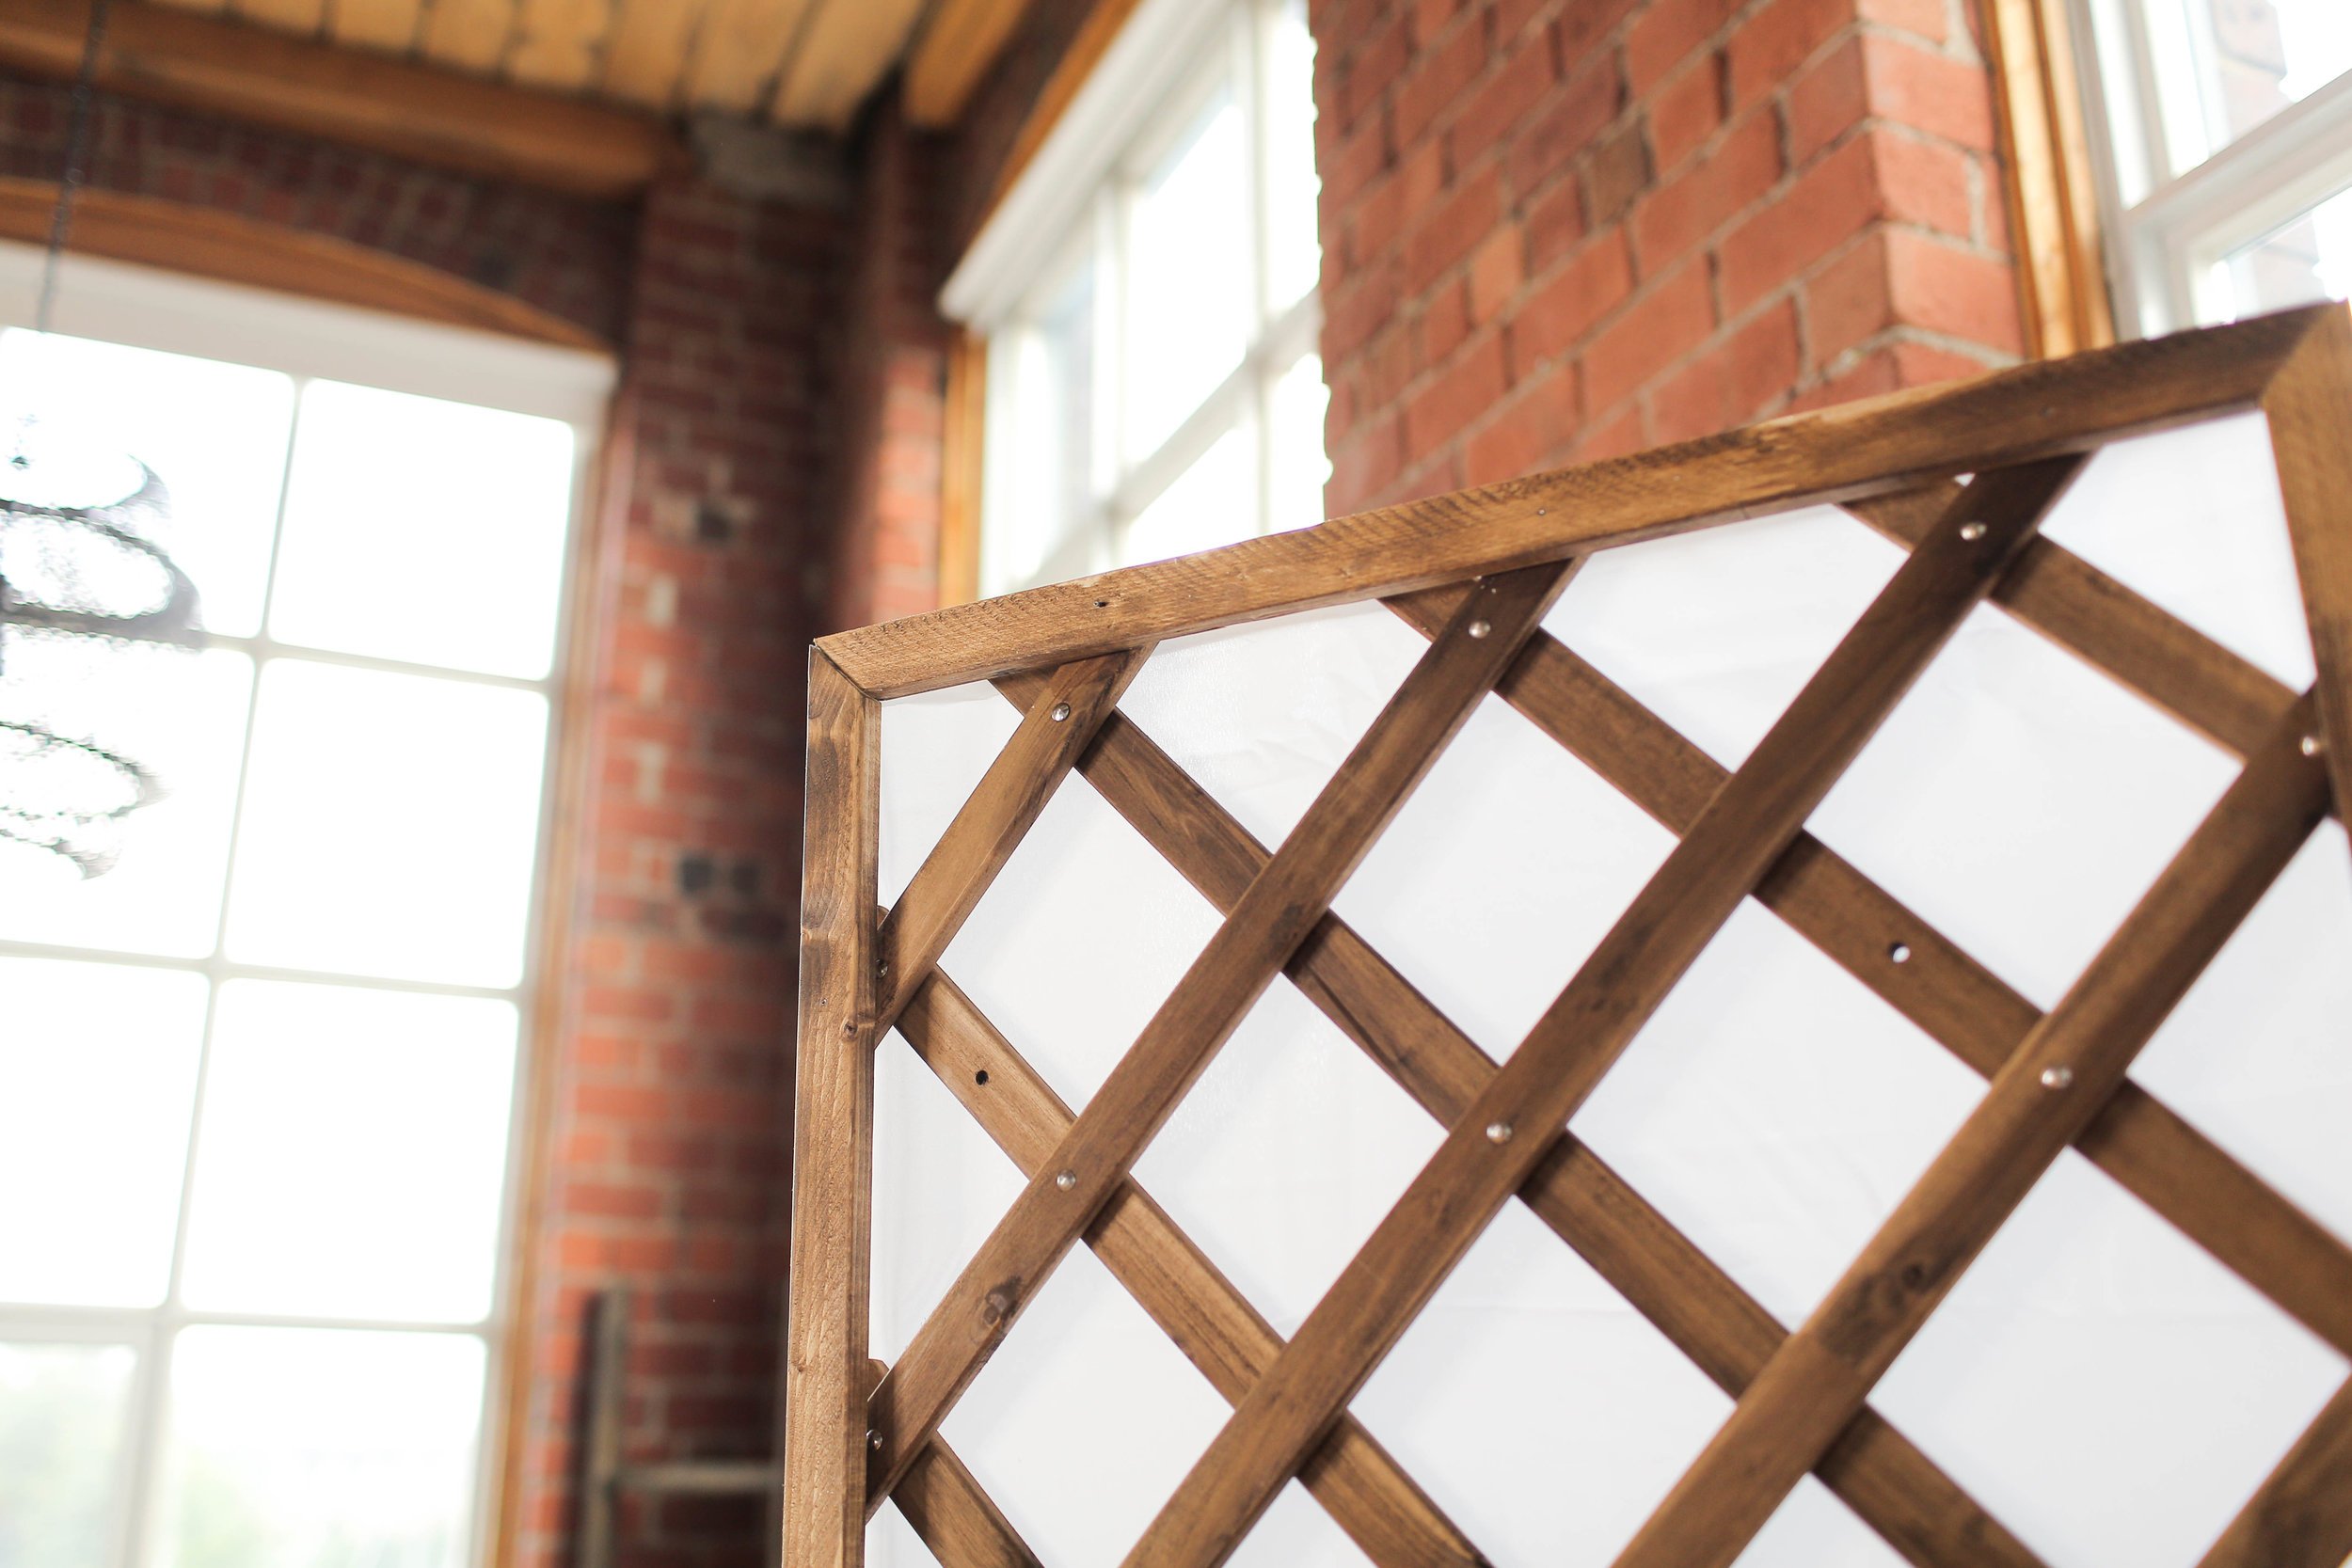


And that’s it! Check out the video below for more, and if you make any of these upcycles, tag us on instagram using the hashtag #SorryGirlsSquad!