ACTUALLY LEGIT IKEA BAG DIYS
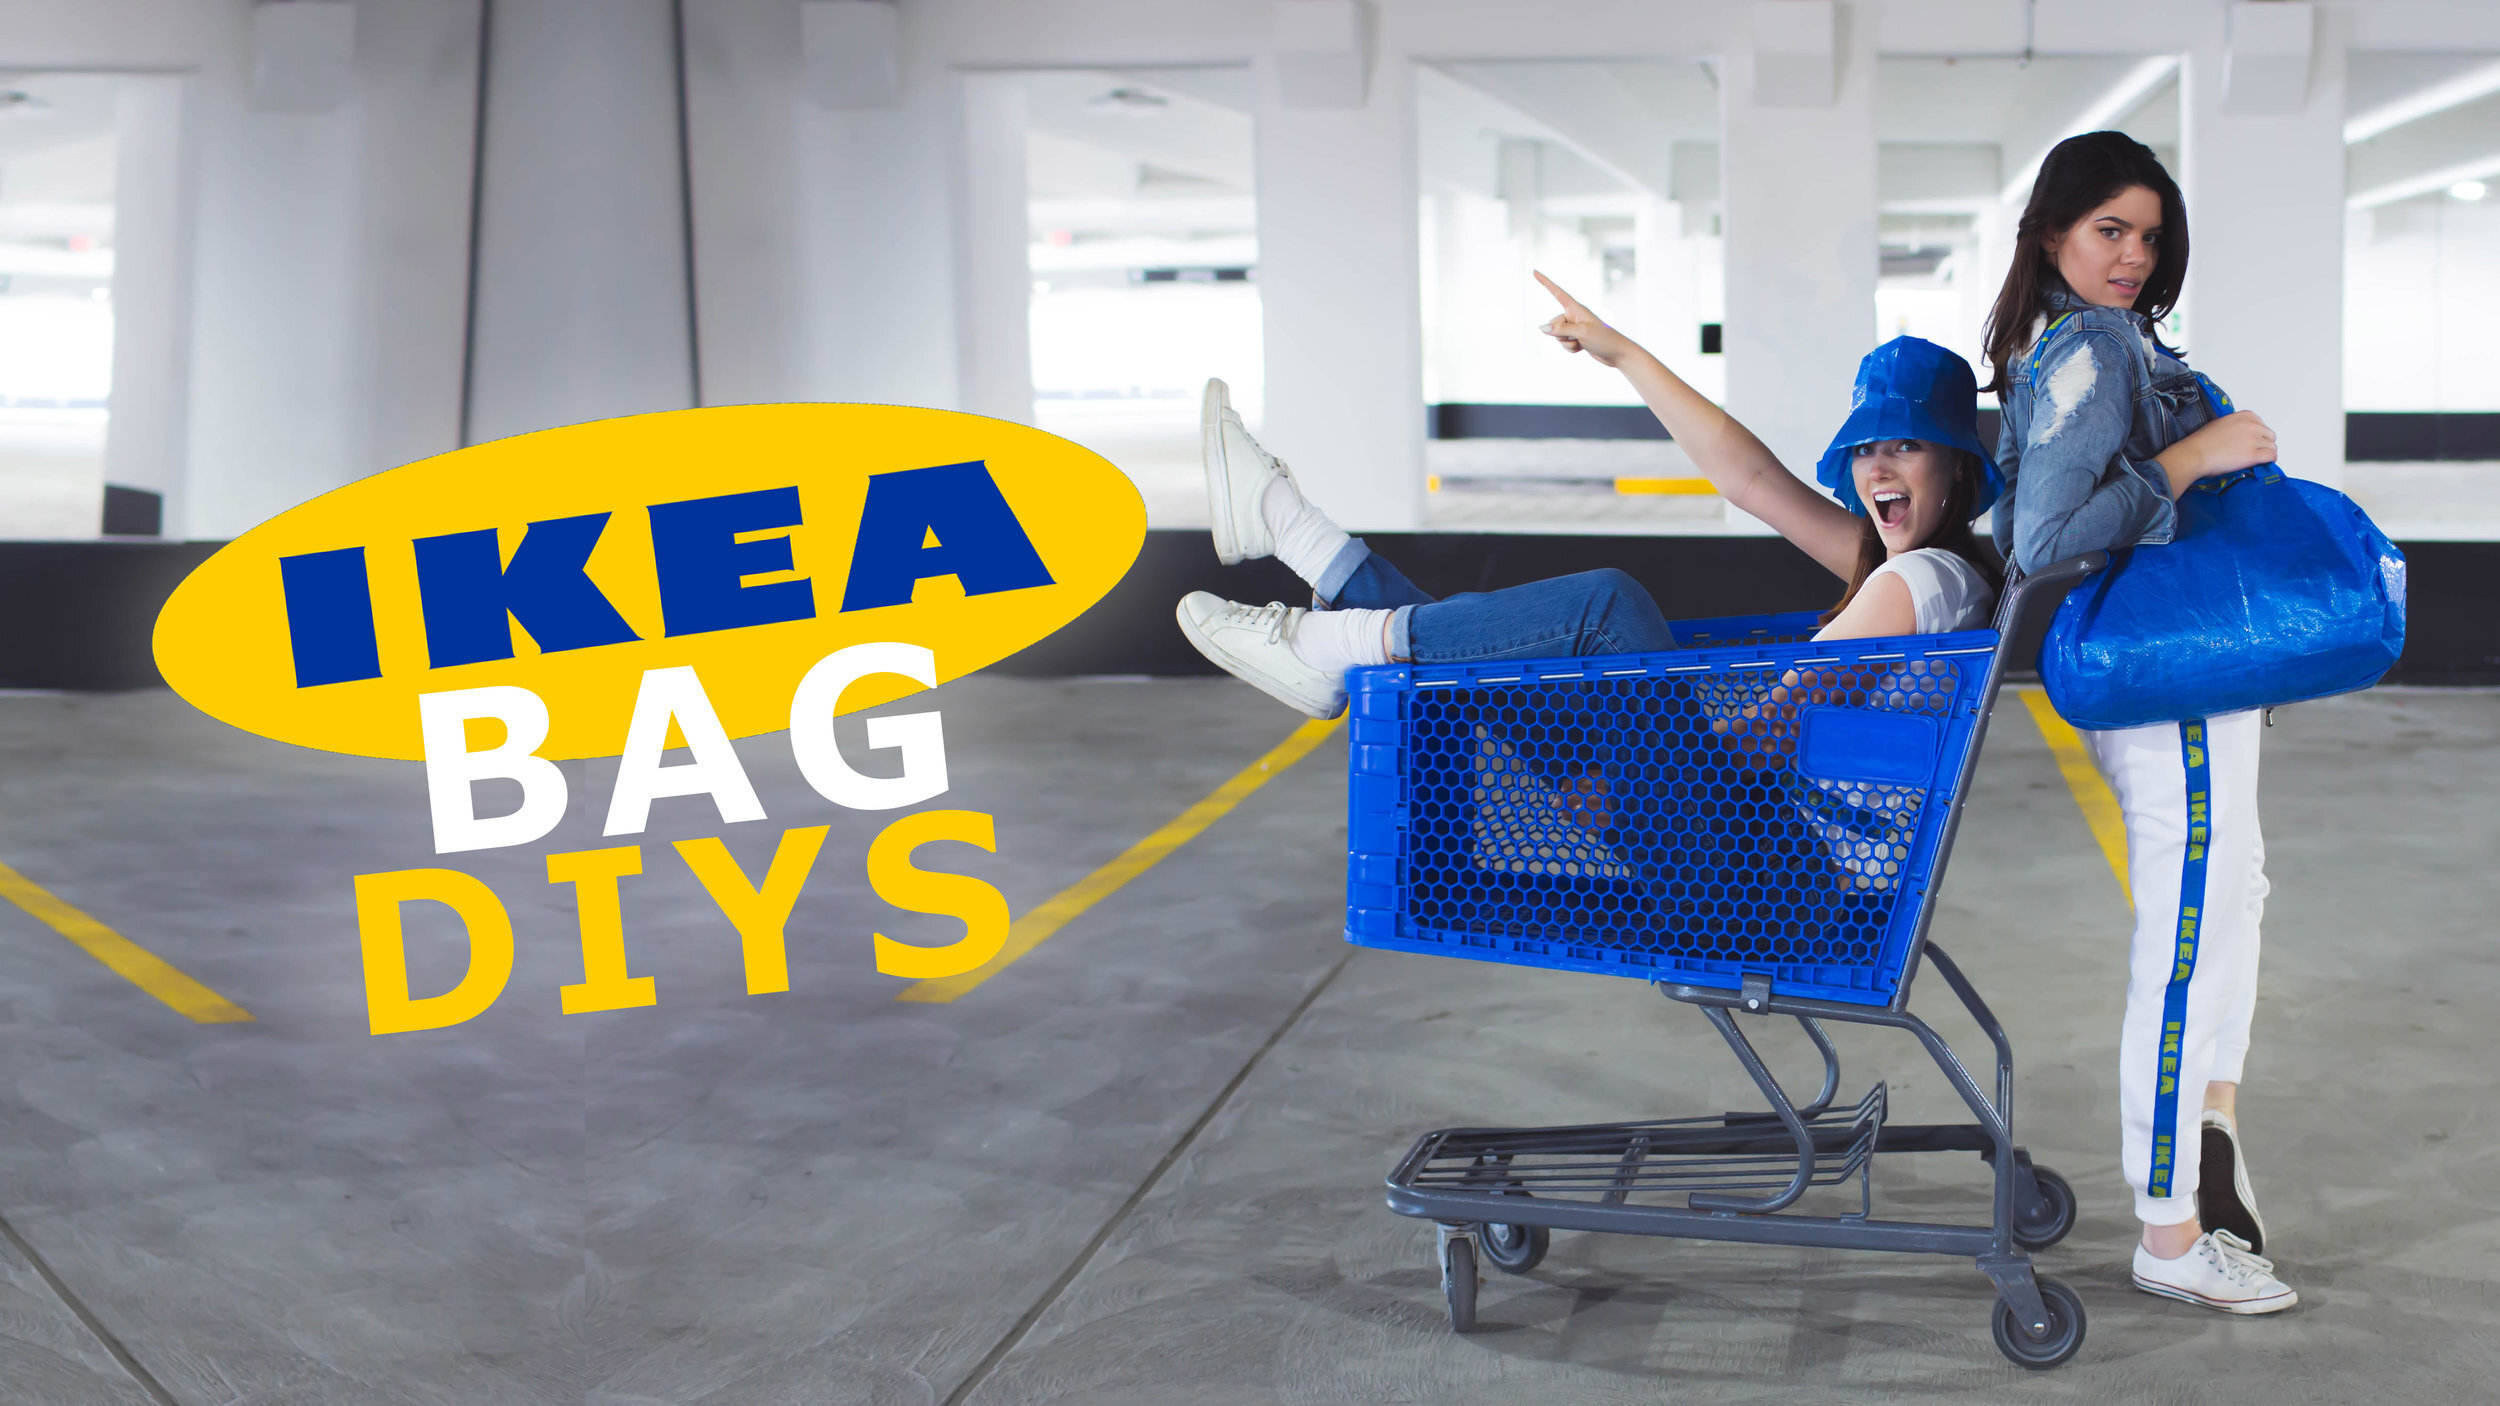
We’ve seen this Balenciaga bag that looks very similar to the IKEA bags. You guys have noticed it, the internet has noticed it.... And we thought that if a designer brand is able to make IKEA bags cool, we totally are too! Hopefully we end up with some pretty cool stuff! Let’s see what we can make…

SWETT PANTA
The first thing we are going to try and make is these sweet track pants with the IKEA logo down the side! We are going to use one bag and cut off the straps. We took the track pants and folded it so that the side seam faced up.

Before we attached the strips, we took a lighter and slightly melted the ends where we cut to reduce fraying. Using some fabric glue, we glued the strip onto the side seam of the pants. Repeat on the other side and you’re DONE!

DUFFN BAGG
Next, we are going to turn the trusty IKEA bag into a slightly smaller duffel bag! First we are going to cut the tapered ends off of the bag. Once the bag was open, we decided it was too big. We decided to fold the bag in half and cut off the bottom part, later sewing it back together in the middle.
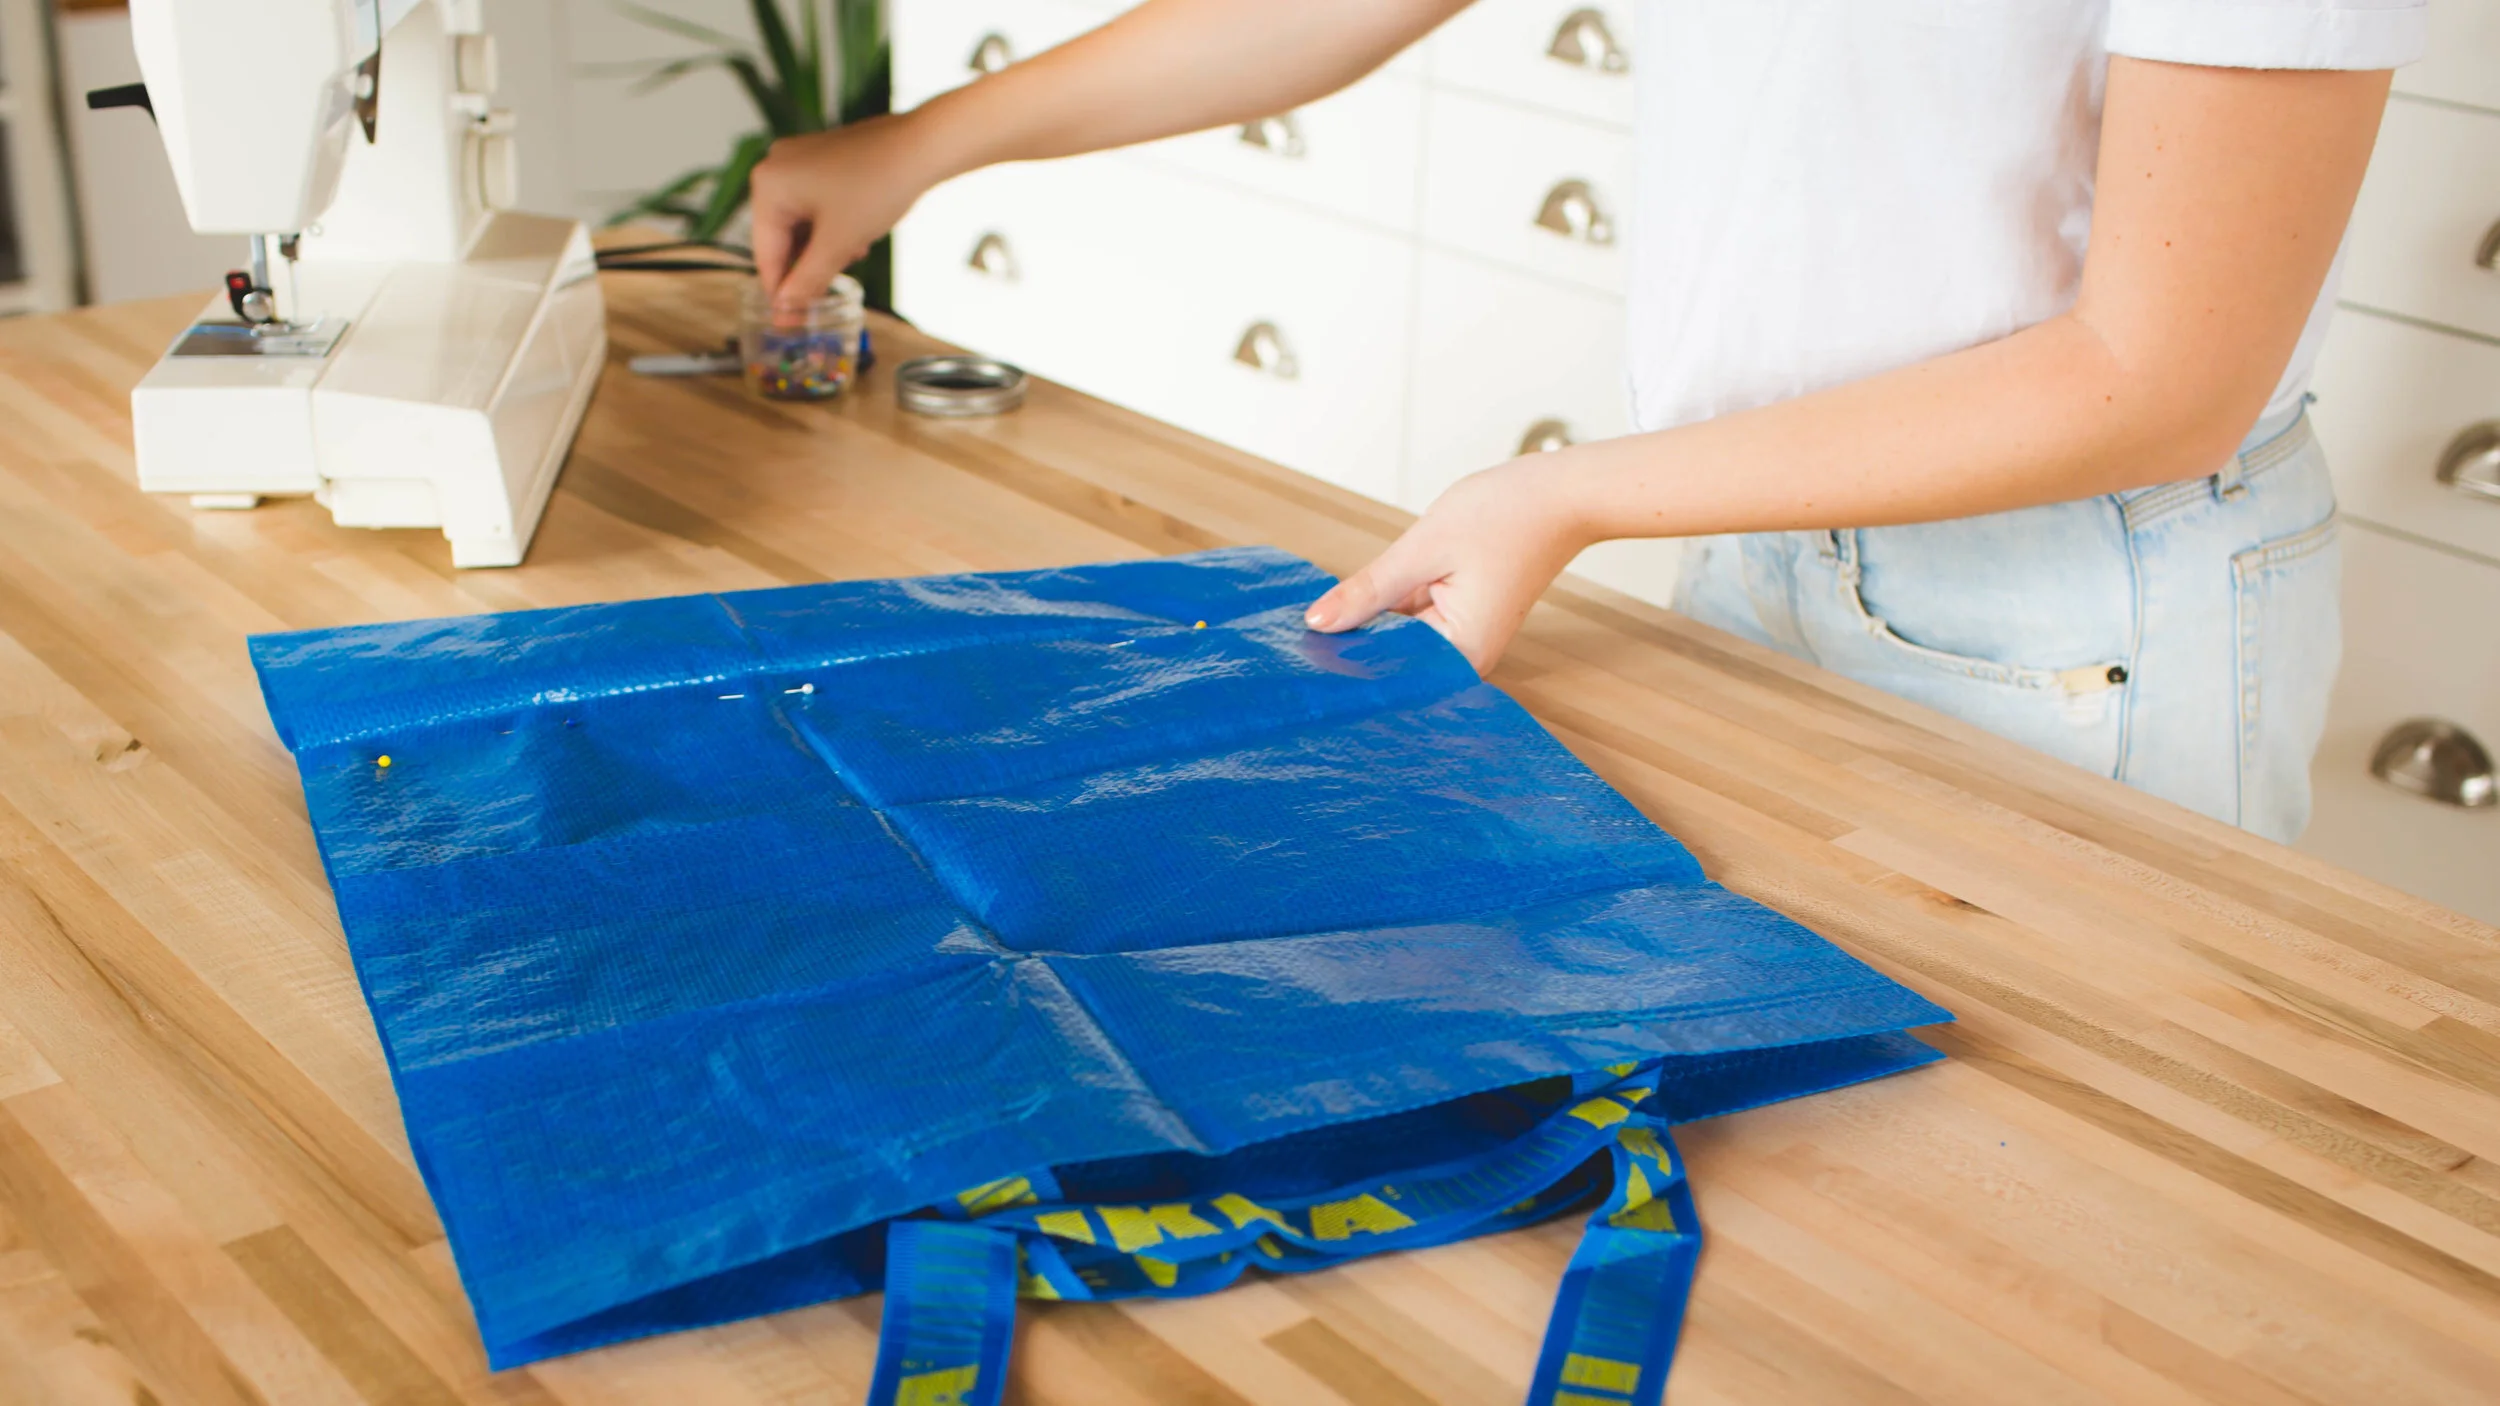
We then sewed a super long zipper to the top of the bag to close it. Next we need to add the side circle pieces. To find out the size of these circles, fold your bag in half and measure the length of the side of your bag. Multiply that by two and use the formula below to figure out the radius of the circle.

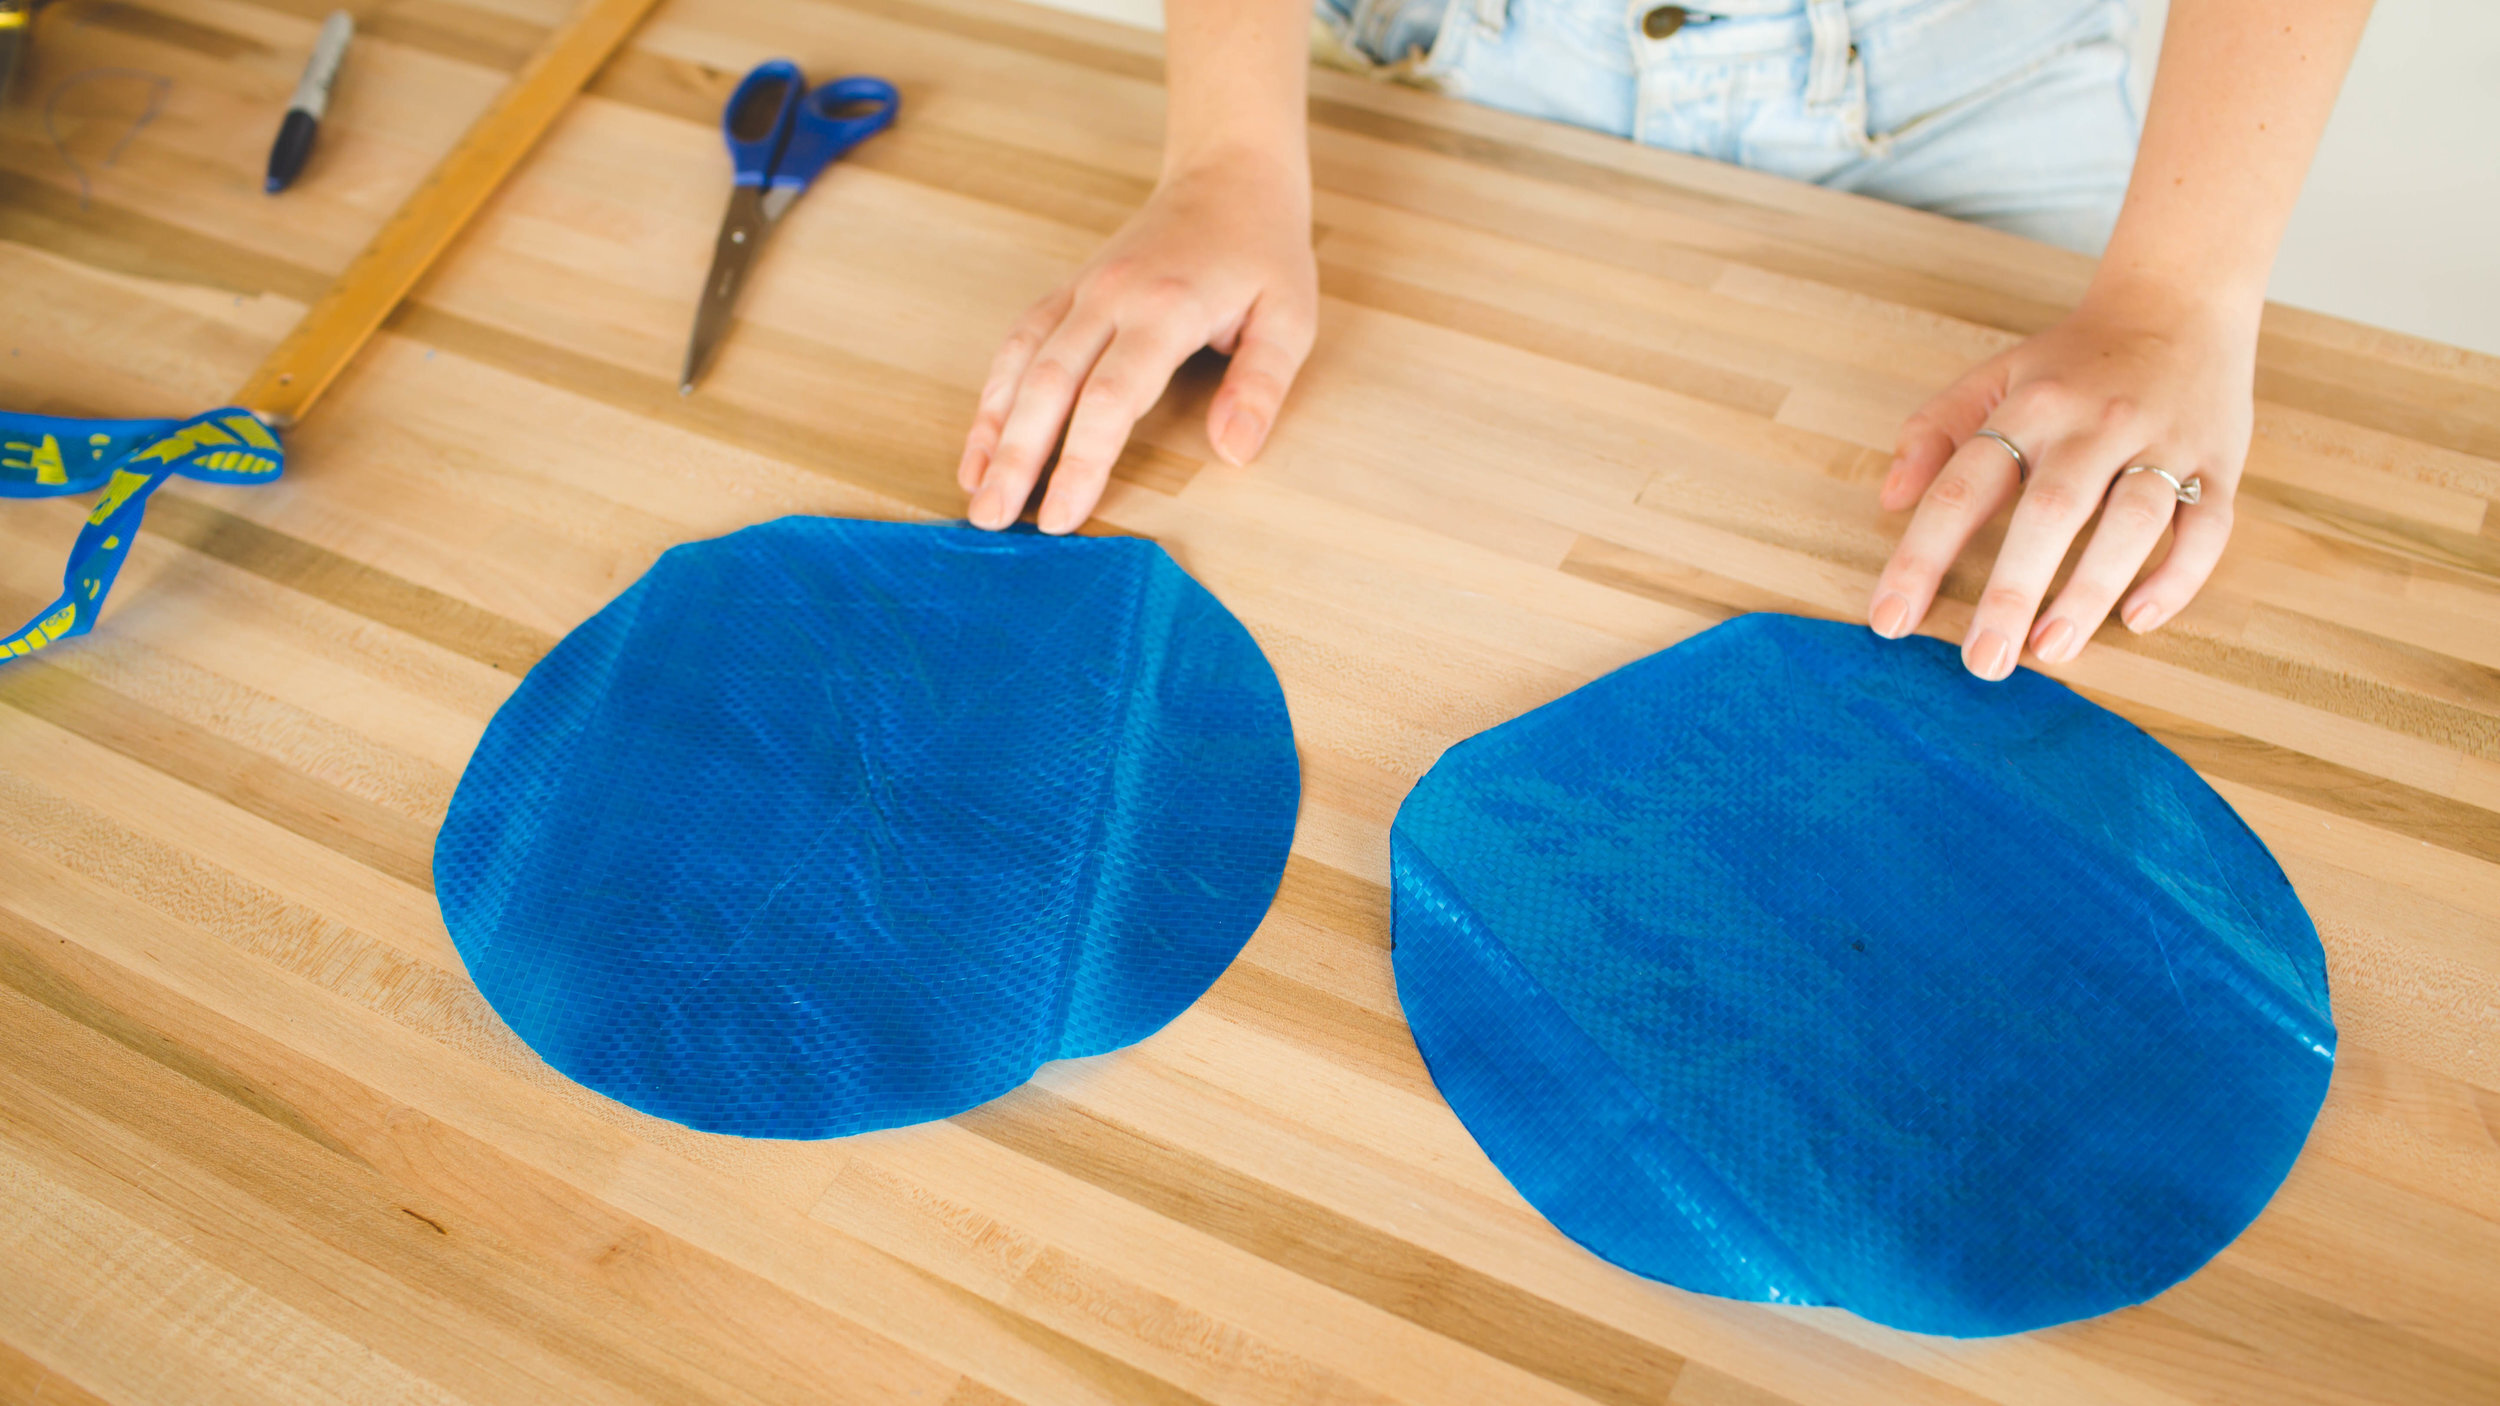
On another bag, we drew out two circles with the radius calculated and cut them out. We then pinned the two circles to the sides of the bag, flipped it inside out, and sewed, making sure to keep the zipper open for easy flipping. Flip it inside out and you're done!

PHUCKIT
Next up, we’re going to try and make a fanny pack. And honestly, we’ve never really made a fanny pack before. First step is to cut out the pieces you need for the front pouch of the fanny pack. The front piece of the fanny pack is the same shape as the back of the pack, minus the tabs on the side.

Next, we sewed a zipper into the front piece of the fanny pack. Cut a small slit and sew it on! Next we placed the good sides together and sewed all the way around the pack, tucking the tabs in before so that they end up on the outside.

When you’re finished sewing, flip that bad boy inside out. The last step is to attach the IKEA strap and add velcro to stick around your waist.

THOPBUCKIT
Alright! It is bucket hat time! A trend from my childhood that is apparently back now? Step one is cutting out all of the parts you need to make a bucket hat. We looked up a template online which can be found here, using this template we cut out the pieces.
We now have a top piece, two side pieces, and two brim pieces. First we sewed the two brim pieces and the two side pieces together. We then sewed the top circle piece to the side piece, then the brim piece to the side piece.


Hope you guys enjoyed this sillier DIY. If you make any of these please tag us using the hashtag #SorryGirlsSquad! Make sure to check out the video below!