How To DIY Naturally Dyed Fabric!
We’re big fans of sustainability and DIY, so we thought why not combine the two and dye our face masks by using our natural food scraps! Find out how we did it below, and check out the full video tutorial here.

THINGS YOU’LL NEED
Natural fabric face masks (cotton, linen, silk, wool...)
Water
Soy milk
Large bowl
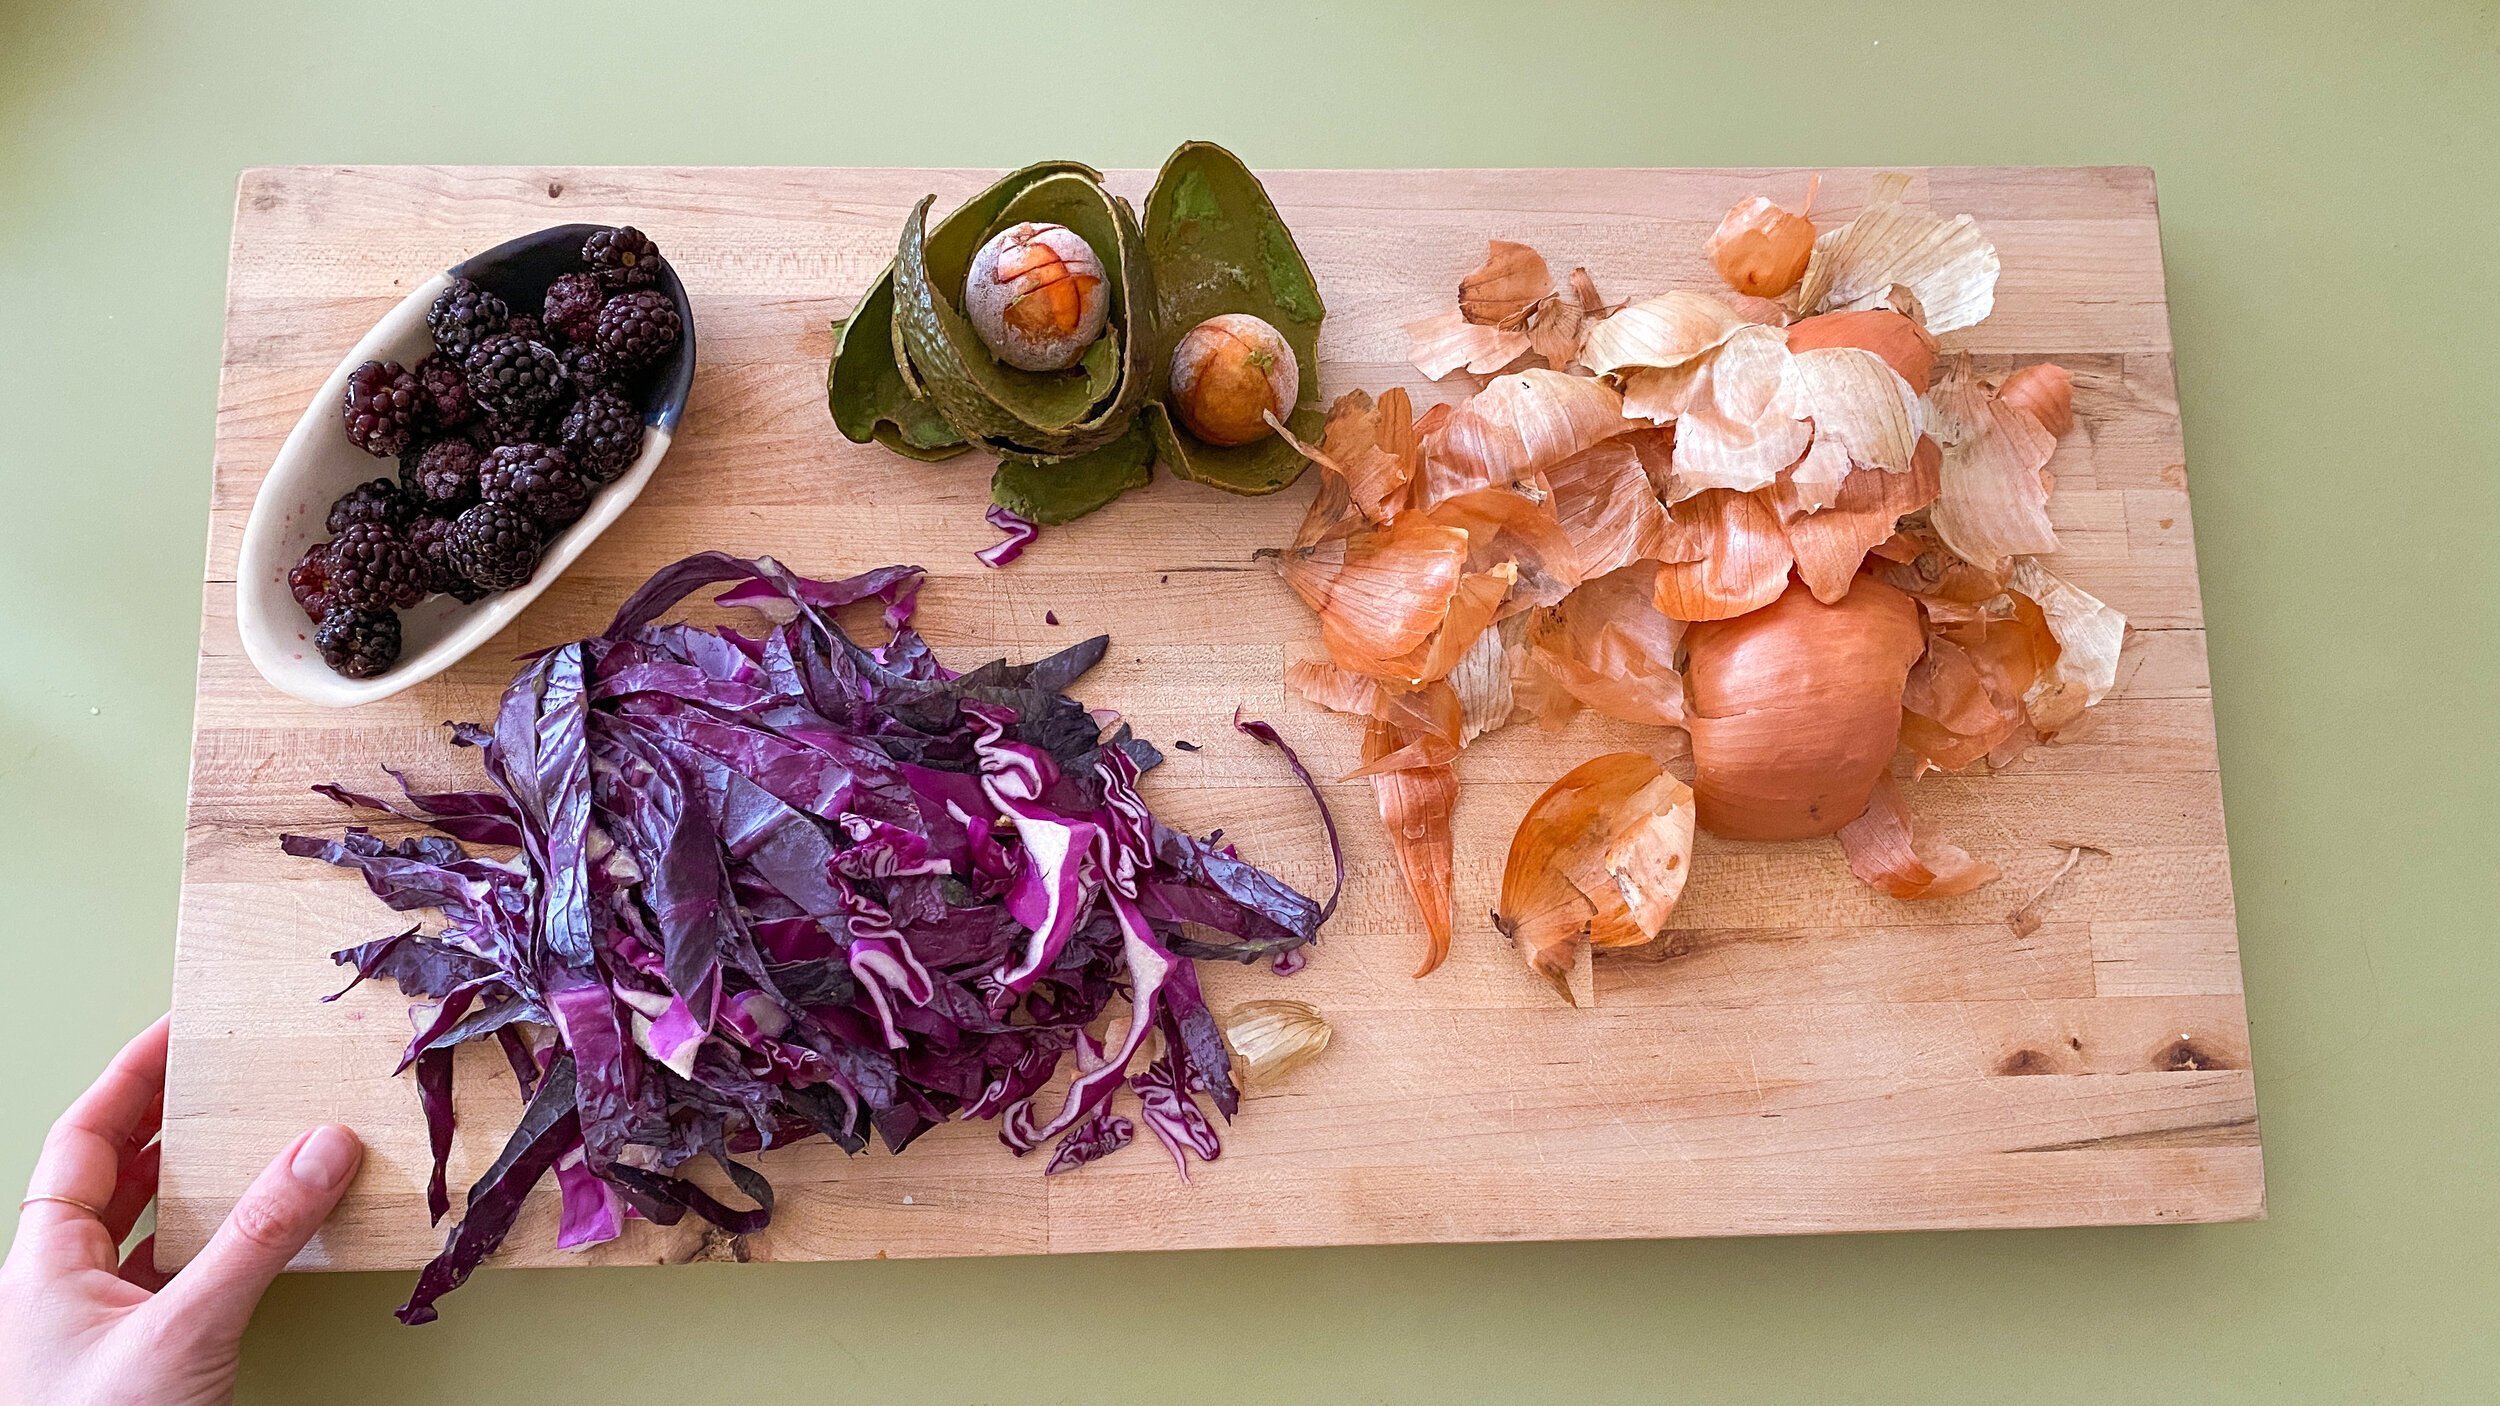
Food scraps:
Onion skin
Red cabbage
Avocado skins & pit
Blackberries
Cooking pots
PREP YOUR FABRIC
Start by treating your fabric so that it holds the dye better. We used face masks, but you can dye anything that’s made of a natural fabric. There are two types of natural fabrics: cellulose fibers, which are plant-based like cotton, linen, and hemp, as well as protein fibers, which come from animals, like silk or wool. Synthetic fabrics like polyester will not work well with natural dyes so avoid those for this DIY.

To treat your fabric, the first step is scouring. Scouring just means that you are deep cleaning your fabric to remove any dirt or grime that would prevent it from taking in the dye. To do this, first wash your fabric, then place it in a pot of boiling water and let it simmer for 2 hours.

The next step is to mordant your masks naturally, which is a solution that will chemically attach your dye to your fabric. We used a soy milk bath as a mordant, which will help the dye adhere better to the fabric. To make your bath, mix 1 part soy milk, to 5 parts water in a sink or large bowl. Remove your fabric from the boiling water and place it in the soy bath. Let the fabric soak for 24 hours.

Lastly, you want to cure the fabric by removing it from the soy bath, then washing and drying it. Once dry, to make sure your fabric picks up dye evenly, submerge your fabric in water again, and let it soak for about 2 more hours before dyeing.
MAKE YOUR DYES
To make a concentrated dye, place each kind of food scrap in a pot and add just enough water until the scraps are fully covered. Make sure not to add too much water, or it will dilute the colour. Bring your pot to a boil, then reduce to a low simmer, and let it simmer for about 2 hours.


DYE YOUR FABRIC
Strain all the food scraps from the now coloured water into their own bowl, saving the water and composting the scraps. Pour the water back into the pots. BONUS - If you’re using red cabbage, because it has a pH balance, if you add something basic (baking soda) or something acidic (lime) it will change the dye’s colour. In this case, with baking soda, the purple dye will turn blue, and with lime it will turn pink!
Remove the soaking fabric from the water, and place it in the pot of dye you just made. Make sure your fabric is fully submerged in the dye. Let this simmer for 2 more hours, then remove from heat and leave it to soak overnight.
Remove your fabric from the dye, and give it a cold rinse. To seal the colour, put your fabric in the dryer, then press with an iron, and you’re all done!


Check out the full video below to watch the tutorial and tag us @thesorrygirls on Instagram if you try this DIY natural dyeing technique!