Unique Winter Yurt Makeover - Upgrade My Stay!
We’re back with the third installment of Upgrade My Stay and yurt not gonna believe this one! If you’re not familiar with our new series, Upgrade My Stay is a show where we check into vacation rentals with the goal of upgrading the stay experience with some DIY, design, and decor, all before check-out. Make sure to watch the first two episodes where we tackled a cozy winter cabin and a downtown Toronto loft on our YouTube channel here!
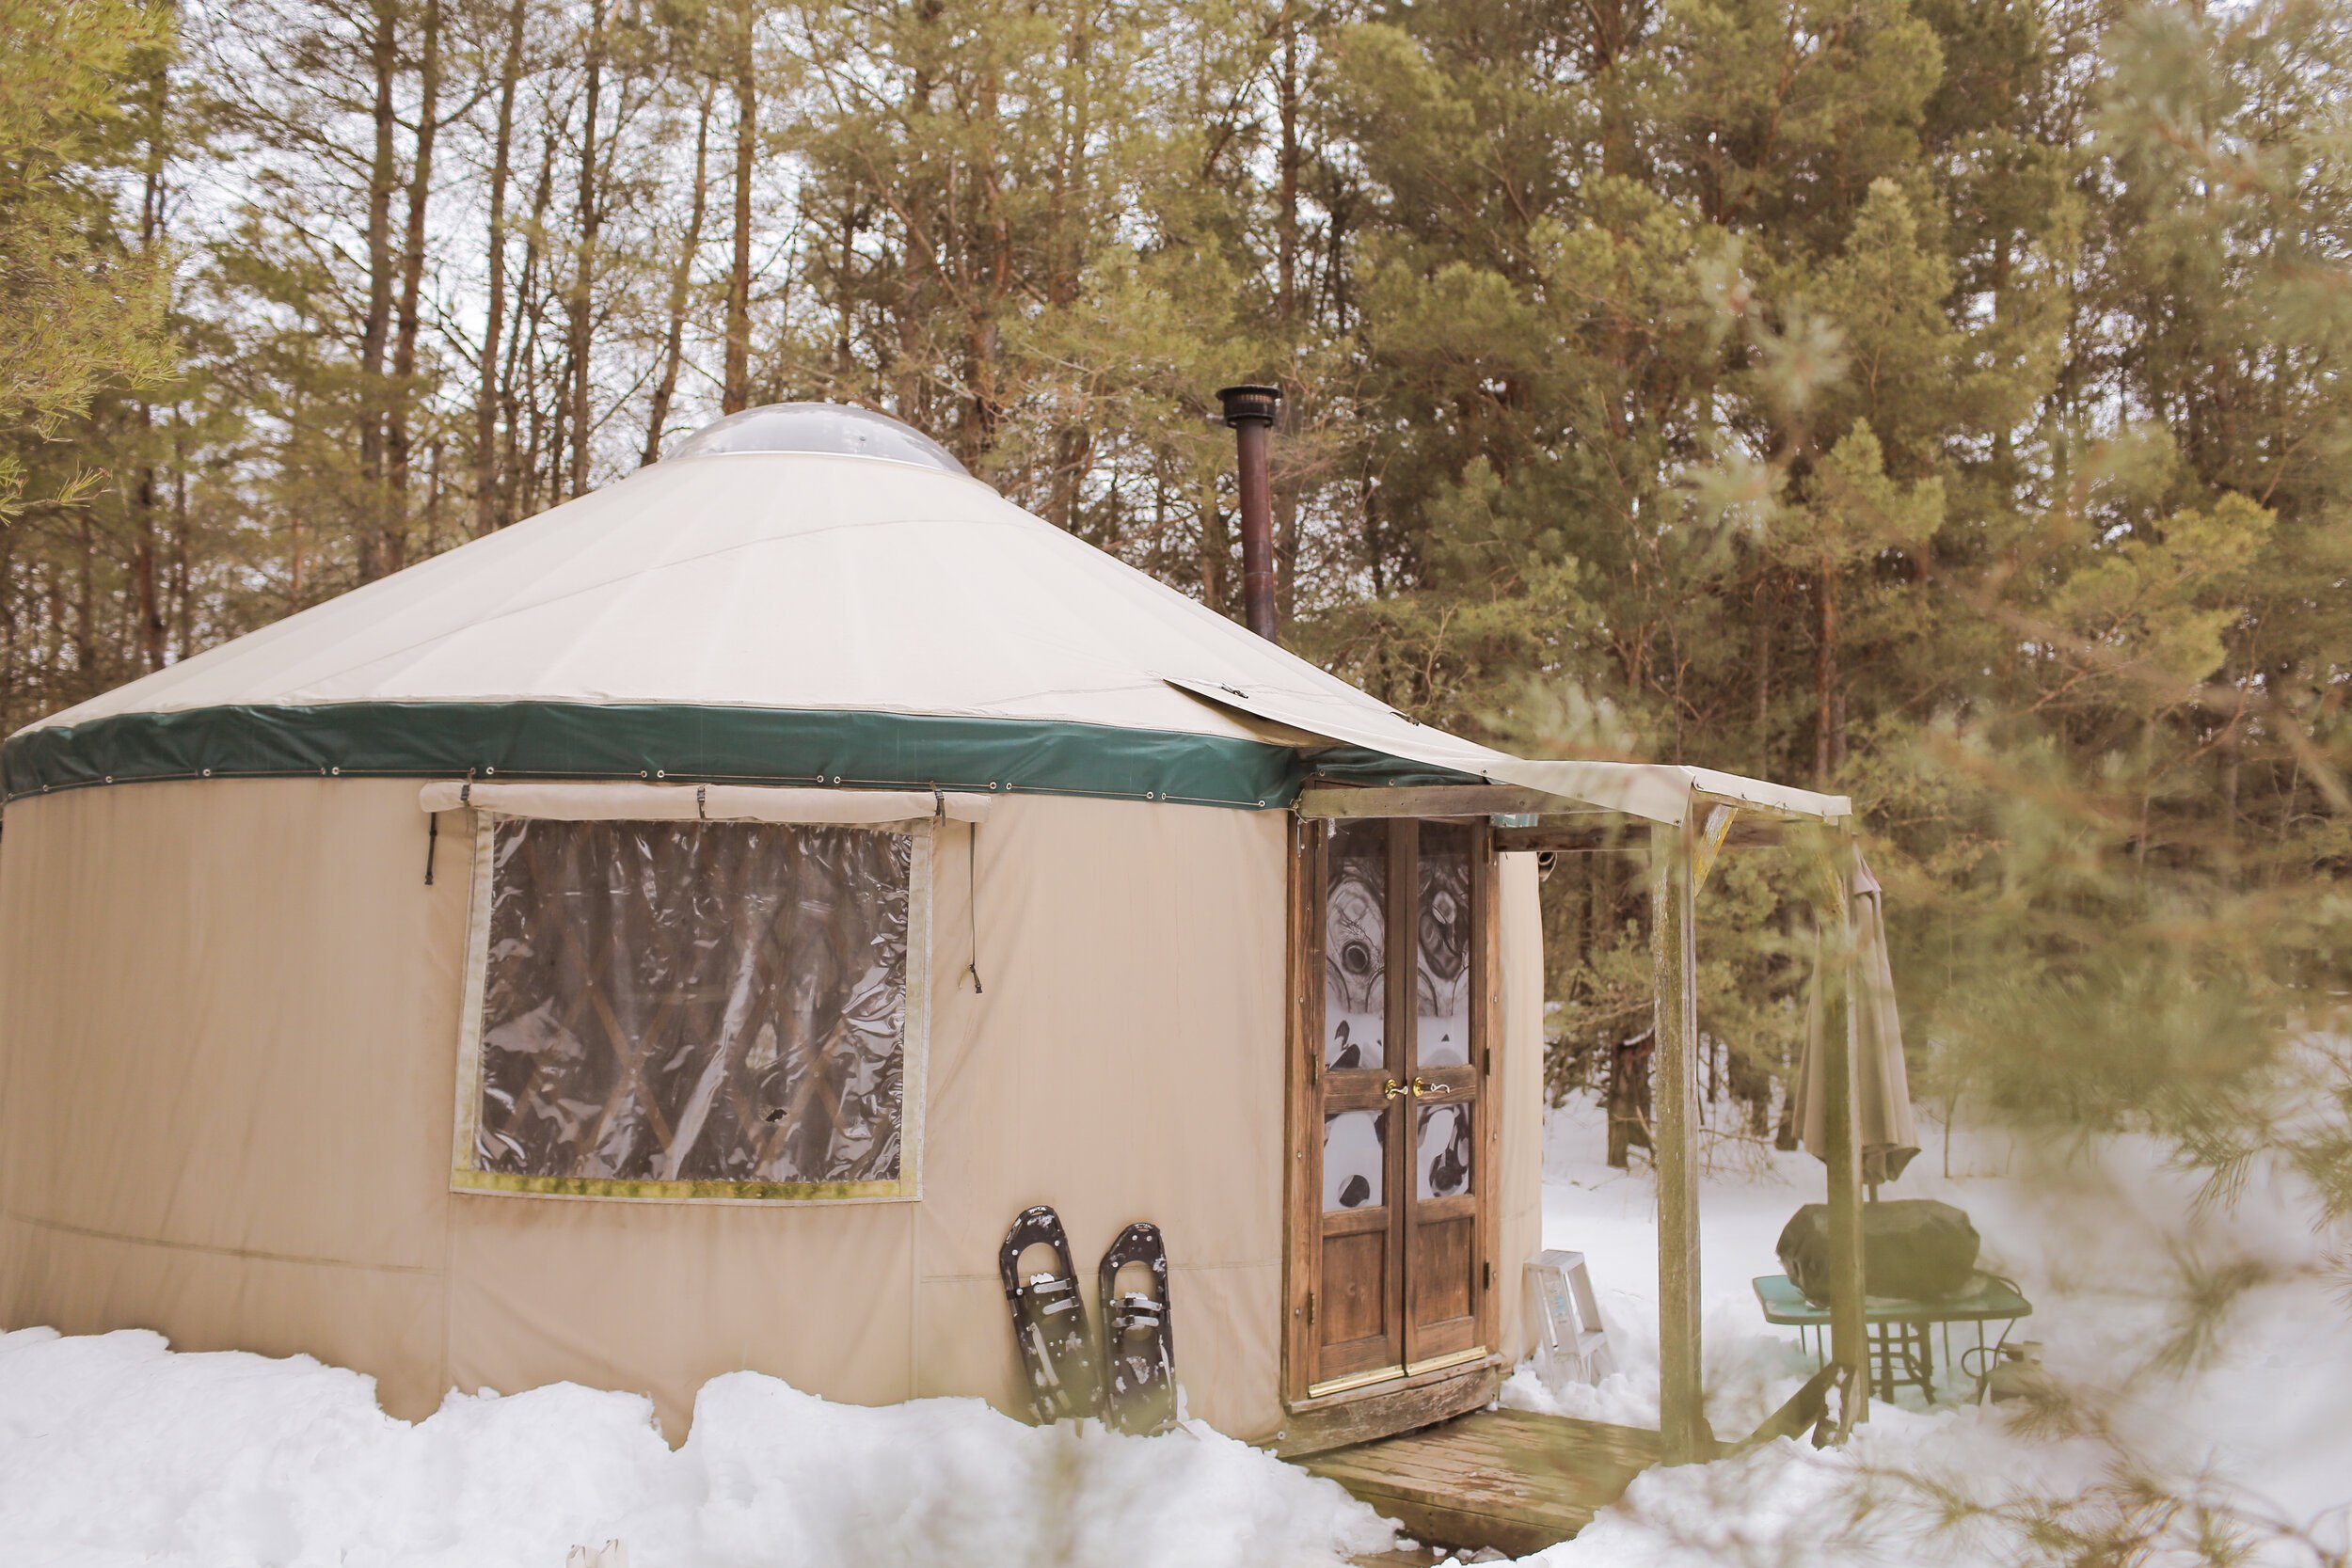
This week we’re in Mono, Ontario, a small town about an hour outside Toronto where our hosts Ellen and Joey rent out a yurt on their rural property. Yes, you heard that right - we’re decorating what is essentially a giant permanent tent and we couldn’t be more excited about it! The main wishes from Ellen and Joey was to add more storage for guests, add more places to prep food, and integrate better lighting. Keep in mind that there is no electricity in yurts so we needed to find solutions that were battery-operated, solar powered, or good ‘ole fashion fire powered baybee! We got to work on this winter yurt makeover.


LET’S GET MOVIN’.
One thing that is really going to help this space is the switching around the layout. Instead of having the beds in an awkward position in the middle of the room, we moved them to fit under each window, which now doubled as a super cool headboard. While there is a lack of light, we added DIY fabric curtains over the windows using some screws screwed into each end of a dowel and some fabric to cover the early morning sun. Finishing it off, we grabbed some thrifted belts to help keep the curtains up when guests wanted those all too precious sun rays to shine! On the bed we DIY’d two long throw pillows out of woven runners that we sewed into a tube and stuffed with a pillow, and used the existing comforter as a duvet insert for the new duvet cover.

In the kitchen, we added an extra dining table next to the prep table with two smaller stools to replace the previous round glass table and chairs, which we moved outside. With the extra space we brought in two larger lounge chairs so that guests have more options for comfort instead of always sitting on the bed, like they’d done previously. The best of both worlds!

CREATIVE STORAGE HACKS
When someone is living in a space for only a few days, no one wants to feel lost when they’re trying to do something as simple as make dinner. That’s why we used visual storage in the form of hooks on the lattice walls, which we hung all of the pots and pans from. They’re easy to find, easy to use and also makes for great decor! We repeated this with hooks near the door to replace their broken coat rack, and then placed their vintage trunk near the beds so guests now have a place to store their luggage during their stay.


LET’S GET LIT
One MAJOR issue in the existing space was the lighting. Reviews left on the listing were always positive, except some mentioned the lack of light was a bit of a turn off (pun intended). To fix this, we installed battery-operated string fairy lights around the entire ceiling in two tiers. The best part? They’re remote controlled! So no guest will break their back trying to flip several tiny switches every night - all they need is the click of a button!

FINISHING TOUCHES
To finish this space off we added in a larger floor length mirror, some new decor pieces and a new round jute rug. Take a look at this cozy one-of-a-kind yurt getaway!


If you loved this makeover and want to see how hosts Ellen and Joey reacted then check out the full episode below (and don’t forget to hit that subscribe button so you don’t miss out on the next one)!