MY DIY BEDROOM MAKEOVER
When is the last time you did a complete room makeover? If you own a house it may have been more recent than me… I think the only time I’ve ever seen a complete makeover in any room of “mine” (please note that I’ve only ever lived in rented apartments and my parent’s house) is when my parent’s agreed to let me turn my gorgeous yet not trendy pink and purple flower bedroom into my cool teenage bubblegum pink hangout (let me know if you want to see before/ after pictures of these, I literally re-did my bedroom based off of a Kleenex box design – omg!). When you don’t have a lot of money and you’re renting it’s hard to completely makeover any room. Usually you move your mix-matched stuff into a space, collect random pieces you like and then move out in a couple of years (often selling the stuff when you move because it’s too big to take with you or you just don’t care for it anymore). Which brings us to my bedroom before…
I got the bedspread when I left for college in 2010 (from Urban Outfitters, still cute but not necessarily unisex). The bed frame is from Ikea and cost only $40 when I moved out of residence in 2011. As you can see, there are lots of odds and ends. There’s also lots of furniture bought at one point in time without any consideration about the overall look of the room. That’s what happens when you’re parents are helping you out by buying furniture and you are just grateful at that and not worried about a scheme.
Fast forward 6 years since I moved out of my parent’s house and now my boyfriend and I have the means (although a very small amount) to make our bedroom a cohesive unisex space that we feel relaxed in and proud of. I’m so happy to share with you my bedroom makeover brought to you by The Sorry Girls. We honestly didn’t mean to include this many DIY’s but I got particular about what I wanted the room to look like and you know I physically won’t fork up the cash to buy items when I can do it myself!
BEFORE

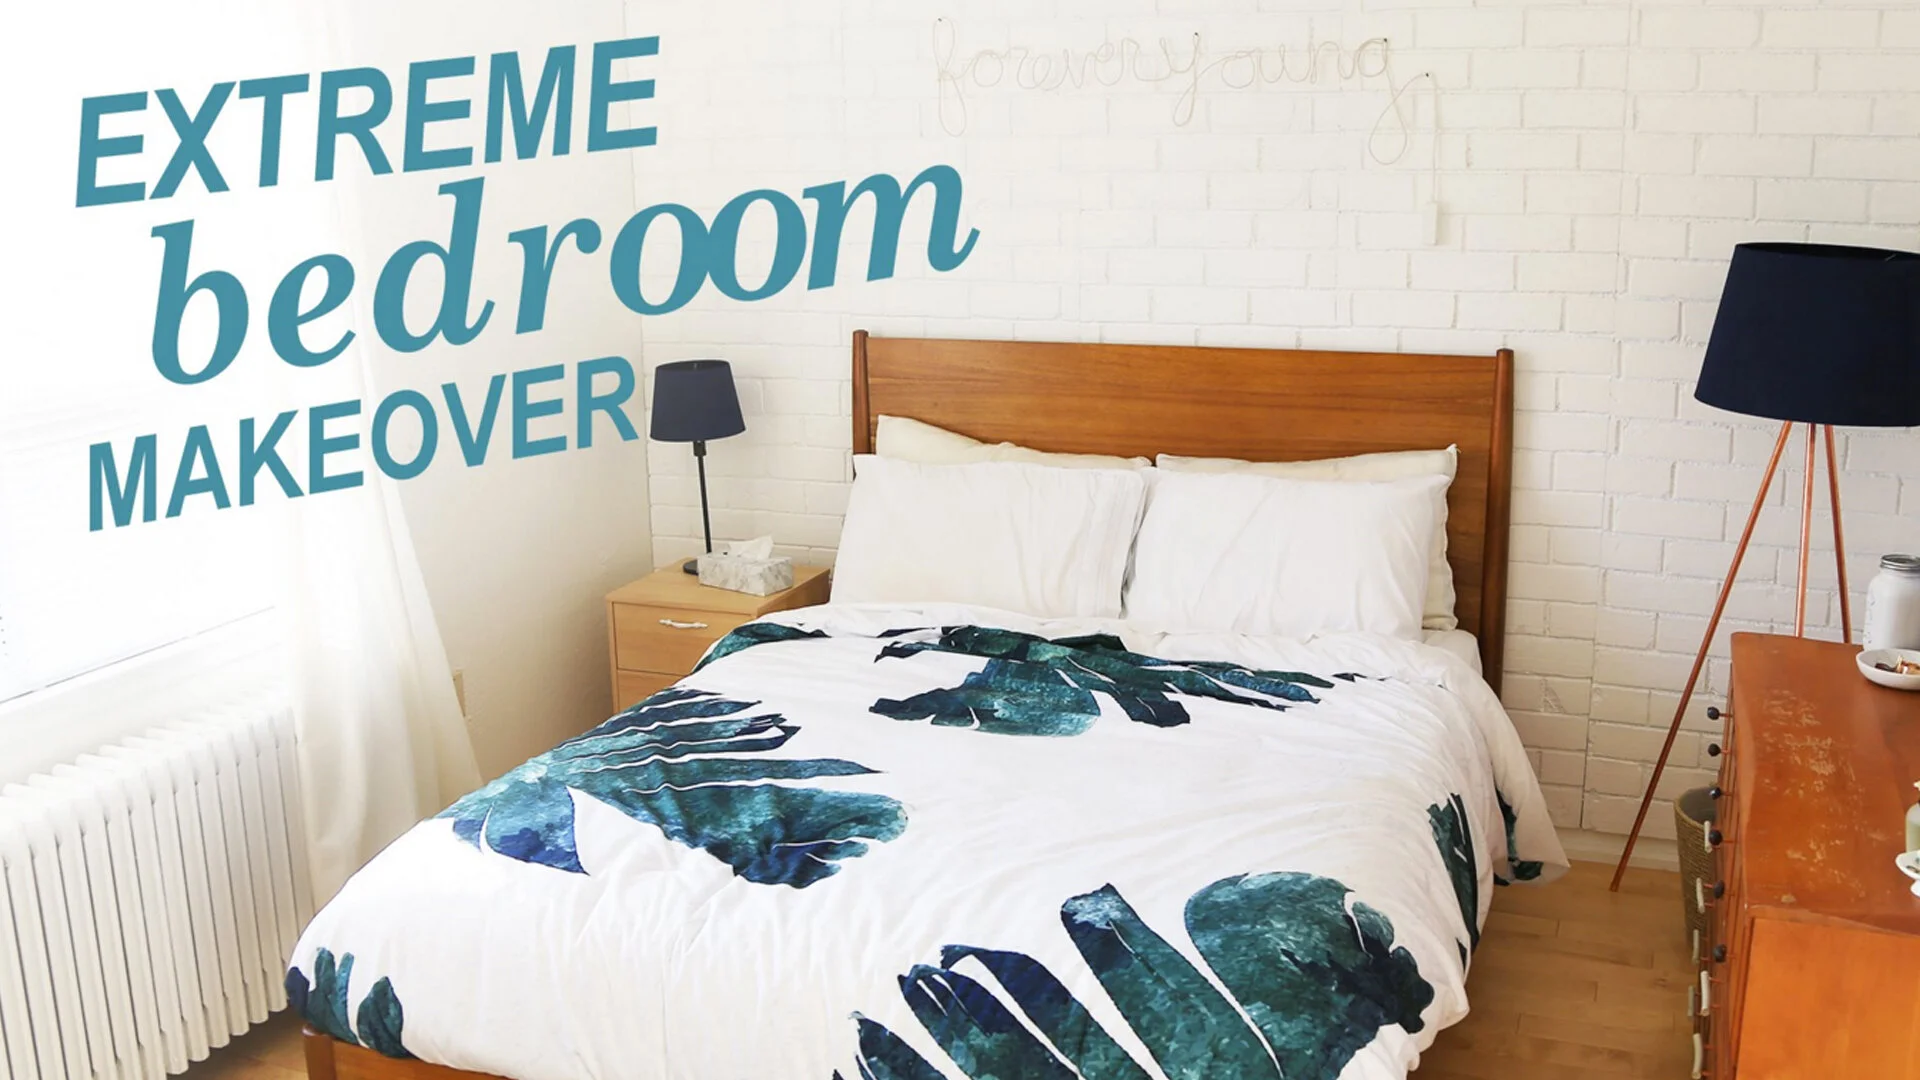
AFTER

DIY’s that you’ll see in the bedroom makeover:
Marble covered tissue box
– tissue paper
– marble contact paper
– scissors
– velcro
Faux brick wall (click for tutorial)
Tripod copper lamp (click for tutorial)
Concrete and rock dresser hardware
– plastic plumbing tubing
– bolt rod
– E-6000 or JB weld
– rocks
– copper piping
– nuts
Neon sign (click for tutorial)
Below I’m going to link the items we purchased for the room so that you can pick them up if you fancy. How much do you love the palm print duvet? I LOVE!
Make sure that you’re following us on snapchat (thesorrygirls) so that you can see our DIY’s as they happen. Exclusive behind the scenes access 😉
Watch the video to see the full transformation!