Making Over The Bathroom in our Office (for no money)
In this week’s makeover, we took on a LONG overdue room in our office space, the infamous (and scary) second bathroom. And yes, we actually have another bathroom that we share with the other tenants in the building, but it has remained untouched until now. We also thought it would be fun to add a little challenge by making it our mission to use only the supplies we already have in our storage room.
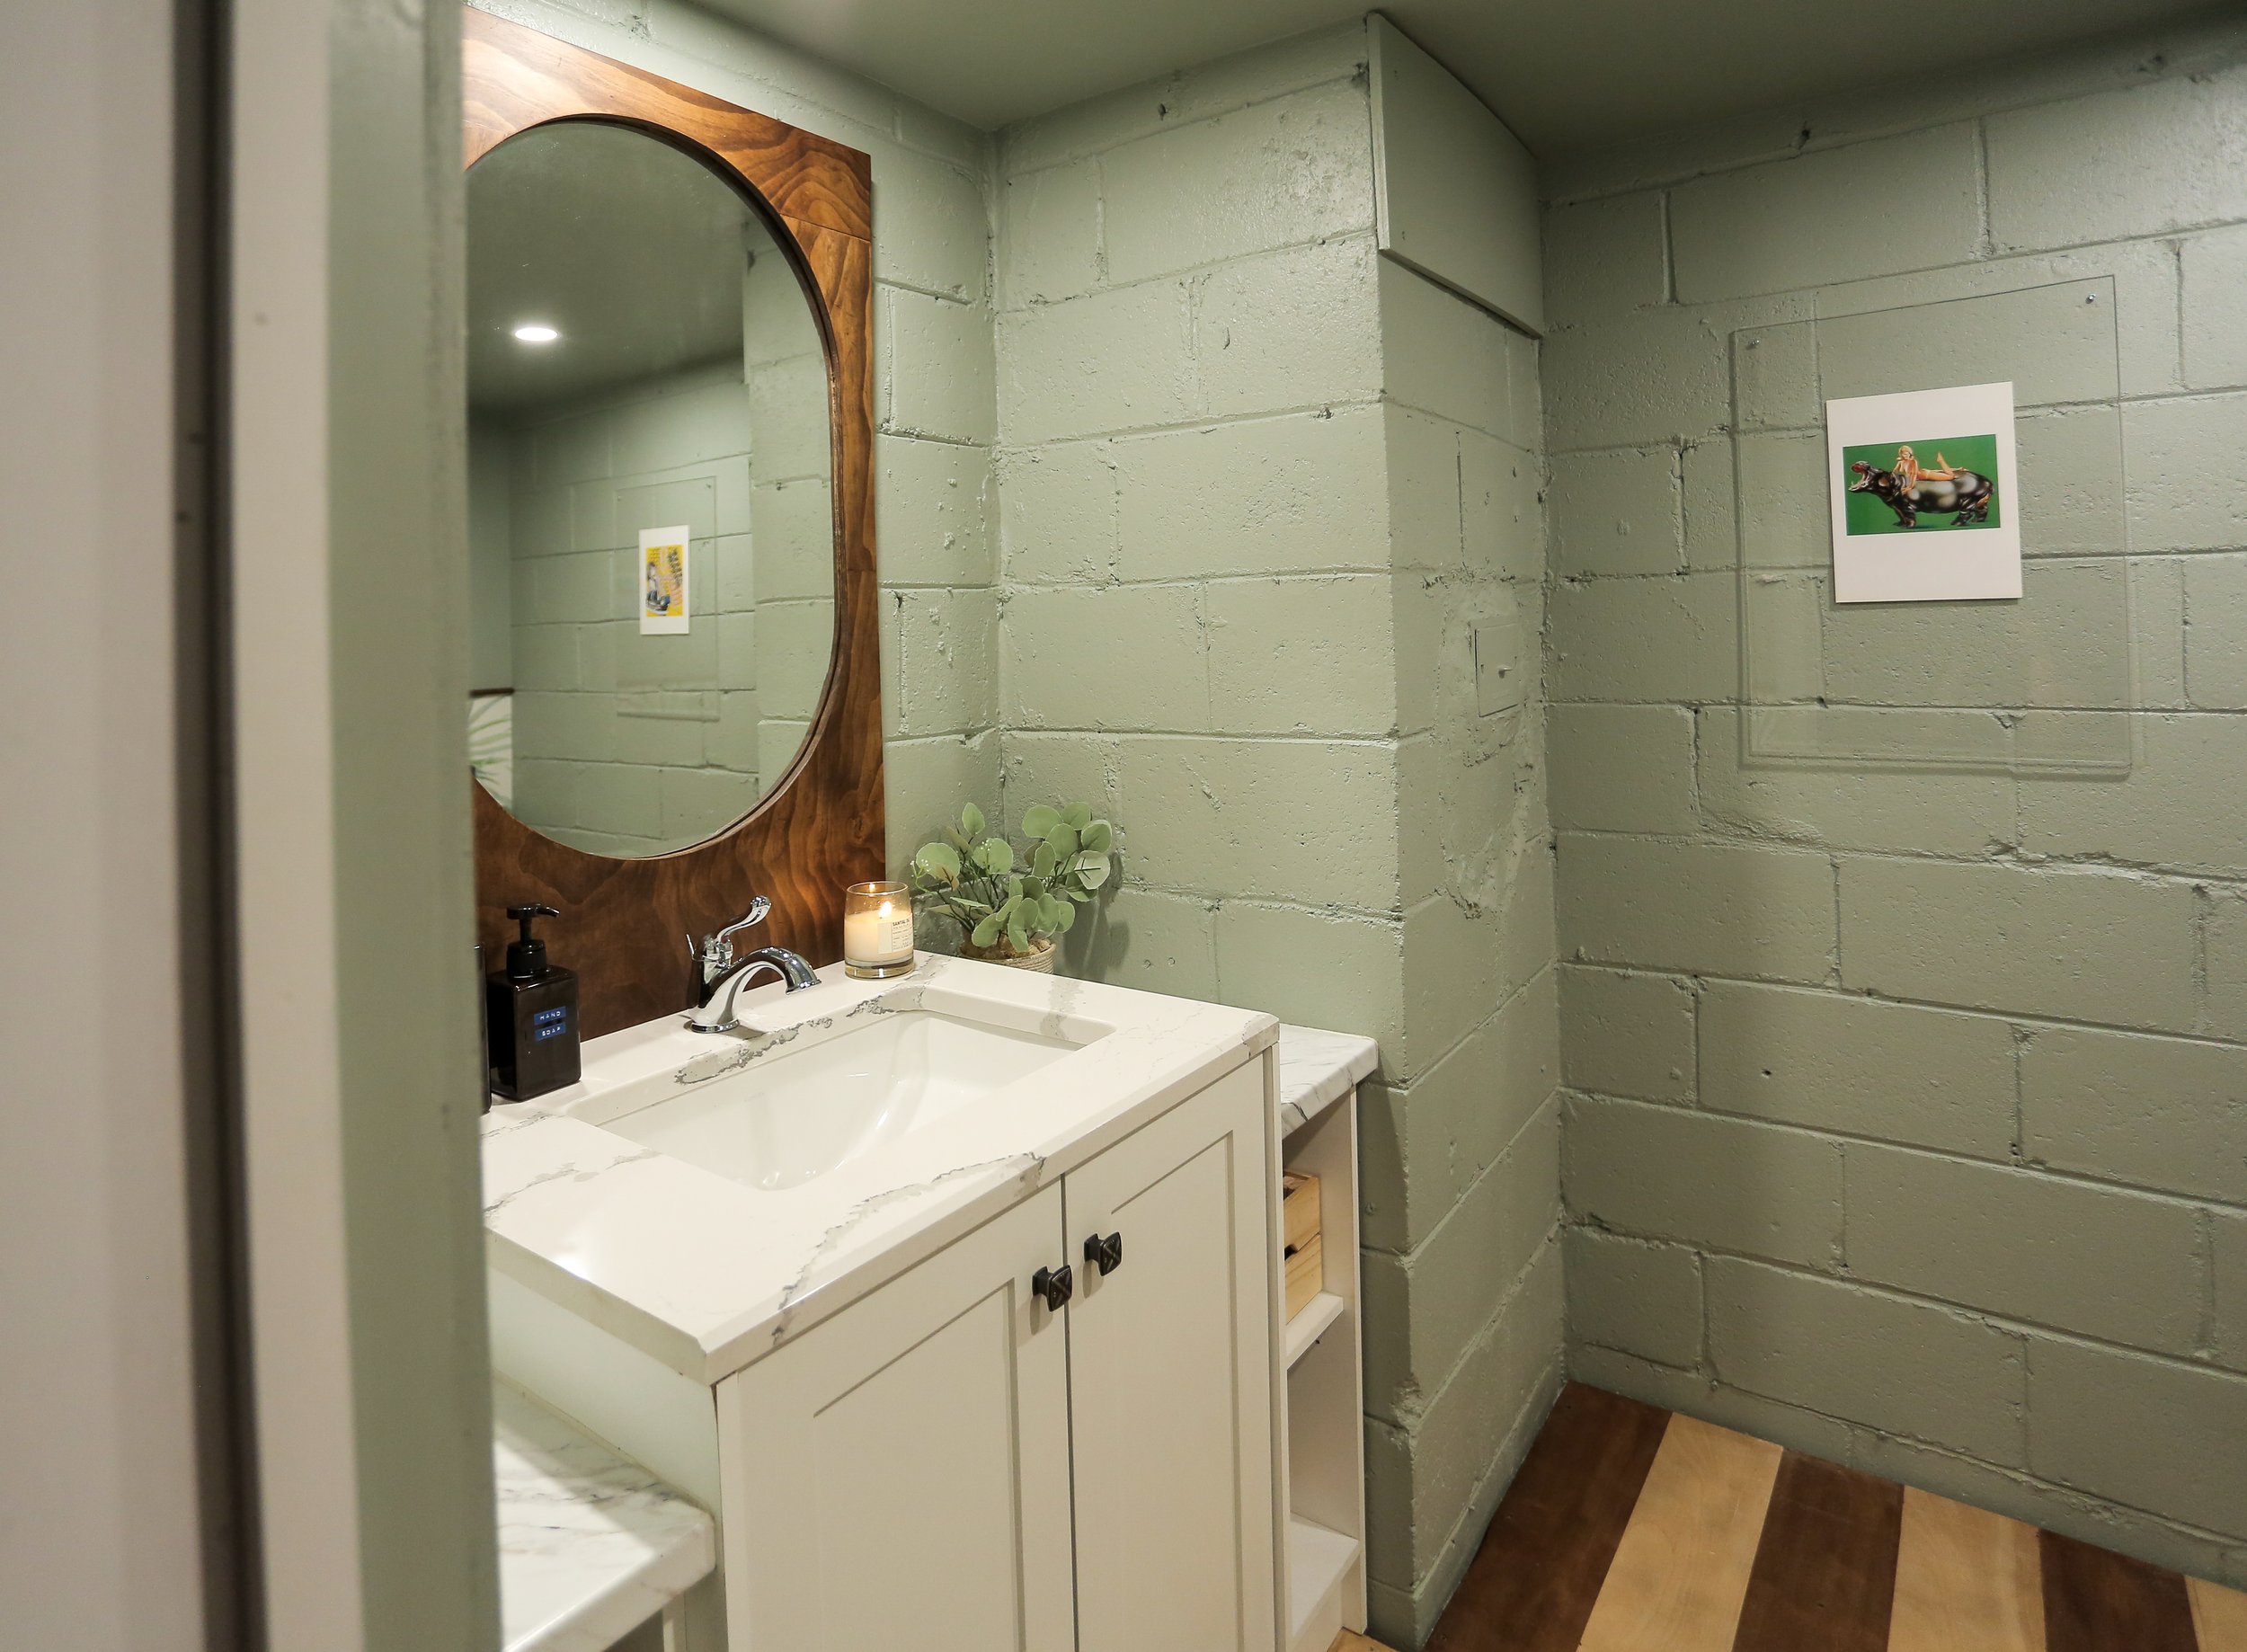
Before we began, let's take a quick tour of the space. This bathroom has rarely been used, as we have a private one in our studio. But we wanted to change that and make this bathroom just as inviting. We weren’t fans of the all-white look, so we were hoping to add some colour to the space. The floor definitely needed some attention too.


We have a storage room FULL of stuff (pictured below). We found a bunch of paint samples and building materials that we could use, and we even found some wallpaper that we've owned for years that we decided to use. And of course, there's always an abundance of wood in our office that we could use to create some unique pieces.
After brainstorming and gathering our materials, we formulated a plan. Our first step was to paint the walls using Color Spark paint, we tested out different colours and settled on a beautiful ‘Clay Mask Green’. The brand of paint is also mold and mildew resistant, so it’s perfect for a bathroom with high moisture levels.

After picking the paint colour, we decided to sand the floors, stain them in a striped pattern with some stain we already had, and add a clear sealant for durability.
We also decided to go for a bottom-half wallpaper accent, which is a bit different from the usual top-half approach. And to create a clean transition between the wallpaper and the painted wall, we use some scrap wood to make a chair rail. After that, we added some floating frame art pieces.


We even had the fun idea of repurposing leftover acrylic rods from a previous project to design a toilet paper holder inspired by a CB2 one! We also got some scrap wood and made some hooks for the wall.


After adding in the final touches, we can't express how thrilled we are with the final results. The color scheme, the statement floors, and the personalized details truly make this bathroom a standout space, AND we managed to transform it using only the supplies we already had. Even our landlord loved it!
Thank you so much for following along on this makeover journey. If you'd like to see the full transformation be sure to check out the video linked below. We'd love to hear your thoughts on which of the two bathrooms in our office you prefer. Stay tuned for more exciting DIY projects and updates from Loft Vibes and see you next time!