PLAN A GOALS BACHELORETTE PARTY
Becky’s sister and I just planned Becky’s Bachelorette party last weekend! I thought it would be a great idea to pop on the blog and write a whole post about tips and tricks on how to plan the perfect Bachelorette party. You'll need some key elements to get your party started:

#1: The Leader(s)
I recommend having one or two people to lead the planning and executing of the party. This person is typically the maid of honor, but finding someone super creative or organized in your group can totally make the bridesmaid's job a whole lot easier.
Limiting the party planning to one or two people keeps decision making and executing plans so much simpler!

#2: The guests
- Have the bride create the guest list for you.
- Once you have the guest list, make a private Facebook group (without the bride of course!) to discuss ideas, confirm dates, times, and locations, and to get super pumped for the big day!
- After the Bachelorette is over, it's fun to add the bride to the group and share images from the party there.
- The Facebook page also helps the ladies who may not know each other to meet, and for the whole team to start feeling like a squad. Having everyone be friends will make the day even more exciting for the bride! (Making new and awesome friends is cool too!)
#3: The venue
- I strongly recommend renting an Airbnb instead of going with a hotel.
- Rented Airbnb venues offer larger more unique spaces!
- Having everyone in your wedding party in the same house as opposed to separate hotel rooms keeps the team together.
- Having a full sized kitchen is really nice for cooking meals, instead of trying to cook in tiny hotel rooms or eating out for every meal.
- You also generally save money using Airbnb!
- Click here to receive 50% off of your next Airbnb rental.
- Click here to check out the Airbnb we rented for Becky's Bachelorette.
#4: The decor
- Having a theme for your Bachelorette really helps with overall planning, but especially decorating!
- Keep the bride in mind, what does she like?
- One of the decor pieces we did is a wall sign that read "She Said Yaass"
- Check out The Sorry Girls Bachelorette Kit to streamline the decorating process.


MINI DIY: 'SHE SAID YAASS' WALL SIGN:
MATERIALS:
- Gold Foiled Paper
- Fancy Embroidery String
- Tissue Paper
TOOLS:
- 'She Said Yaass' Template
- Scissors
- Single Hole Punch
- The Sorry Girls Bachelorette Kit*
- Silhouette Machine*
*Optional
To make this DIY 'She Said Yaass" wall sign I started with tracing out the letters! You can use a stencil if you find one big enough. Next I cut out the letters and punched holes into the tops of each of them. These holes allowed me to string the embroidery string through the holes in each letter, threading the string in opposite ways into each letter. We purchased Silhouette paper and used the Silhouette machine we already had to streamline the process. We made the little tassels simply by cutting strips of tissue paper, putting them into bundles, and tying the embroidery string around the tops of the bundles.
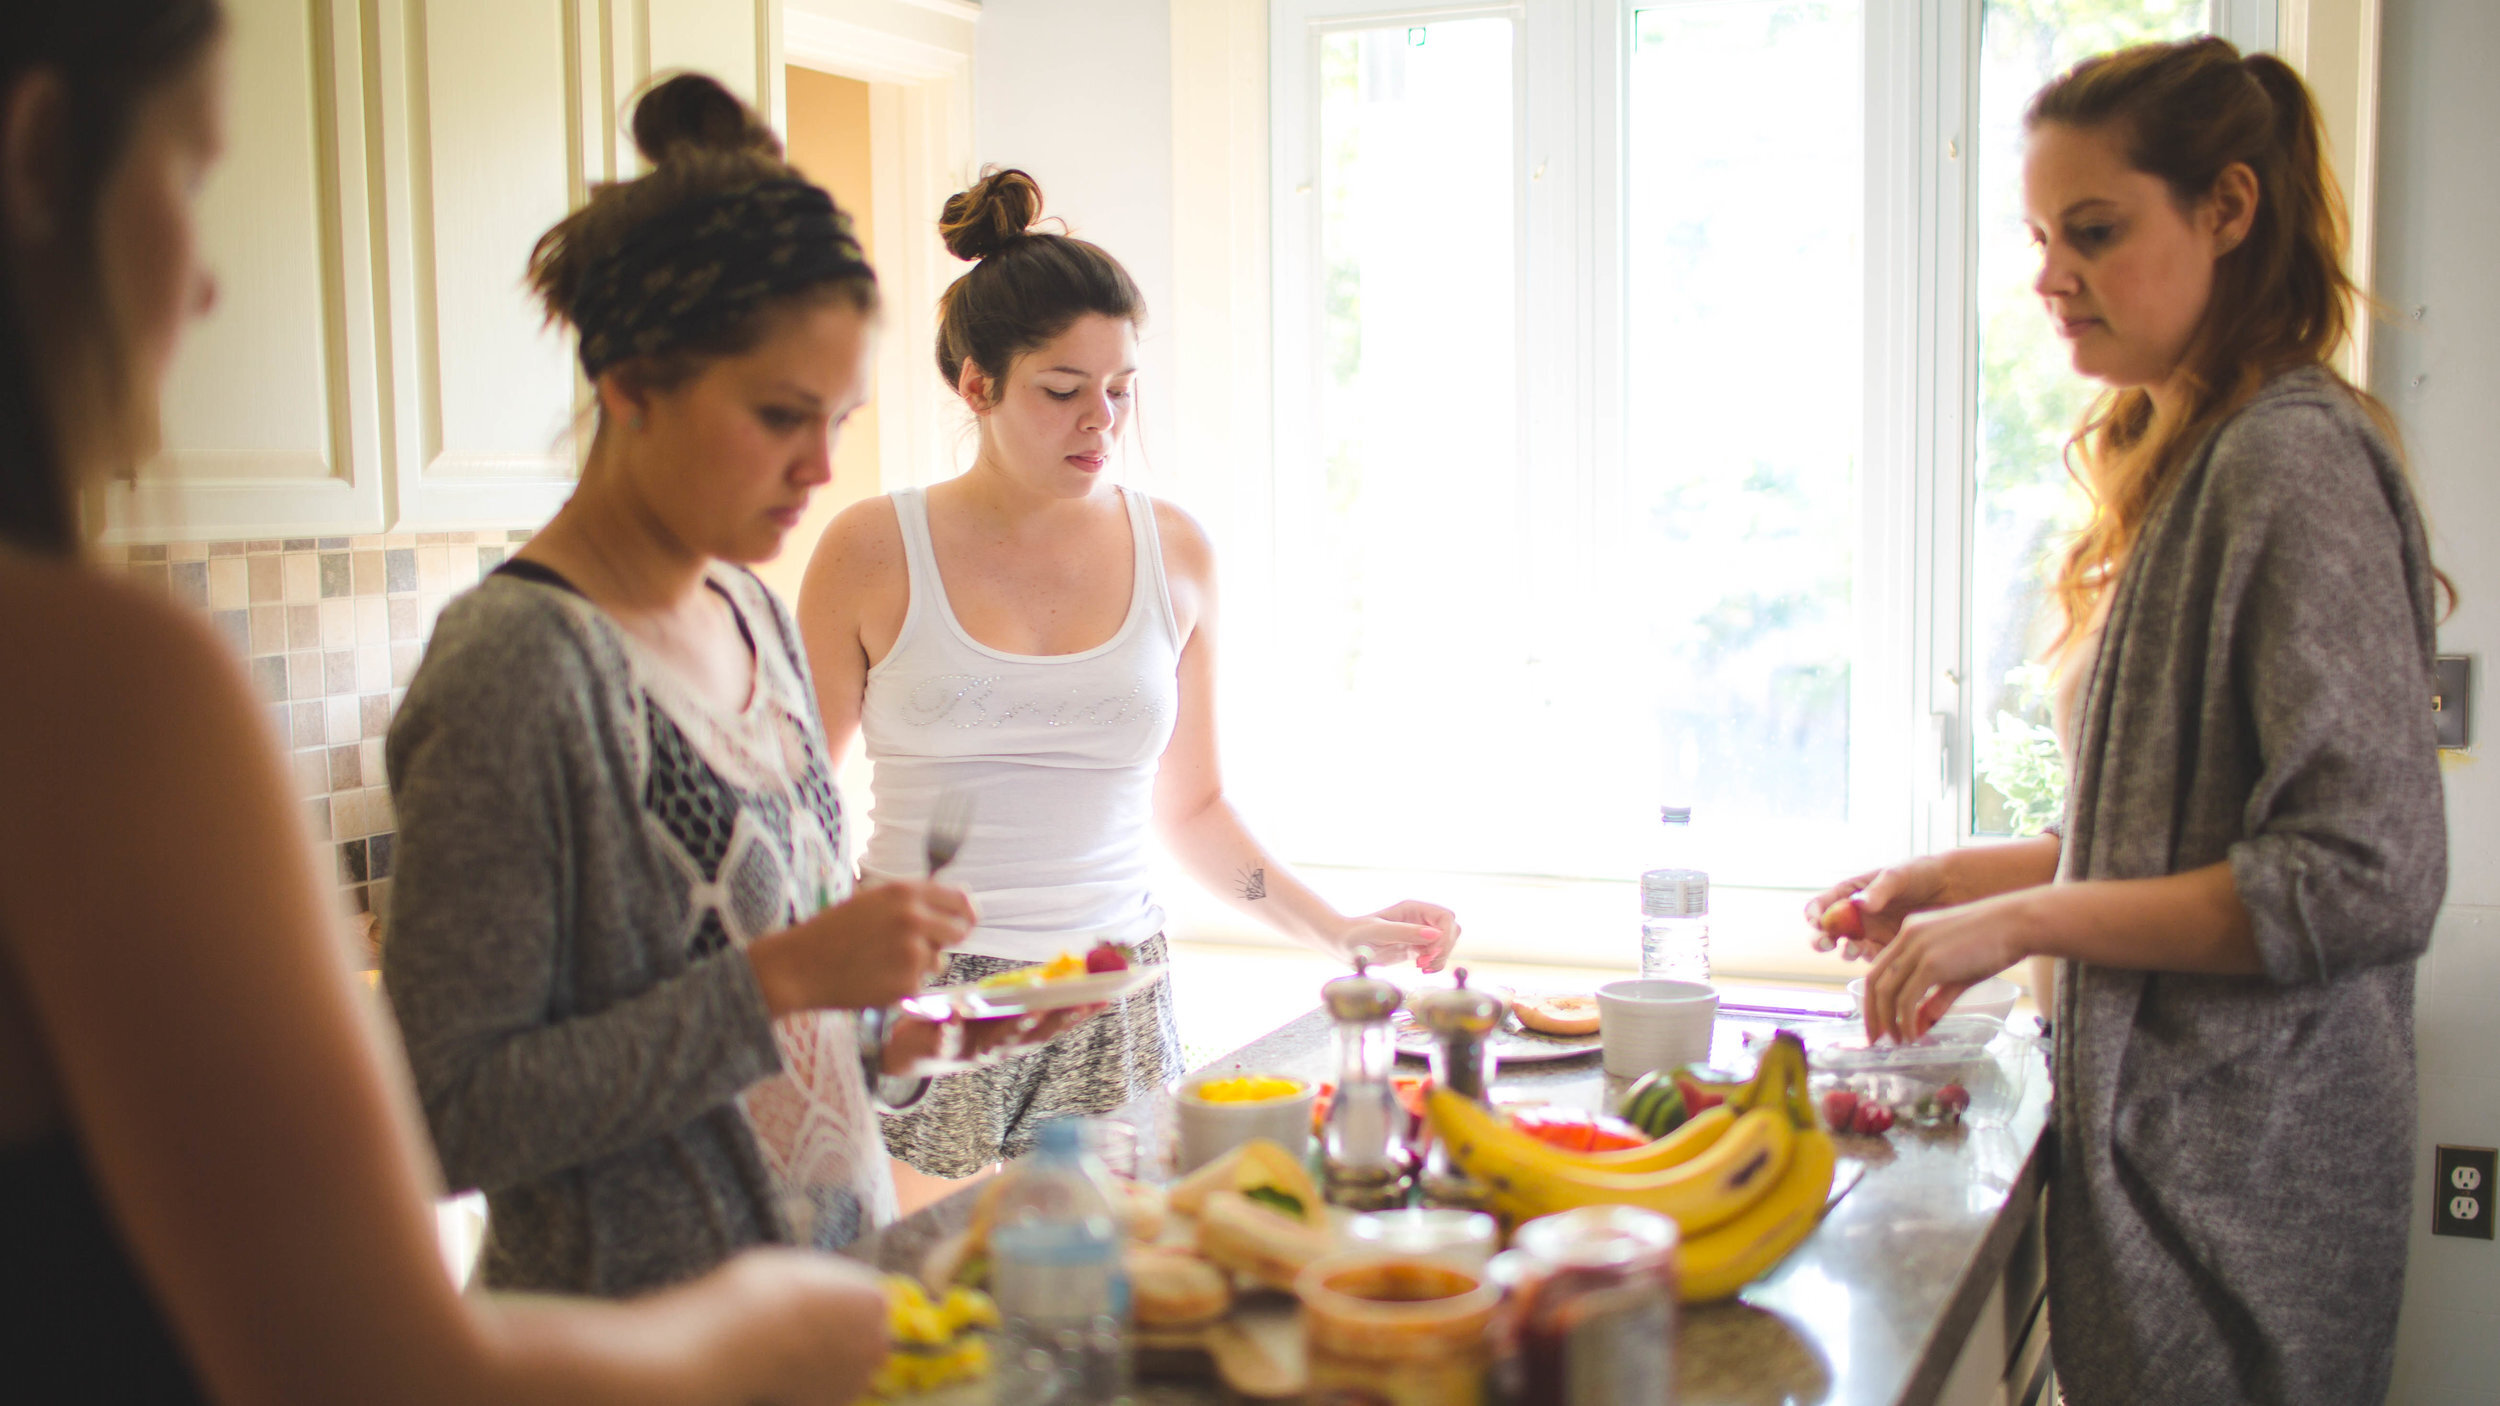
#5: The food
We recommend offering a variety of foods that are generally healthy so that everyone is happy! It might be a good idea to take into account any dietary restrictions your guests may have.
For breakfast we opted for a do it yourself style meal, offering a variety of foods such as scrambled eggs, bagels, jams and spreads, fruit, and drinks.


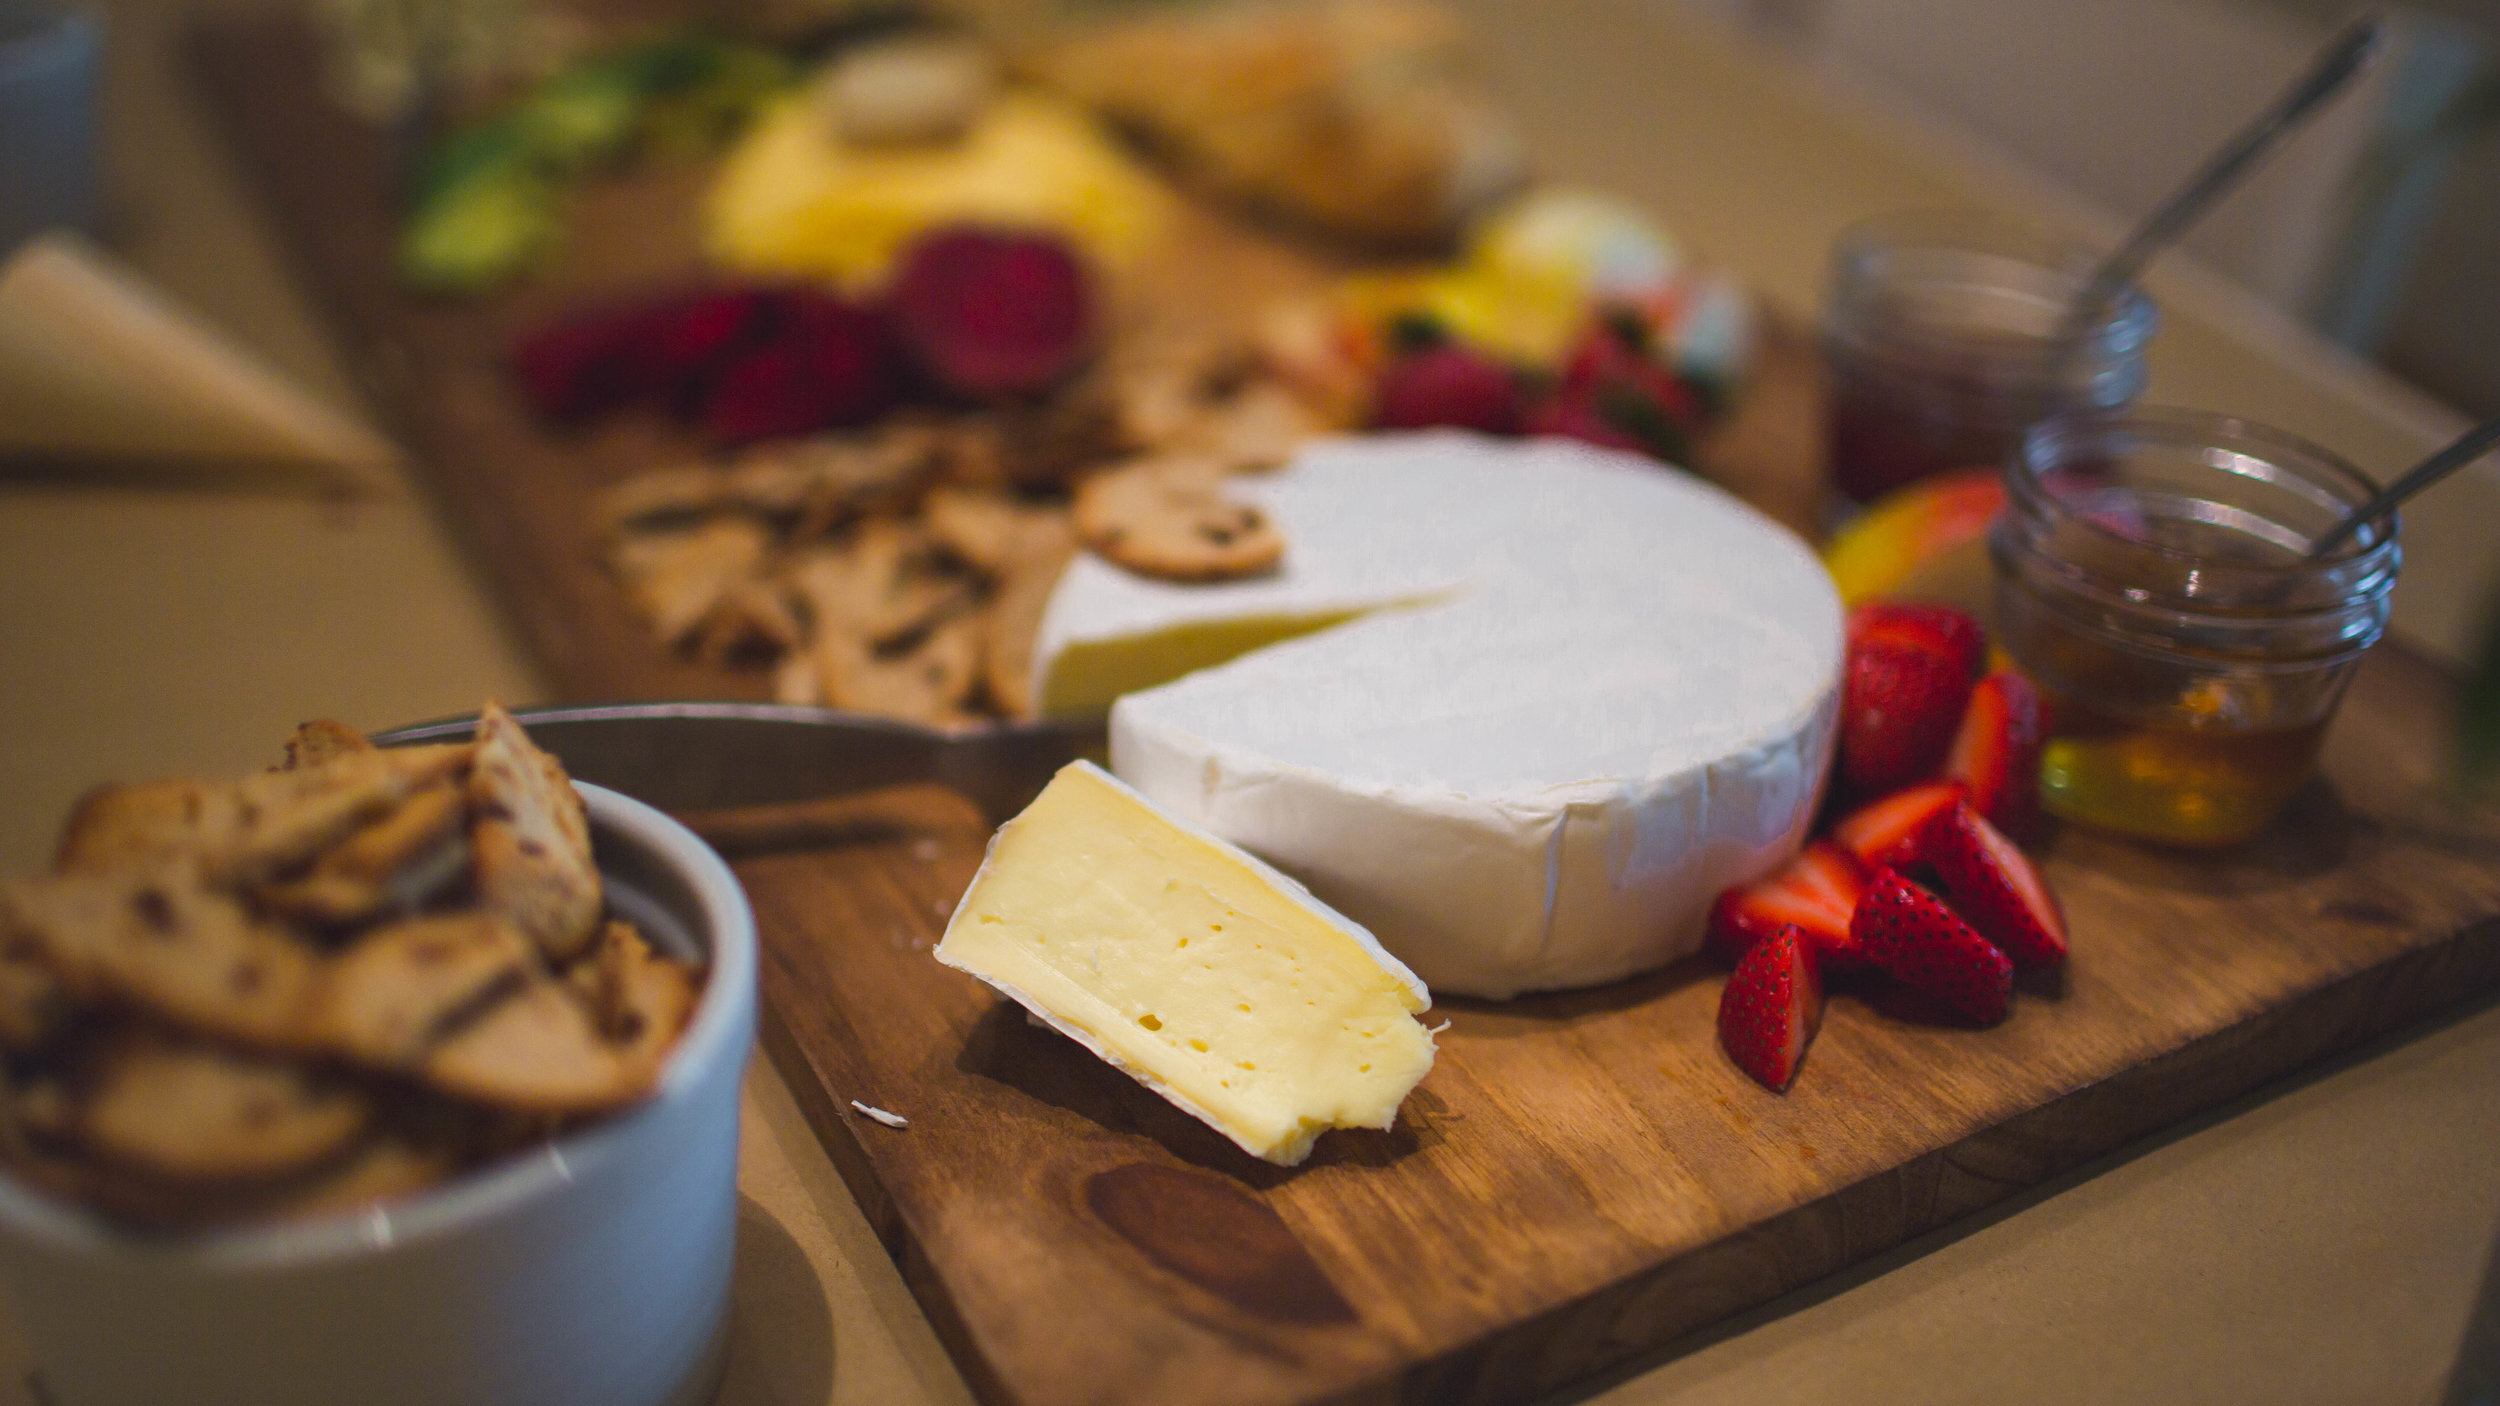
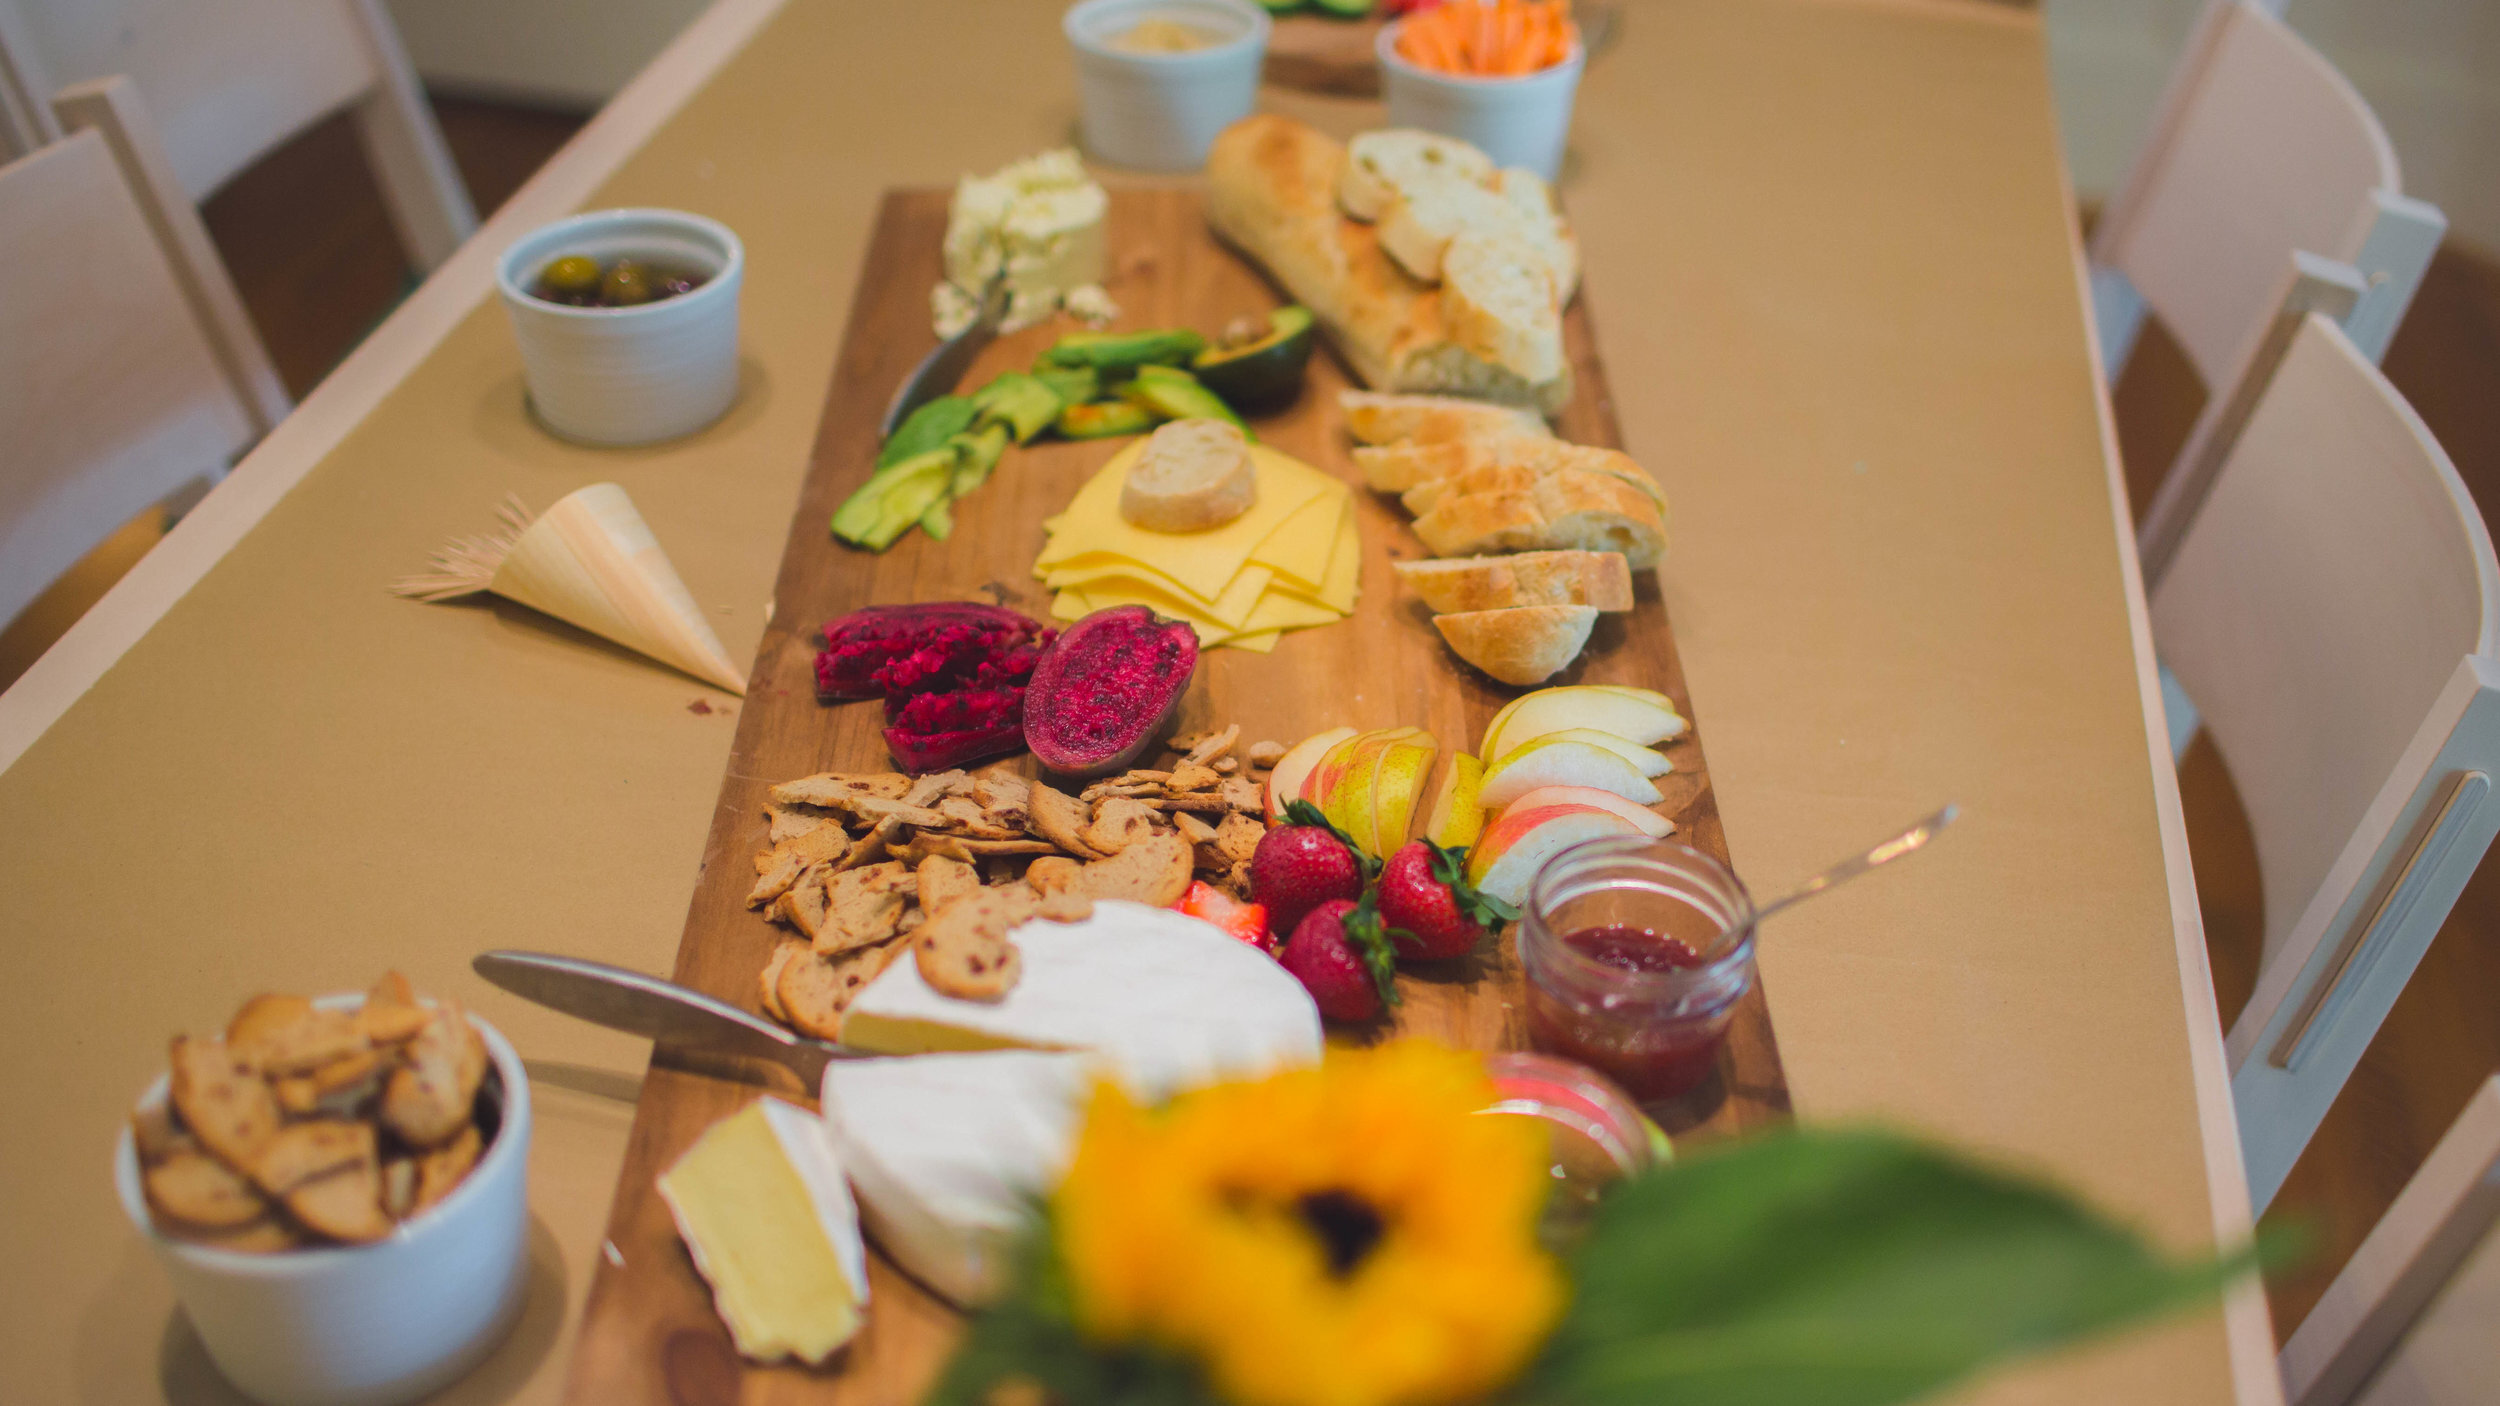
For light lunches and snacks, we offered our guests a cheese board-style-spread (check out our video here to see us style a yummy cheese board).


All of our cooking efforts went into dinner. I recommend another do it yourself style food bar or food building set-up. Your guests can really customize their meals and add or remove anything they might not like.


#6: the activites
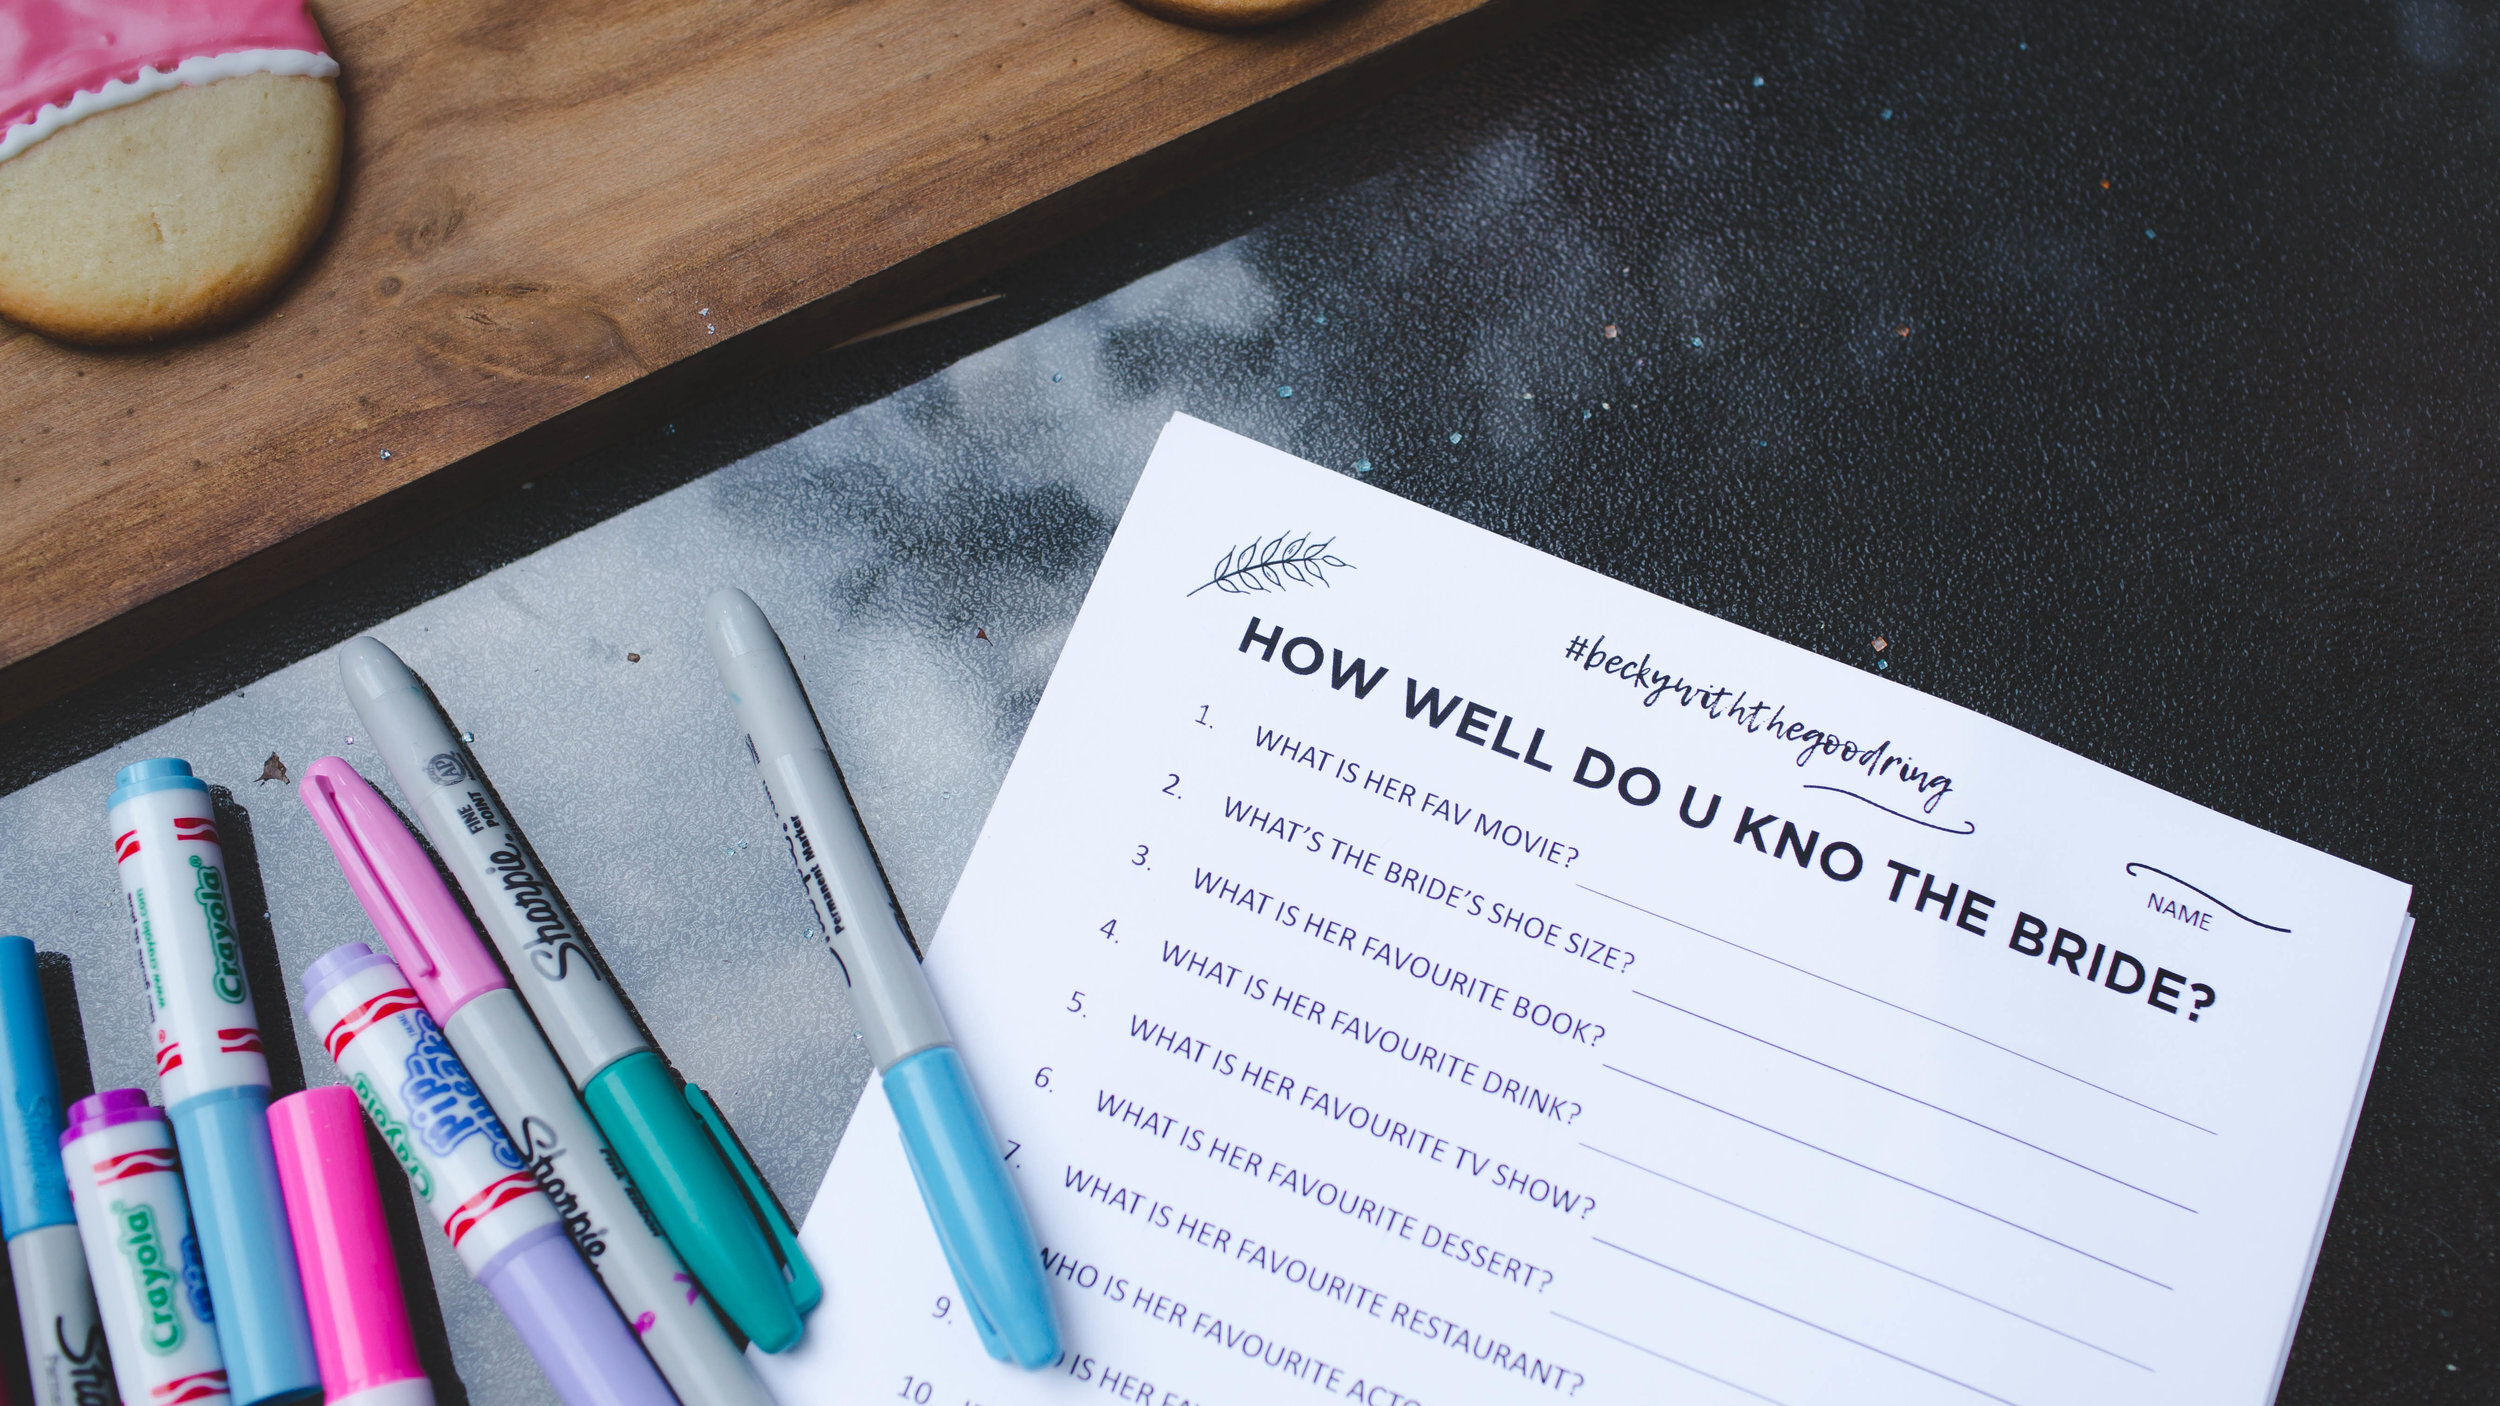
- There are some games that are just classics when it comes to bridal showers or Bachelorette parties.
- 'How Well Do You Know The Bride' is a fun one! Print out a list of questions, give everyone a sheet to fill out, and share your answers at the end! To streamline the process, have the bride fill out her own sheet to compare answers!
- Check out The Sorry Girls Bachelorette Kit to streamline the process!

- The night that we went out, we decided to create a scavenger hunt! Adding fun tasks such as getting a guy at the bar to propose to one of the bridesmaids, getting a photo with a man bun-clad man, or finding someone who looks like the groom all spice up the evening!
What to do in niagra
When we decided to visit Niagara, we didn't really know a whole lot about what to do there other than the typical (and not Bachelorette appropriate) Niagara falls. After researching, we found two really great activities to do there...
Spicy Olive Bar and Grille:
- We loved this bar! It had live music, cheap drinks, and had a fun atmosphere!
- It was super close to where the main action was in Niagara.
2. Jack's Cantina
- Some people recommended we try this restaurant! We didn't go, but it comes with great reviews.
3. Taco and Tequila
- Another recommended restaurant that we didn't get a chance to check out, but it has a delicious and fresh looking menu along with giant and incredible drinks.
4. Peller Estates Winery and Restaurant
- This place was not your average winery! We opted for their cheese and wine experience called The Big Cheese Theory - Interactive Pairing Experience!
- It was pretty cool, we were basically scientists and were able to smoke and pair our own cheeses!
- The property was also beautiful, and was the perfect spot to take pics in our boho gear!


#7: the diys
I don't know if it's just us, but we feel like DIYs are an essential activity for the whole squad to do together during the Bachelorette. Here are the ones that we did...
mini diy: bride squad chokers

MATERIALS:
- Black and white ribbon
- Gold foiled peel and stick paper
TOOLS:
- Scissors
- Pencil
- Stencil
- Crafting Knife/ Exacto Knife
- Cutting Mat
- The Sorry Girls Bachelorette Kit*
- Silhouette machine*
*Optional
To make these DIY Bride Squad Chokers, trace your chosen phrases onto the peel and stick paper. Lay the paper onto a material that's safe to cut on top of, such as a cutting mat, and cut your letters out with a crafting knife. You can also purchase peel and stick letters to do this. Since we already own the Silhouette machine, we decided to purchase the Silhouette paper and cut out the letters using the machine. Once your letters are cut out, simply stick them onto your choker! If you're worried about the letters falling off, you can always hot glue them in place.


mini diy: bride squad tattoos
MATERIALS:
TOOLS:
- Temporary Tattoo Template
- Crafting Knife/ Exacto Knife
- Pencil
- Stencil
- Cutting Mat
- The Sorry Girls Bachelorette Kit*
- Silhouette Machine*
*Optional
These DIY Bride Squad temporary tattoos are super easy to do. Grab your temporary tattoo paper and draw your design onto the white side of the paper. Placing the paper on top of a cutting safe mat, use a crafting knife or Exacto knife to cut out your shapes. To streamline the process, we used the Silhouette we already owned to cut out our designs.
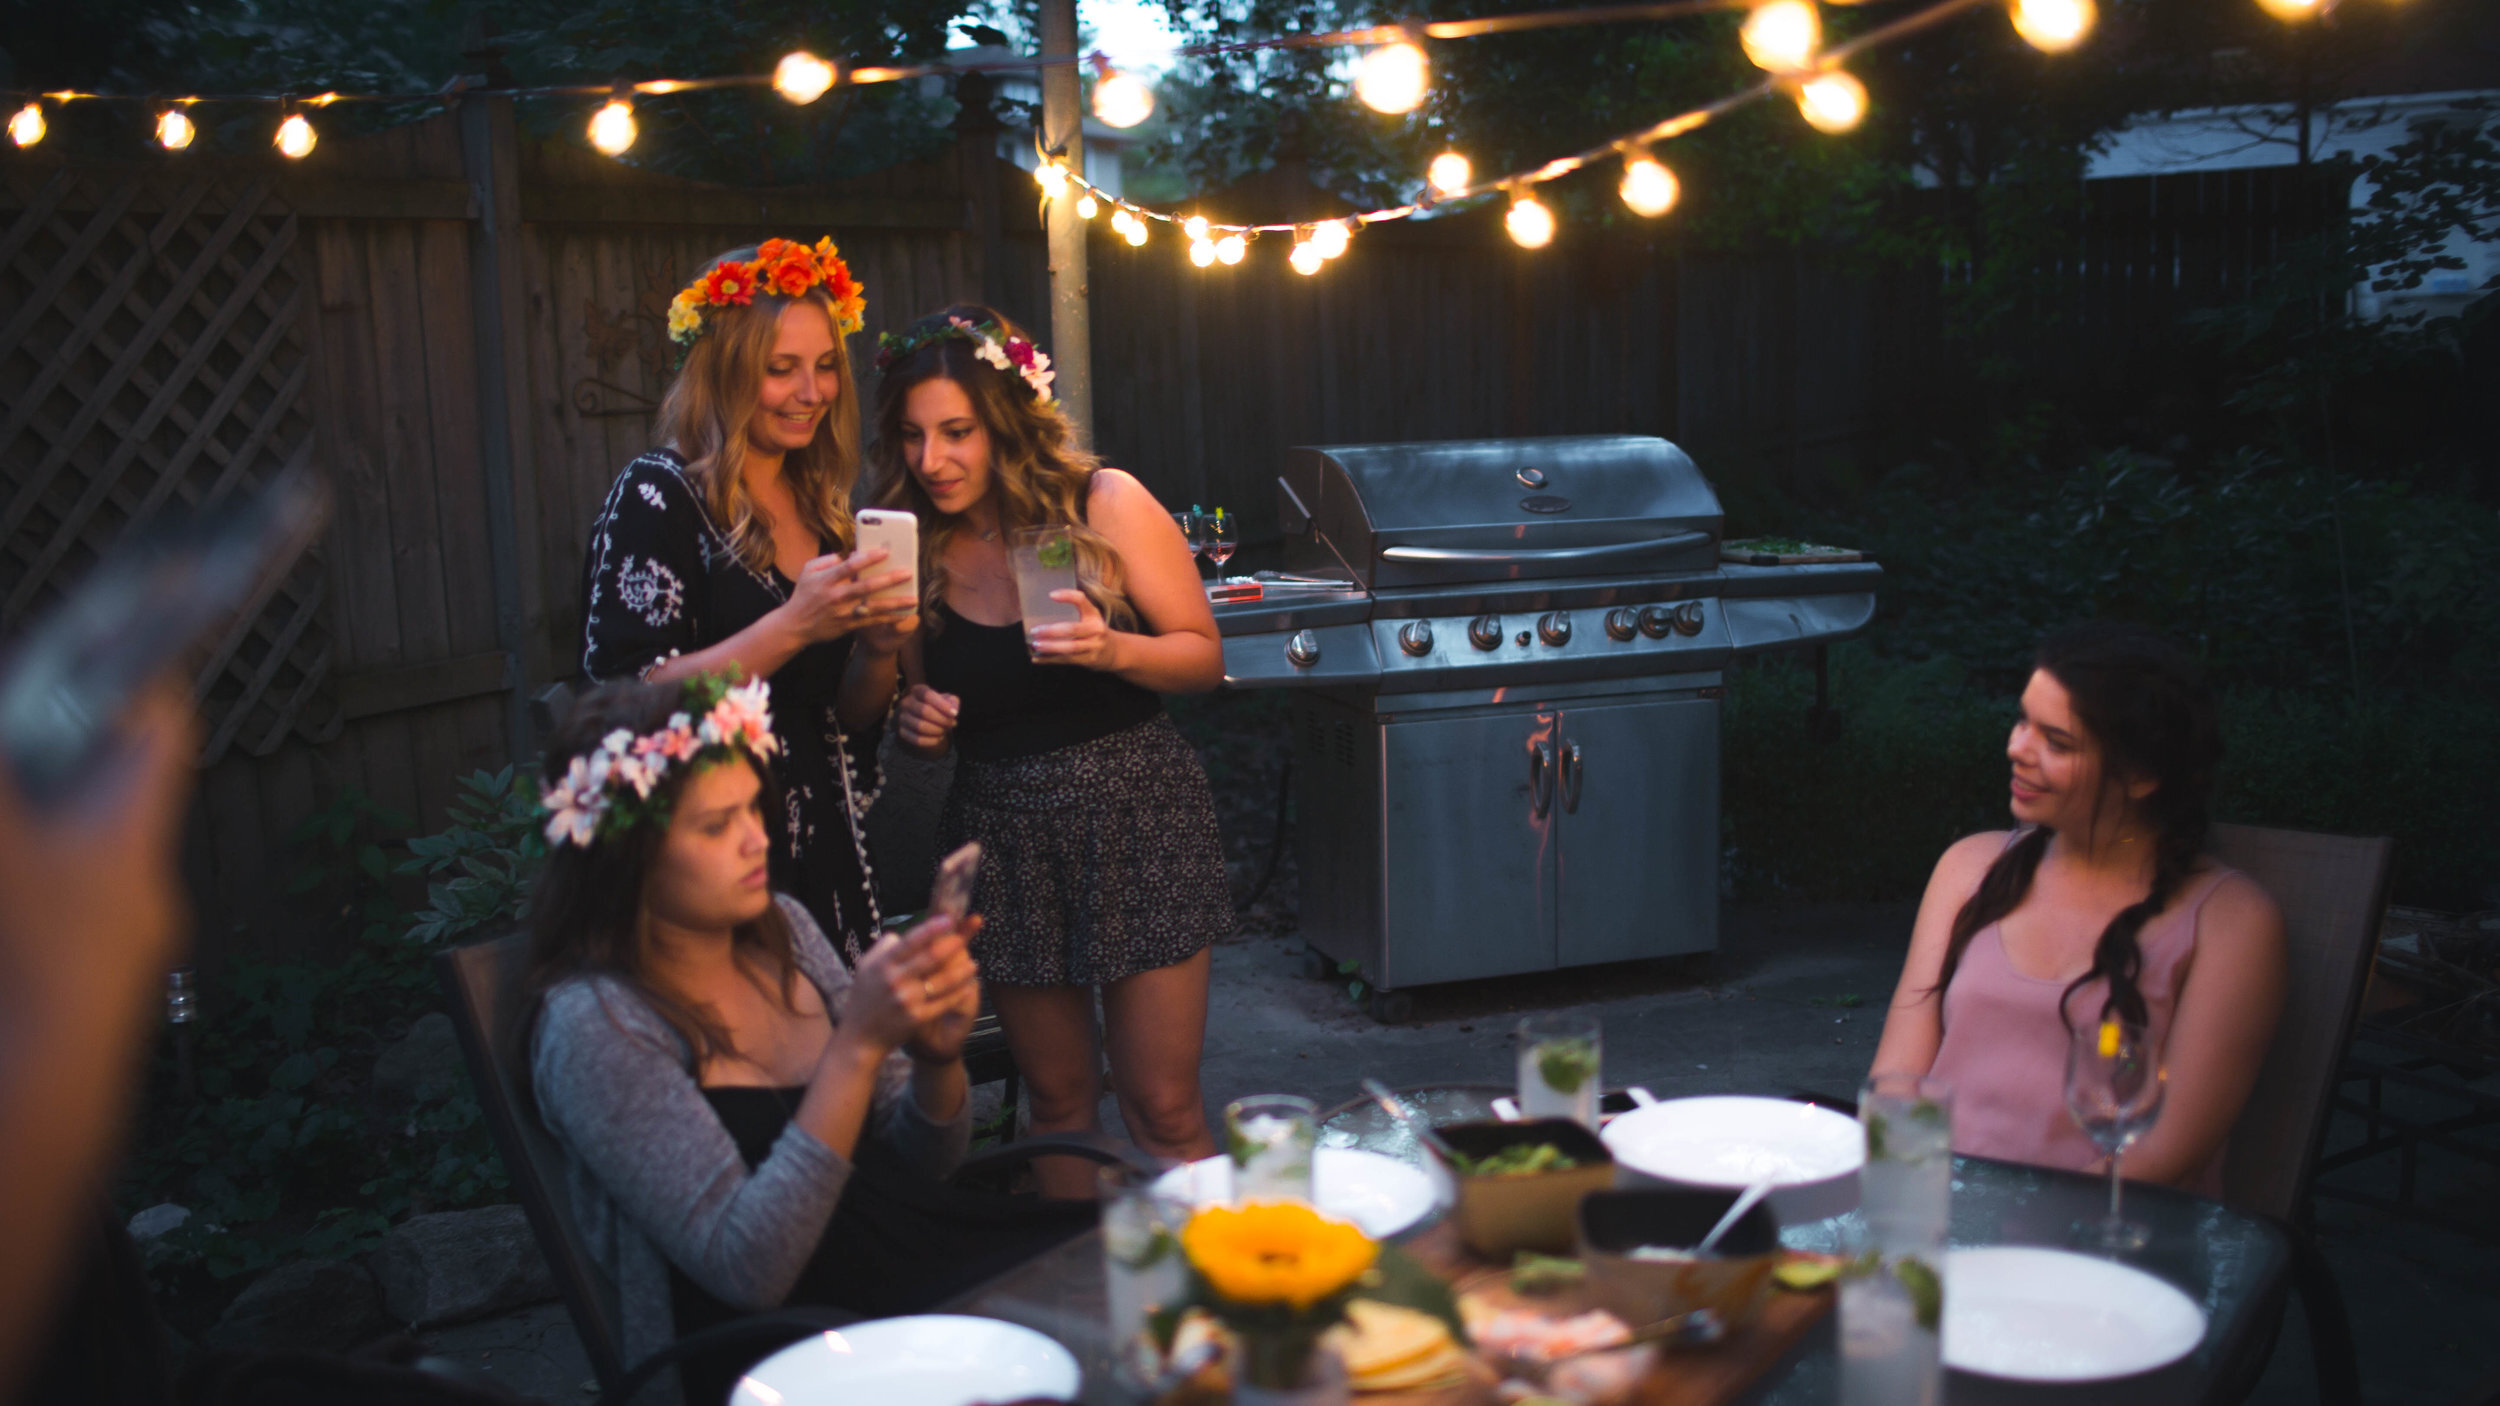
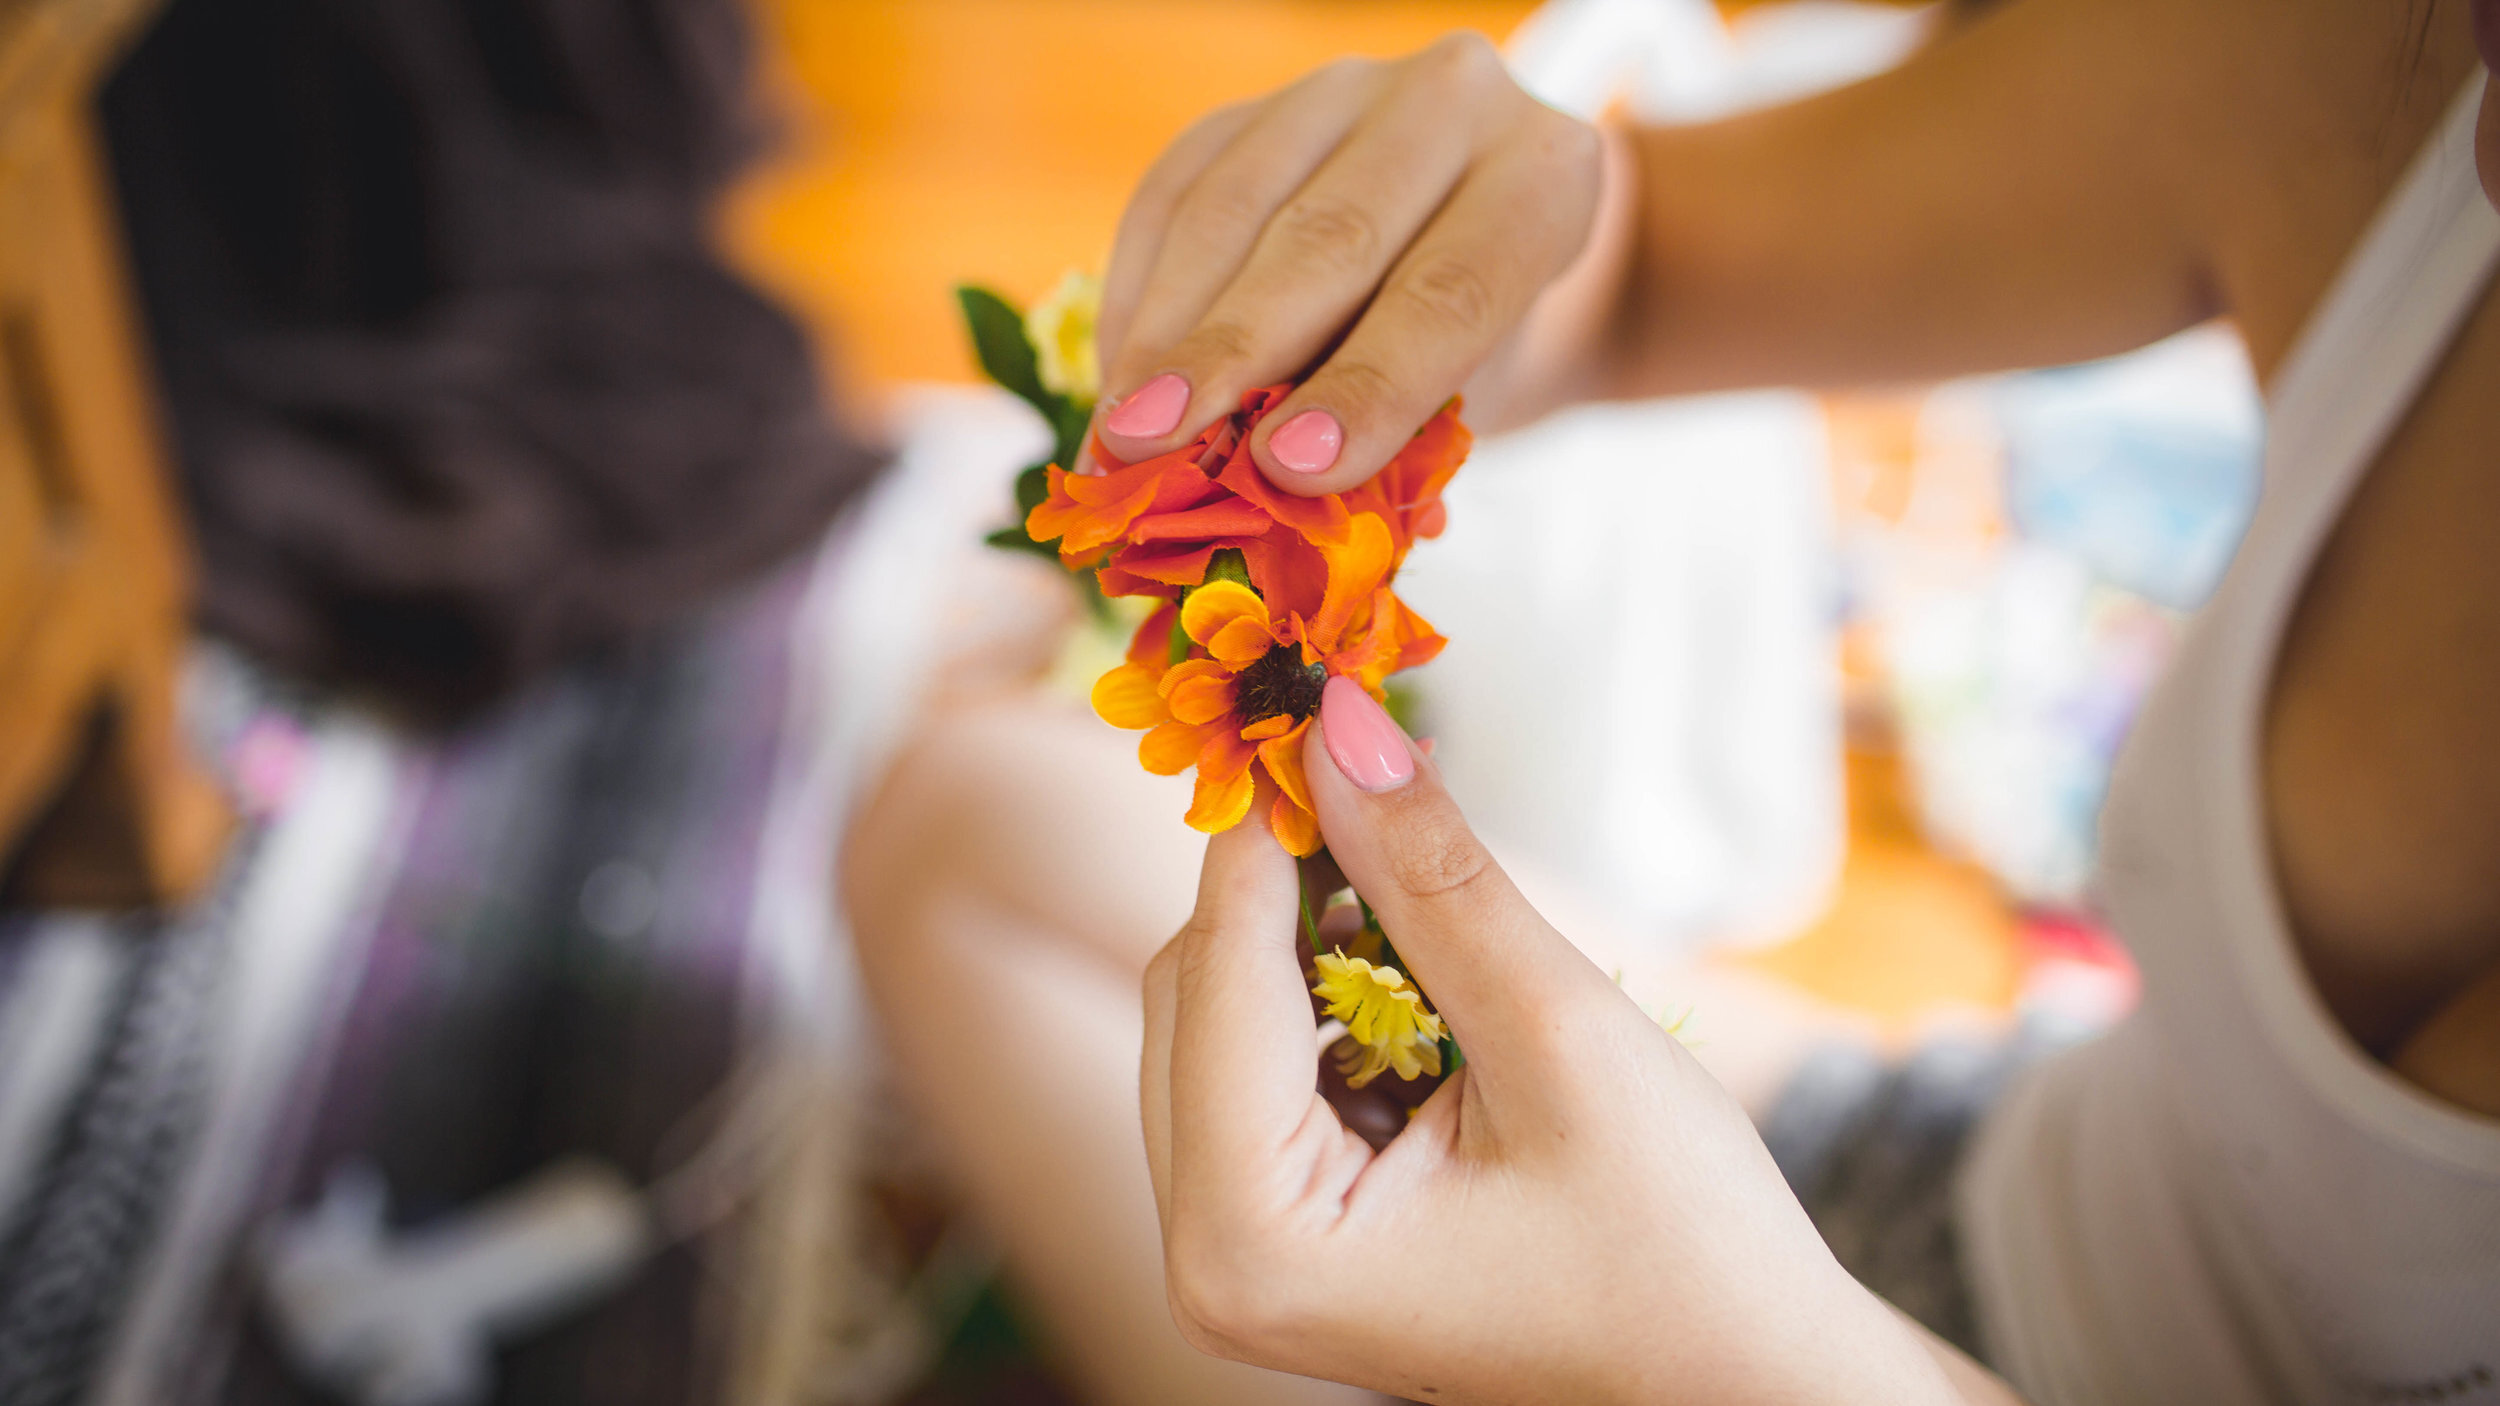
mini diy: flower crown
MATERIALS:
- Faux flowers
- Faux greenery
- Thick Floral Wire
- Hot glue
TOOLS:
- Wire cutters
- Glue gun
These flower crowns are SUPER easy to make. All you have to do is measure around the head of the wearer, cut wire to fit that measurement, shape the wire into a circle, and start gluing the flowers and greenery onto the crown!

mini diy: butt cookies

MATERIALS:
- Sugar cookies
- Cookie icing
- Sprinkles and other cookie decor
TOOLS:
- Tweezers
- Piping bags
- Bowls
To make the butt shape of the cookies, we rolled out some sugar cookie dough and cut out hearts using a large heart shaped cookie cutter. Once the hearts were cut out, we trimmed the pointed ends of the hearts to make them look like little butts. Bake your cookies, set up the decorations, and get decorating!


#8:Gifts?
- Making gifts optional is a great way of being considerate to your guests! If the ladies are already paying for the weekend, optional gifts takes the pressure off of spending a ton of money on the weekend.
- A nice idea might be for the while bridal party to come together to buy the bride a gift, saving everyone money!


AND THAT'S IT! I know, a ton of information to digest. Check out the vlog below for more Bachelorette goodness! If you decide to make anything involved in this post, be sure to show us using the hashtag #SorryGirlsSquad! ALSO check out the The Sorry Girls Bachelorette Kit for tons of templates and printables to make the party planning process easier!