DIY MY WEDDING INVITATIONS WITH ME

WE ARE SO EXCITED! For all of you that don't know already, I (Becky) am getting married this August! A lot of you were asking if I am going to DIY parts of my wedding, and of course, the answer is yes! These DIYs are meant as inspiration, and you can totally add your own wedding colors or themes into these projects. Let's get started!

COST: $100-$150 (depending on amount of invitations)
DIFFICULTY: ✂
MATERIALS:
140 Pound watercolour paper.
5x7 brown craft paper envelopes
Watercolour paint
Water
Waxed thread
Dried eucalyptus
TOOLS:
Small wet paintbrush
Large dry paintbrush
Photoshop or program of your choice
Square edge ruler
Scissors
White gel pen
The base of these invitations are going to be a thick and textured watercolour paper. Mine is 140 pound watercolour paper. I will be making about eighty invitations for the wedding, and I know that I’ll be fitting two on one page, meaning I’ll need forty pages of watercolour paper. For the envelopes, we got 5x7 craft paper envelopes.
To dye the pages, I chose to use watercolour paint. I got this watercolour paint at the craft store and it was very inexpensive! I started the painting by putting a little bit of taupe paint around the edges of the page. I also mixed in some purple to make the taupe less brown. I painted down the center of the page because I will be tearing it in half to create two invitations. I then grabbed a large dry brush and used it to blend the colour on the edges together to give the whole page a wash of colour. I then set them out to dry.

To actually design the invitation, I went onto photoshop and played around with different fonts, spacing, and sizes. We used photoshop, but you can use whichever program you are most comfortable with. Some basic information you might want to put on your invitation include the names of the people getting married, the date, time, location, and wedding website where people can RSVP. When you’re all done with your design, save it as a TIFF file for better printing.
To print, many major companies that provide printing services do not allow for customers to bring outside paper to print in their machines. It helps to call independent printing houses in your area to find one that will allow you to use your own paper. You could print using your own printer at home, but the quality at printing houses can be a little better (plus it’s much faster at a printing house)!
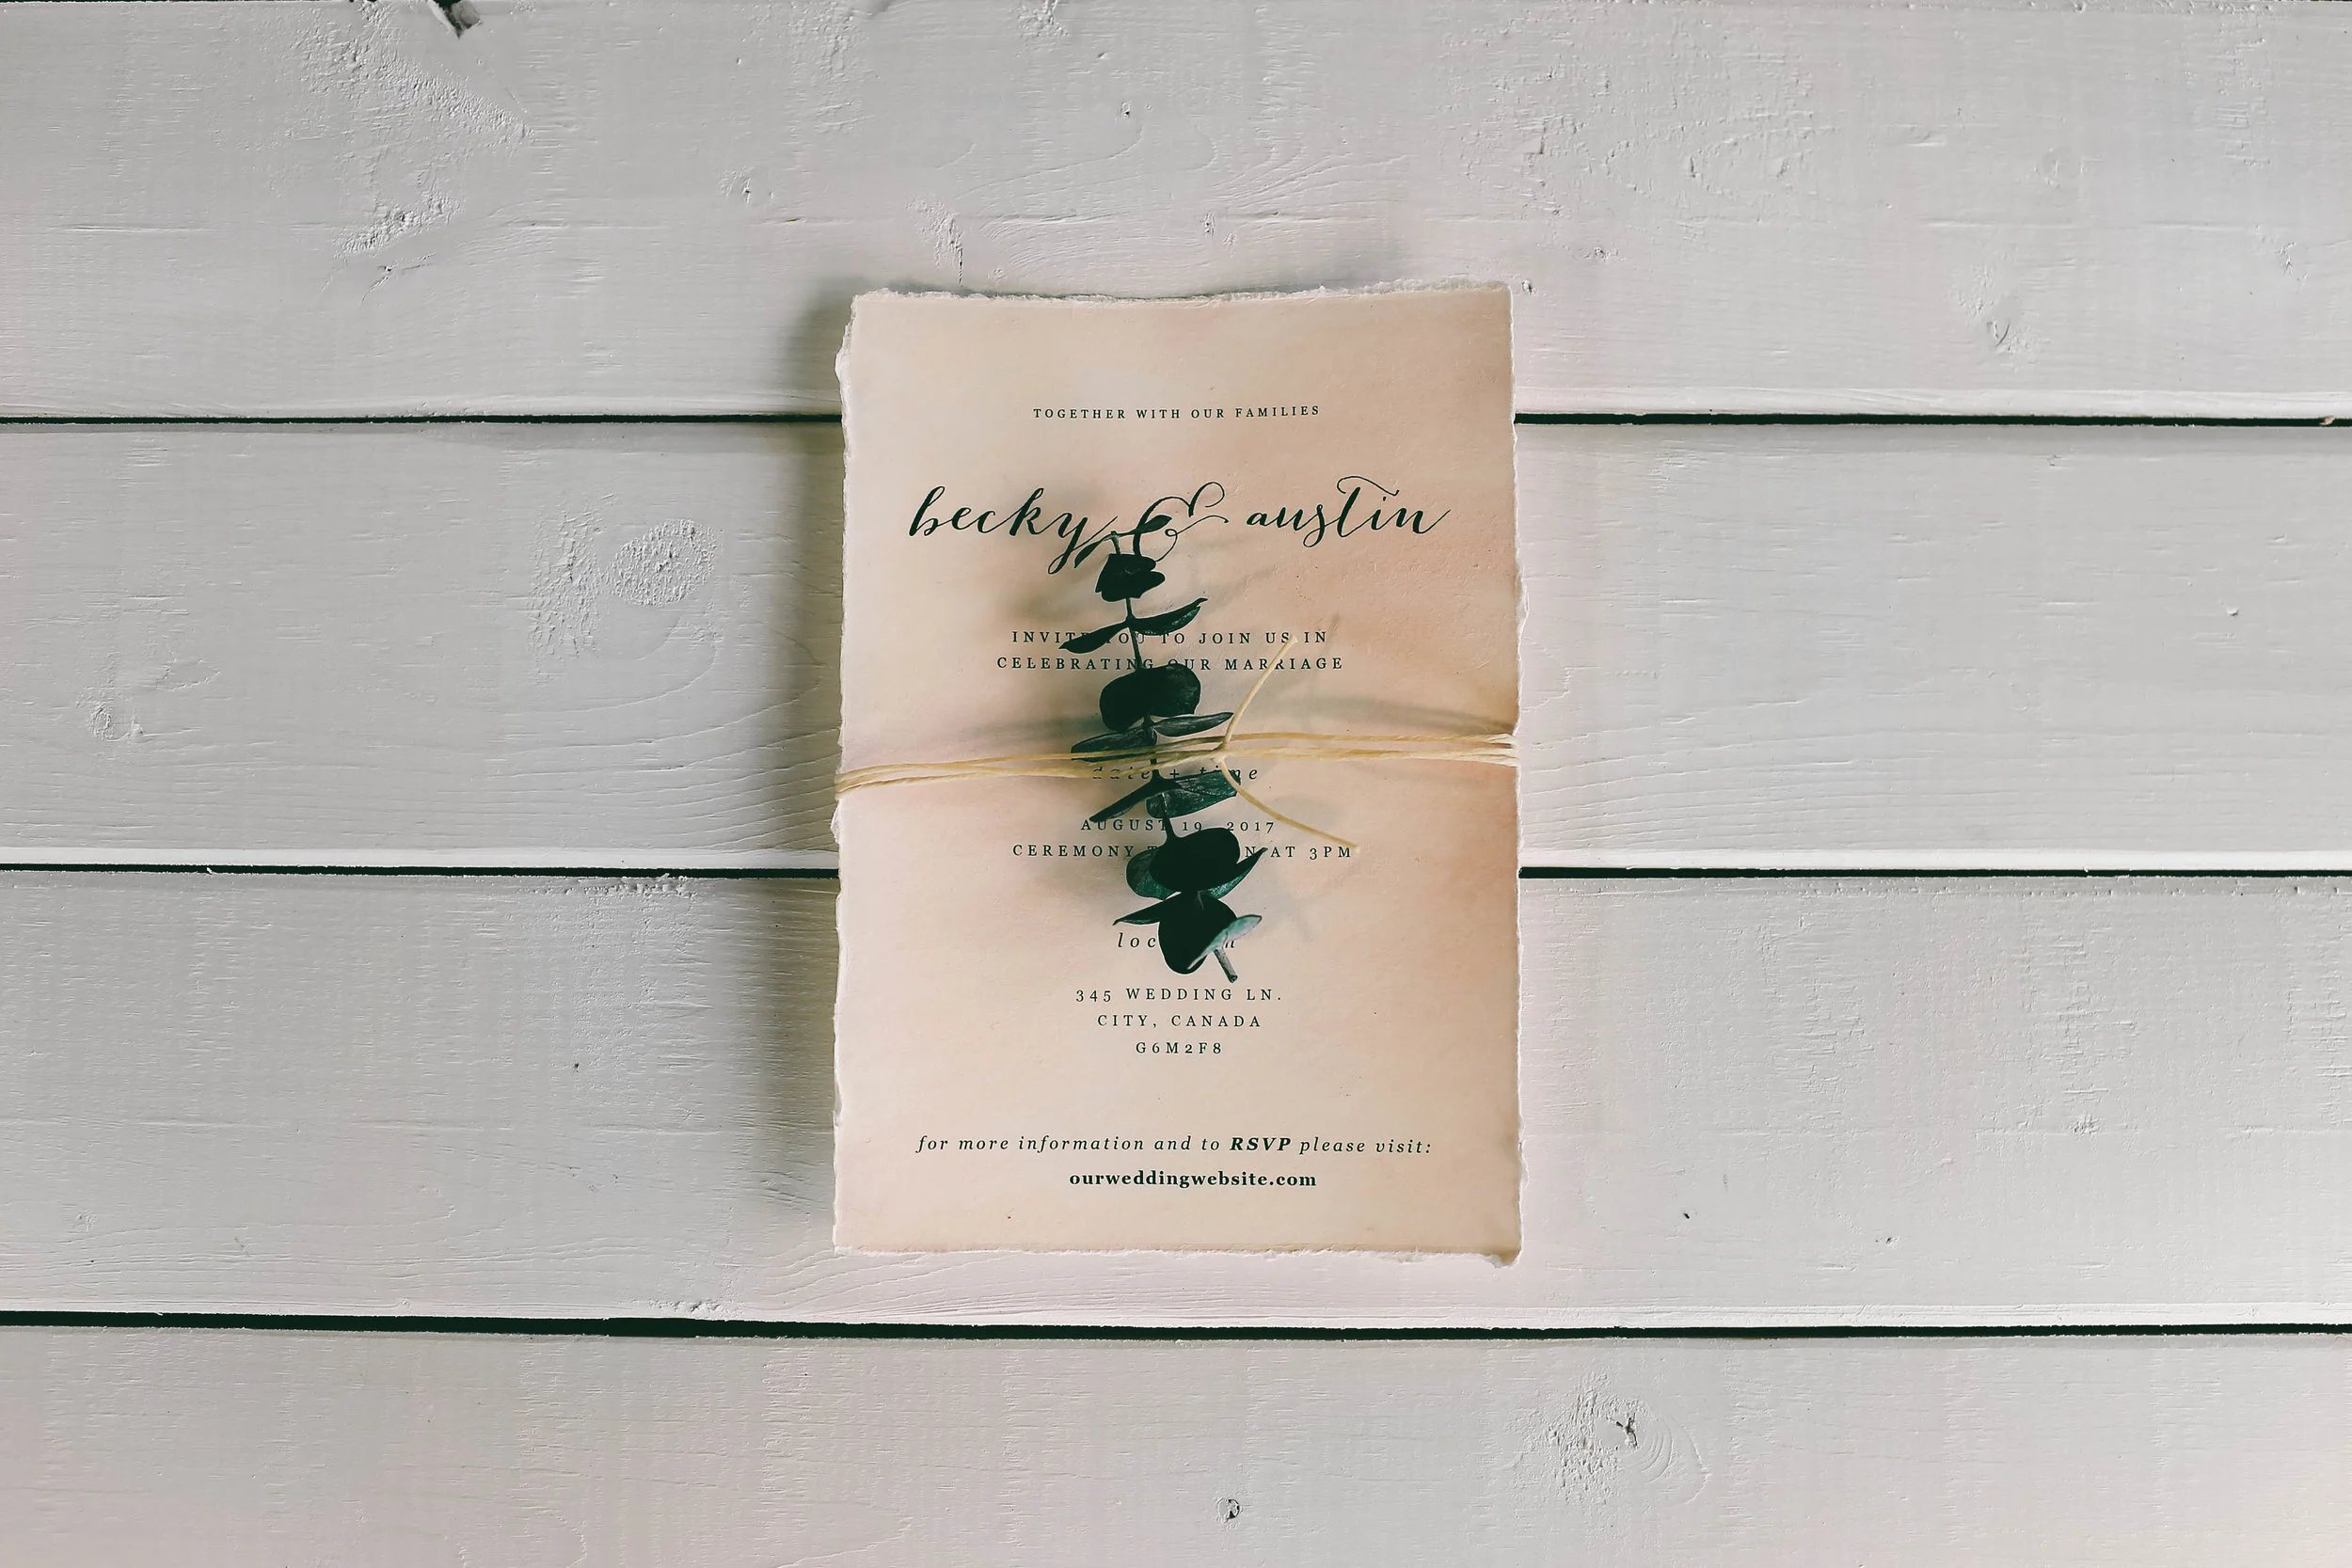
To create a soft edge, I am going to rip the pages using a straight edge ruler. Make sure you are ripping the pages to the correct size of your envelopes. Hold the ruler tightly to the paper and rip slowly!
To add detail to the invitations, I am wrapping waxed thread around a couple of times and tying it into a knot. I used small bits of dried eucalyptus to add some more decoration. I placed the eucalyptus underneath the waxed thread.
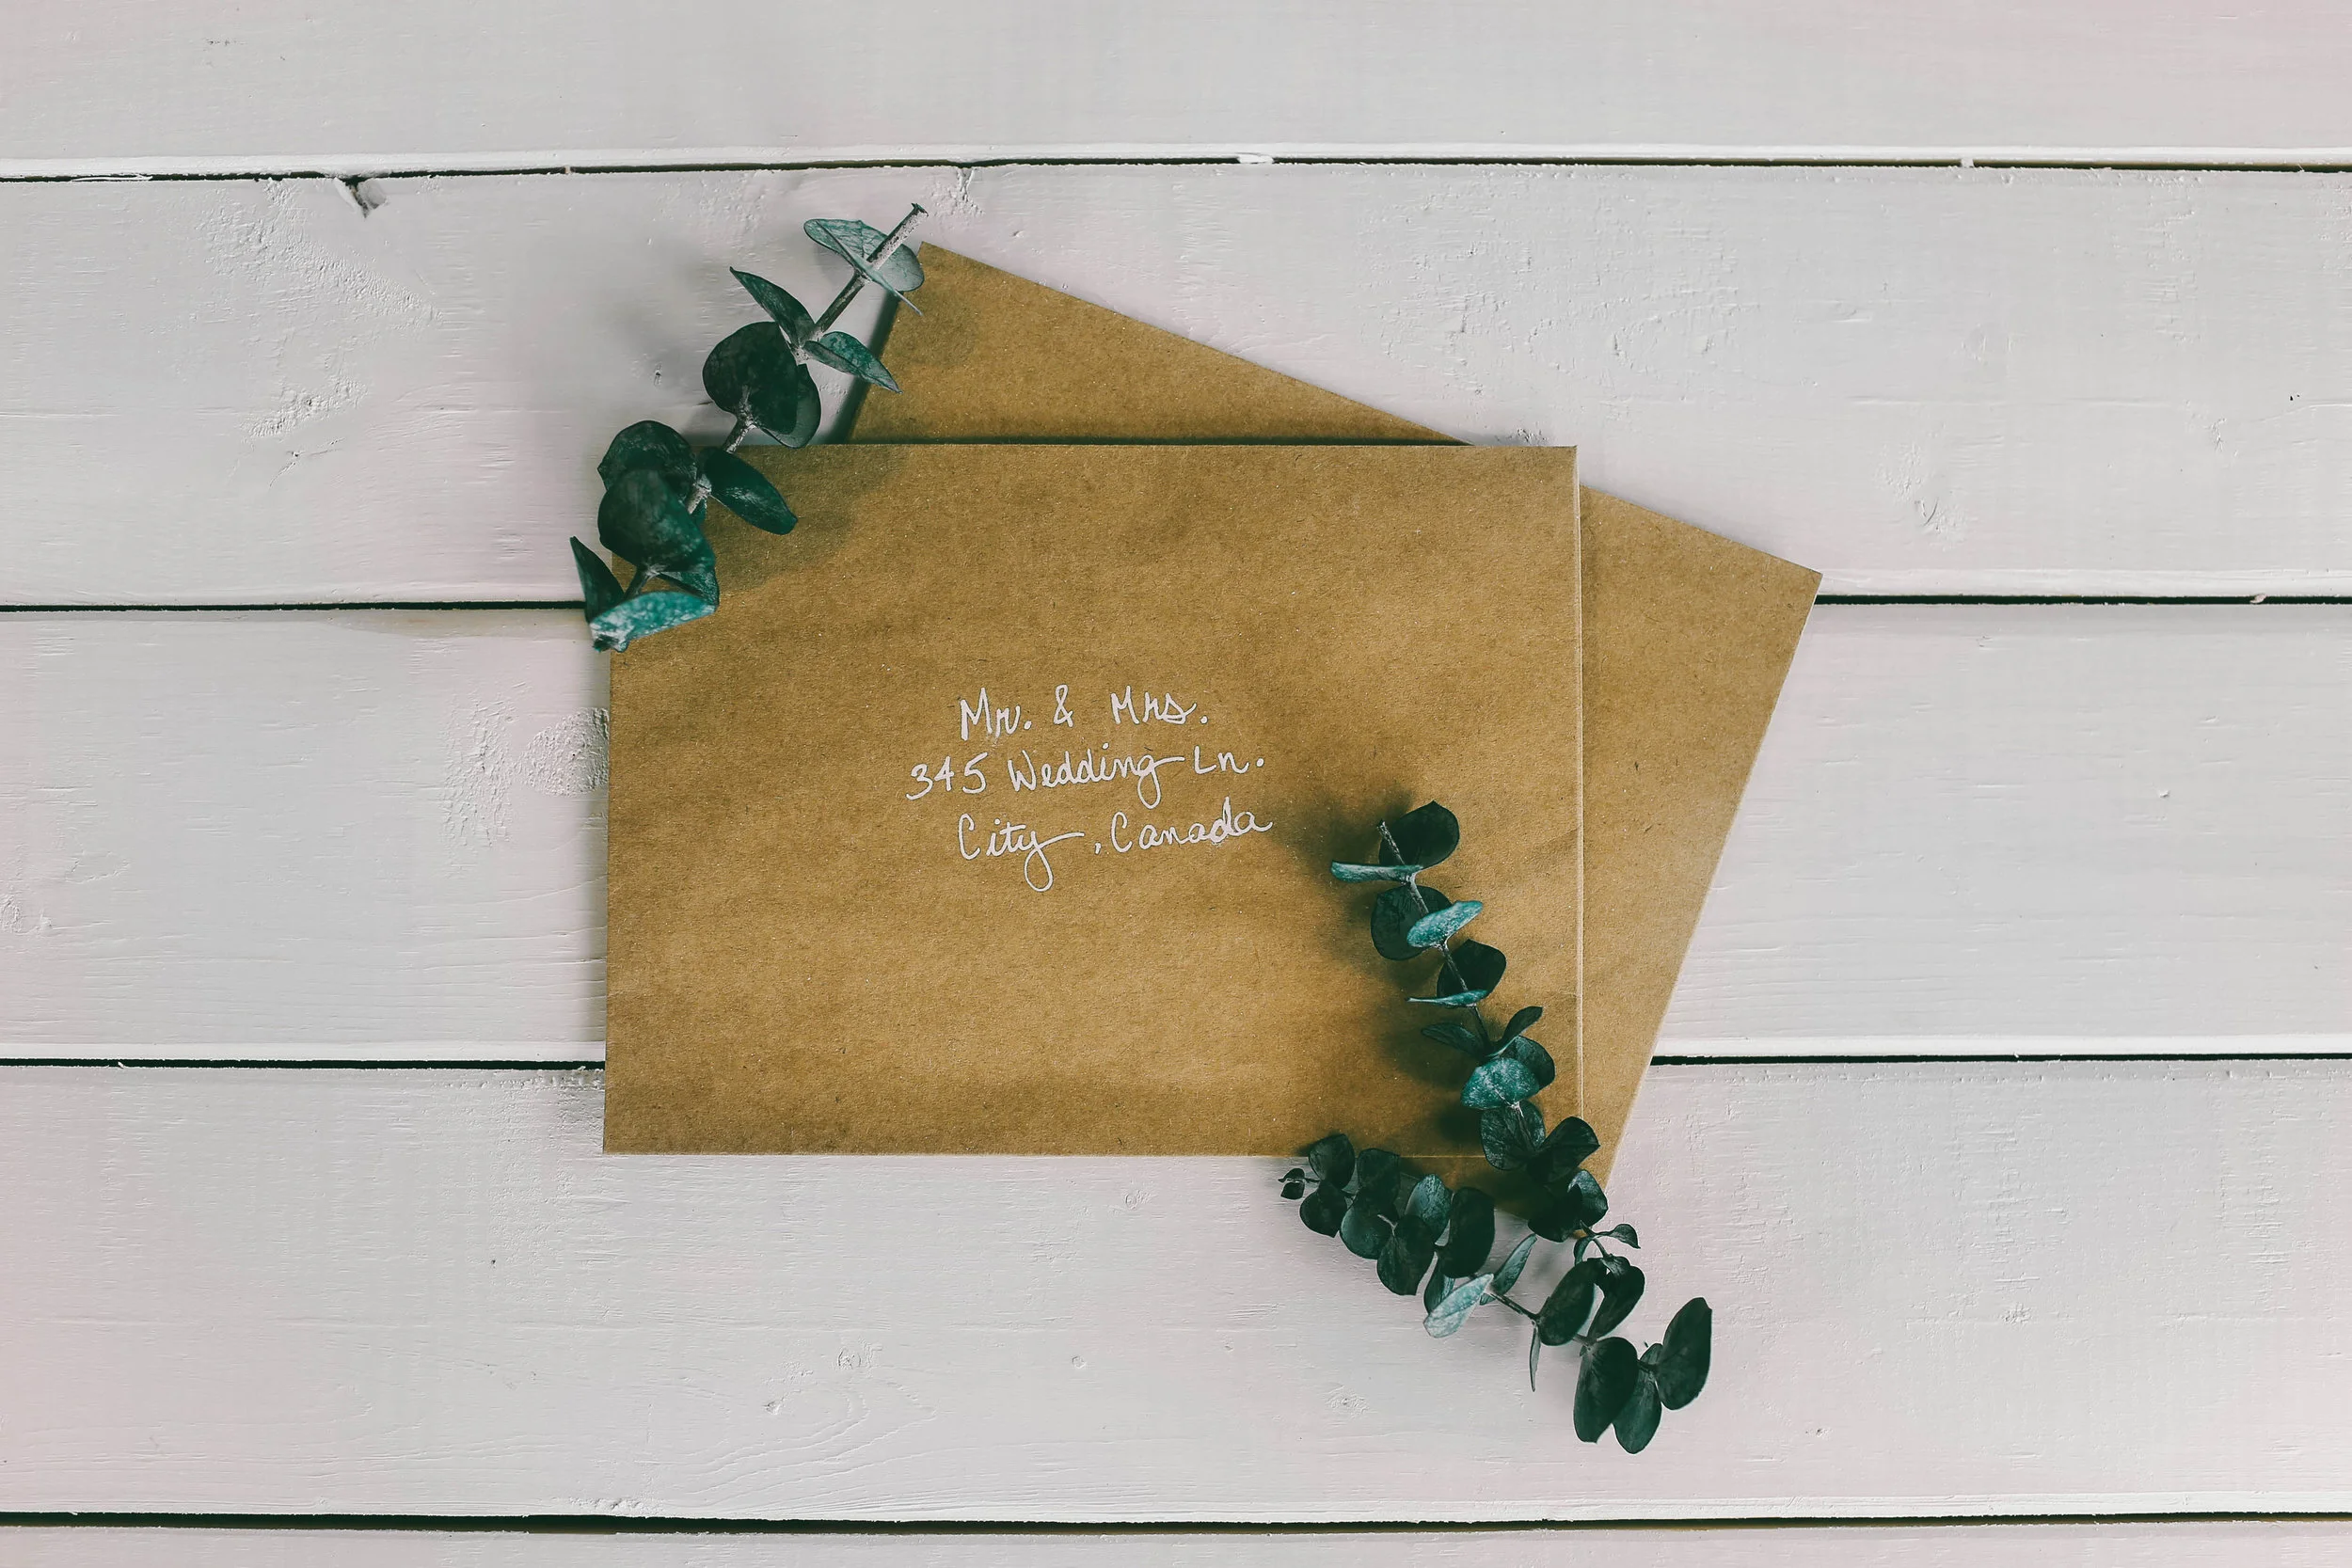
Finally, I wrote the recipient’s address and names on the front of the envelope using a white gel pen and placed the invitation inside!
As always, we'd love if you shared your DIY recreations using the hashtag #SorryGirlsSquad! Check out the video linked to this post below!!
recommended posts


Donec id justo non metus auctor commodo ut quis enim. Mauris fringilla dolor vel condimentum imperdiet.