We DIYed your DMs!
Welcome back to another episode of DIYing your DMs, the show where we take items you DM to us and we make them here!
TEST TUBE PROPAGATION STATION
This DM request was sent in by our lovely viewer Keira! She asked us to DIY this really cute propagation station, a place where you can grow and foster new baby plants from your bigger plants! We’re on it, Keira.
MATERIALS:
2x4 pine
TOOLS:
Pencil
Circular saw
Ruler
Drill
⅝ th inch spade drill bit.
The first step is to grab your pinewood, and use a pencil to mark out where you would like your test tubes to go! Each test tube itself is about ⅝ th of an inch in diameter, and we want to give a ¾ of an inch gap in between each test tube. To space them out nicely, we are going to use a ruler and mark ¾ of an inch from the edge of the wood. Next, we are going to mark a ⅝ th of an inch space on the wood. Keep moving down the wood in this way until you have spaces marked for five test tubes (or however many you’d like to have!). This should leave you with a total length of nine inches.
Go ahead and mark your 2x4 at the 9 inch mark and cut using a circular saw. Next, we added a line down the center of all of our marks, just to make sure that all of the drilled holes were in line with each other. Next, go ahead and grab your drill and a ⅝ th inch spade drill bit and drill a hole at each of the marks for the test tubes. A great tip to making sure each hole is the same depth is to add a piece of tape on the drill bit to indicate when the hole is deep enough! It also helps to dump out the sawdust every once and a while to make the drilling process a lot easier.
Once all of the holes were drilled, we went ahead and stained the whole thing! Once the stain is dry, go ahead and add your test tubes, water, and plants!
FAUX LEATHER HEADBOARD
This next DM was sent to us by Alice, and she wanted us to DIY this faux leather woven headboard!
MATERIALS:
1x2 inch pinewood (2 8ft pieces)
2 yards of faux leather fabric (we bought 4 yards, but only ended up needing two)
Primer spray paint
Gold spray paint
Corner brackets
Wood glue
TOOLS:
Mitre box
Saw
The first step is to cut and measure all of the pine wood, and cut them on an angle using a mitre box! Once everything is cut, we went ahead and primed them, then painted them gold! Once dry, we put the frame together! We used some wood glue, and some corner brackets for extra hold.
Next, it’s time to cut our faux leather strips! We are going to need 7 horizontal strips that are the length of the headboard (+ a little extra to wrap around the wood) and 14 vertical strips that go the height of the headboard (again with a little extra). Our 7 strips ended up being 69 inches by 3.25 inches, and the 14 strips ended up being 36 inches by 3.25 inches. This will of course depend on the size of your frame.
To add the strips to the frame, we went ahead and spaces them out evenly on the frame, wrapped them around the back of the frame, and used a staple to hold the leather in place. Once all of the horizontal strips are in place, we added the vertical strips, and weaved them through the horizontal, alternating where the weave started with each strip.
The last step is to add some picture hanging hooks to the backs of the frame! Go ahead and add some nails to the wall, and hang your headboard up behind your bed!
DOUBLE RING BELT
Our final DIY is this really pretty double ring belt! You can find the belt inspo here!
MATERIALS:
Thrifted black belt
Two harness rings
Steel Stik
Fabric glue
TOOLS:
Hacksaw
Scissors
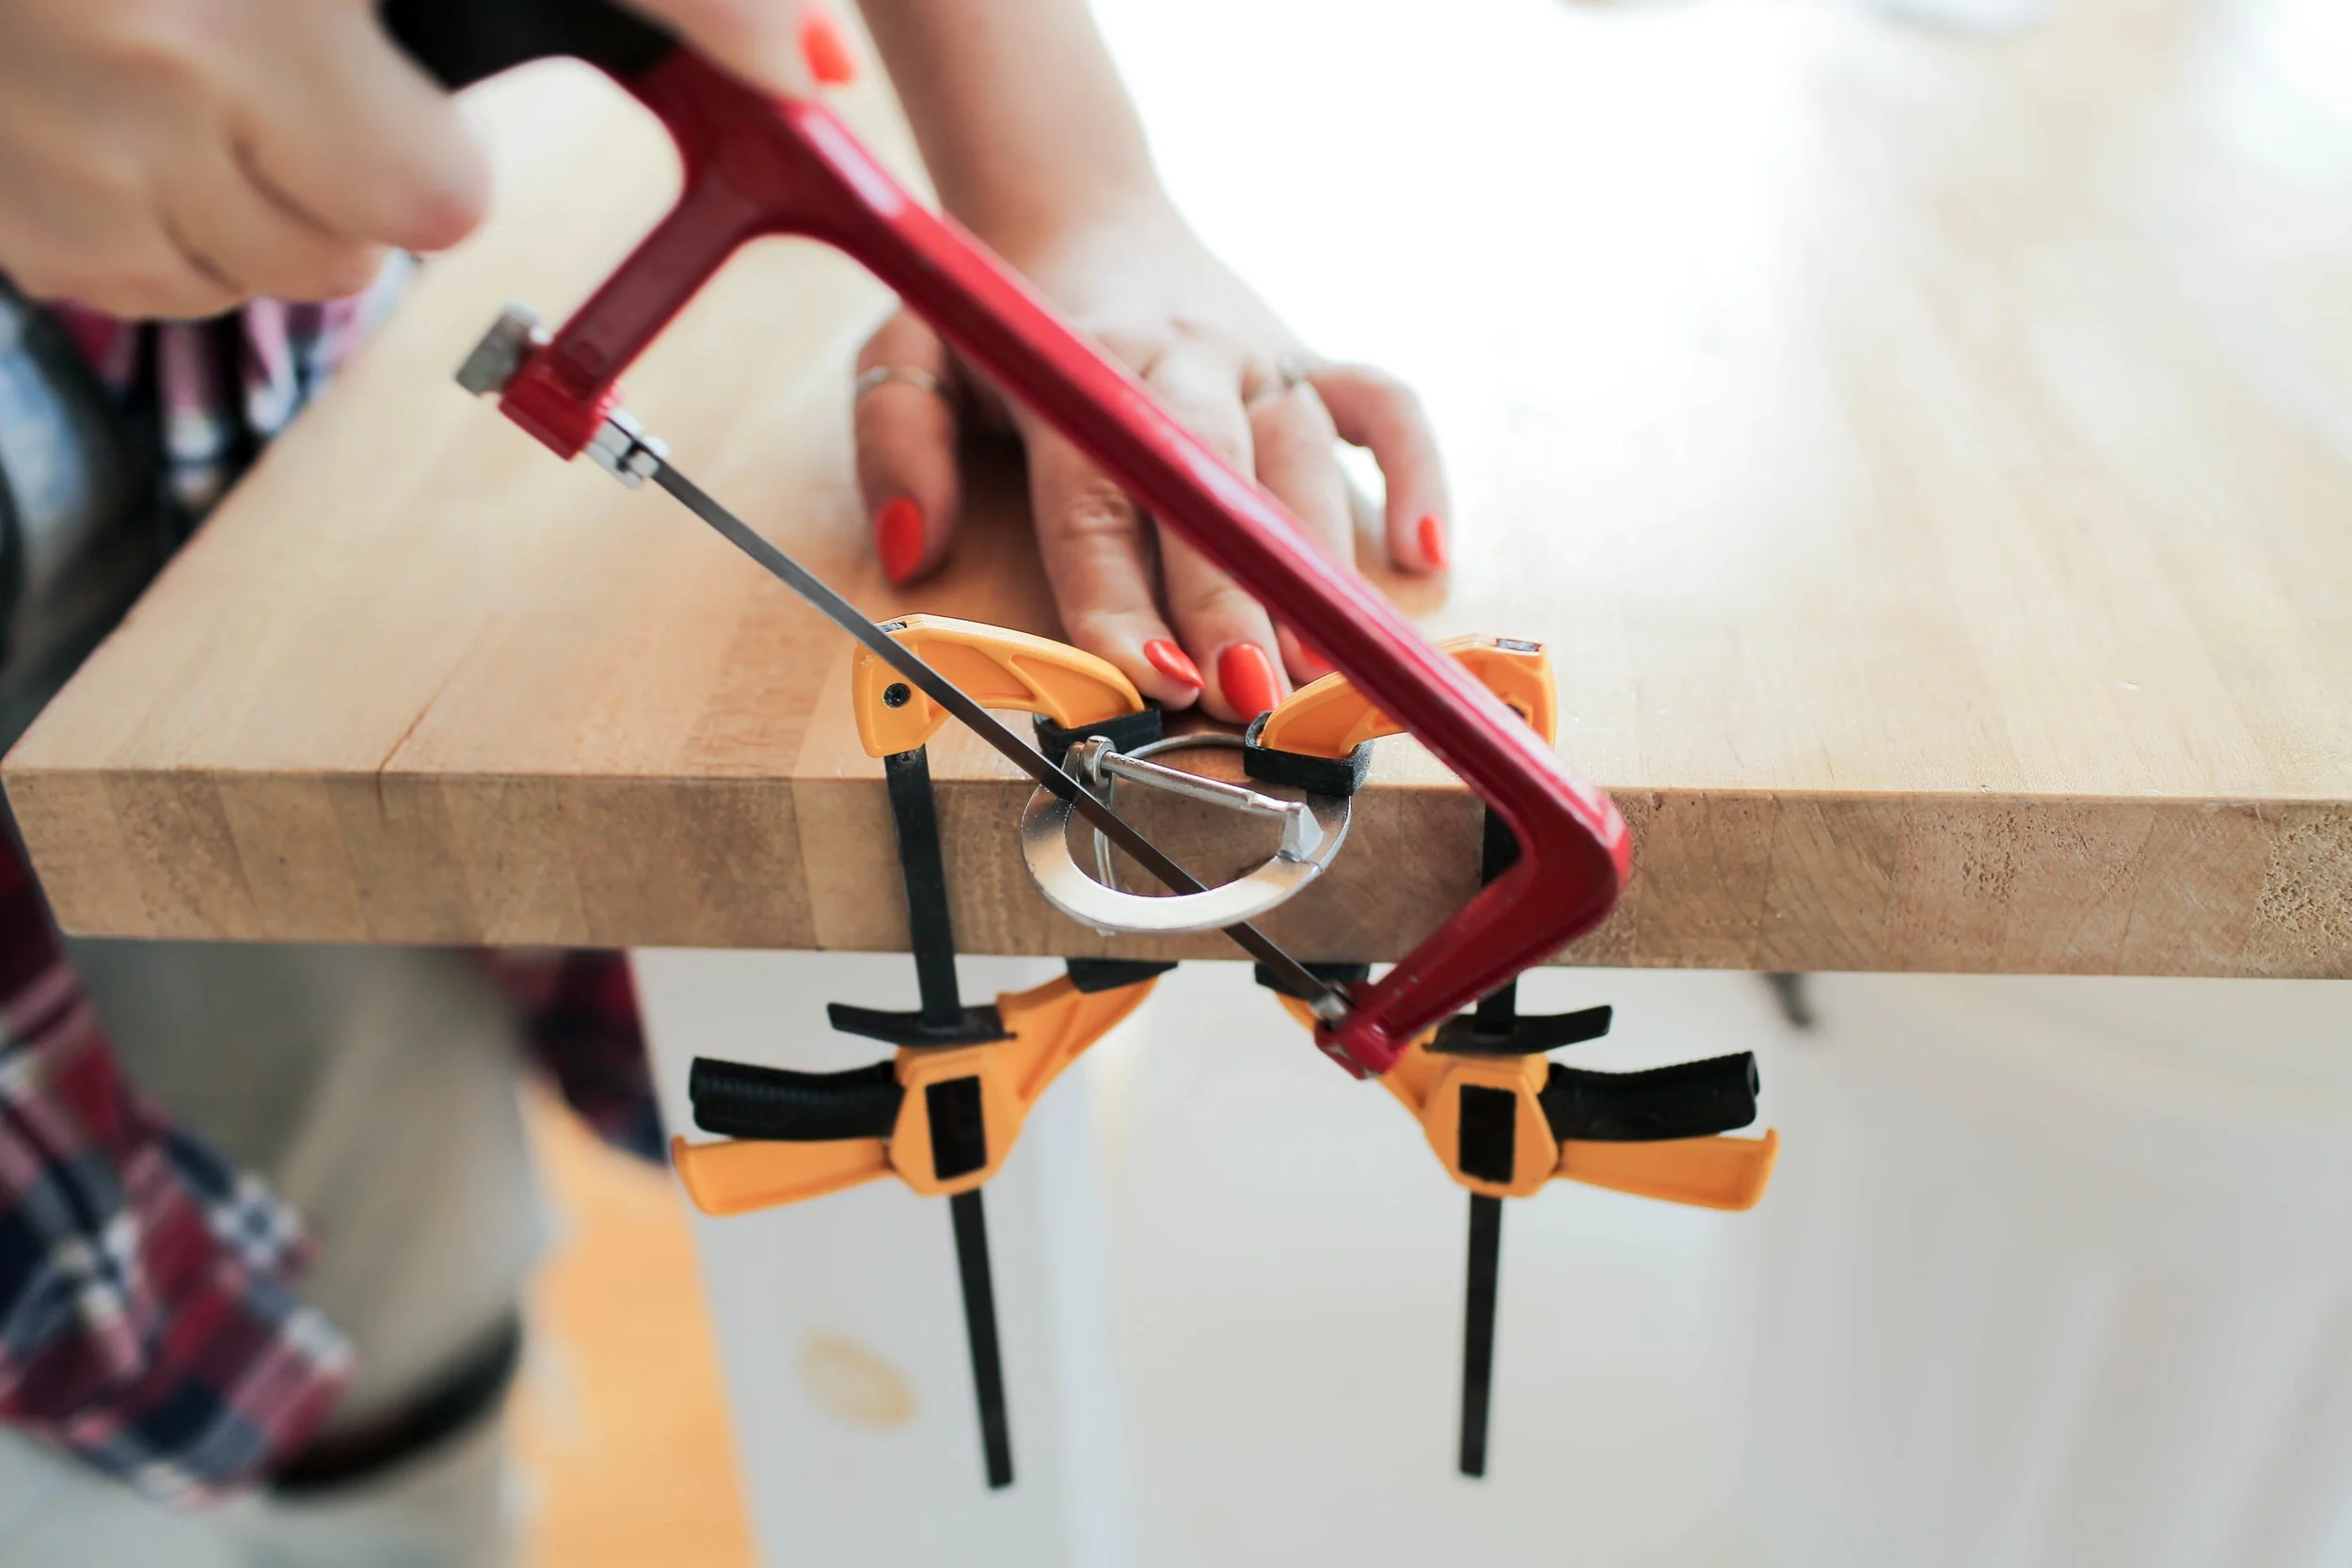
The first step is to take the old belt buckle off of our thrifted belt. Next step is to take the small bar off of the old belt buckle. We did this by using a small hacksaw and sawing through the metal of the old belt buckle. This came apart easier than expected! Just be safe and use some table clamps to hold it in place while sawing.
Once this was detached, it’s time to build a new buckle! We used some Steel Stik to attach the two harness rings together. Simply knead the Steel Stik putty together, and apply it to where you would like to join your metal pieces together. Once dry, we sanded away the Steel Stik to smooth everything out. We also sanded the whole thing a little bit, to help the spray paint stick better later.
Next, go ahead and prime and paint your buckle gold. Finally, go ahead and reloop the belt buckle into place, and fabric glue to hold everything together!
This worked out pretty well, but we would maybe recommend that this item is more of a buy and less of a DIY.
And that’s it! If you liked this blog post, go ahead and check out the video below for more! If you make any of these DIYs, tag us on instagram using @TheSorryGirls and #SorryGirlsSquad! Thanks for reading!
recommended posts


