DIYing Emma Chamberlain's $50,000 Trueing Chandelier
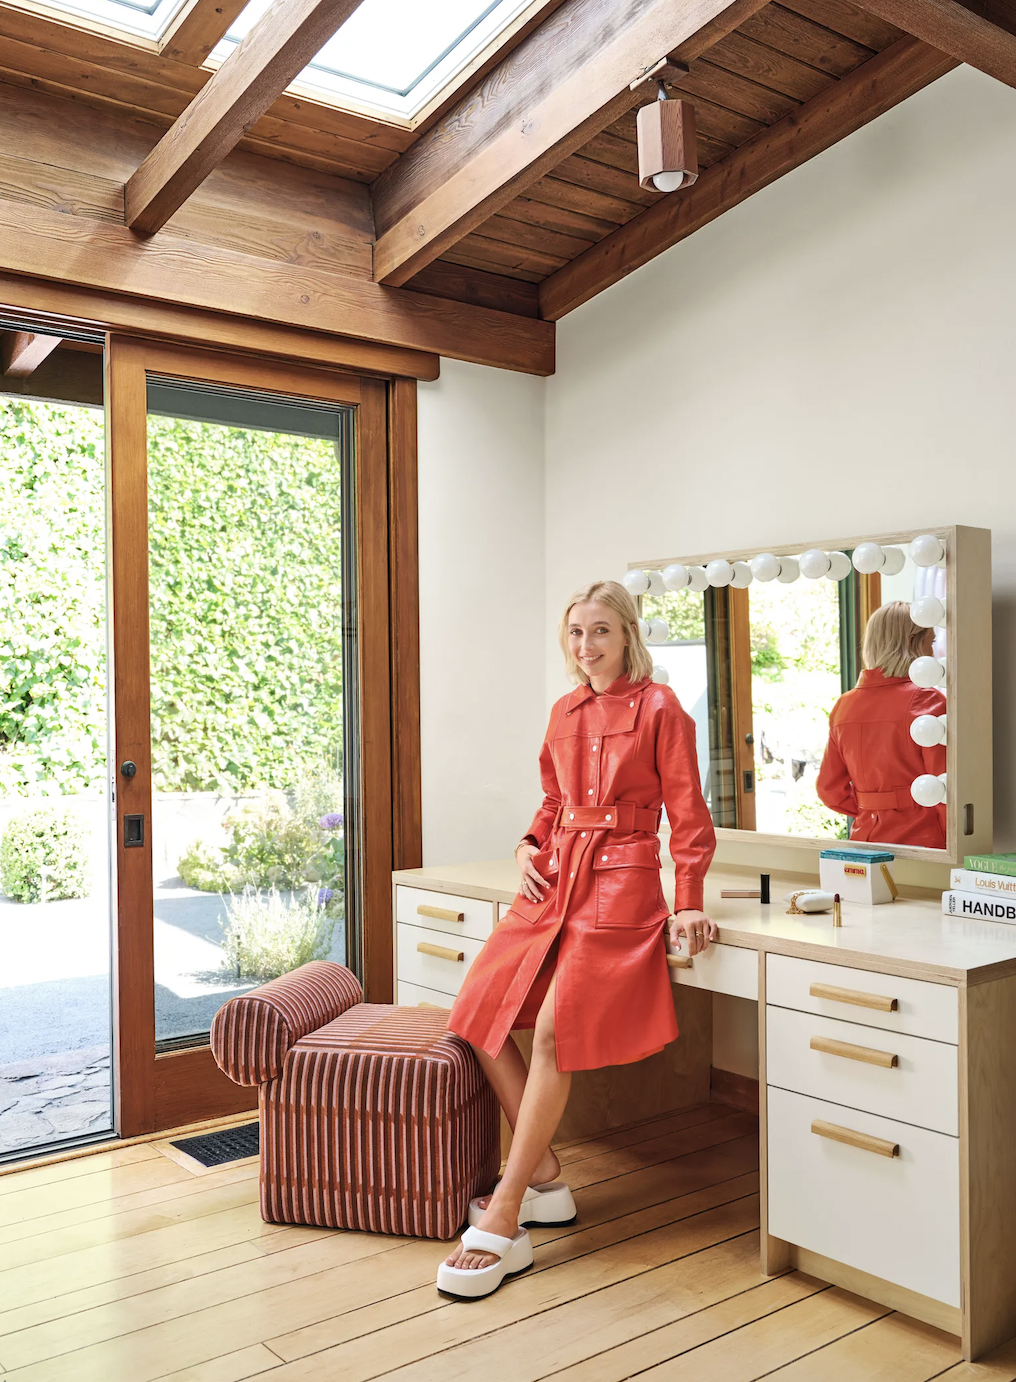
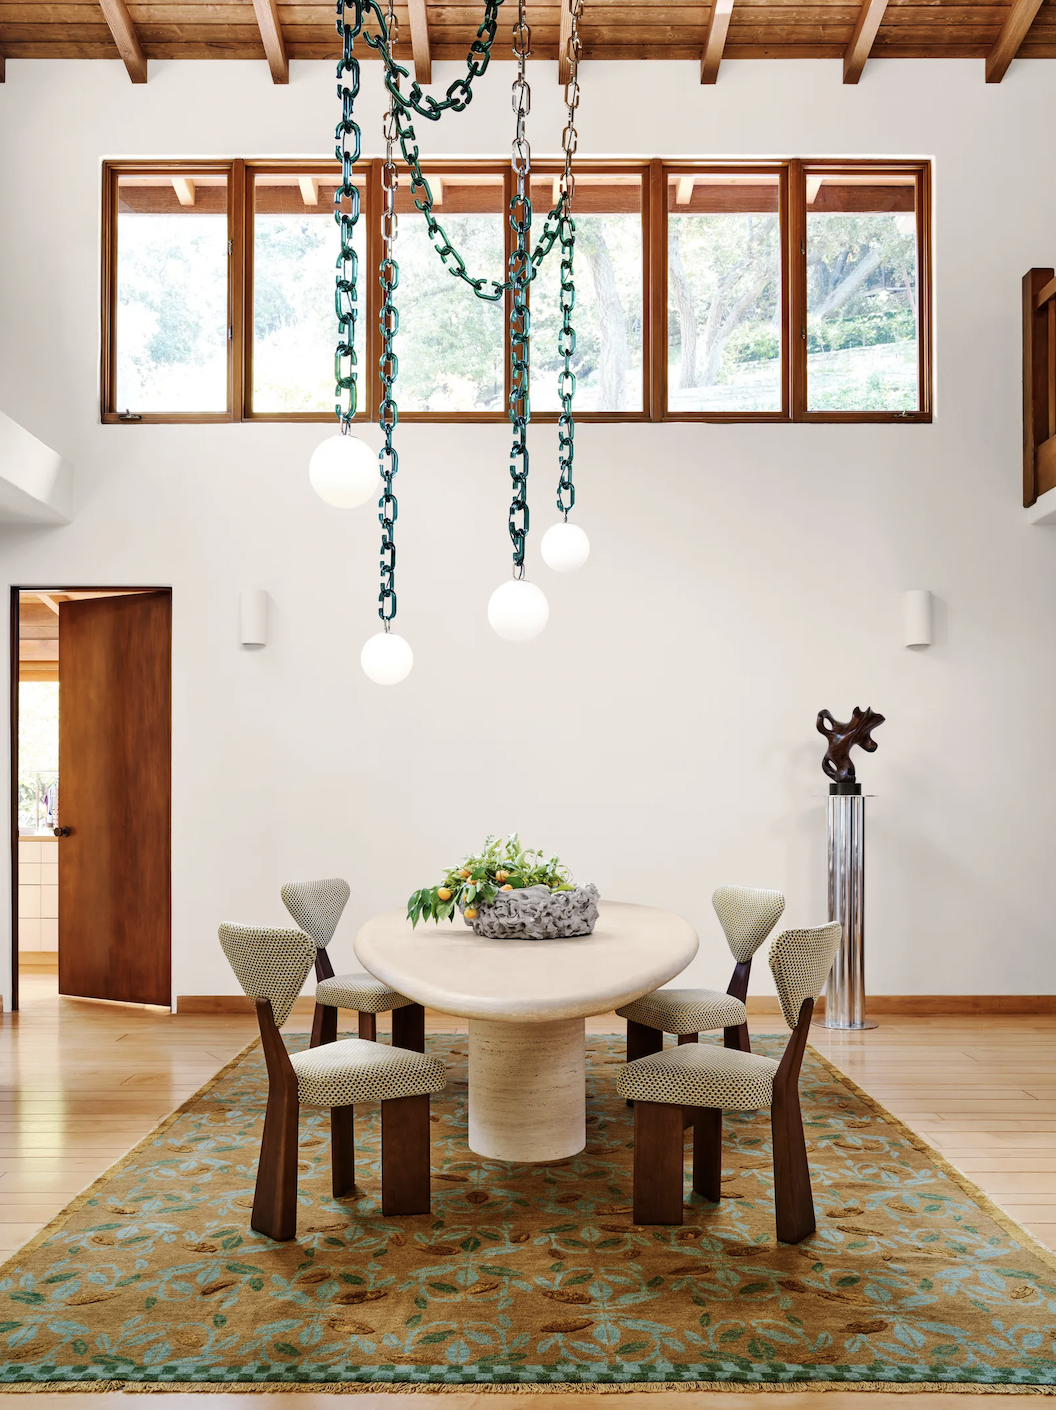
If you haven’t seen Emma Chamberlain’s Arch Digest Tour yet, you are seriously missing out. It may arguably be one of the best yet! As we were watching, a statement chandelier caught our eye and we thought “I think I want that….” but after looking into it, we found the listing and the price tag is maybe just a little (or a lot) out of our budget.
That all said, we still wanted the light fixture sooo…let’s DIY it!
So what is it exactly that we have to make? On the Trueing website, this website describes the chandelier as
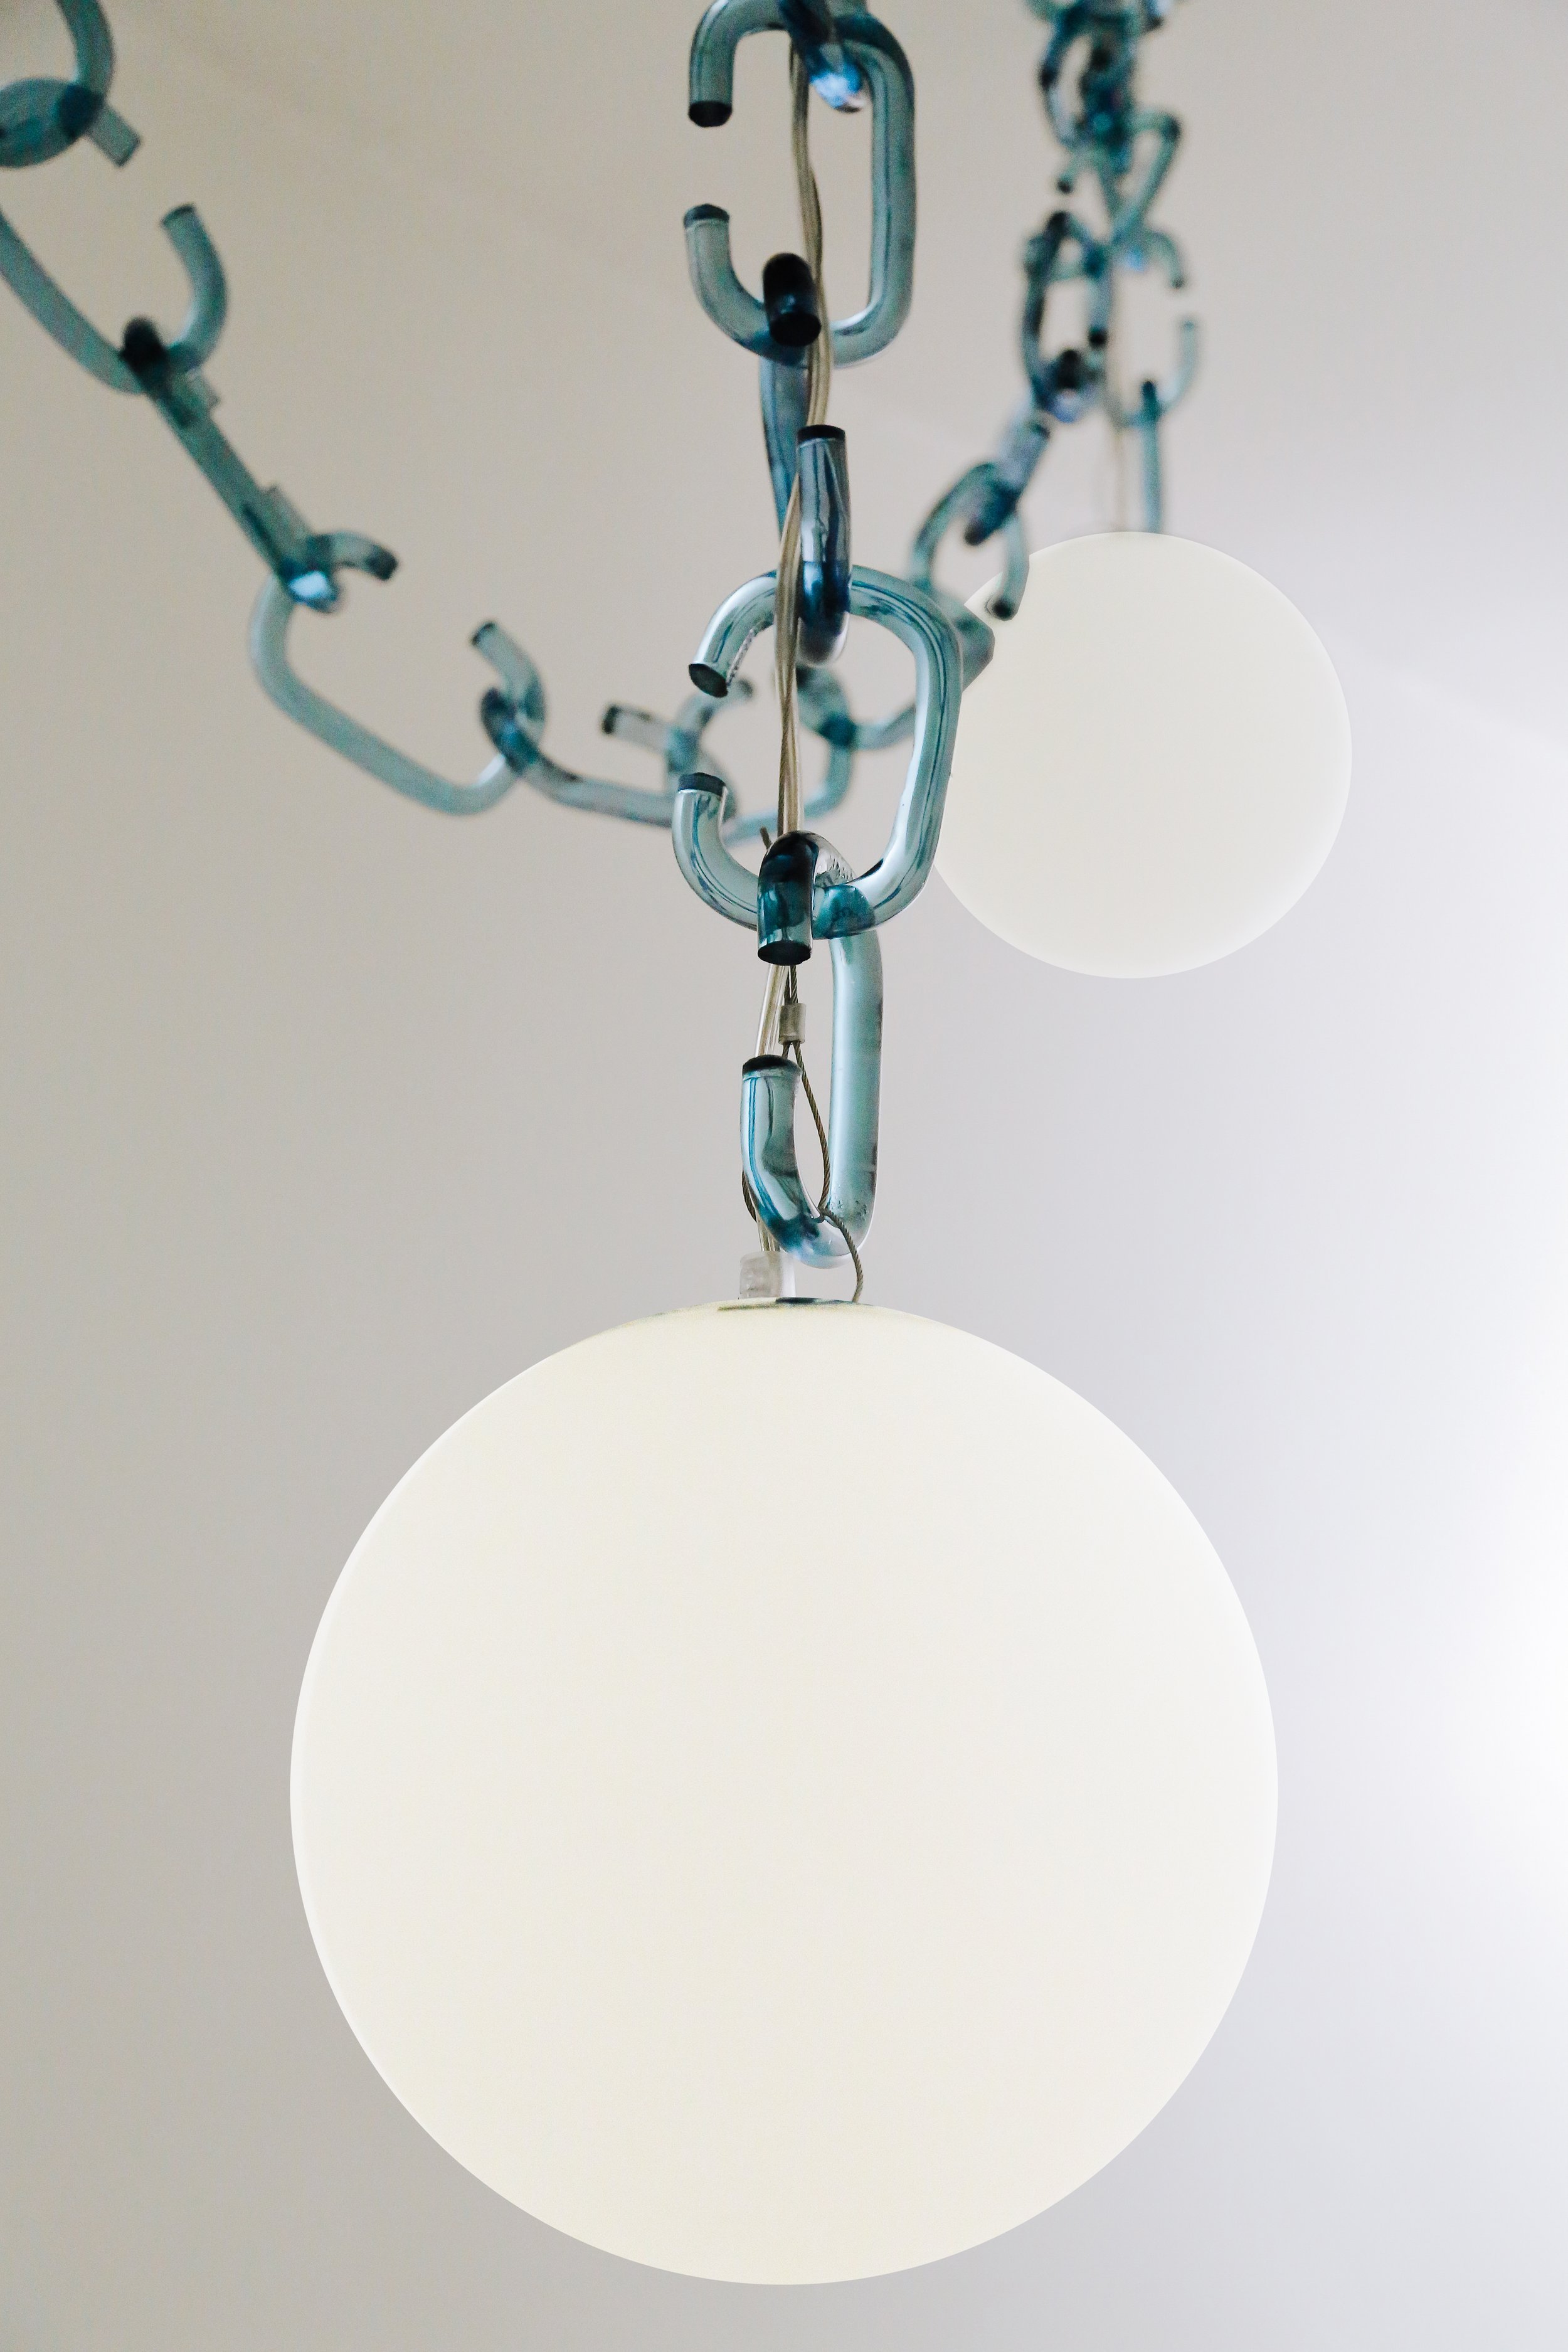
“Dramatic in form, yet softened by the quiet elegance of glass, the Cerine Swagged Chandelier presents a unique opportunity to play with scale and presence. The number of globes; color and finish of glass chain; and overall composition is entirely customizable to create a grand constellation of lights.”
So we need to figure out how to create the glass chain links and source the 4 globe light fixtures.
What you’ll need:
Heat Gun - https://bit.ly/3F0HEKi
1/2” Clear Acrylic Rods - https://bit.ly/3MQYPjk
Miter Saw - https://bit.ly/3VZfcie
Rit Dye - https://bit.ly/3MSNyPx
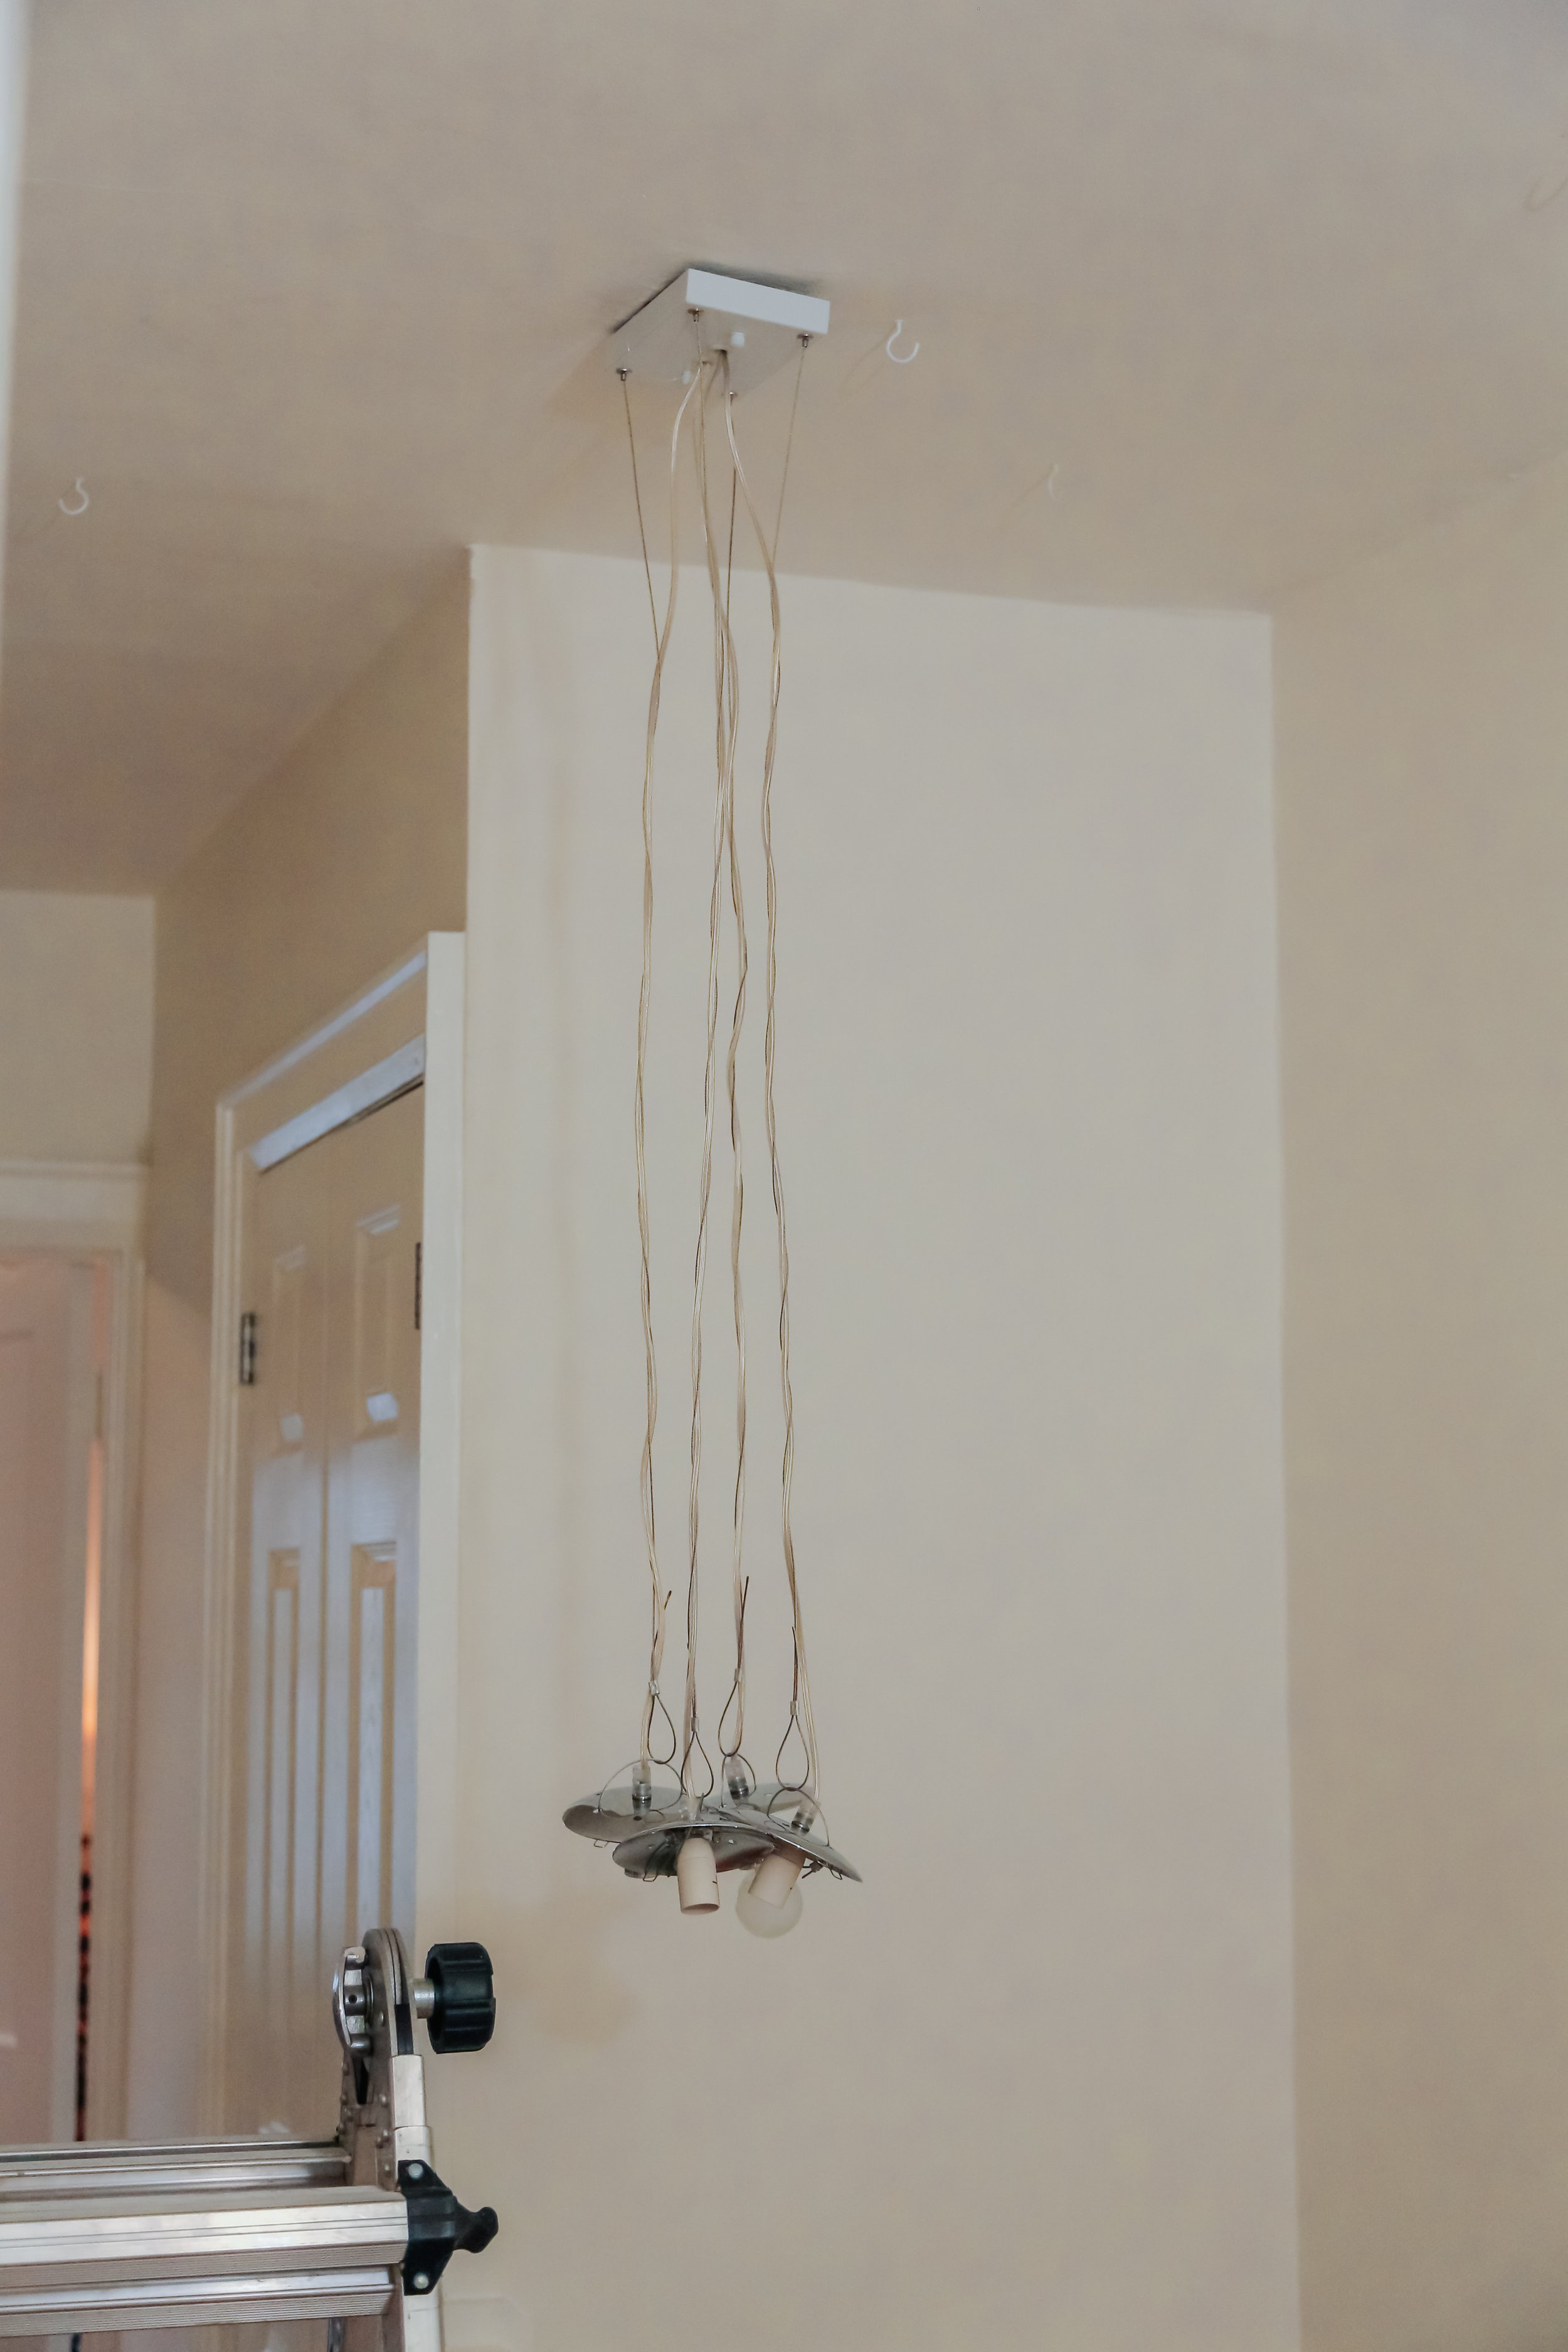
Light fixture (pictured below) - https://bit.ly/3CWmla8 (however, I found mine on Facebook marketplace for $45)
Carabiners - https://bit.ly/3eYGhBc
Stainless steel slotted spatula - https://bit.ly/3spL2qB
Stainless steel teaspoon - https://bit.ly/3N7OAr9
Cooking pot that you will not be using for cooking afterwards
An old towel thats okay to get dye on it
Clamps - https://bit.ly/3TT19sm
Scrap wood
First things first, I picked up this light fixture from Facebook marketplace and deconstructed it so it was just four hanging wires and the globe bulbs.
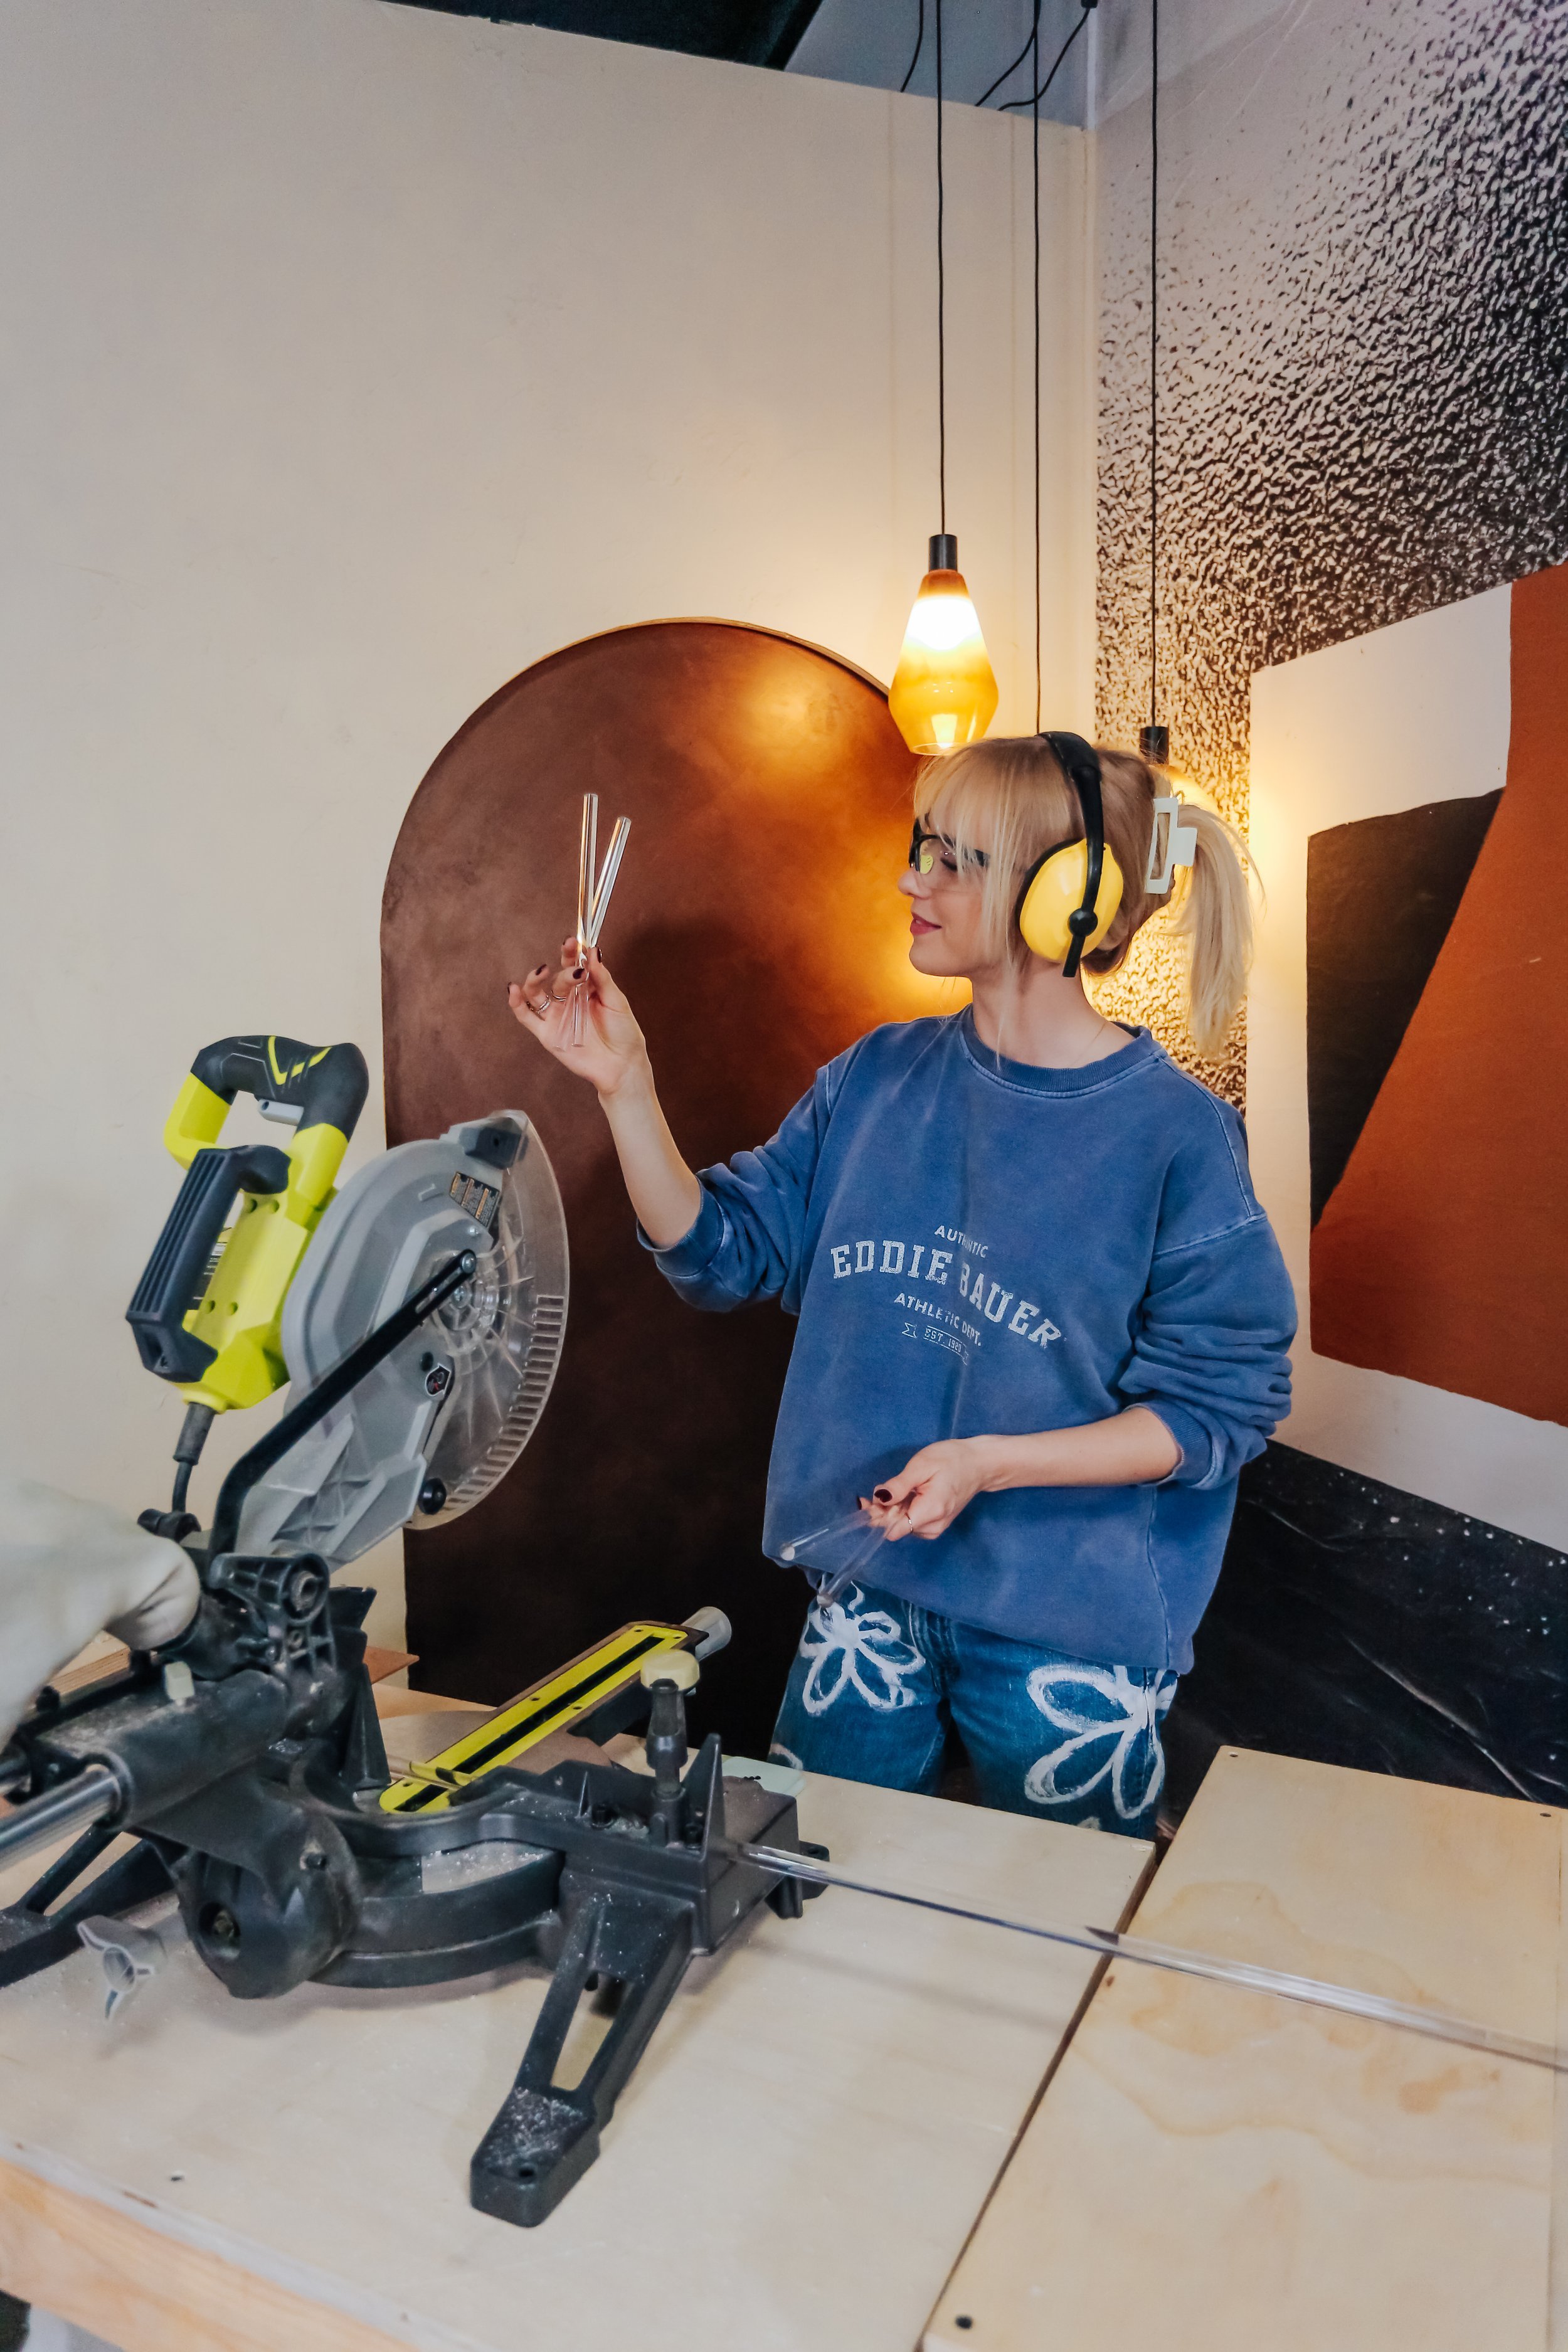
Starting with 6ft 1/2” acrylic rods, we are going to cut a bunch of 9” dowels with the miter saw. Using the 6ft piece, I should be getting about 8 pieces per each rod.
Now, Emma’s chandelier is a teal tone, so I want my links to be the same. That said, you can totally keep them clear if you want but I decided to dye mine. Using some Rit Dye (specifically for synthetic materials), I am mixing a concoction of different colours to get my desired shade.
600ML x 3
1800 mL of water ml
16 tsp blue
6 tsp green
3 tsp light blue
Using a pot that you will not be using for cooking (I got mine at the thrift store). Heat up your water to a boil, and mix in your different dyes until you get your desired colour. Remember that the acrylic will pick up a muted tone of this colour so you can saturate it more than you expect. Bring water down to a simmer.
Next, let your rods soak for 15-25 minutes, depending on how saturated you like them and once dyed, rinse them off with some cold water and let them dry on the towel you have prepared. You can reuse the dye until all your rods are done!
Now that we are done the dyeing process, we are ready to bend them into a chainlink shape. First, using some scrap wood I had laying around the office, I made a quick guide. All I had to do was cut a piece of plywood that was the length of my rods and attach an oval shape to the middle using a nail through the bottom (see pictured below).
Using your heat gun and clamps, heat up the rod and bend it around the guide to create the desired shape. Once its bent around, using your clamps to keep it in the shape until it cools down.
Now you just repeat this step until you have your desired amount of chain links!
It’s finally time to hang up the light fixture. First things first, I hung up the pre-existing light I got from Facebook as I normally wood, and draped it the way I desired it to look best in my space.
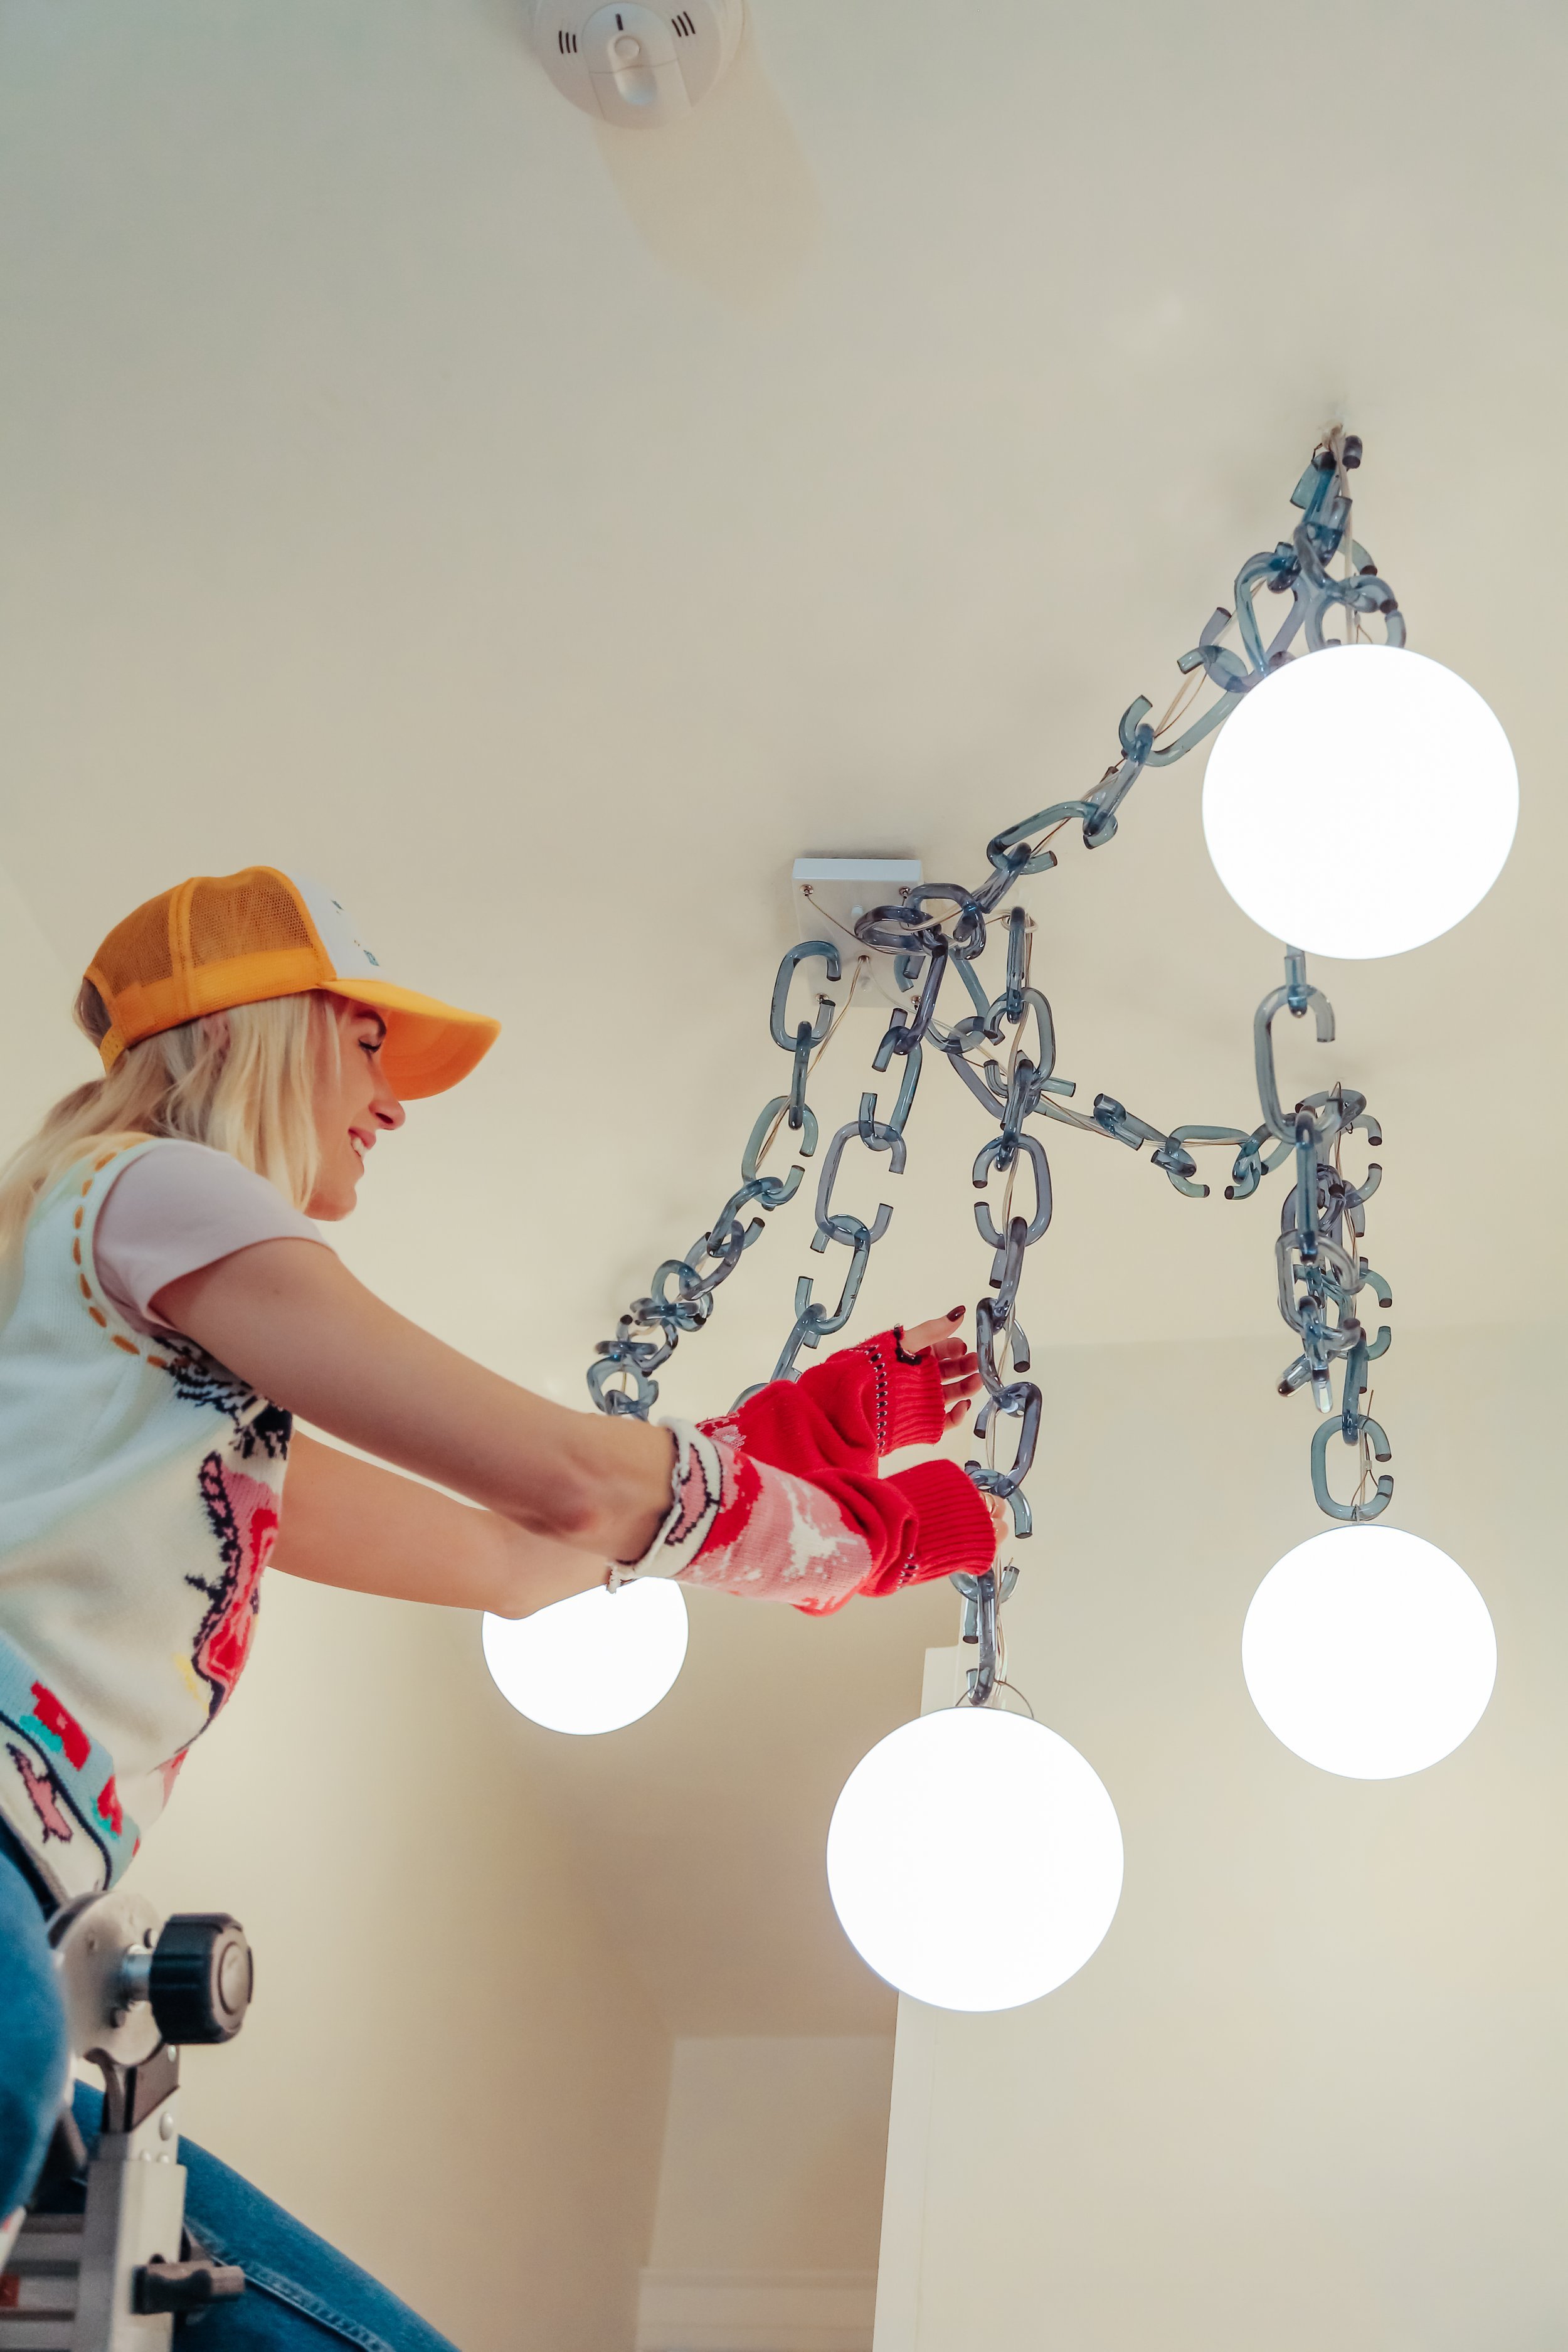
Once it was configured the way I wanted, I started linking my chainlinks around the wire to resemble the Trueing fixture!
And here is how it turned out! I honestly love it even more than the original (maybe I’m biased) but it turned out sooo cute! What do you think?
Watch the full tutorial from start to finish here:

