DIY DORM & APARTMENT DECOR
We are so excited to be working with Wendy to create these incredible dorm room/apartment decor DIYs! Be sure to check out Wendy’s video here to see what else we made for the room!

Difficulty: ✂ ✂
Cost:
Pallet Bed - $30-$50
White Curtains - $20-$30
Step Ladder Night Stand - $30-$50
Materials:
Pallet Bed - Four large pallets, extra pieces of wood for repairs, two 3’ x 4’ MDF boards, white paint
White Curtains - Fabric
Step ladder night stand - 4 pieces of wood that are 3 feet long, one 6 inch wide piece and one 10 inch wide piece, wood glue.
Tools:
Pallet Bed - sandpaper, electric sander, drill
White Curtains - Sewing machine
Step ladder night table - drill, electric sander, wood saw
Pallet Bed

To make this pallet bed, start by gathering 4 large pallets that are similar in size and height. Pallets can often been found left out for recycling but make sure you always ask before taking any from a person or business. Also take a look on the pallets for stamps indicating that it hasn’t been chemically treated! Lay the pallets out with the bottoms up and do a check for any exposed nails or rough spots. We gave the bottoms a light sand to protect our floors. Now is also a good time to fix any height issues. We added some boards to one of our lower sitting pallets. Now flip the pallets over into their final position. Again remove any exposed nails and fix any loose boards. We added some planks in to cover a small gap between two of our pallets. To support our mattress, we used two boards of mdf that were 3’ x 4’ each. We screwed them down into the center of the pallet base. Now using a power sander, sand down the remaining exposed pallets. Make sure you sand the tops of the boards really well to avoid any splinters. As a final step, we coated the tops of the boards with a white paint. Once the paint is dry, you’re good to add on your mattress and bedding!

White Curtains
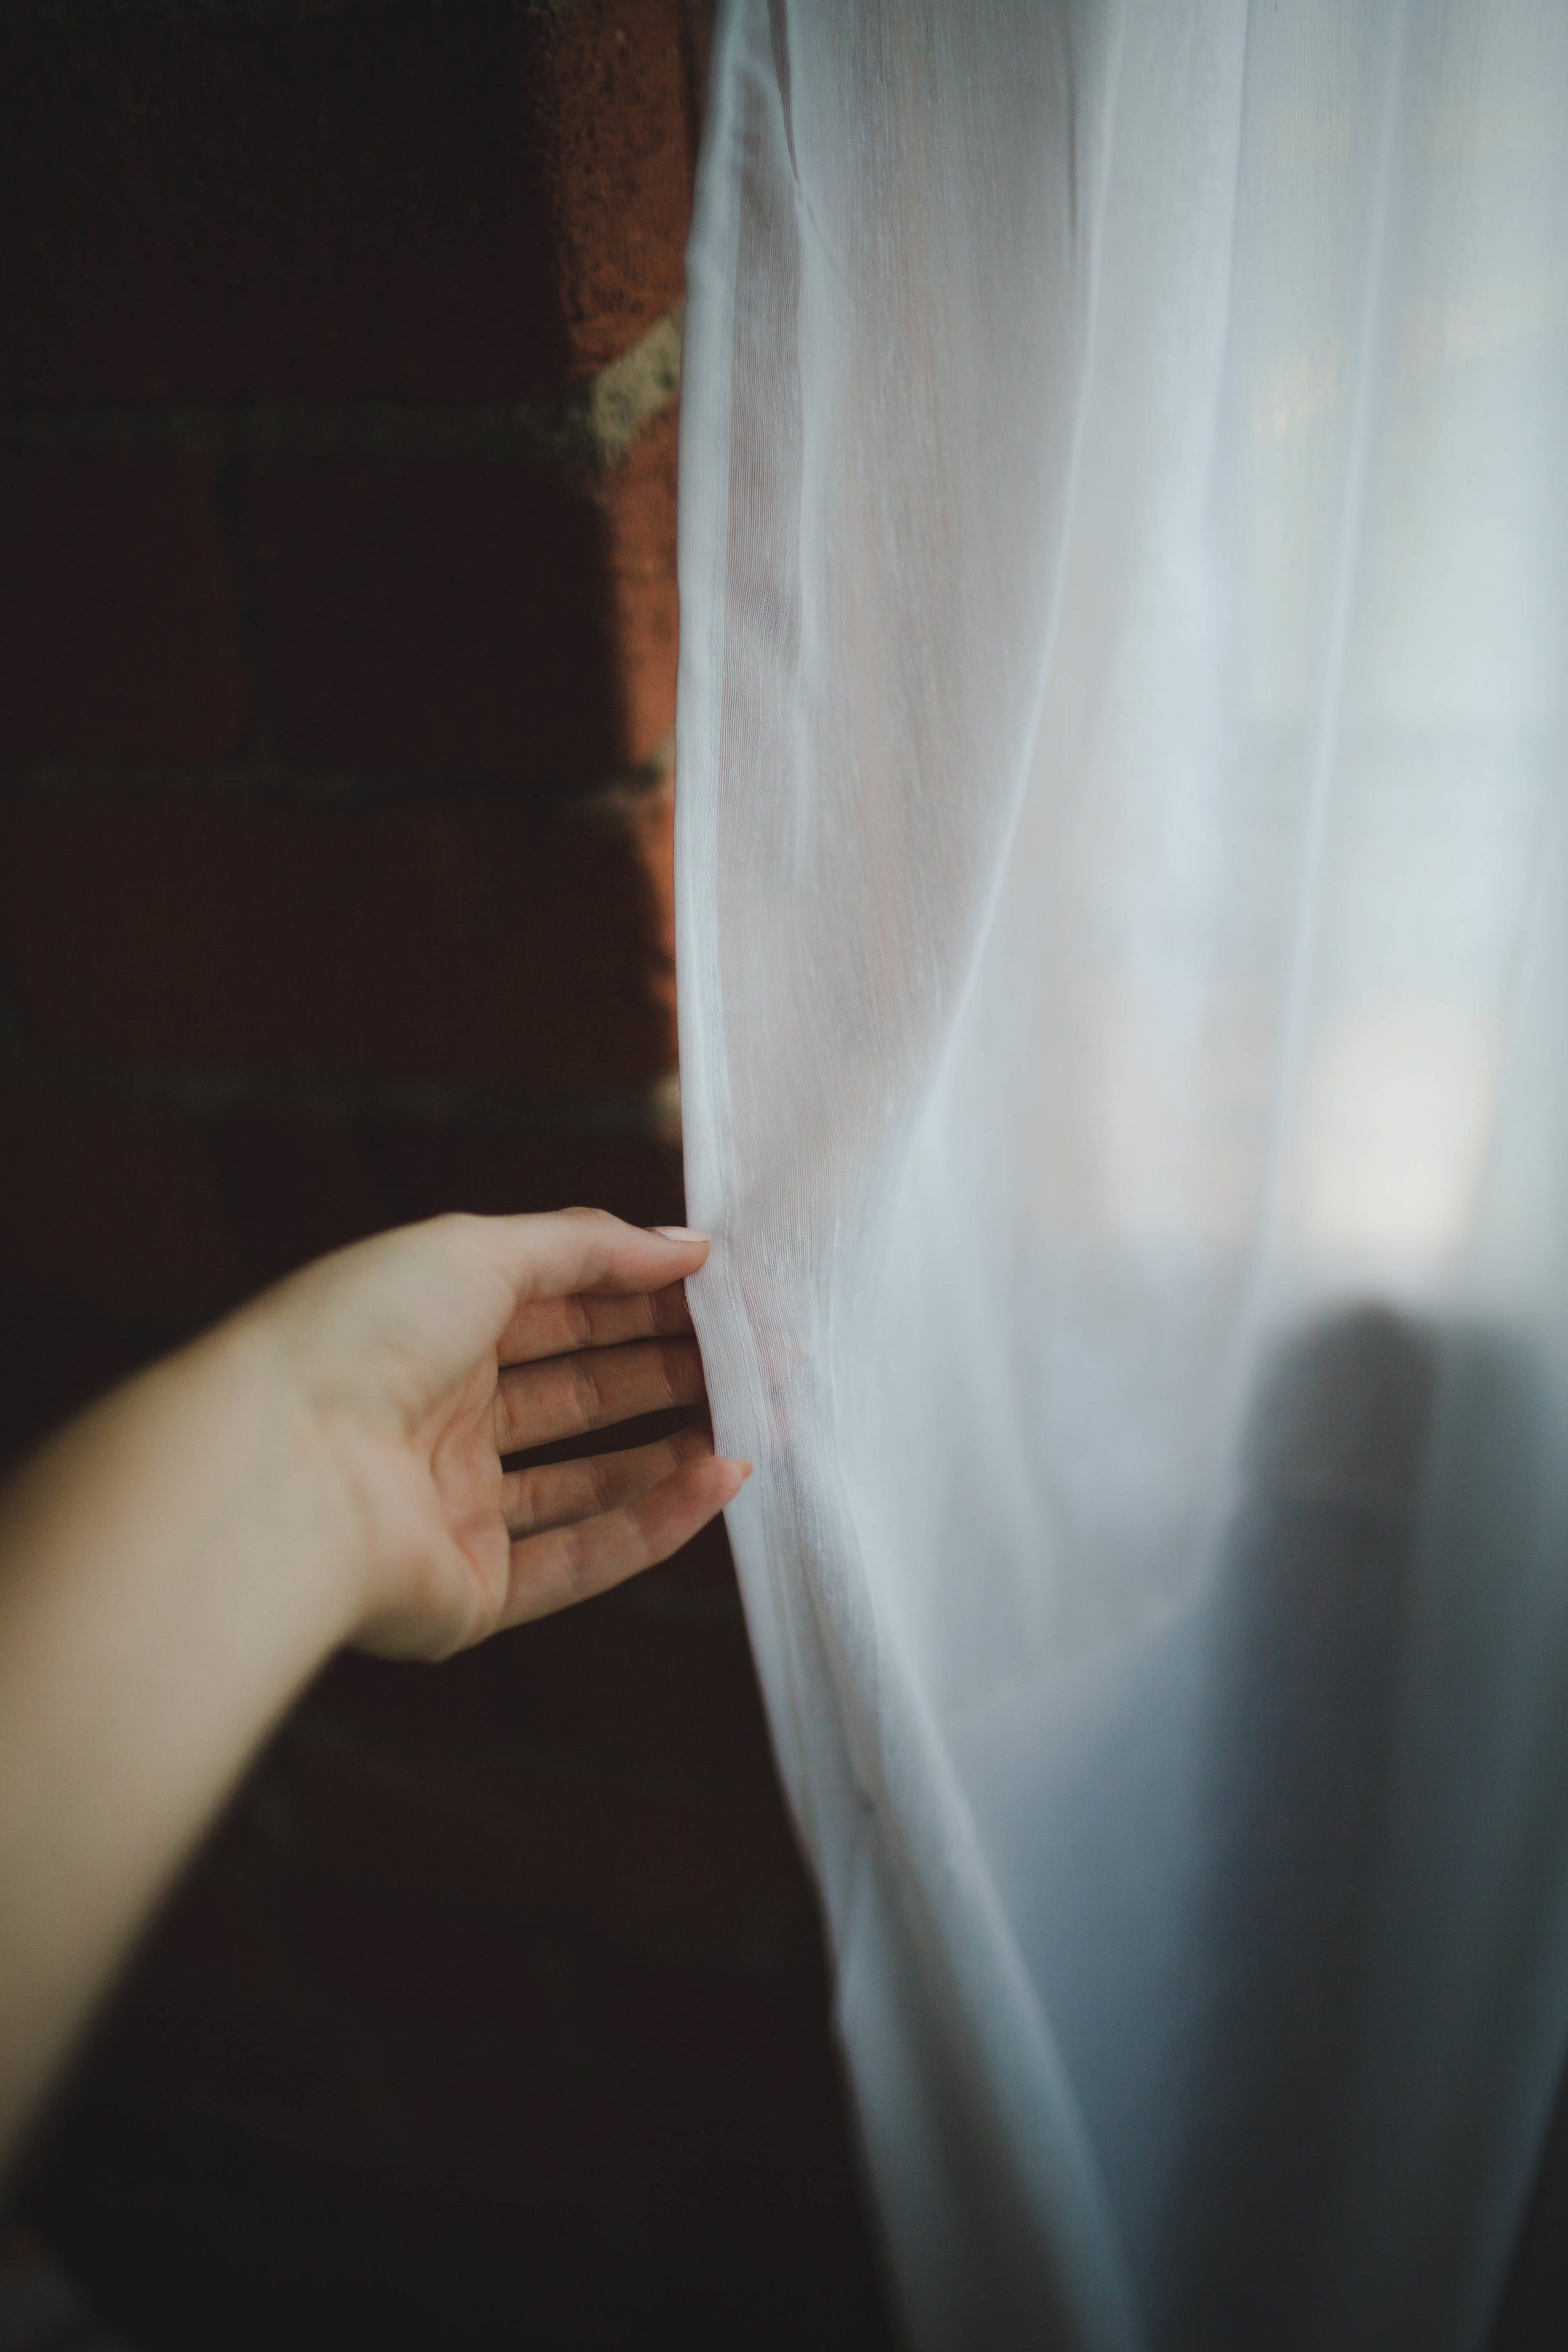

To make the curtains, you’re going to want to measure the total height of the area that you want to cover, and buy two times of that amount so that you have enough for two curtain panels. The fabric that Wendy chose is very light weight to get a very dreamy look! First you’re going to want to tear a strip from the entire length of the curtain that is seven centimetres wide, we are going to use this to make the top loops of the curtain. To sew these loops Wendy folded over one side about the third of the way, on the other side of the strip fold over the other raw edge. She then tucked the two folded pieces against each other and sewed along the folds. We needed 16 loops, and so she cut 16 strips of fabric out of the long strip we made! Taking each of these strips, we’re going to fold them in half and sew them with a straight stitch along the top edge of the curtain. She put 8 on each curtain. Before sewing the loops on, she folded each side of the larger piece of fabric over and sewed with a straight stitch. Once you’ve done this, you’re done! Loop it onto a curtain rod or a copper pipe!
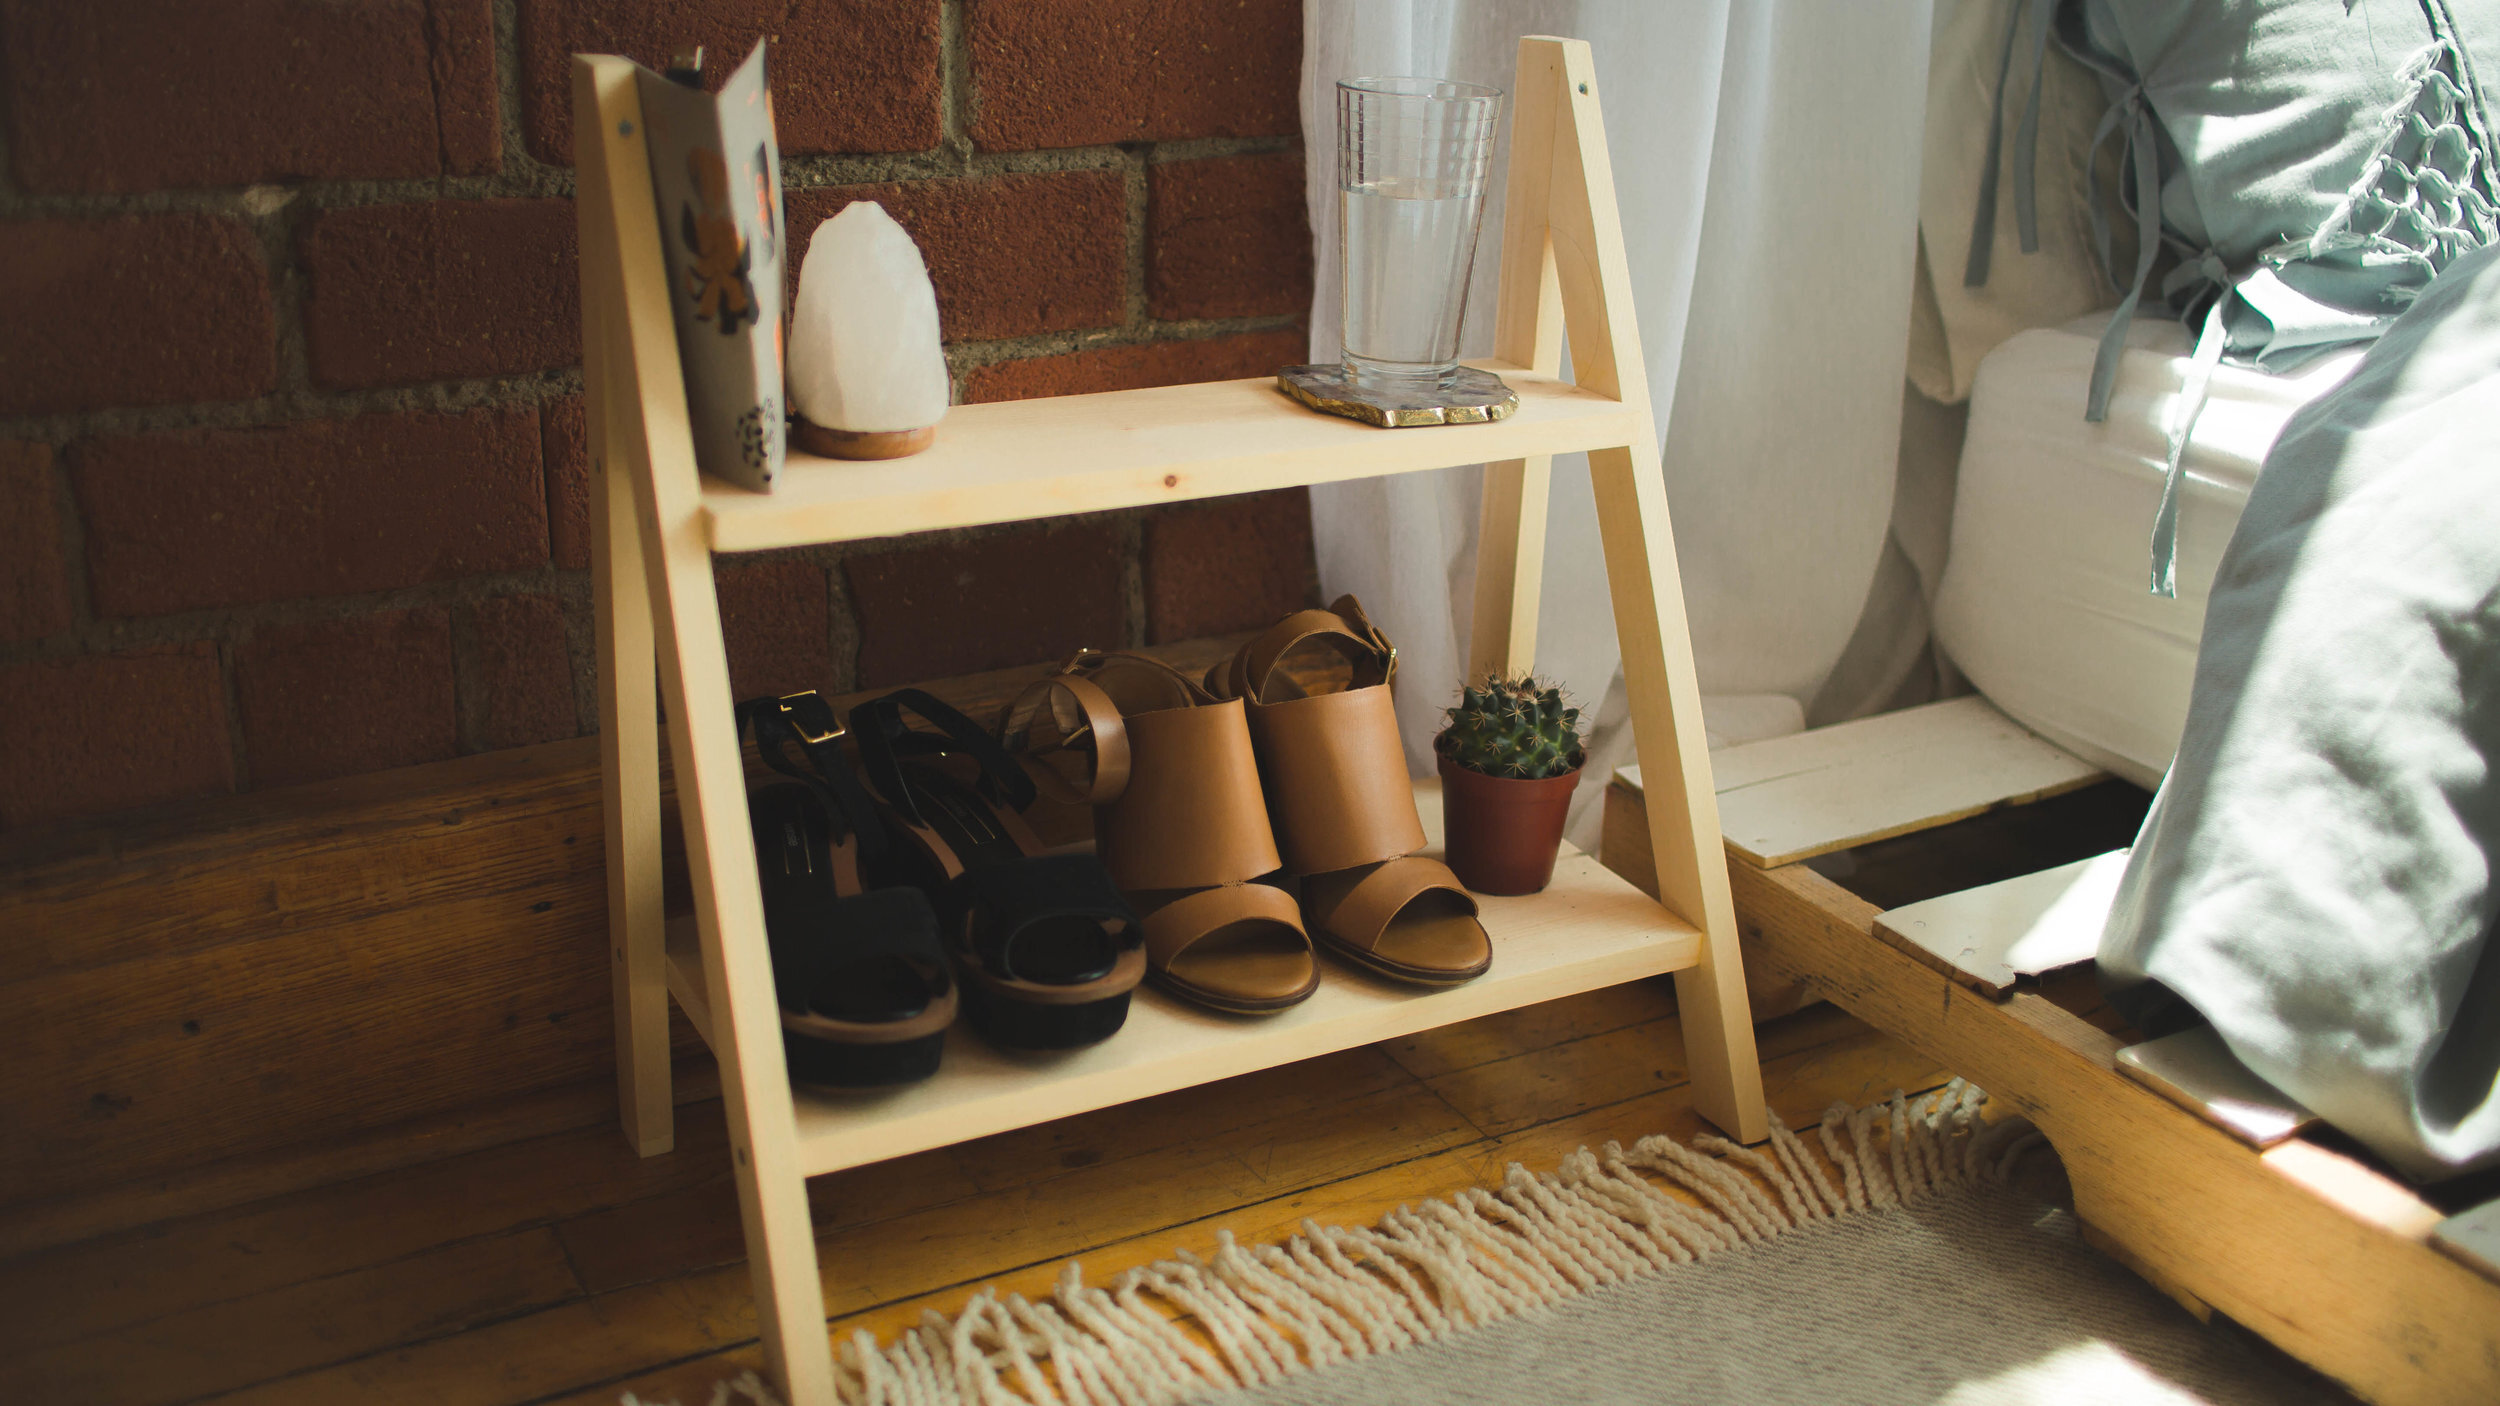
Step Ladder Night Stand

To make this step ladder side table start by gathering 4 pieces of wood that are 3 feet long each for the table legs. For the shelves were using a piece of wood that is 6 inches wide and piece that is 10 inches wide. Start by cutting each of the shelf pieces to 20 inches long. Out of our 4 leg pieces, we’re going to angle two of them. Draw out 25 degree angles on each end and cut off the extra wood. With the remaining two legs, cut them each to 21.5 inches long. Now that everything’s cut, sand it all down for a smooth finish. Now it’s time to assemble! Line the steep side of one angled leg piece up against the top of a straight leg piece. Drill a pilot hole through both pieces to keep the wood from splitting. Then add a small amount of wood glue and screw the pieces together. Repeat this for your remaining two leg pieces. Now we can connect the two v shaped legs together with our two shelf pieces. Slide the shelves up between the legs until they sit where you’d like them. Again drill pilot holes into the sides, add on some wood glue, and drill them into place. Repeat this for your second shelf as well. You can give the shelf a final sand and add on any paint or stain if you’d like! PS: Although this looks like a step ladder, use this as a shelf only!
If you want more in-depth instructions on how to make this shelf, check out our full length tutorials now available in the shop tab!
Click on the DIYs below to check out how to make them!


We LOVE how this room turned out. If you want to see the other half of this room please check out Wendy’s video here! If you end up making any of these DIYs, show us using the hashtag #SorryGirlsSquad. Check out our video for these DIYs below!