Checkered Rug DIY
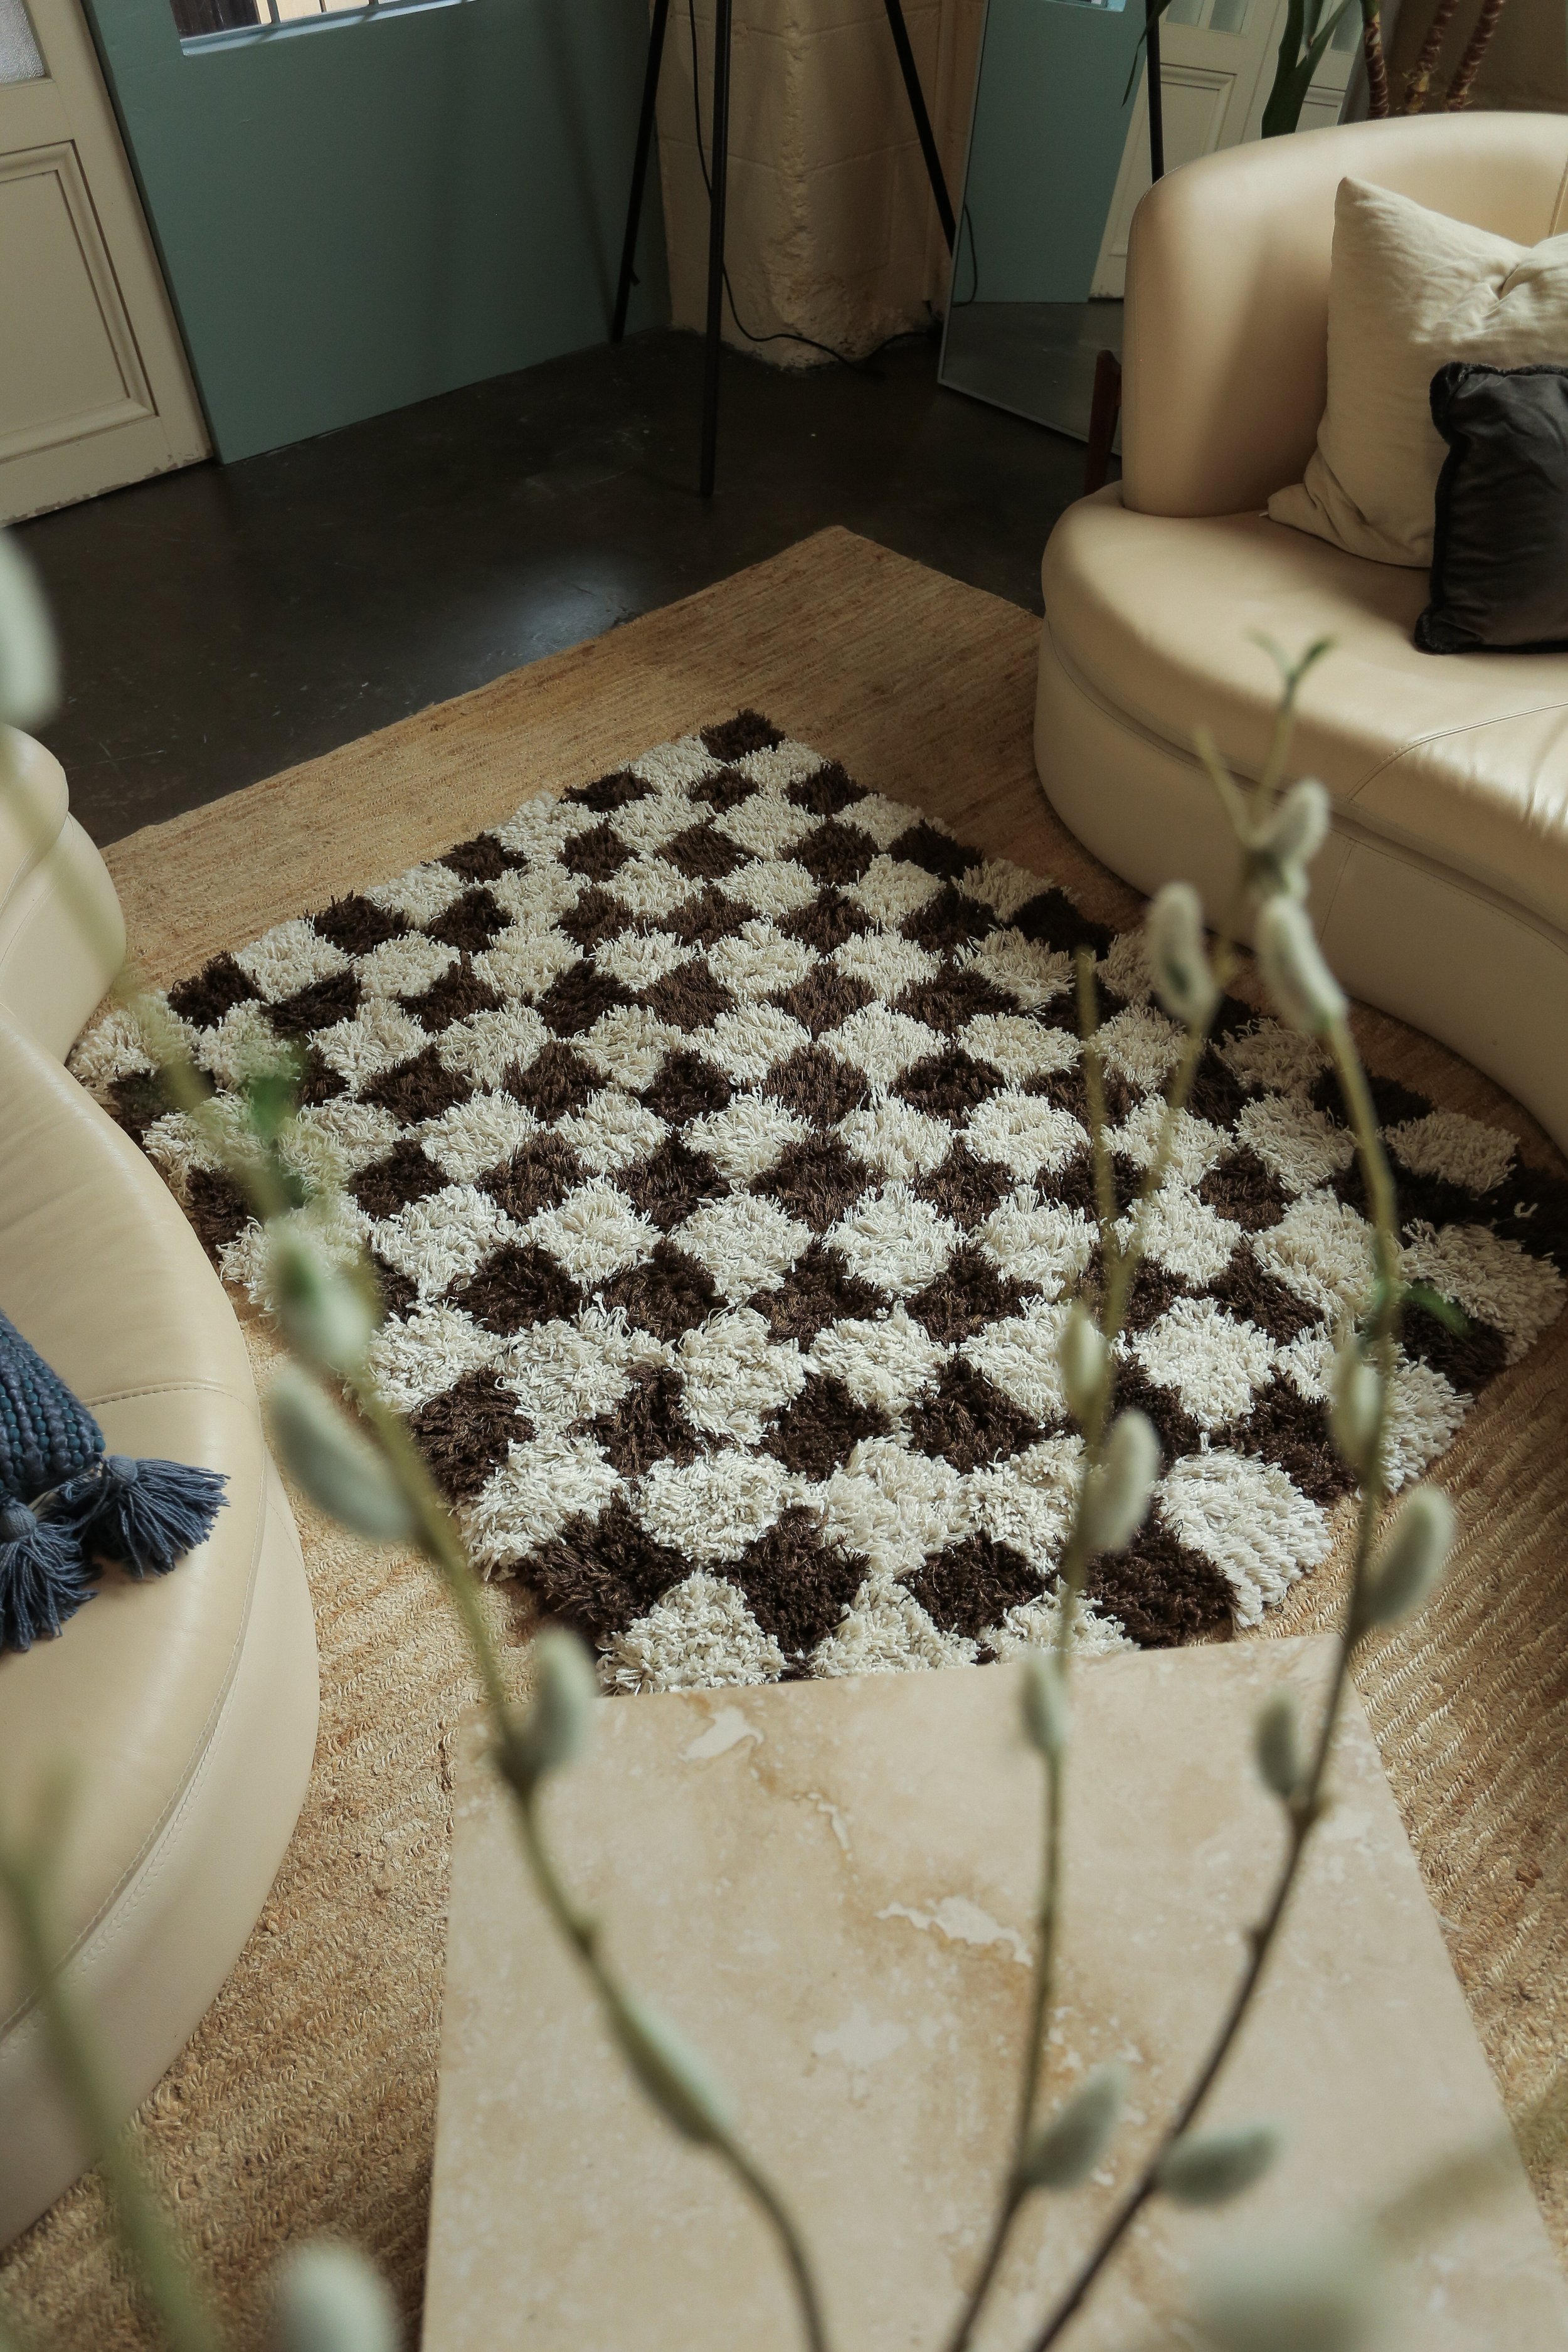
I love a good home trend, but not enough to break the bank for it! One trend that’s been on my mind a lot lately is the checkered rug. It adds so much character to any room, so I challenged myself to DIY one using only second-hand materials. Keep reading to see how I did this!
My plan for this was to combine two solid coloured rugs (one light and one dark) together resulting in a nice contrasting pattern. I scoured the internet and found two shaggy rugs on facebook marketplace, both under $30! A quick tip for you is to make sure both rugs have the similar shaggy textures so the end result looks as seamless as possible - like you just picked it up at the nearest store!
materials
2 shag rugs
A ruler for measuring
Scissors
instructions
step 1- prepare your rugs
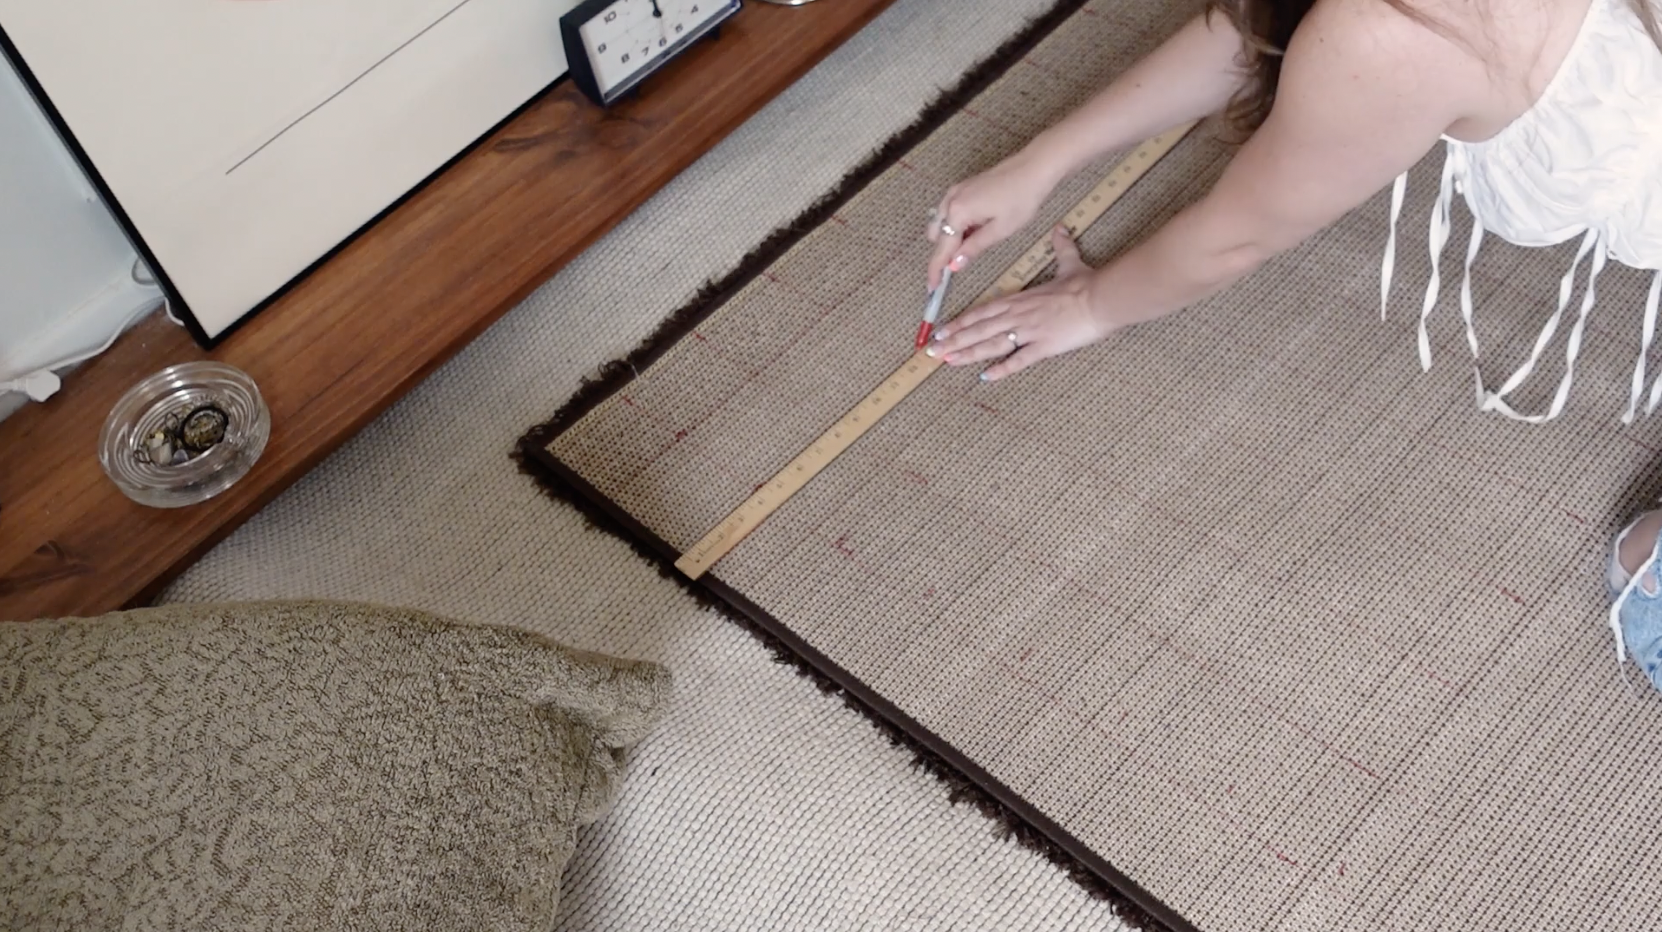
Start by measuring out squares on the back of each rug as a guide before you start cutting. They can be any size you want, I went for 4x4 squares. Keep in mind that the smaller your squares, the more time you will spend putting them back together again.
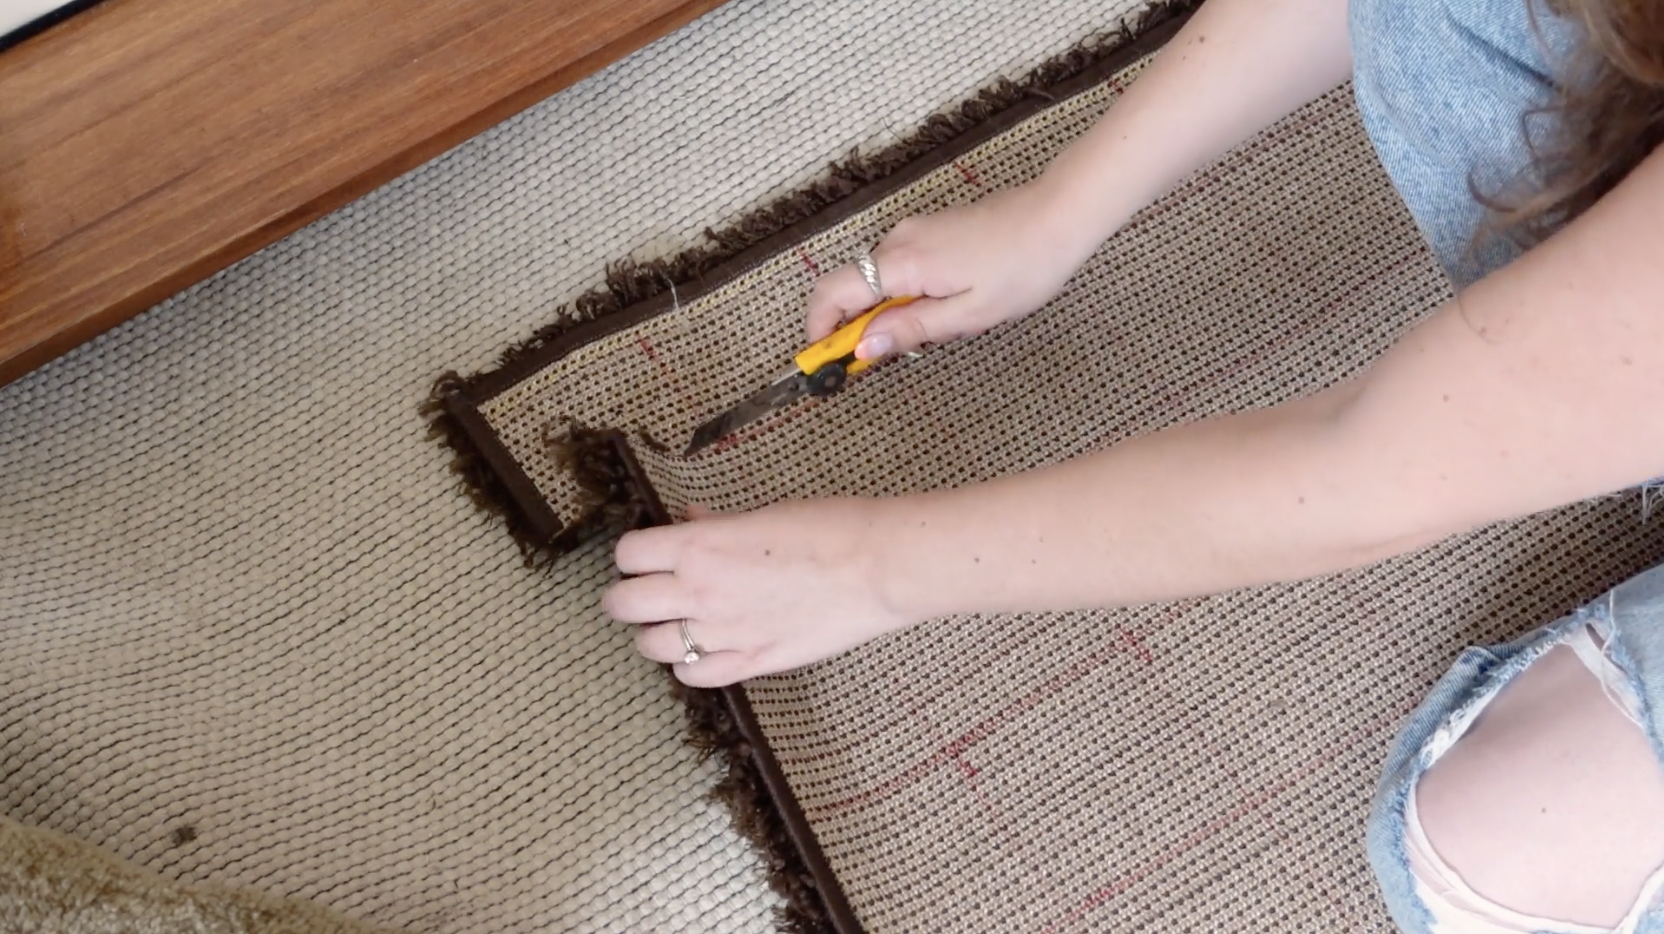
Once you have your grid pattern, start cutting out your squares with a utility knife.
step 2- combine your rugs
I did a deep dive on the internet to find out the best way to finish a rug, and I came up with a two-step method.
The first step is pretty easy – all you have to do is combine each square with some rug seam tape. It’s similar to duct tape but has fabric on one side to mimic the backing of a rug:
Tape your pieces together in a checkerboard pattern until you are satisfied with the size of your rug. The great thing about using two rugs is that you can end up with a final product that is double the size of each individual rug!
After some research, I found some rug glue that is a top choice for the rug-making community on YouTube. You can find it linked above along with all the other materials used:
Smear on an even layer of the rug glue with a putty knife, covering the entire back of the rug. Make sure to do this in a well ventilated area because the glue has a pretty strong scent to it.
Since I’m working with two previously made rugs, I wanted something stronger than the glue to also carry their weight – so I added some final backing fabric to the rug. This fabric is made with a thick woven material but any dense canvas fabric could also do the job:
Lay the fabric over the entire glued surface and press it into all the seams to make sure it adheres to the glue in all areas.
Rug glue takes 24 hours to fully dry, so be patient and come back the next day for final touches.
Once the glue is completely dry, trim off the excess fabric leaving about a half inch around the perimeter.
Then roll in the edges and seal them off using a hot glue gun. This will prevent them from fraying over time.
And you’re done! If you try this out, post it on IG and tag us so we can see your variation of the checkered rug!


