SUMMER JEWELRY FROM JUMP RINGS

UMMMM... turns out making all of your fave summer jewelry trends out of jump rings is super easy!? This DIY answers a very frequently asked question, 'where is Becky's necklace from?!' We're here to answer that PLUS give you some other super cute summer jewelry ideas!
COST: Necklace: $20-$30 , Cuff chain: $10-$15 , Faux Piercings: $5-$10
DIFFICULTY: ✂
MATERIALS:
Sculpey Polymer Clay in ‘Translucent’
Tin Foil
Polymer Clay Glaze
Chains
Jump Rings
Super Glue
Gold Beads
TOOLS:
Oven Safe Tray
Paint Brush
Pliers
Wire Cutters
Sand Paper

DOUBLE HORN NECKLACE:
First up it is to DIY your own double horn necklace!

We’re starting with this sculpey polymer clay in the colour “translucent”. Start by sectioning off a small piece. Roll it on a flat surface to the thickness you want the center of the crescent charm to be and trim it if it becomes too long.

Roll out the ends into points. Using something round to wrap the clay around your circle to create the crescent shape. You can also free hand this if you’d like.
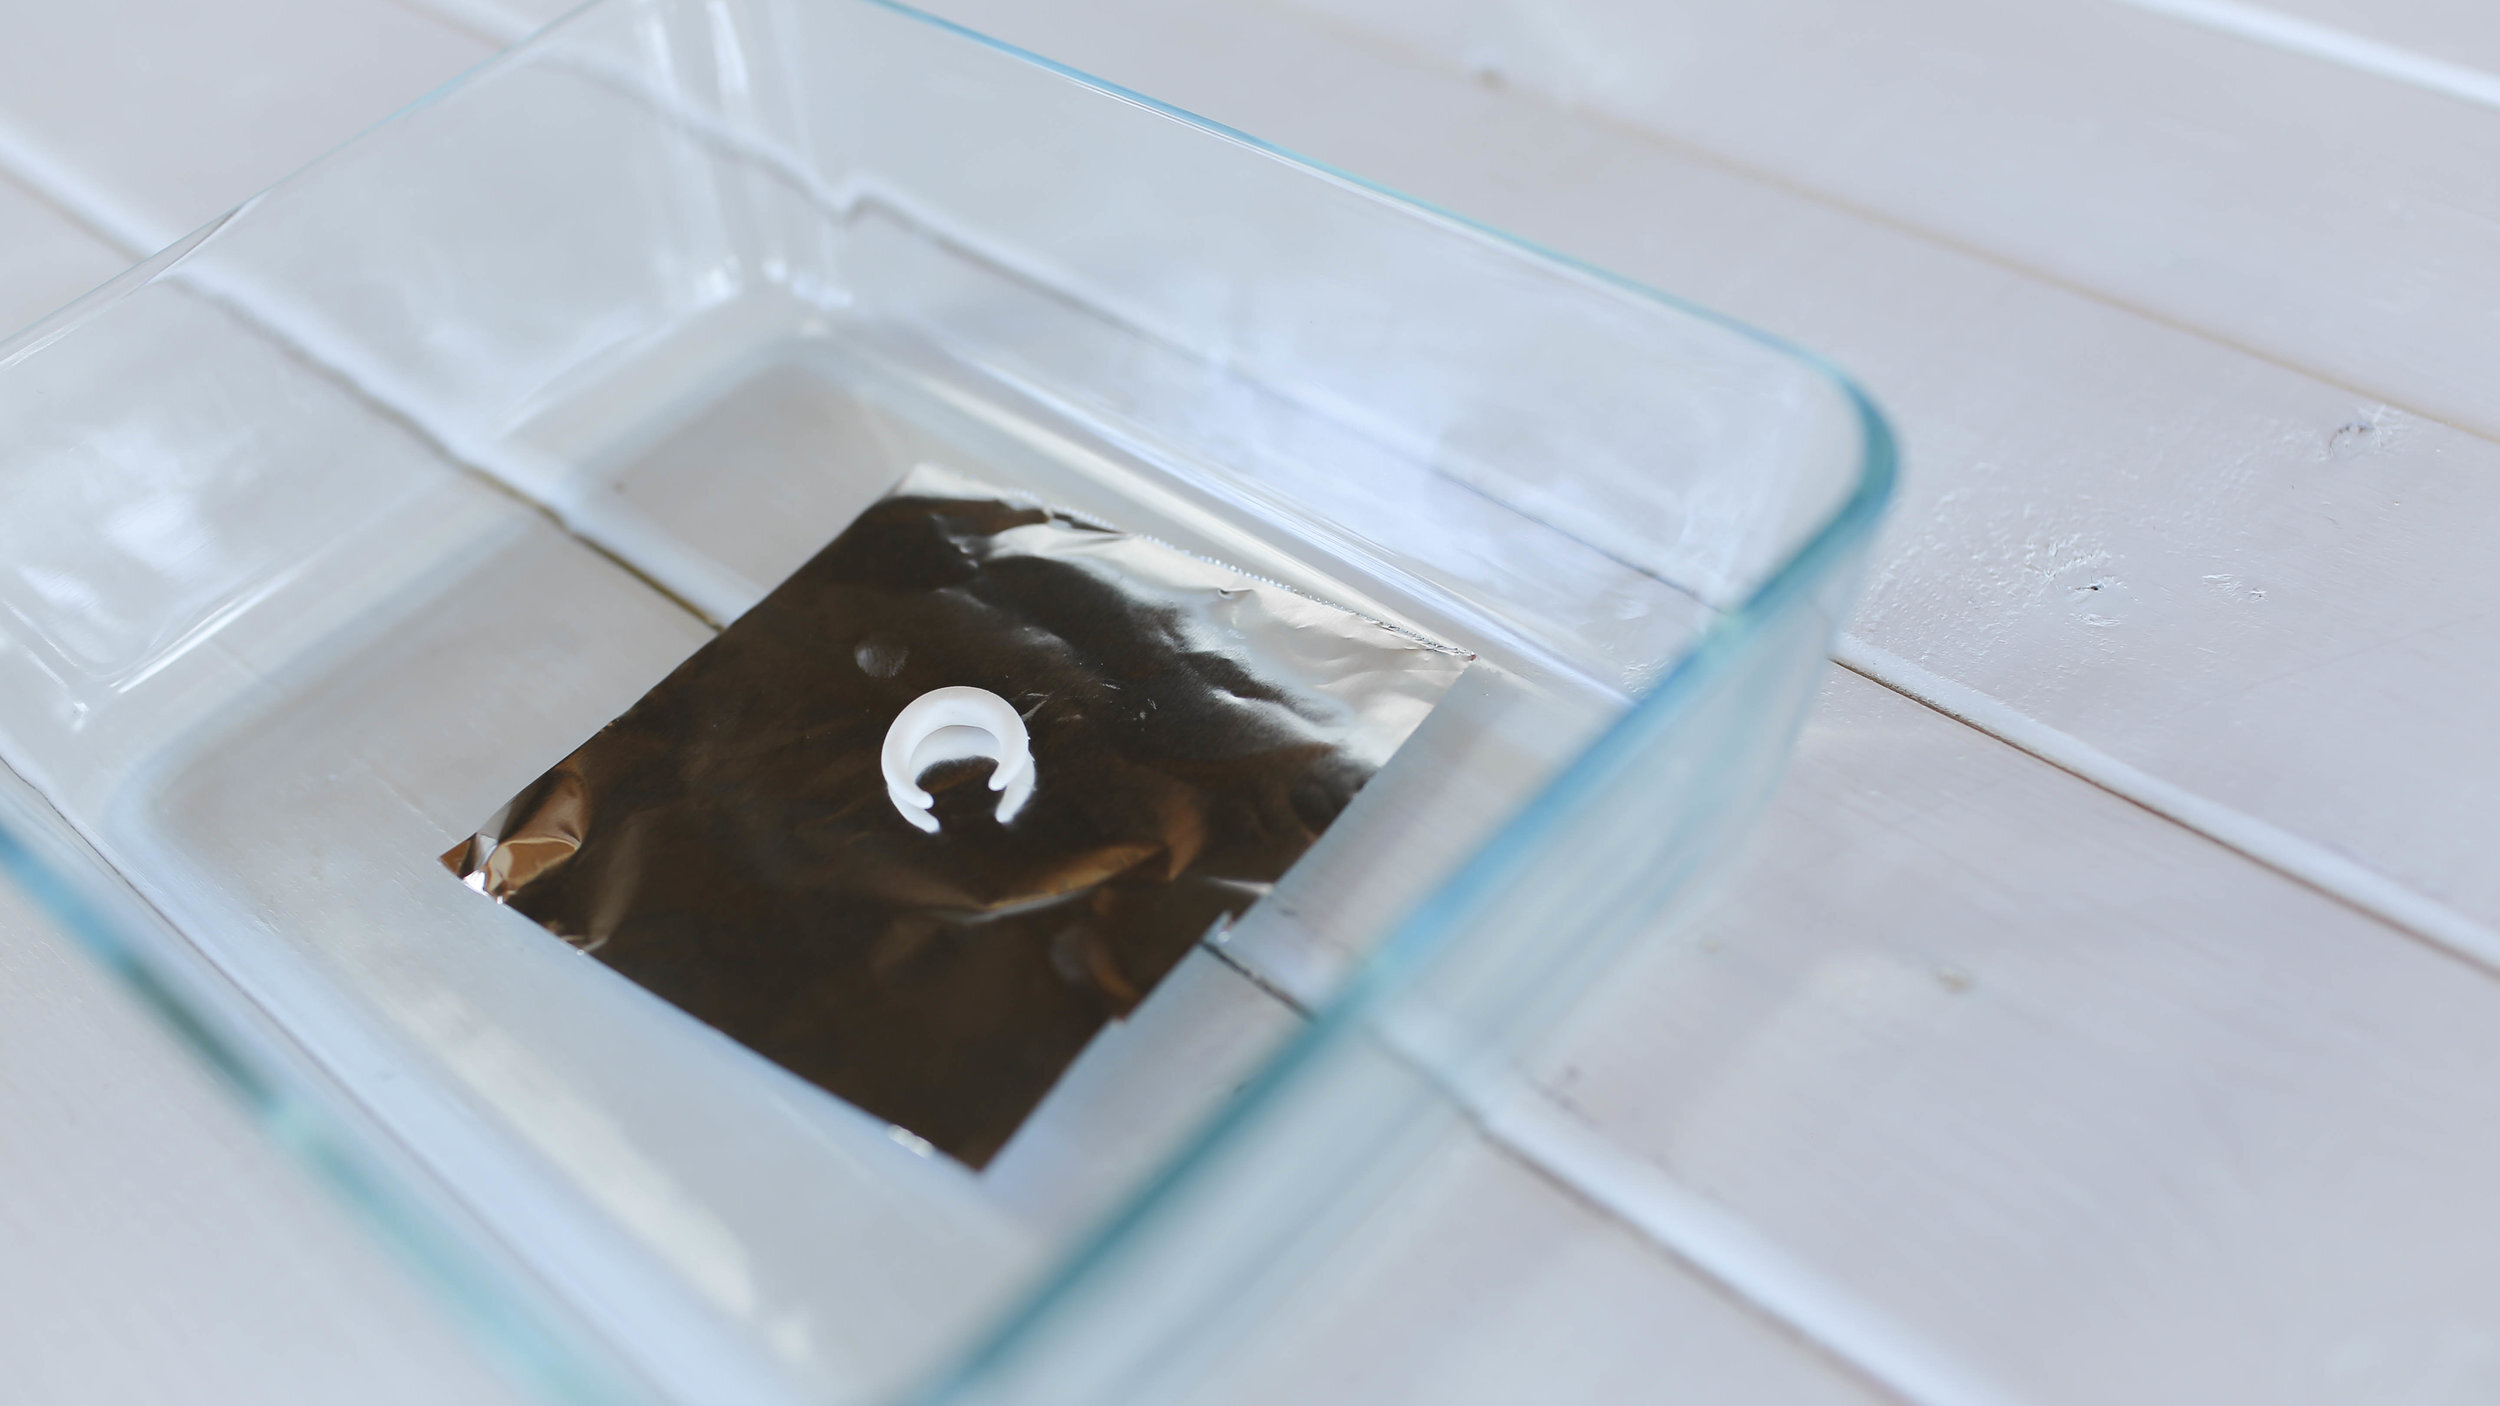
Place the charm on some tin foil or parchment paper and place it in an oven safe tray. Bake the clay according to the package instructions.
Once it’s done baking, allow it to fully cool before moving on.

Once it’s baked and set, paint the charm with a polymer clay glaze. This makes the charm nice and shiny and also protects the clay from altering when it’s against your skin.
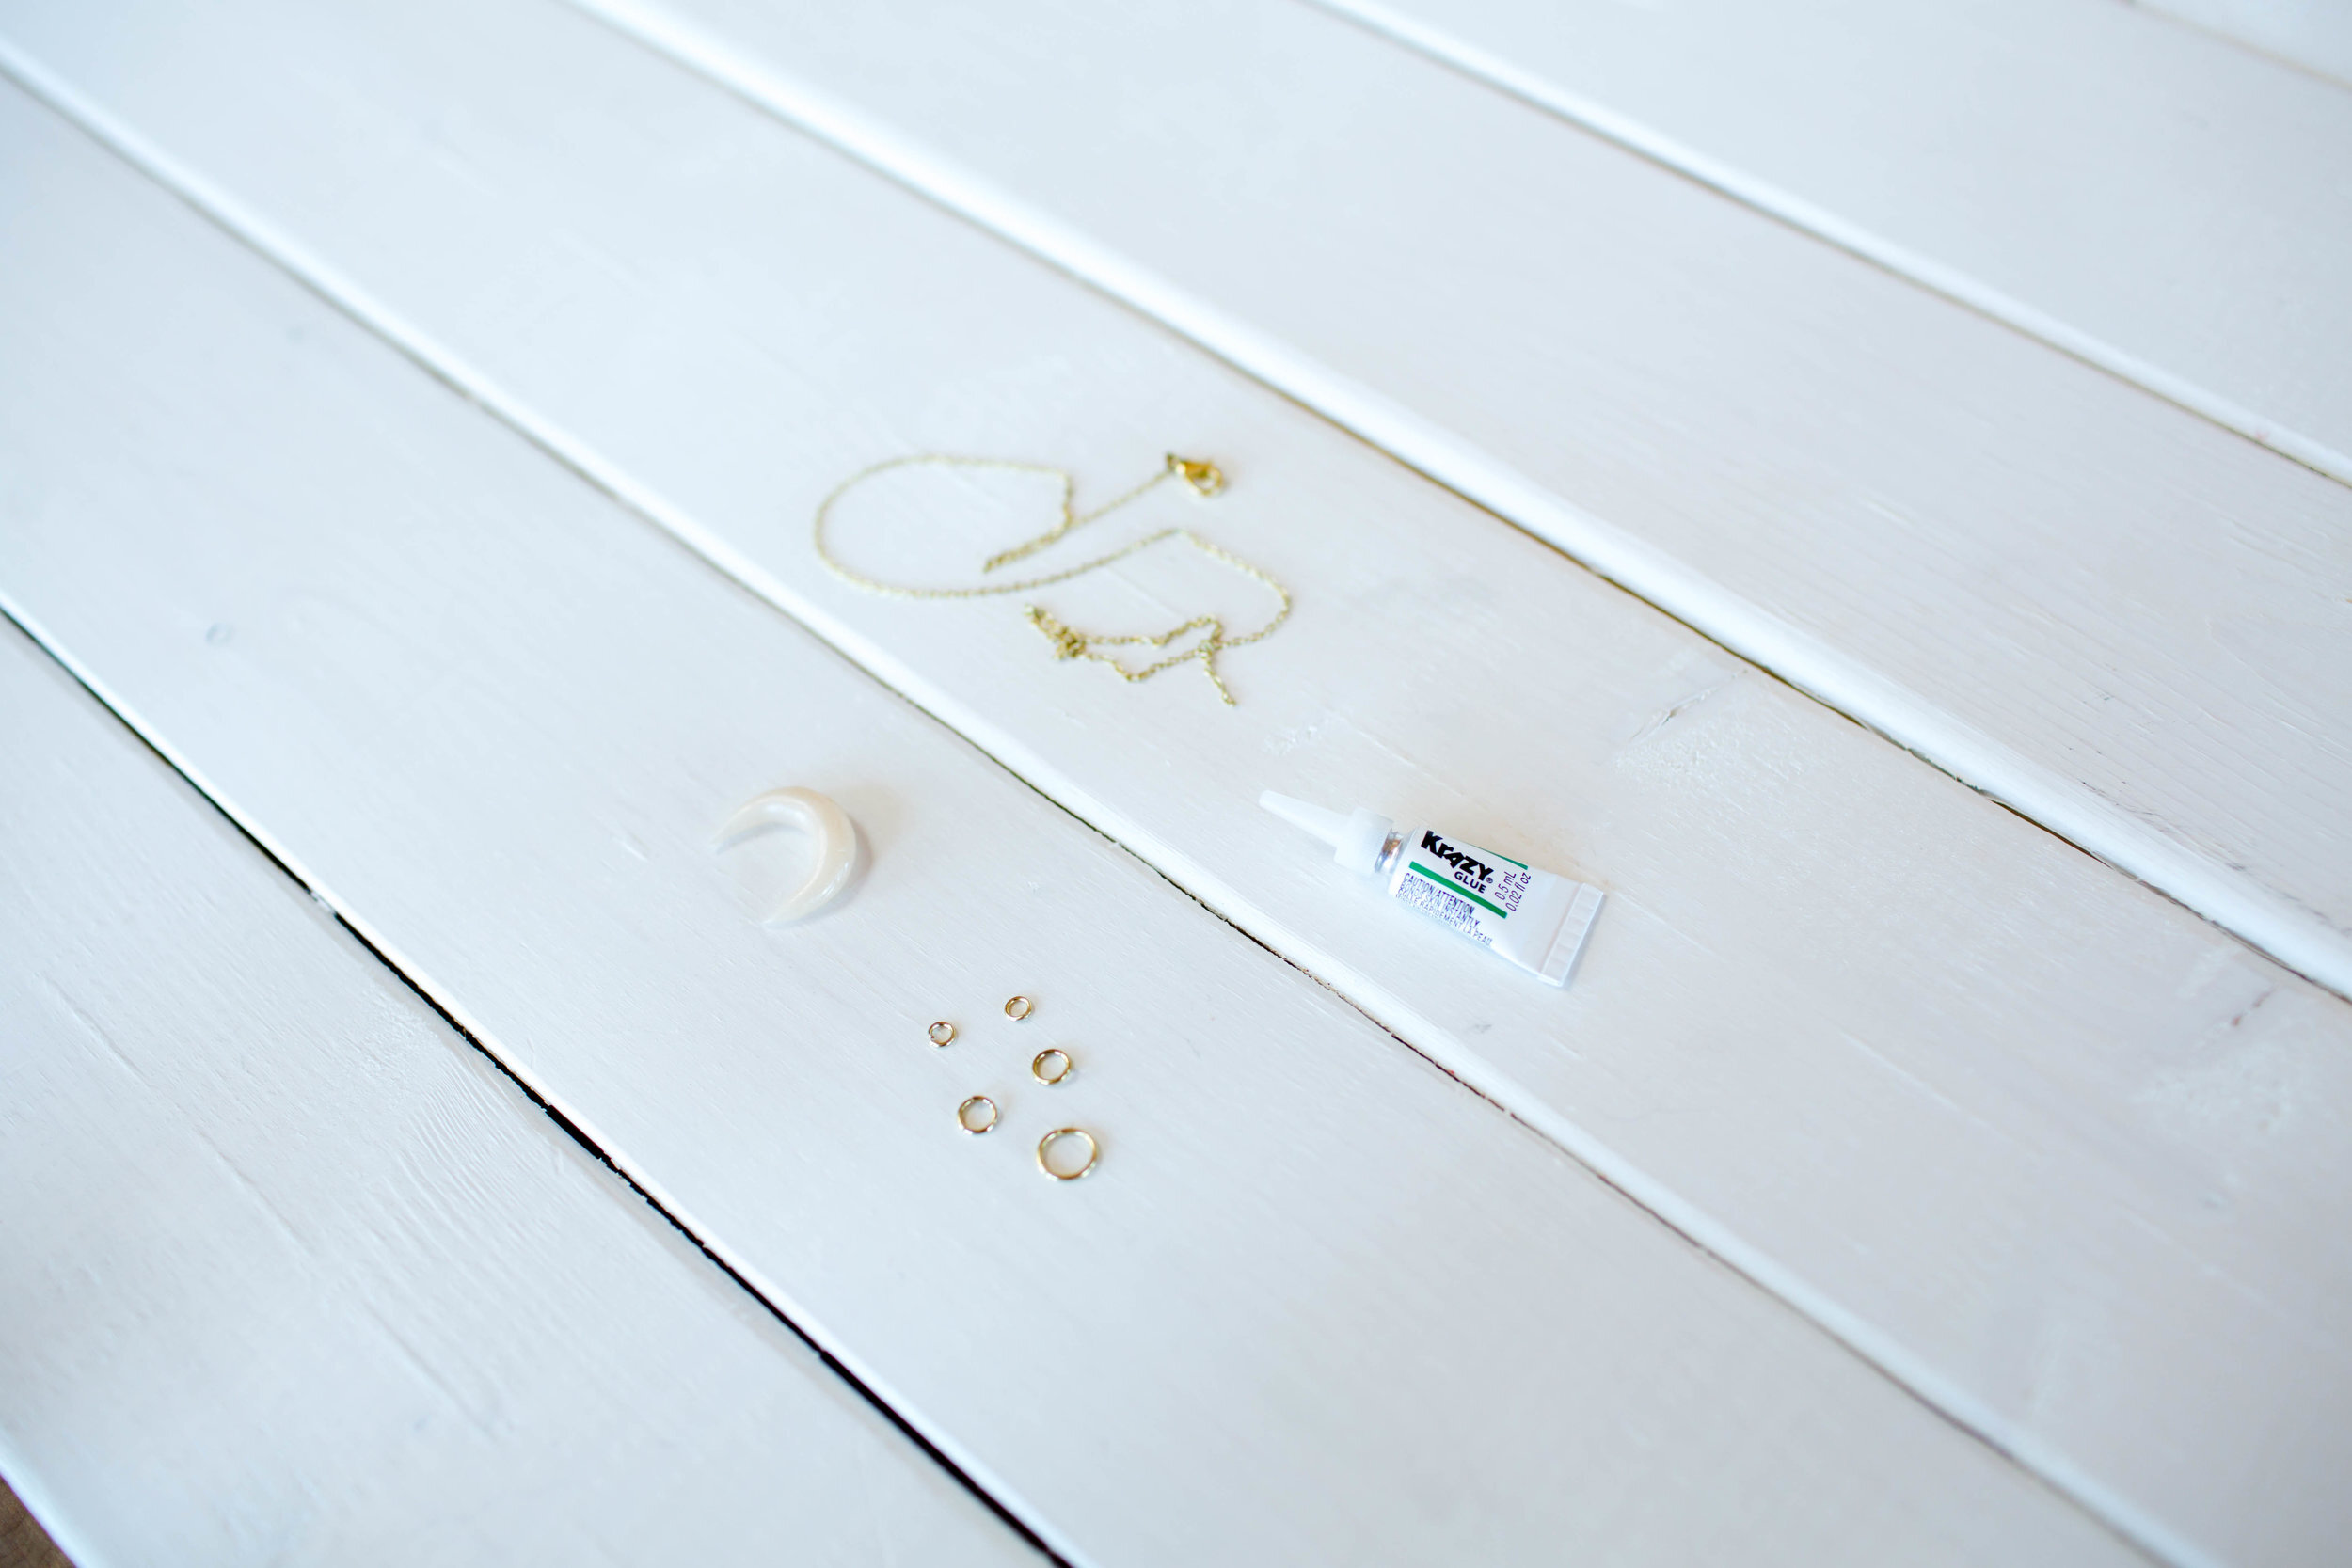
To finish off the necklace, we’ll need a chain for our charm, one large loop ring, two medium loop rings, and two small loop rings. You’ll also need some super glue to hold it all in place.
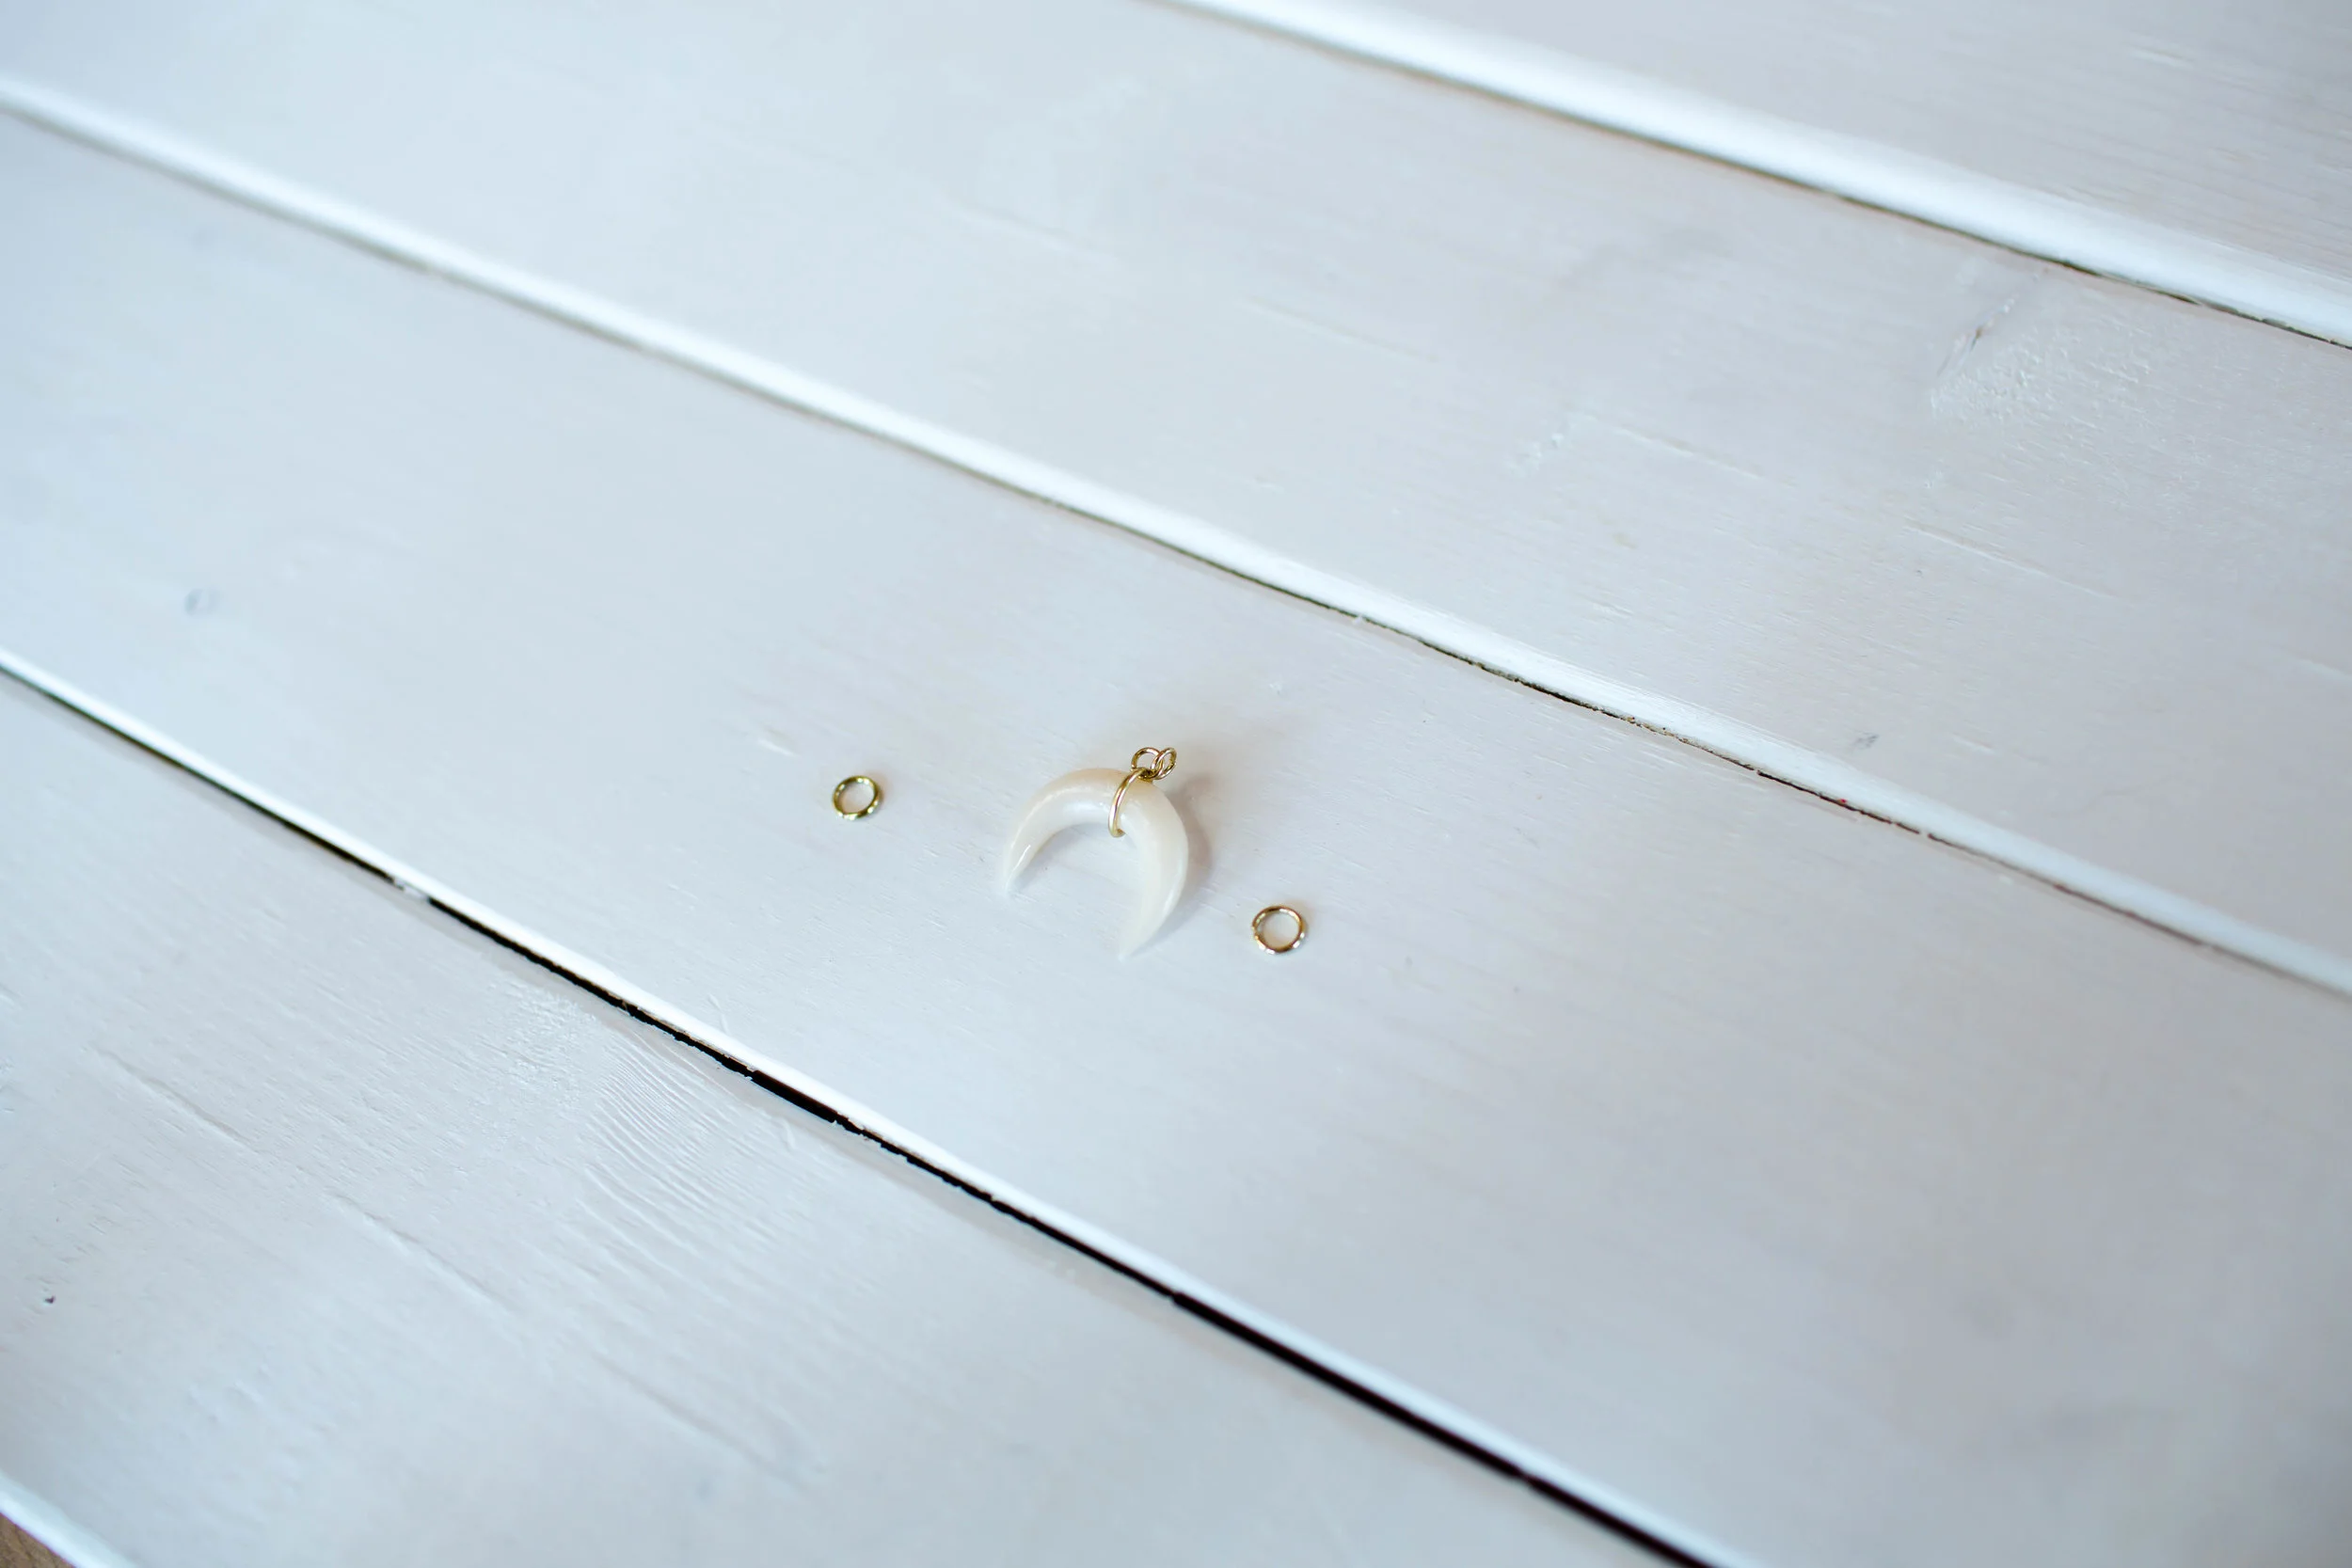
Start by connecting the two smallest jump rings and then looping them through the largest. String the large ring to the center of the crescent and squeeze it tightly in place. Add the two medium jump rings on either end of the charm. Push them up the sides until they feel tight.
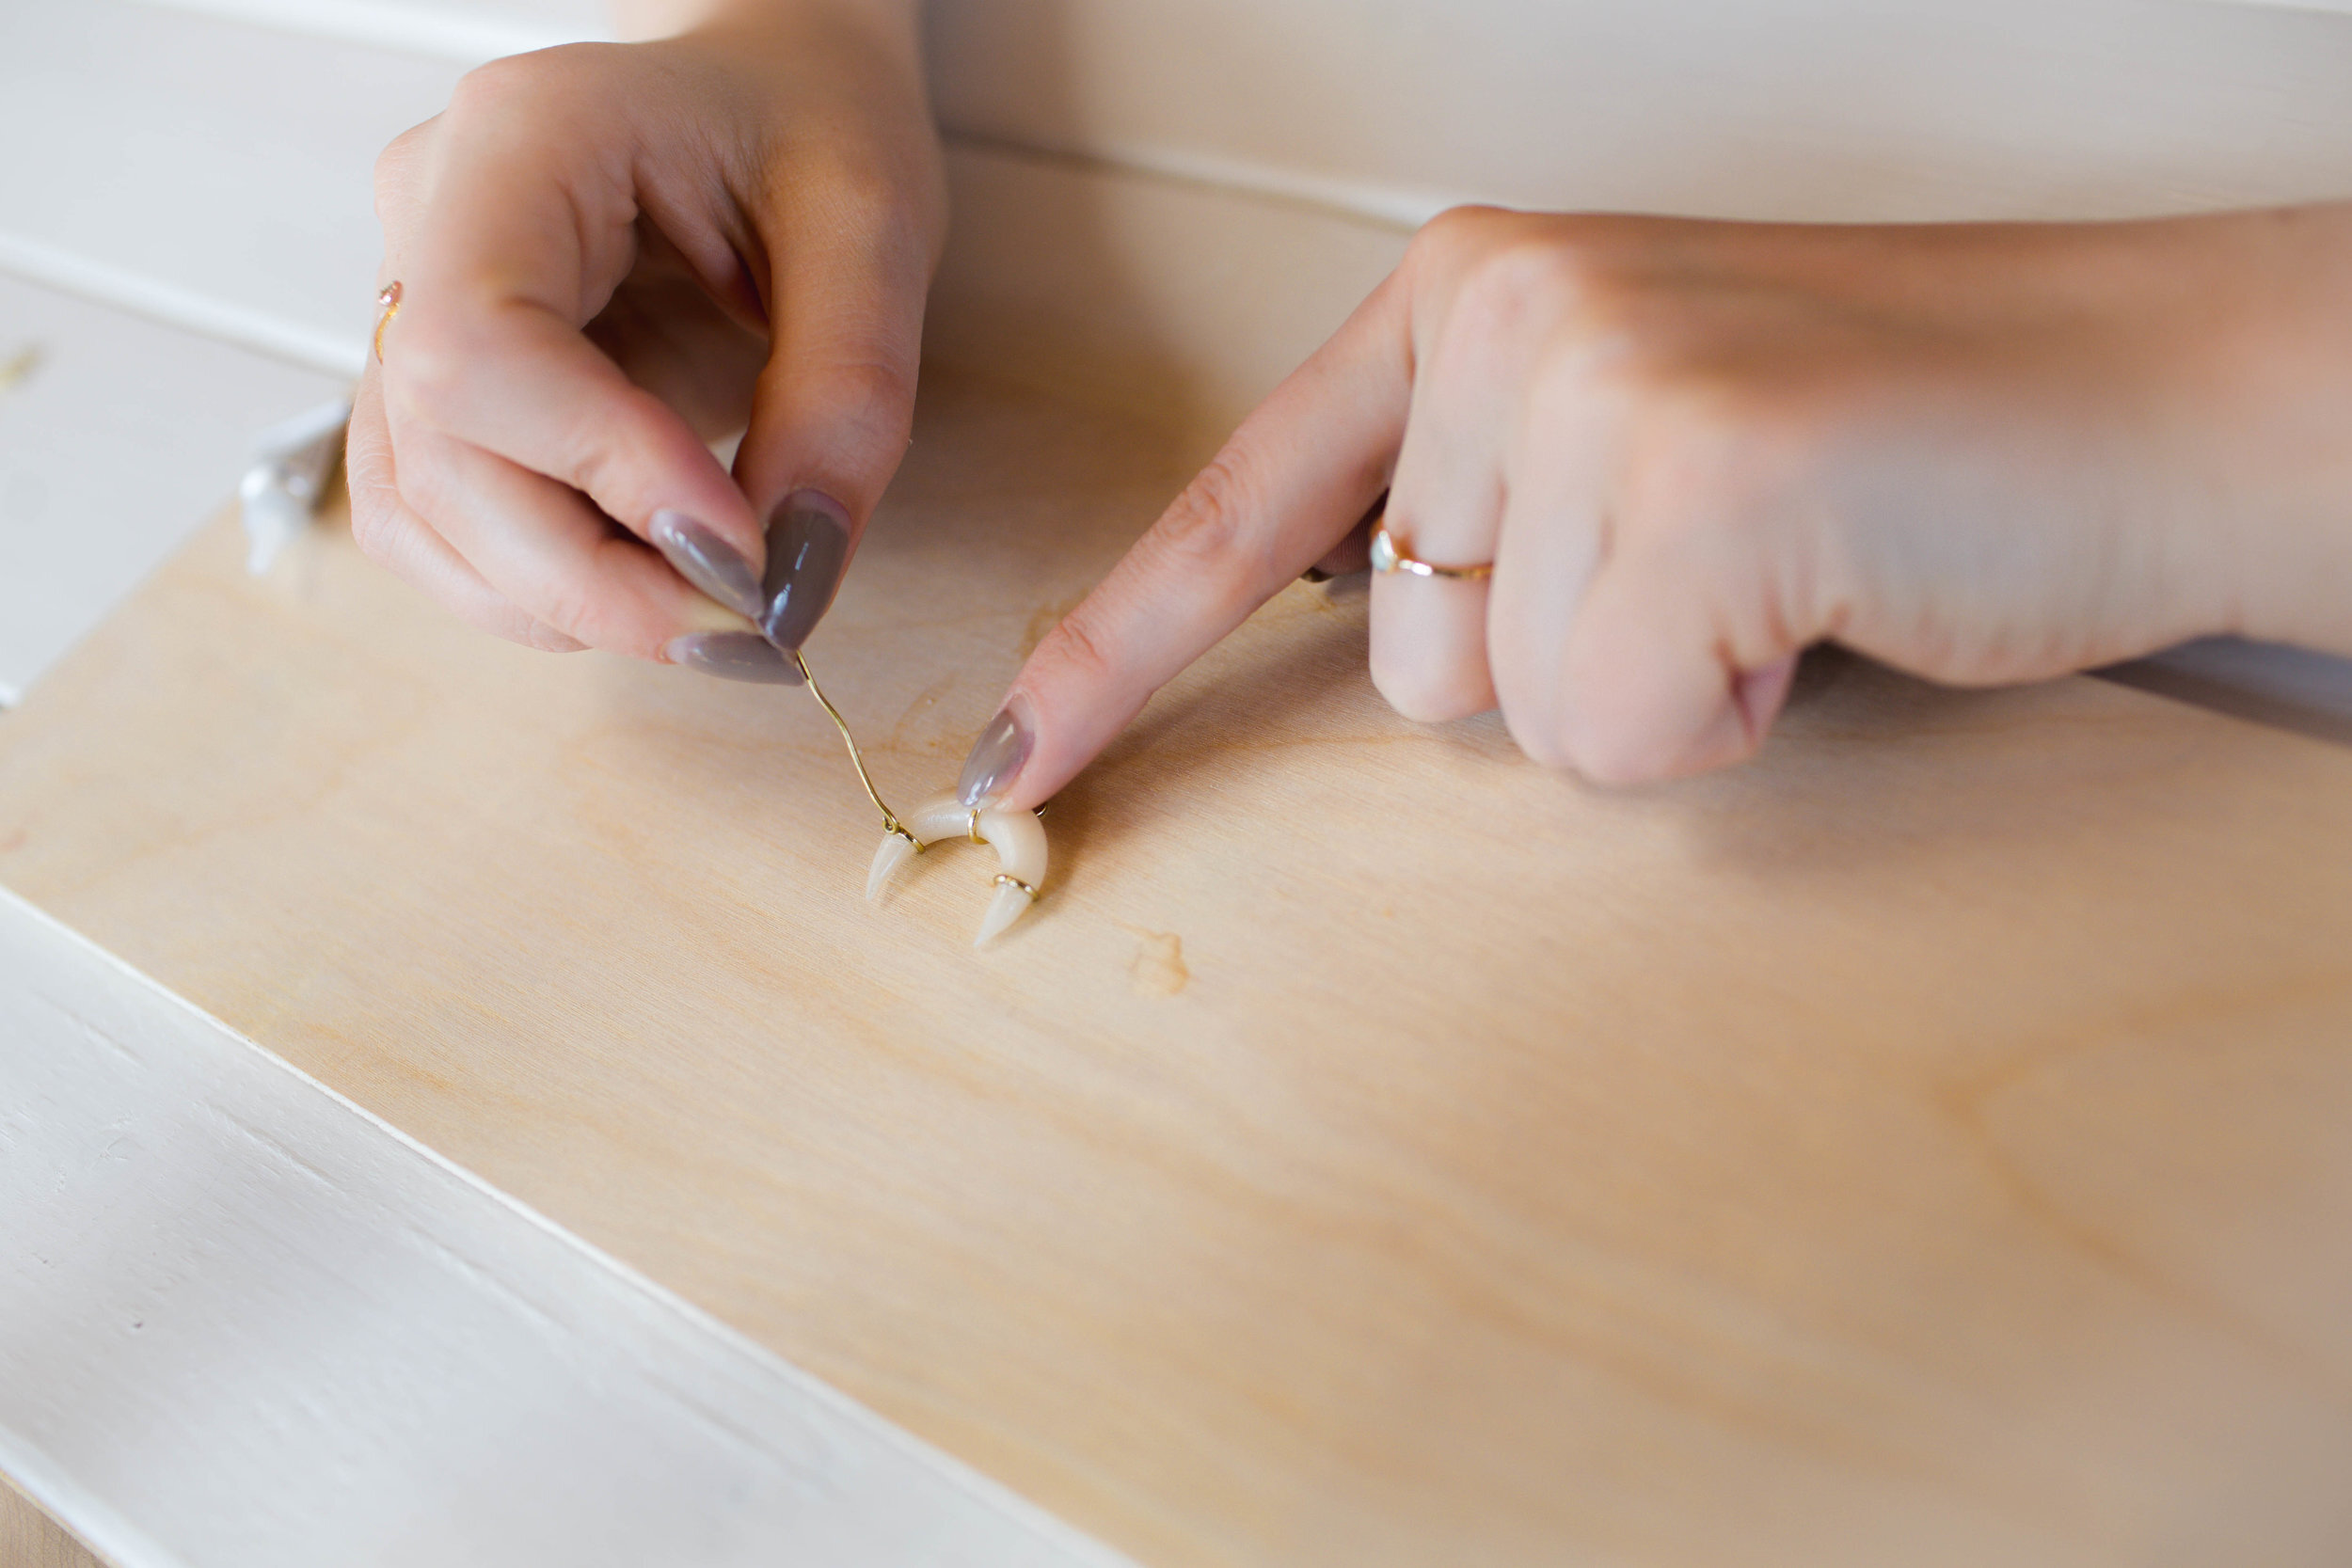
For added security, on the back of the charm we added small dots of super glue over top of the jump rings to keep them in place. You can use a toothpick, a piece of wire, or any tiny applicator to put the glue in place.

Once it’s fully dry, add your necklace chain through the top tiny jump ring, and your necklace is complete!
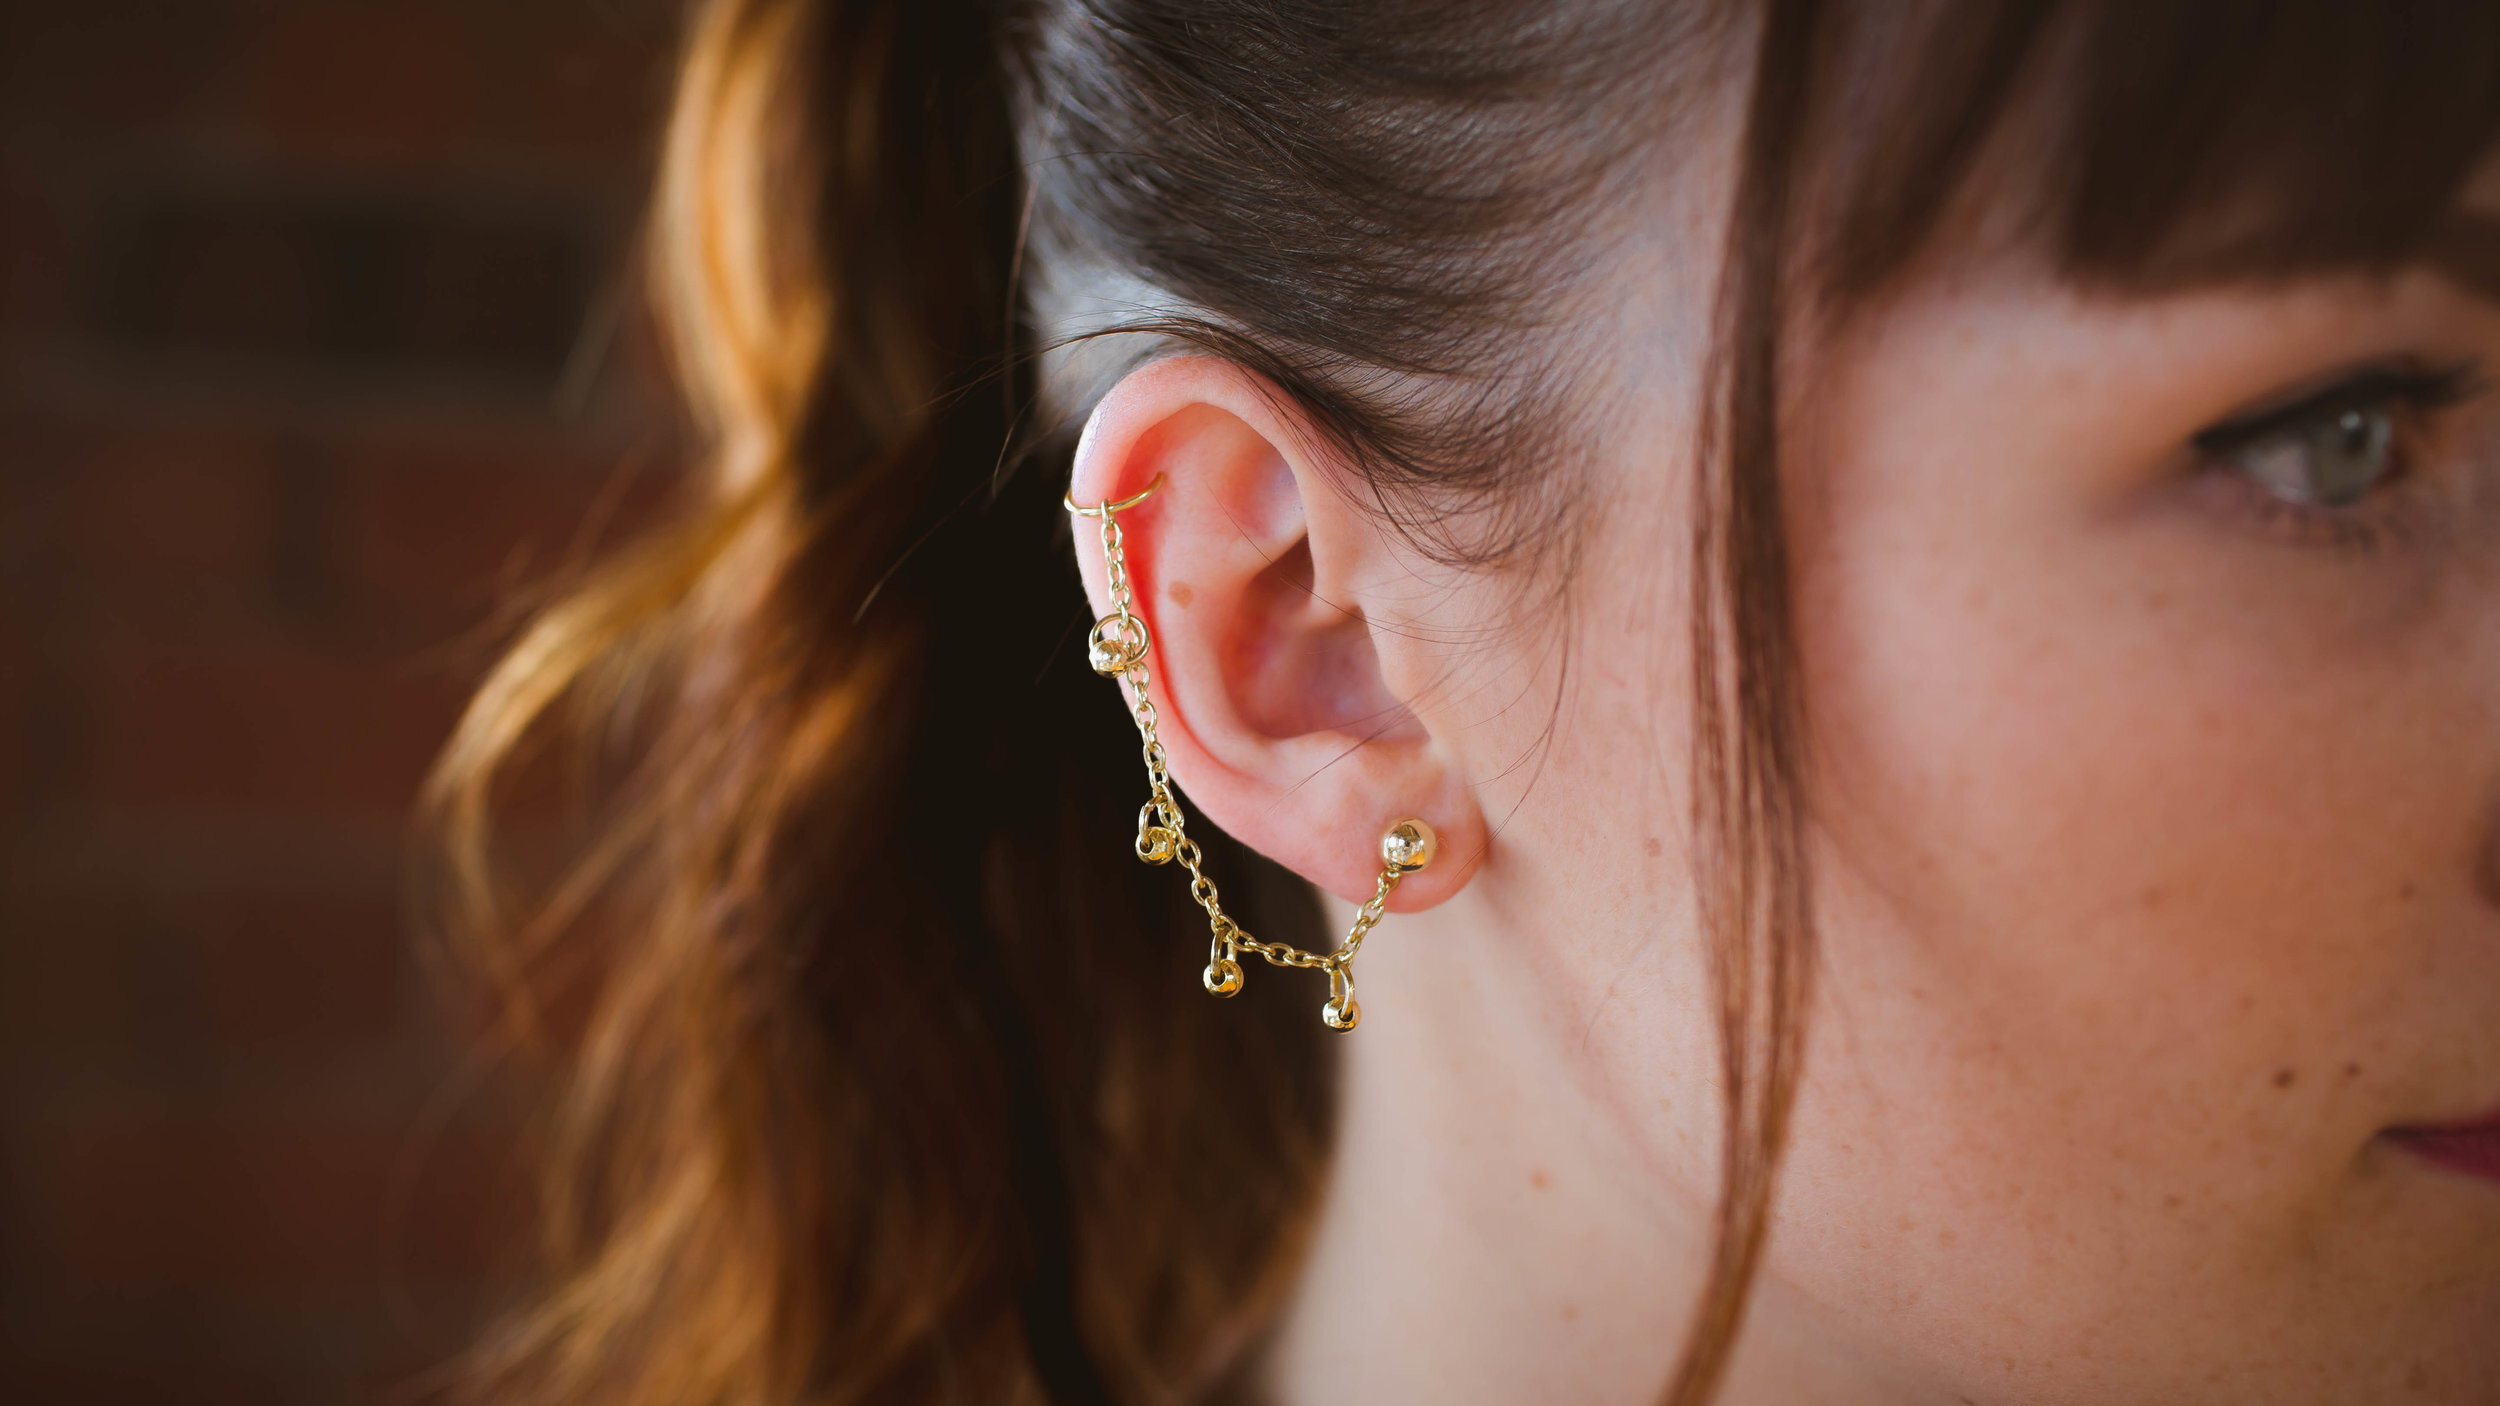
EAR CUFF CHAIN
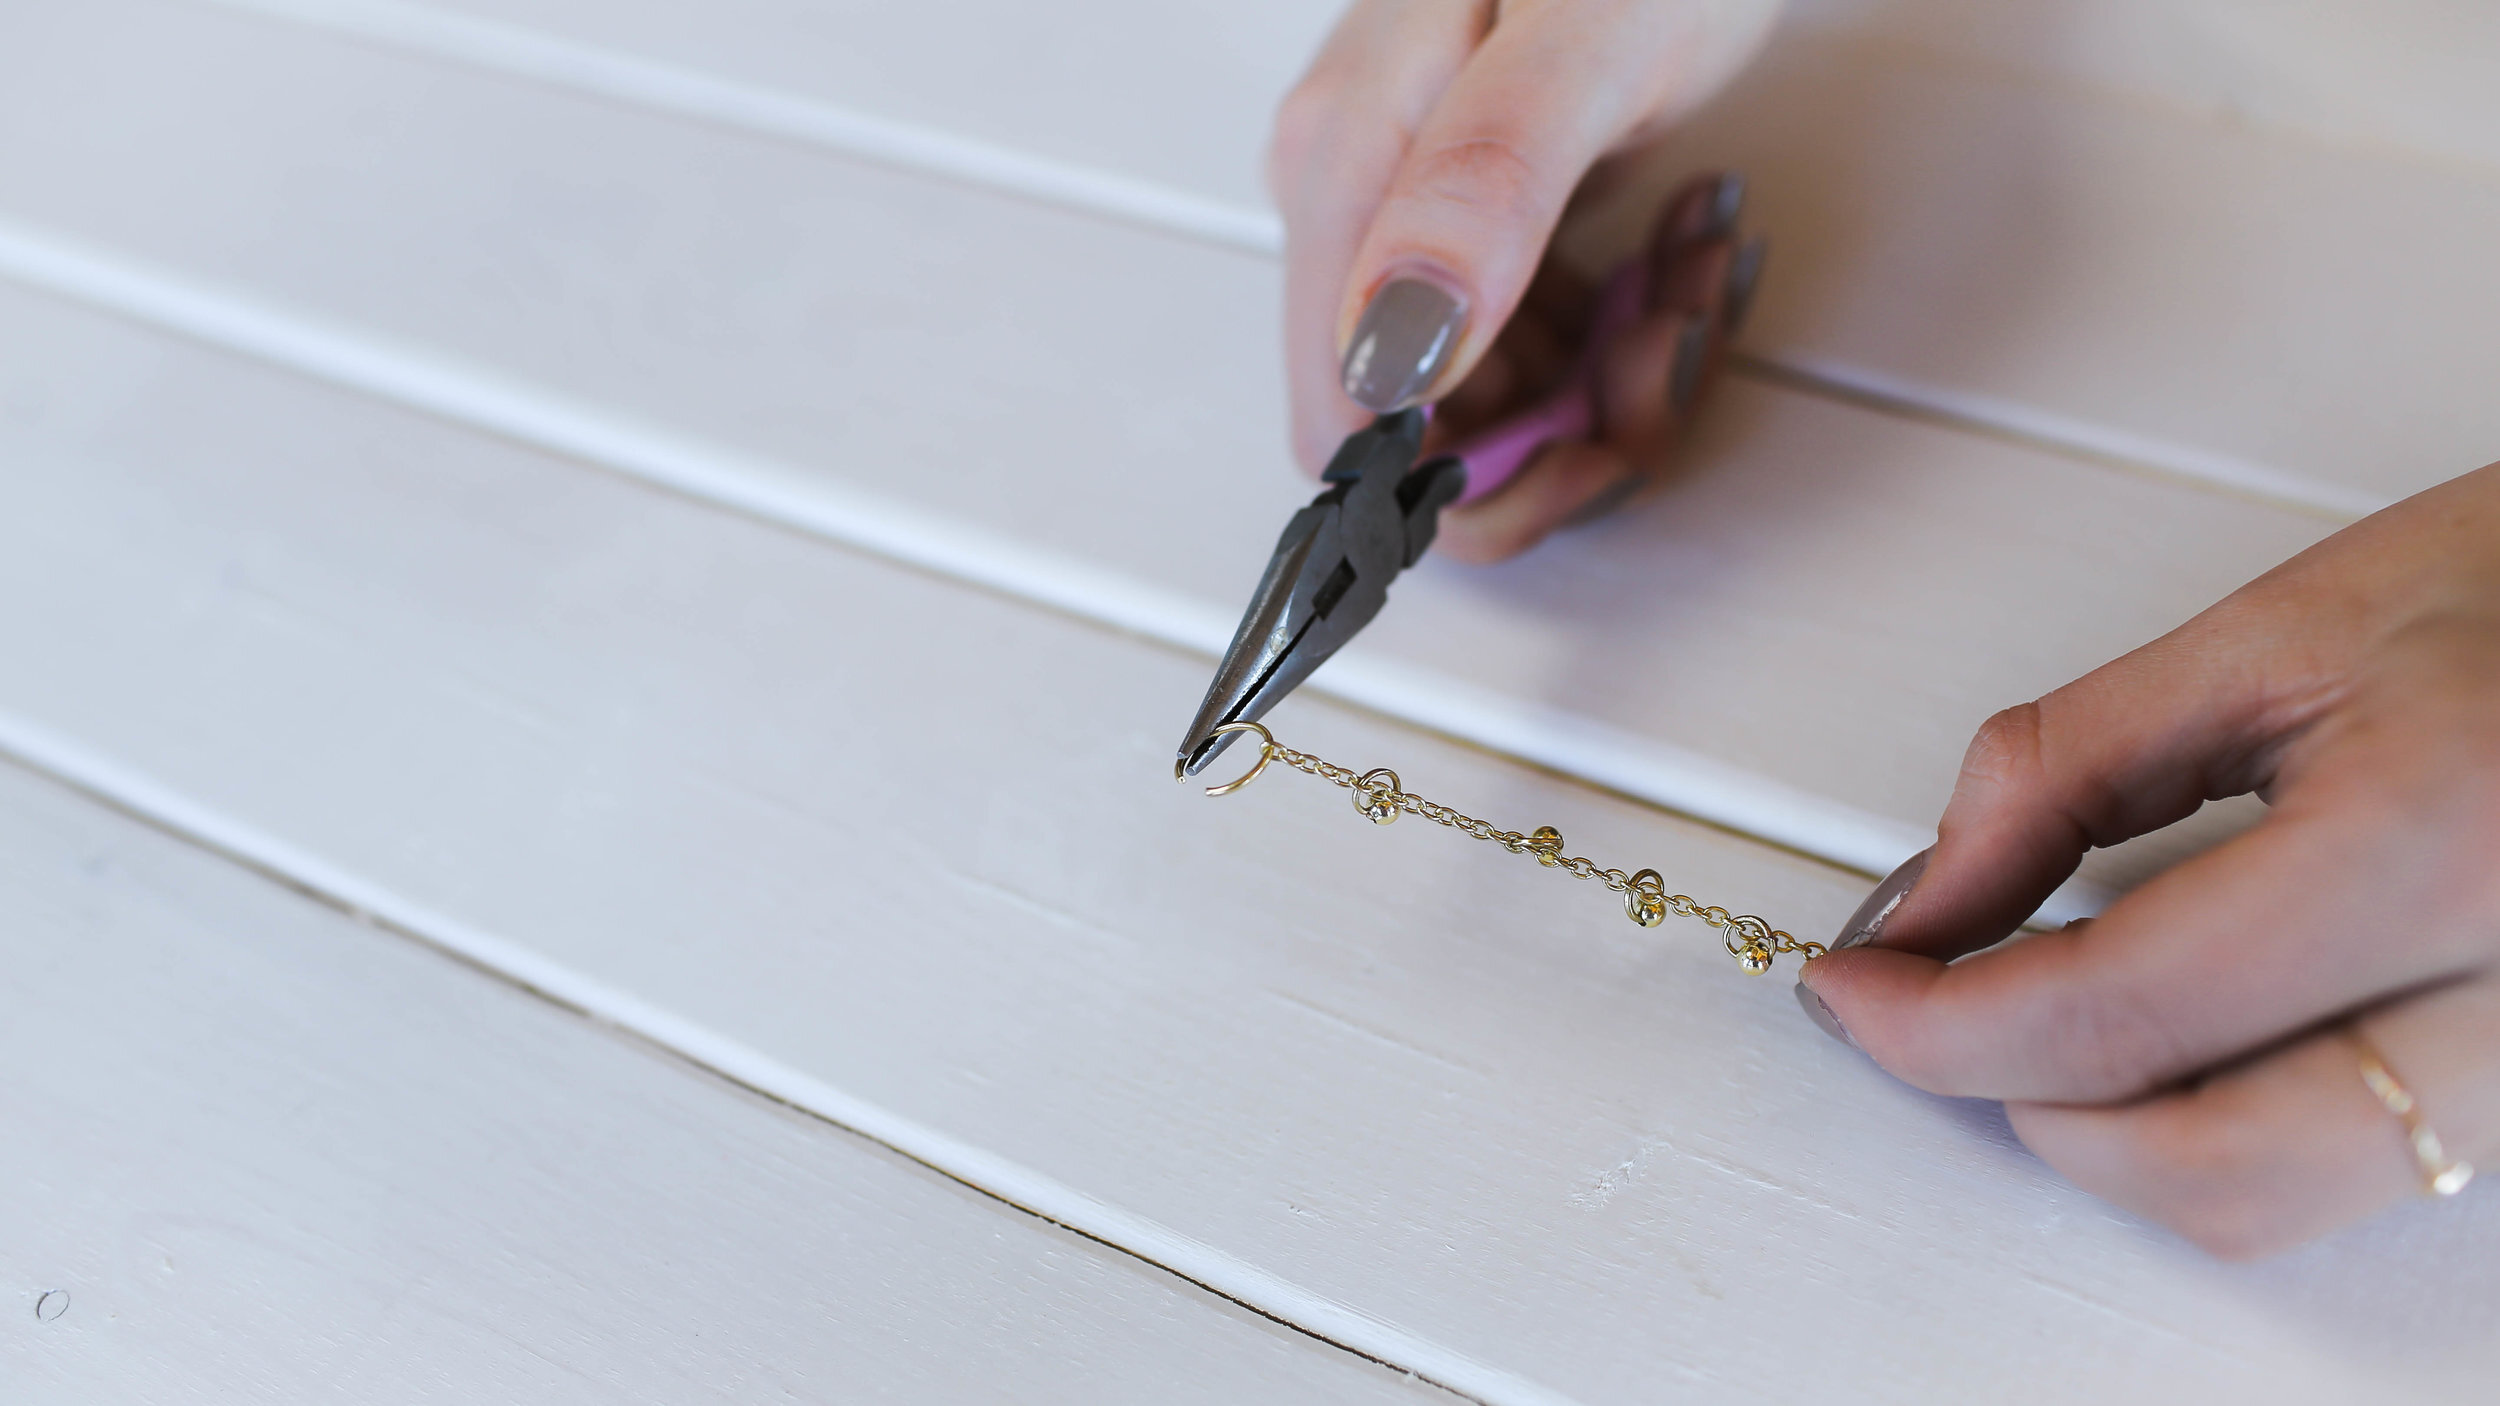
To make this ear cuff chain, start by trimming a piece of gold chain roughly the length of the outside shape of your ear. Make sure to use nickel free or any skin safe metal. We will be decorating the cuff using some small jump rings and some gold beads.

Open one of the jump rings, add on a bead, and then place the jump ring into one of the links of the chain and clamp the jump ring closed. Continue to add the beads all the way down the chain. Open a large jump ring and string it through the last chain link. Leave this ring open, we’ll use it as the fake piercing on the top of your ear. We attached the bottom portion of the chain to an earring we already had by threading the earring post through the bottom chain link and then putting your earring on as you would normally, and you’re done!
Open a large jump ring and string it through the last chain link. Leave this ring open, we’ll use it as the fake piercing on the top of your ear. We attached the bottom portion of the chain to an earring we already had by threading the earring post through the bottom chain link and then putting your earring on as you would normally, and you’re done!

JUMP RING FAUX PIERCINGS
If you have extra jump rings, it’s super easy to make faux piercing rings. Use some wire cutters to cut a gap in the ring. Don’t try and pull the ring apart with pliers, as you’ll start to loose the circular shape of the jump ring. Use some sandpaper to sand down the edges because the ring can be sharp right after you cut it.

You can add on a bead or and fun charm to jazz up your rings. Though these look super real, we recommend using these for special events or fun photo-shoots instead of everyday use.

Thank you SO much for reading!! If you want to see more watch the jump ring video on the channel below! If you end up making one of these, please use the hashtag #SorryGirlsSquad so that we can see it!